How to Use a Miter Saw Safely: A Beginner’s Guide
The miter saw is the first tool that many people purchase when they are just beginning to get into woodworking, furniture building, or DIY home projects. It’s a work horse tool for the shop and, in my opinion, a necessity for anyone wanting to create home building projects. So, I have decided to cover the basics of safely using a miter saw for beginners in this post.
I am often asked how to get started with building projects at home. My answer is always the same: a person can start building countless, quality pieces with only 3 tools: a power drill, a pocket hole system, and a miter saw! The miter saw is a simple, yet powerful tool and will be such a huge asset to your home shop or garage shop. So, read on to learn the basics of how to use your miter saw.
How to Use a Miter Saw
This post is part of a series about how to get started with furniture building and home DIY projects.
A few examples of projects that I have completed with my miter saw are Round Side Table, Built Ins Around a French Door, a Box Planter, Rustic Wood American Flag Wall Art, a Wood Slat Bed, a Sliding Barn Door, Modular Dining Tables, Canvas Frame, fireplace surround, custom closet, a bench for mudroom locker built-ins, Vintage Riser, sitting bench, and Picture Ledge Shelf. (There are many, many more!) The first miter saw I bought was this Ryobi Miter Saw. I completed so many projects on that Ryobi Miter Saw before I upgraded to my current saw. I see that as proof that you don’t have to buy super expensive tools right out of the gate in order to make quality pieces!
If you have been around here before, you will know that I LOVE my current miter saw (you can tell just by the shear number of posts that mention it!). I use the Dewalt Sliding Compound Miter Saw and can’t recommend it enough. So, most of my references and pictures in this post will be about that saw. It’s the one I use for any project that calls for a miter saw.
Before you start using your miter saw, the best source of safety and usage tips is your instruction manual. There are inherent risks from using a tool like this, so read your safety manual in its entirety.
What is a Miter Saw?
A miter saw is a stationary saw used to make crosscuts, miter cuts, and bevel cuts in wood. It is a versatile tool and a staple in many home shops. It is also called a chop saw or drop saw.
Terms and Parts of a Miter Saw
First, let’s learn about common terms that I will mention in this post. Familiarizing yourself with these will help you to further learn all you need to know about using your miter saw.
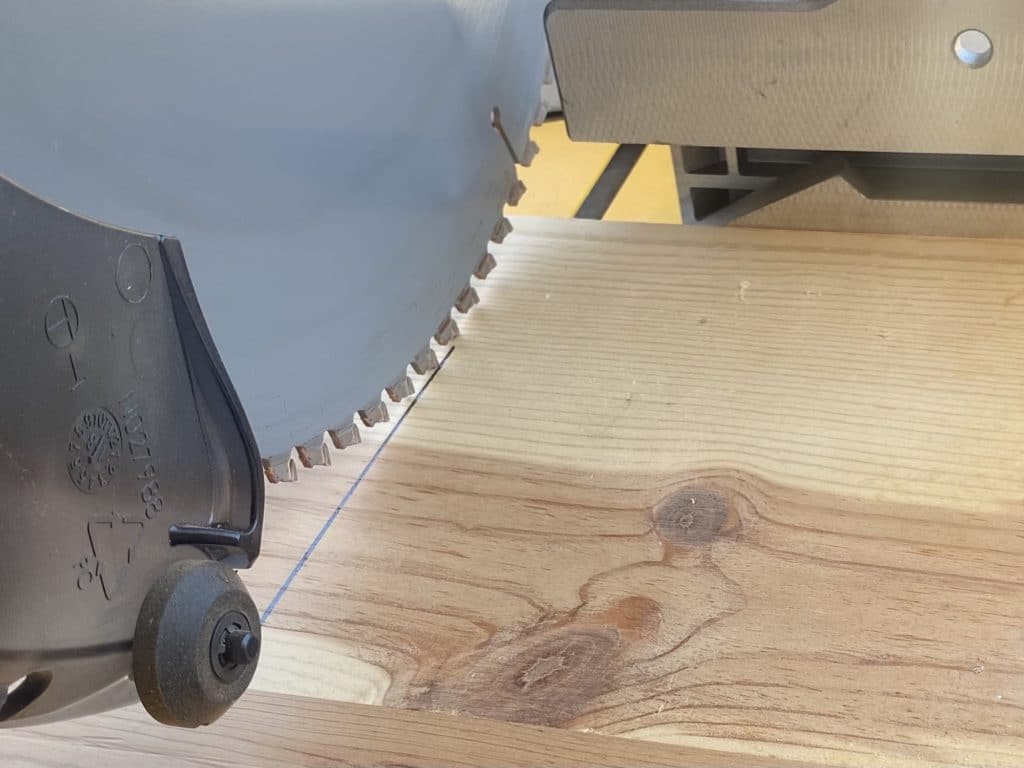
- Kerf: the width of the blade. This is especially important to note and take into account when you are making precise cuts (more on that later)
- Fence: the part of the miter saw that your wood will sit flush against while you make your cut
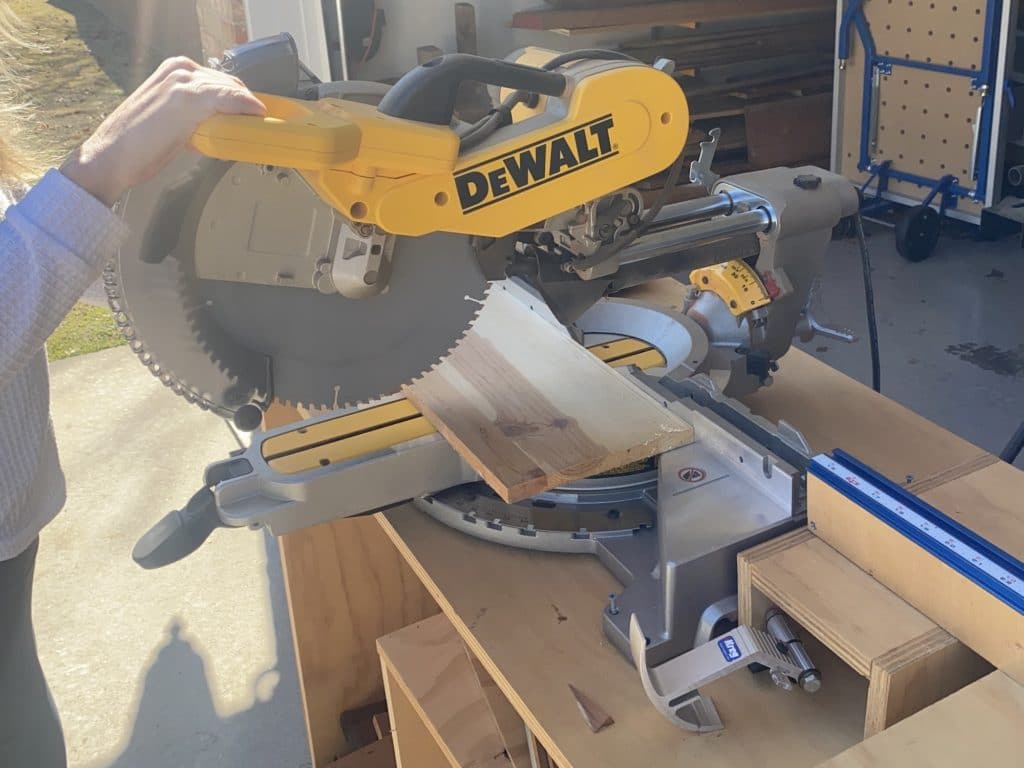
- Blade Guard: the plastic covering over the blade. As you lower the blade, the guard will automatically slide up and allow you to make the cut, while still protecting the user
- Miter Gauge – numbers on the saw that allow you to set the desired miter angle
- Bevel Gauge – numbers on the saw that allow you to set the desired bevel angle
- Handle and Trigger: the part of the miter saw that engages the blade and lowers the blade into the work piece
Types of Miter Saws
By definition, every miter saw can make, well, miter cuts! So, miter saw blades swivel to the left and right on a turntable in order to make the desired angle cut. The blade sizes usually range from 7 1/4″ to 13″. Of course, the larger the blade, the wider the board you can cut.
In order to make bevel cuts, only the blade is rotated in an arc shape from left and to the right, but not the turntable like a miter. If the blade can swivel to one side, it is called a single bevel miter saw. If it can swivel to both sides, it is called a double bevel miter saw.
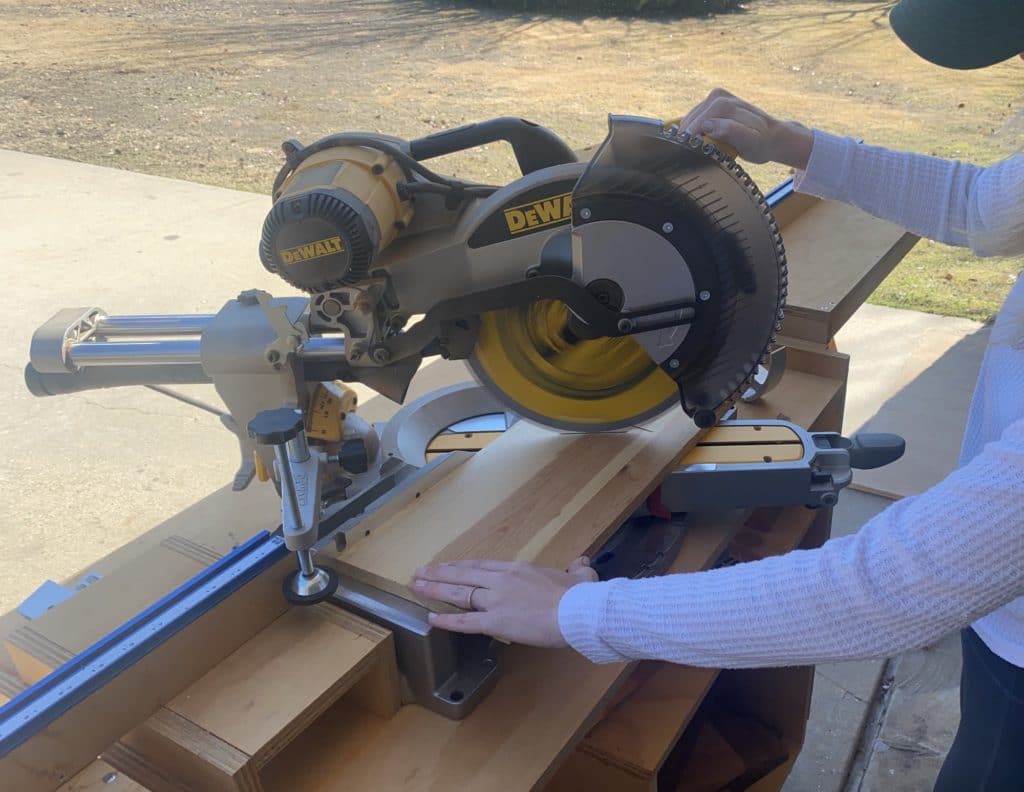
A sliding miter saw allows the blade to slide out, towards the user, then back to the original position, in order to cut a much wider board. Depending on the saw, this sliding component could allow the user to cut a board double the width of those saws that don’t slide out. When making sliding cuts, start with the blade fully extended, then cut toward the fence (back) of the saw.
If a saw is able to do a miter cut and bevel cut in the same cut, it is called a compound miter saw. So, the DWS779 that I have is a Sliding Compound Miter Saw.
Cuts that have both a miter and a bevel in the same cut is common in installing crown molding. If you are installing crown moulding, I highly recommend buying a jig. Those cuts can be deceptively confusing and that jig is very helpful!
Types of Cuts on a Mitre Saw
Crosscut: a cut made at a 90 degree angle to the fence, usually perpendicular to the grain
Miter cut: an angled cut, made the width of the board
Bevel Cut: a cut that results in an angled edge. The top face of the piece is not perpendicular to the other edges
Tip: this type of cut is especially helpful when making something like a waterfall edge corner joint!
Compound Miter Cut: a cut that has both a miter and a bevel in the same cut. Common in crown moulding
Safety When Using a Miter Saw
I can’t stress the importance of using safety equipment enough when using your miter saw. Like I mentioned earlier, read your instruction manual about how to safely use your miter saw. At the very least, always protect your eyes, ears, and lungs.
In addition to these items, you will want to make your any loose clothing or long hair is tucked away.
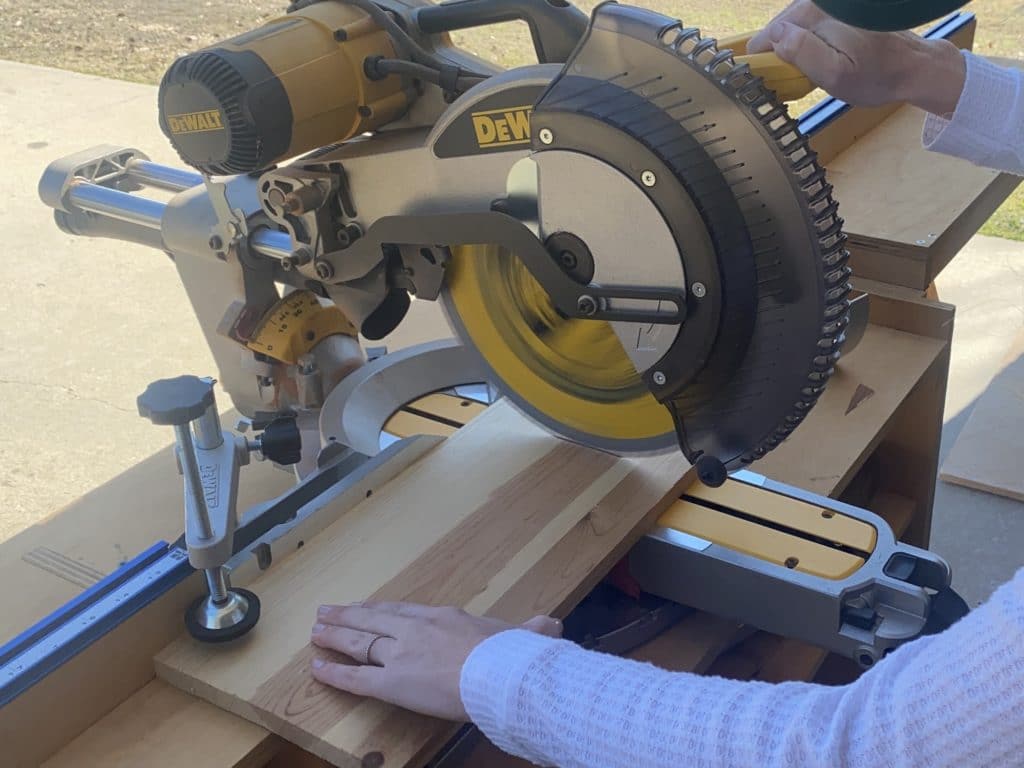
Support the wood you are cutting so that the piece won’t fall away after you cut it. One of the most beneficial things you can do is to slow down and think through the cut before you make it. Notice anything that might be in the way.
One last note about safety: the 6 inches on either side of the miter saw blade is called the danger zone. Always keep your hands out of the danger zone. If you have to make a cut that requires you to hold the stock within this space, hold the wood with a push stick.
Basic Steps for How to Use a Miter Saw
Alright, now let’s get into the fun stuff! Keep reading to learn how to use a sliding compound miter saw.
Step 1: Mark your cut
Measure and mark your wood piece with a line to the desired length.
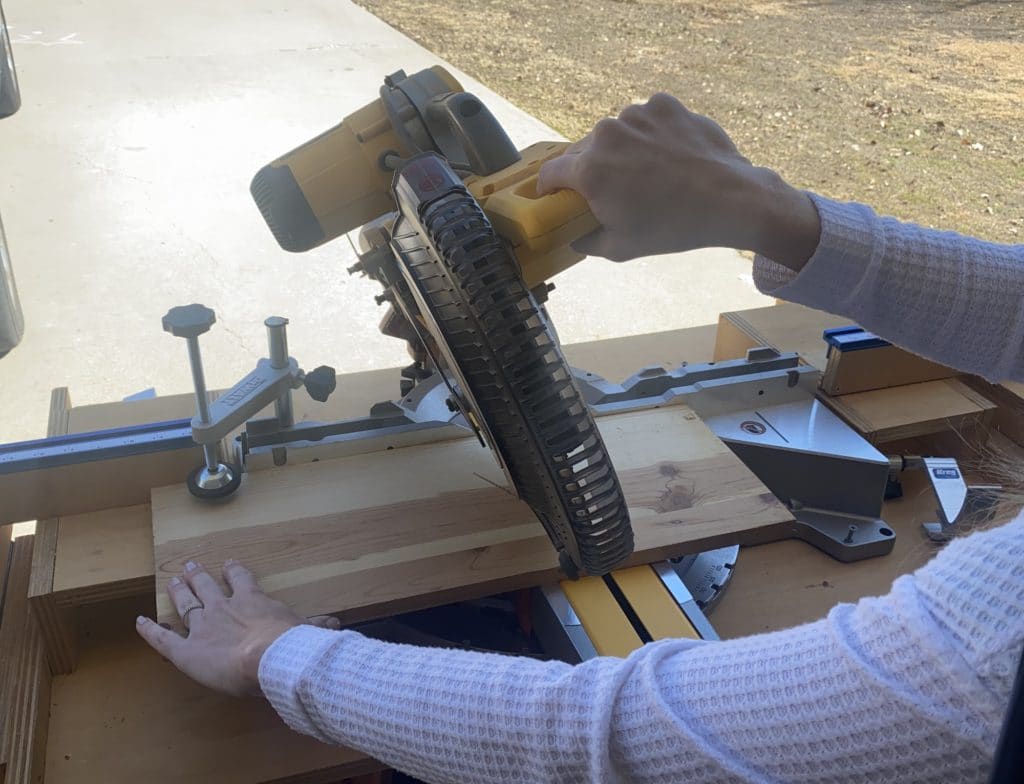
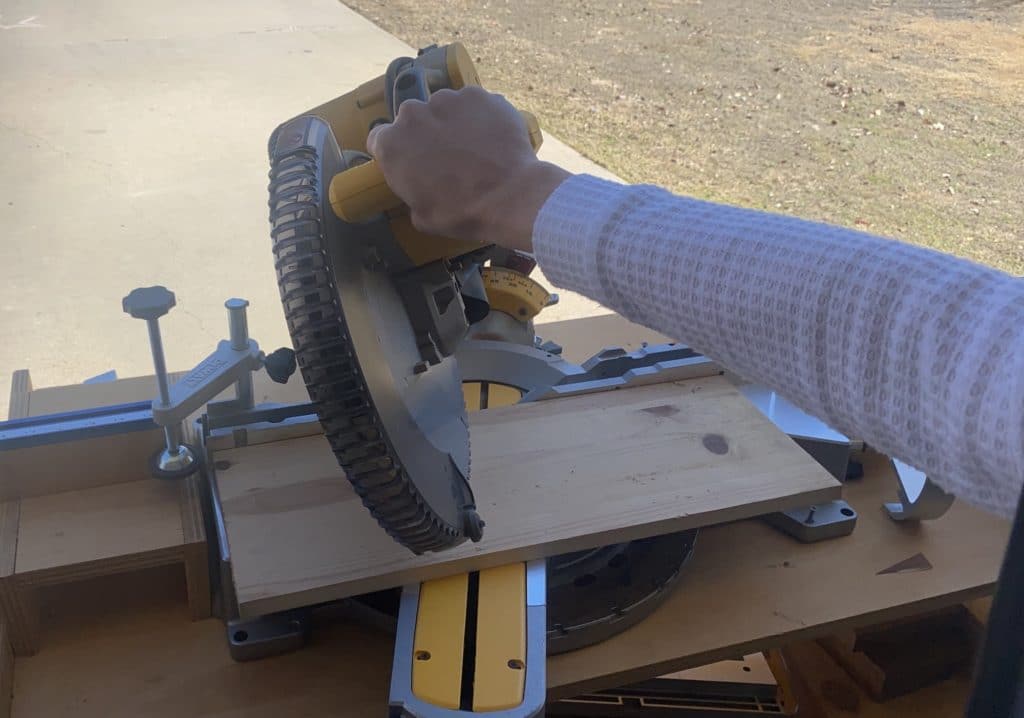
Step 2: Place your board on the miter saw
Set your wood piece flush against the fence of the saw. If you’re making a miter cut, rotate the miter gauge to the desired degree. If you’re making a bevel cut, rotate the blade to the desired bevel. Tighten the gauges.
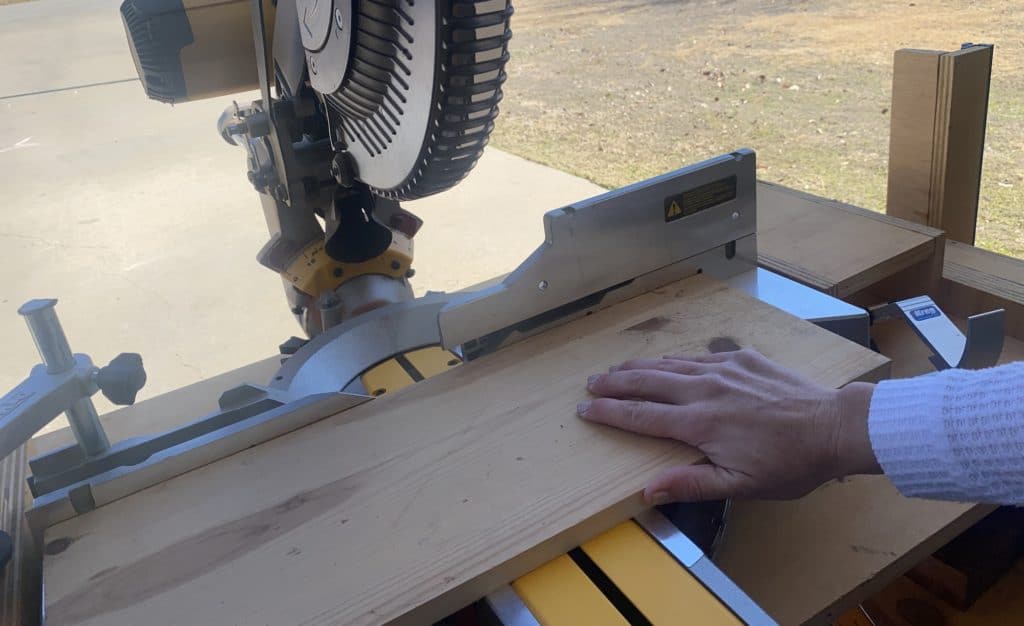
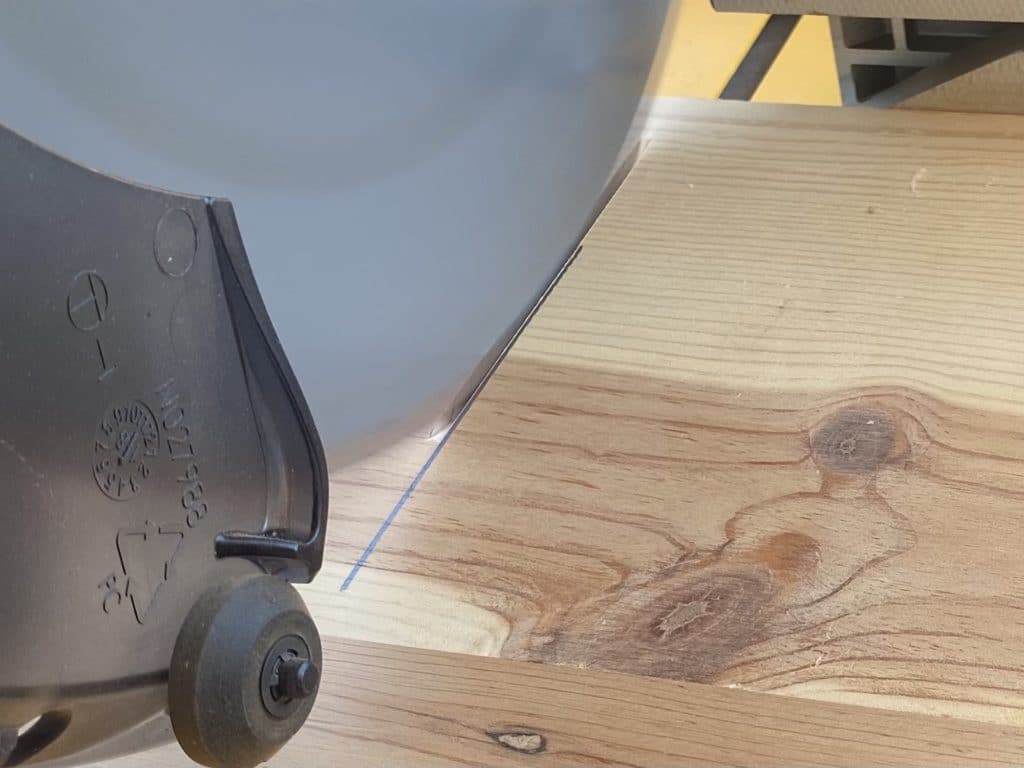
Without engaging the blade, lower the handle to make sure the blade will cut next to the marked line, barely touching it. Take the blade kerf into account (more on that below).
Step 3: Make your cut
Engage the blade by pushing the button on the handle. Wait for the blade to reach full speed, then slowly lower into your piece. Make sure your hands are at least 6″ away from the blade.
Once you have completely cut through the wood, release the trigger and allow the blade to completely stop. Raise the handle.
This is a common type of cut for a couple steps in how to make an end grain cutting board.
Extras for your Miter Saw
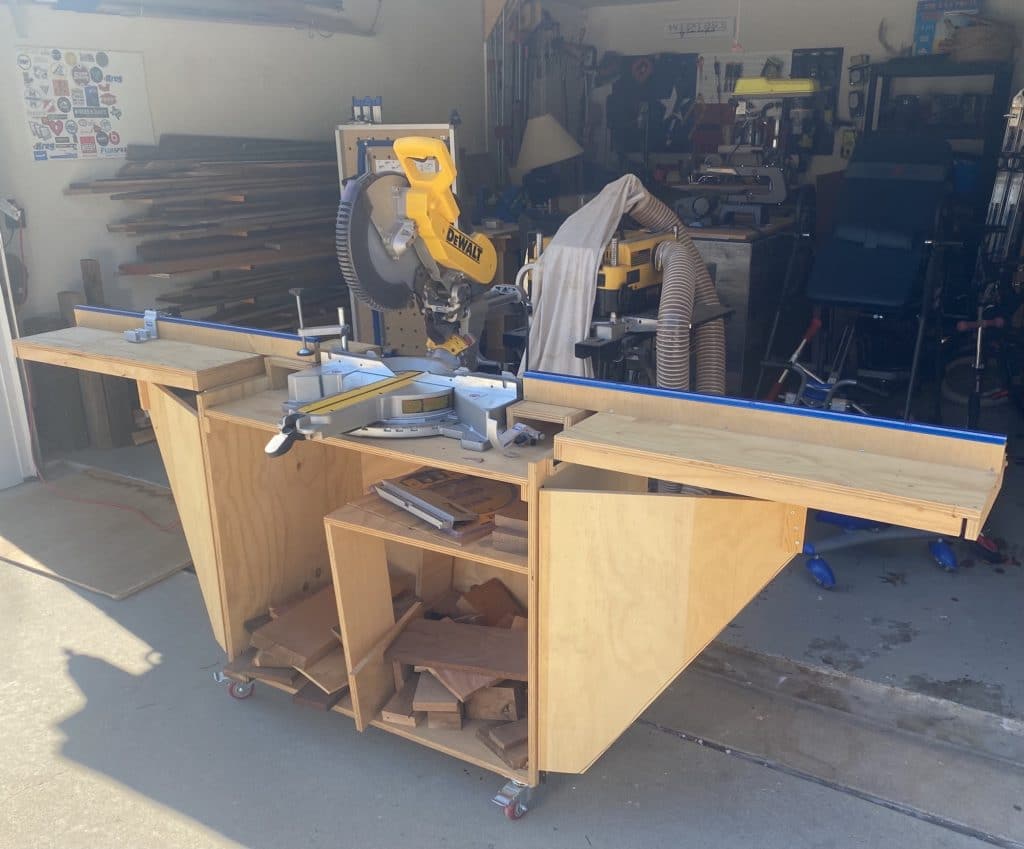
After I upgraded my miter saw to the Dewalt DSW779 12 inch Sliding Compound Miter Saw, the next upgrade I did was to build a miter saw work station for it. The miter saw stand provides a way to support long boards being cut, easily make repeatable cuts, and create a mobile miter saw work station. It is so helpful to cut down on sawdust in the garage when I can roll my miter saw outside. You can read more about DIY miter saw workbenches here.
For those that don’t want a mobile option for your miter saw, you can implement dust collection for the miter saw right in your shop. Most miter saws come with a small bag that attaches to the saw that is supposed to catch dust, however, they rarely work well. Instead you can attach a shop vacuum to the back of it, and this will be much for useful in collection sawdust from the miter saw. You can also add this miter saw dust collection hood to further catch sawdust.
Additional Tips and FAQ’s for Using Your Miter Saw
Blade Kerf
Taking the blade kerf into account is very important when you are making precise cuts on your miter saw. The blade kerf is the width of the blade, usually 1/16″ to 1/8″ wide. So, when are making cuts and mark your measurements, be sure to designate which side of the line you would like to cut. This is the only way to make sure your cuts are absolutely precise. If you make your cut with the blade in the middle of the line, part of the blade will cut into your work piece, making it smaller than what you originally marked.
How to avoid tear out when woodworking
Tear out is sometimes unavoidable when you make cuts on your miter saw. Tear out is when parts of the wood splinters and “tears”. However, there are a few things you can do to reduce tear out.
The first method is to score the line you will be cutting. Use an exacto knife to score the top layer of the wood. Another method is to apply painter’s tape along the line you are going to cut. This provides added support for the wood piece. Another way to provide support is to put a sacrificial piece of wood under the wood you are cutting, or apply a zero clearance insert on your miter saw. Lastly, make sure your blade is sharp, as dull blades cause tear out as well.
Q: Does the finish side go up or down on a miter saw?
A: To avoid tear out, use the steps above. Also, position your piece with the finish side up when using a miter saw.
Q: How do I square up a miter saw?
A: Most miter saws will come squared up right out of the box. However, you should always check to make sure it’s still square. Additionally, after using your saw, it could become off-square, so it’s smart to check it periodically.
First, unplug the saw. Position the blade into the locked down position. Using a square, make sure it is at a 90 degree angle to the turntable. Be sure to avoid the little teeth on the blade so that the speed square can sit flush on the blade when checking for square.
Q: How do I cut all and/or extreme angles on a miter saw?
A: Miter saws limit the angles you can cut. I ran into this problem when I made this Light Up Wooden Star. I created an in depth tutorial for how to cut any angle on a miter saw here.
Q: Are miter saws worth it?
A: What a great question to end with. The short answer: YES! Miter saws provide the means to create countless unique and quality pieces for your home. They are absolutely worth it. A great project to get started on for your first build would be this DIY large square rustic coffee table.
Check out the web story for the basics of using a miter saw here!
Happy building!

Suzie Wible
Suzie has shared her knowledge for over 10 years about building furniture, painting techniques, how to build your dream home, and basic to advanced woodworking skills. Through this blog, readers will feel empowered to create a home and products they love too.
19 Comments
Comments are closed.