Ikea Rast Hack: DIY Farmhouse End Table Makeover (Part 1)
In this tutorial, I will take a simple Ikea Rast chest of drawers and show you how to completely transform them to look like a custom piece of furniture for your bedroom.
A couple weeks ago I decided to tackle the problem of our bedside tables in our bedroom. They didn’t match the rest of the room, they weren’t functional, they didn’t have drawers…just no good all around. So I set out to find some functional and affordable bedside tables for our bedroom. Oh, and they had to look great on top of all that. Sure, I found some that I loved. Then I saw the price tag…didn’t love them that much.
So, I set out to tackle an Ikea Hack: the Rast!
For another side table project, check out this post on how to build a side table!
True to Ikea form, it was very easy to assemble, maybe 20 minutes a piece.
These poor guys. They’re just begging to be spiffied up a little.
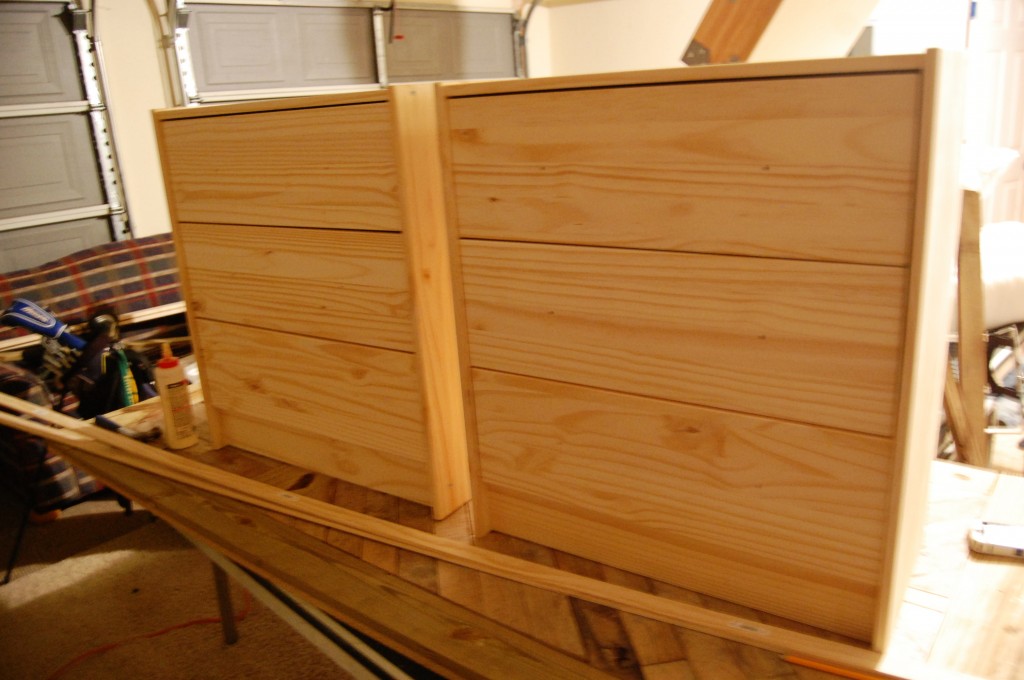
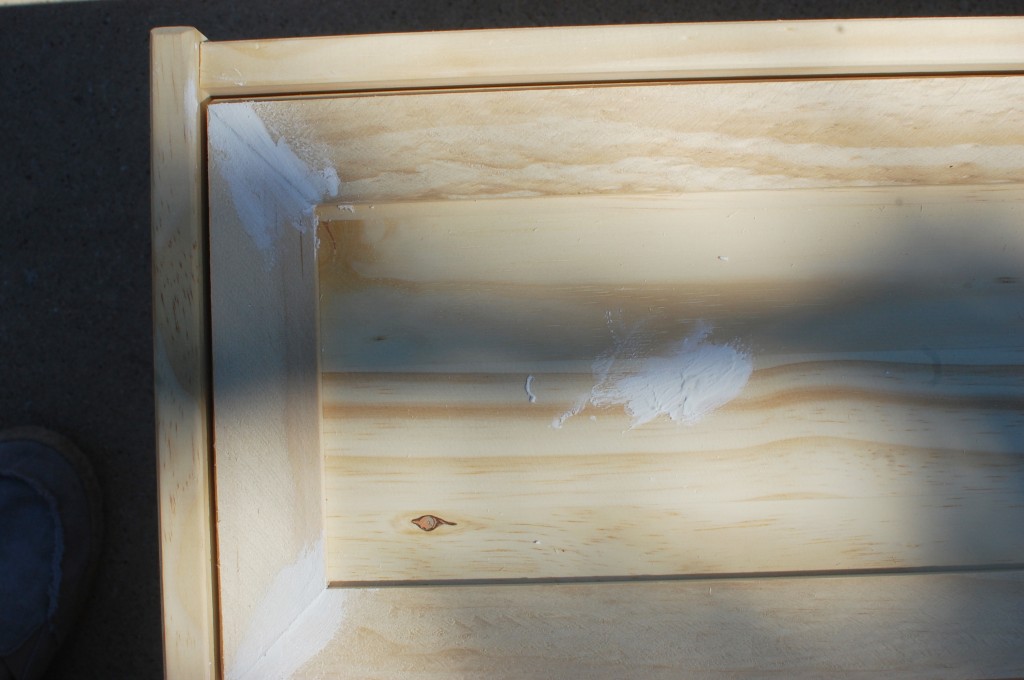
I started out by buying about 20 feet of lattice per piece and framed the drawers using my miter saw. Then I took paintable spackle and filled in the holes.
I trimmed these pieces with our miter saw. TIP: for tips on how to use a miter saw for beginners, check out this post!
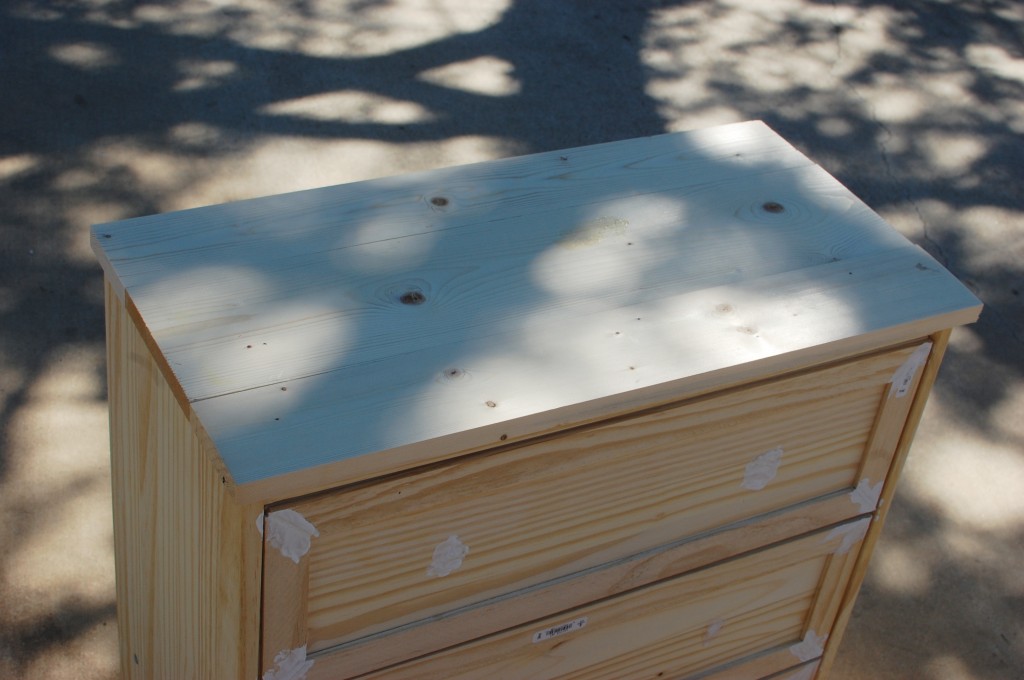
I made a top by cutting 2 1×4’s and 1 1×6 the same length. I nailed it down and used wood glue for a little extra security. The miter saw was great for getting an even cut on the boards.
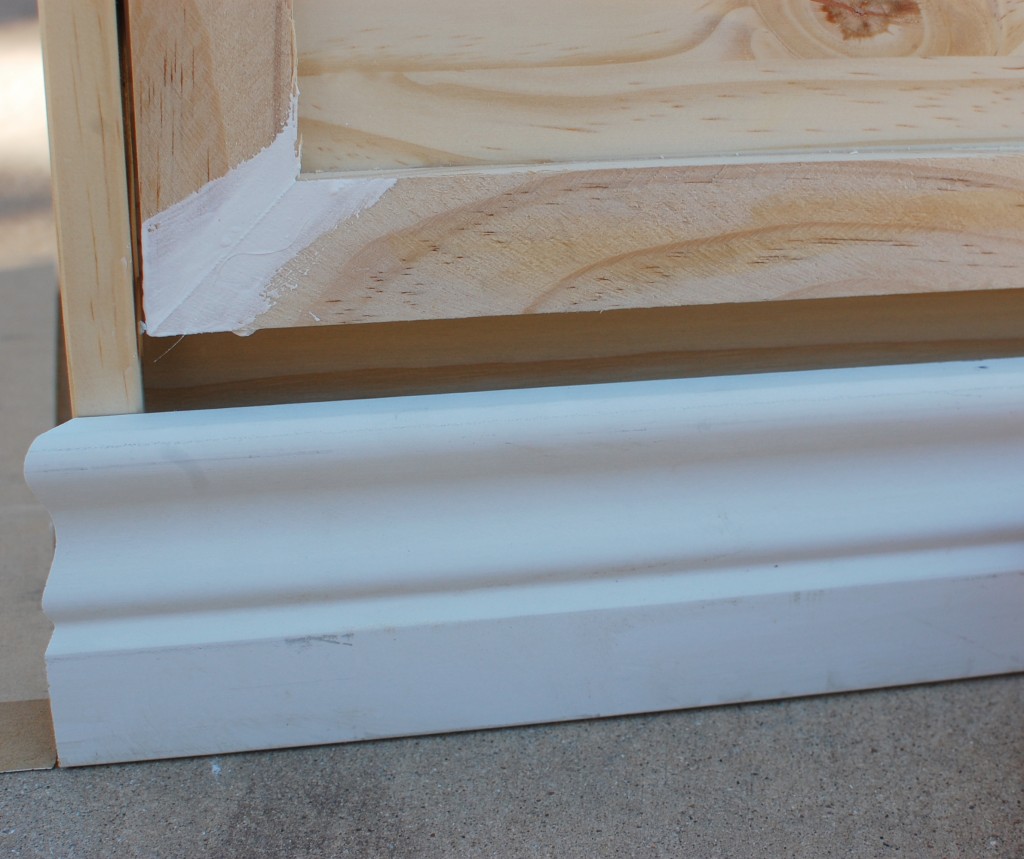
I bought some moulding to go around the bottom, but I ran in to a slight problem. It wasn’t tall enought to cover that gap…
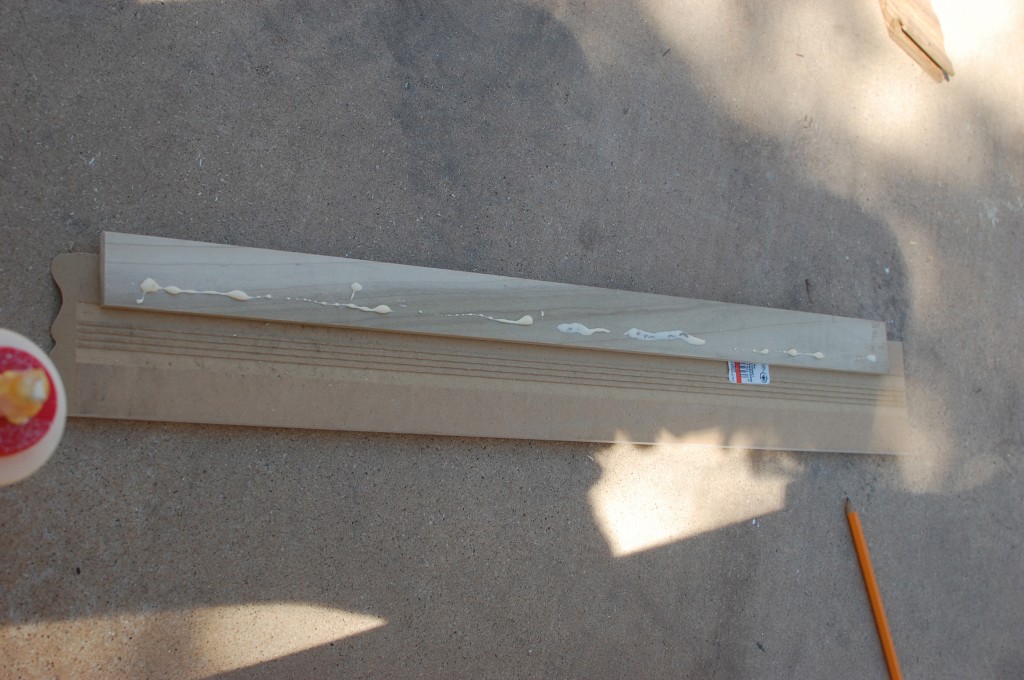
So I took some more lattice and attached it to the back of the moulding, leaving enough space on the sides to fit inside the frame:
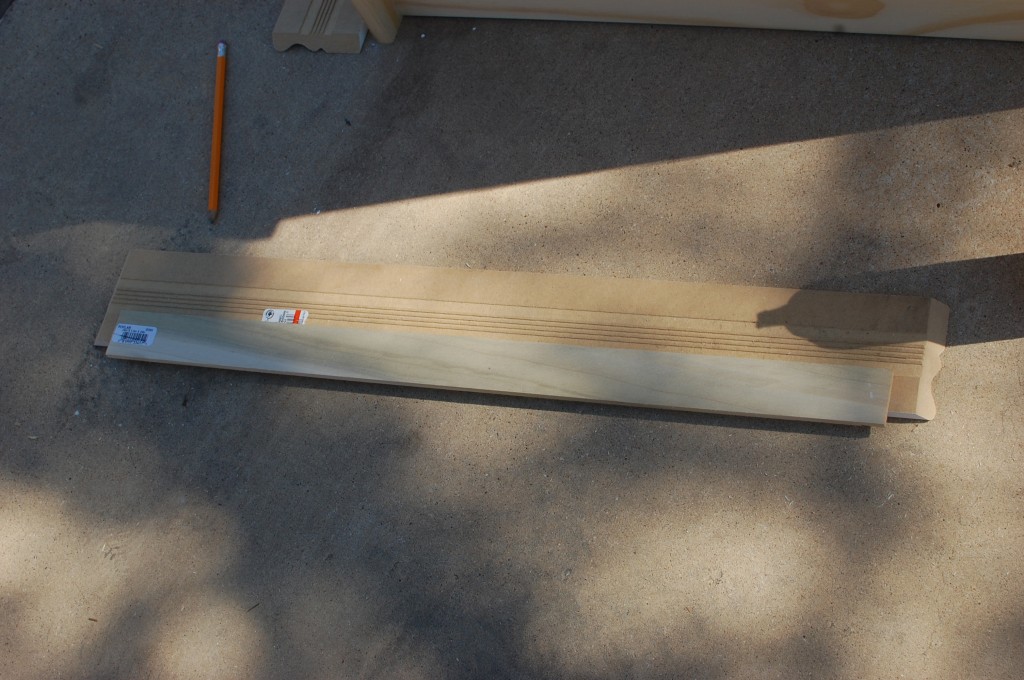
And all glued down…
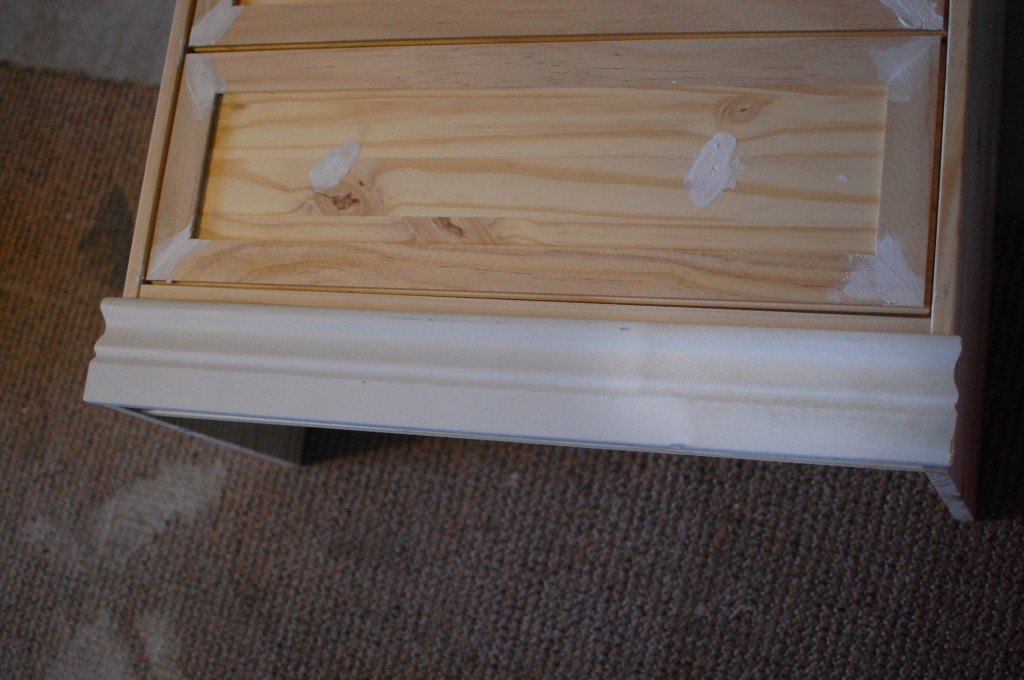
No more ugly gap!
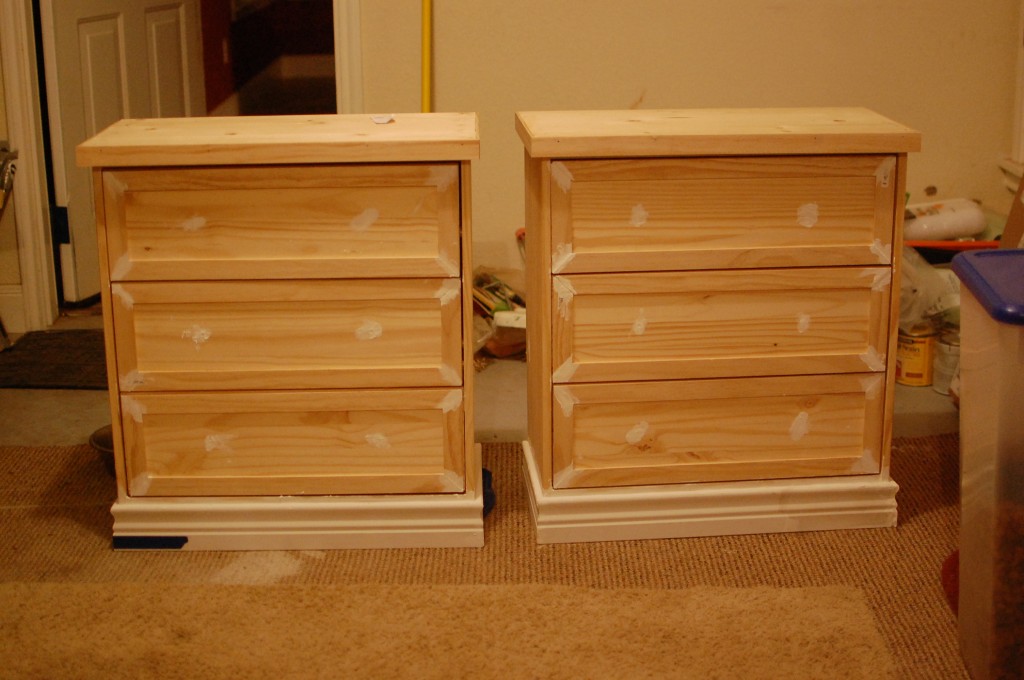
Here they are all ready to be sanded, primed, painted, stained, hardwared (huh?) and put to use!
Check out Ikea Rast Hack: DIY Farmhouse End Table Makeover (Part 2) here!

Suzie Wible
Suzie has shared her knowledge for over 10 years about building furniture, painting techniques, how to build your dream home, and basic to advanced woodworking skills. Through this blog, readers will feel empowered to create a home and products they love too.
It already looks better. Can’t wait to see it all purdied up!
I can’t wait to see them finished. You certainly are doing it right from the start. The finish should be definitly worth it! Have a fabulous weekend! ~Kimberlee, The Spunky Diva
What a great idea! Can’t wait to see the end result!
Your material is amazingly intriguing
nba 2k16 mte packs http://www.eclypsia.com/fr/forum/topic/777
Your van could be a fundamental part of your company, yet
locating insurance to keep it correctly safeguarded can take a great deal of
effort and time.