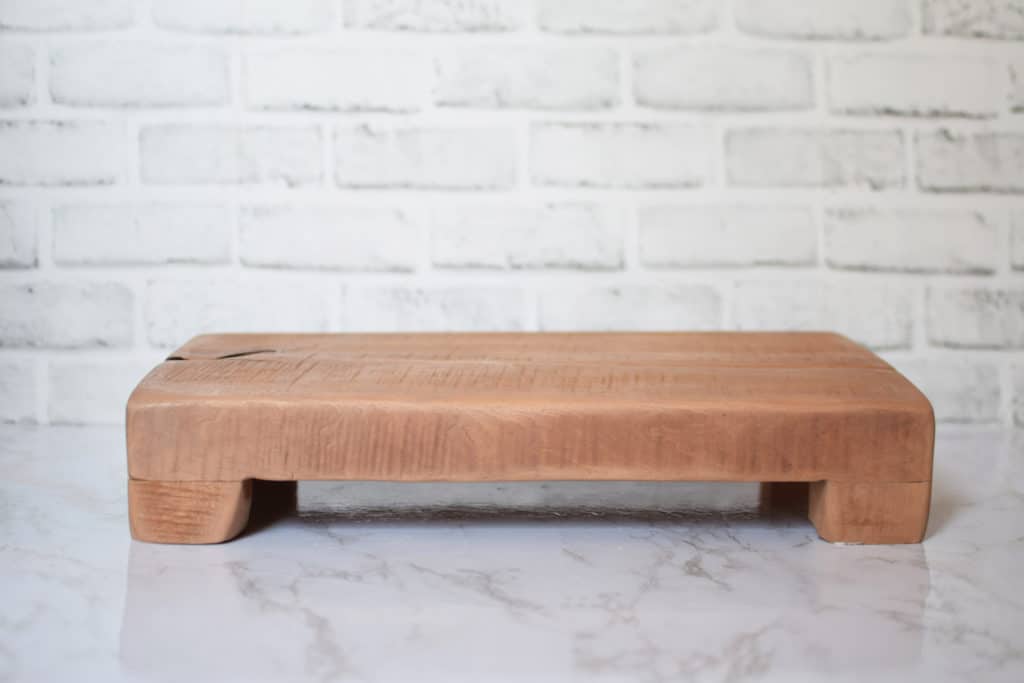
How to Make a Vintage-Looking Wooden Riser: 4 Steps
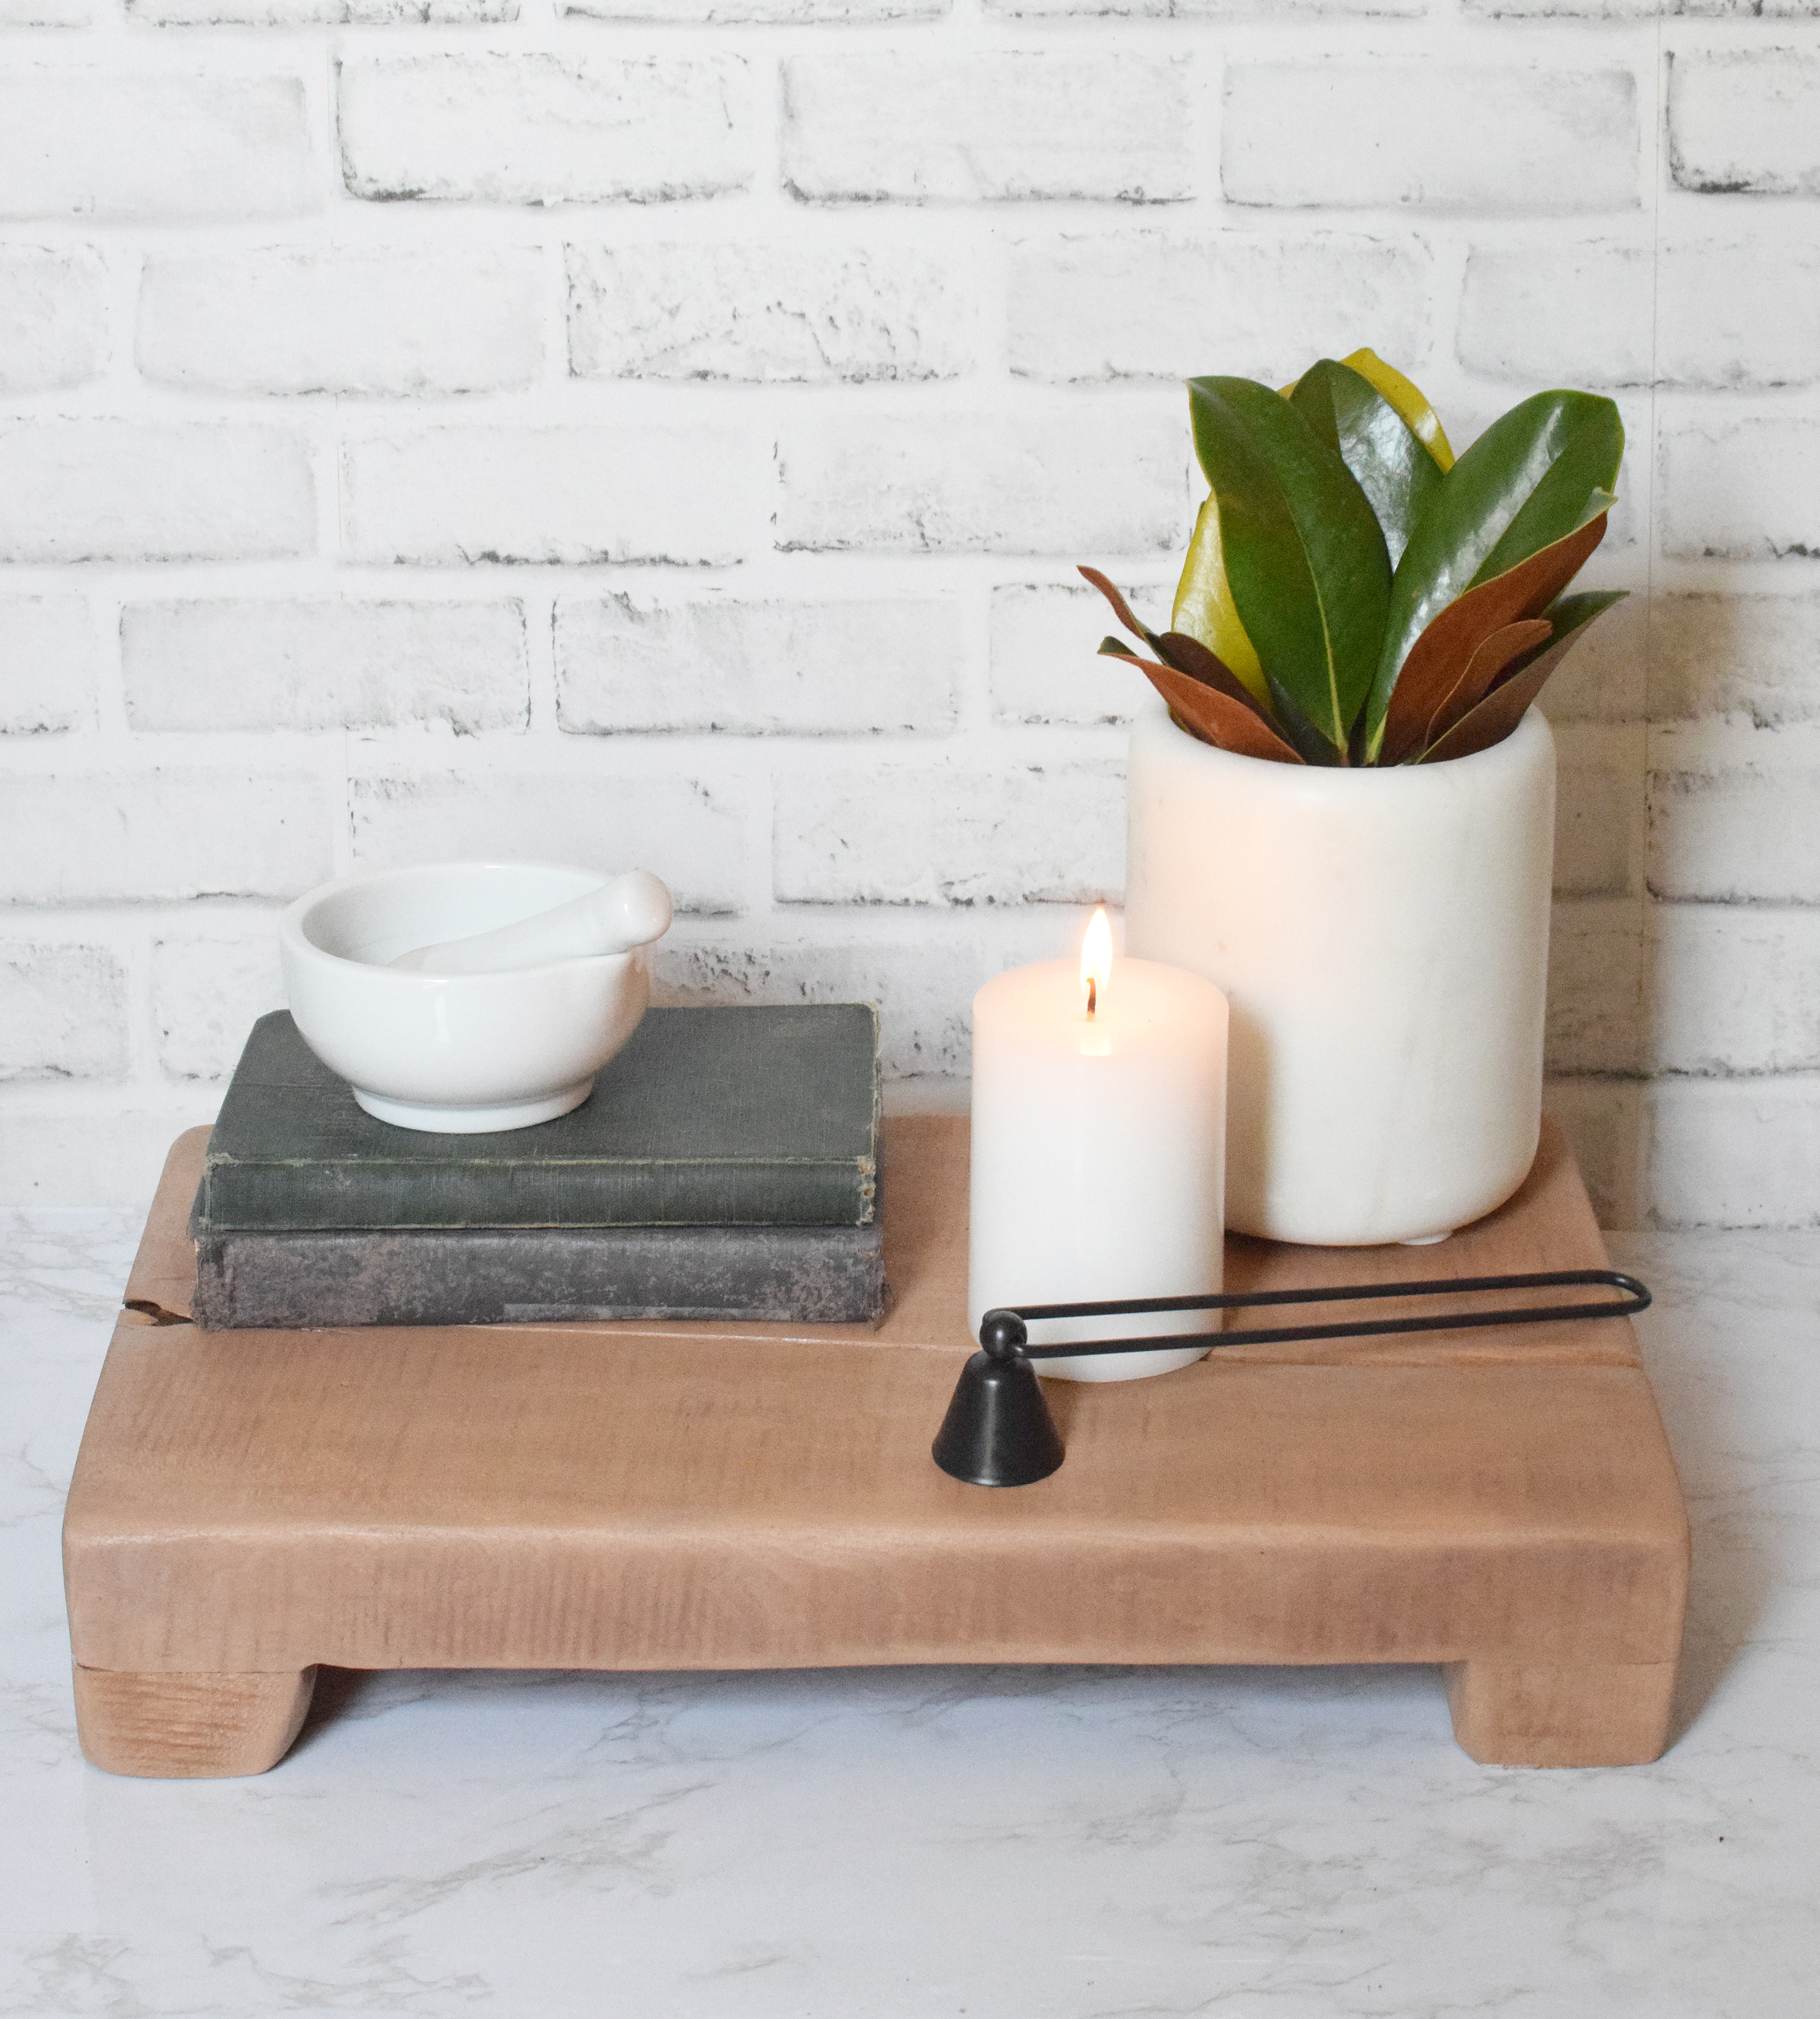
I have recently been eyeing beautiful vintage wood riser display stands. They are such a fun way to decorate a kitchen or living room by filling them with fresh fruit, hand soap, or candles. It seemed simple enough to make my own vintage riser stand, so I set out to recreate the look! This is a pretty quick and easy project that can be completed in an afternoon and you will be left with a fun little piece with tons of character!
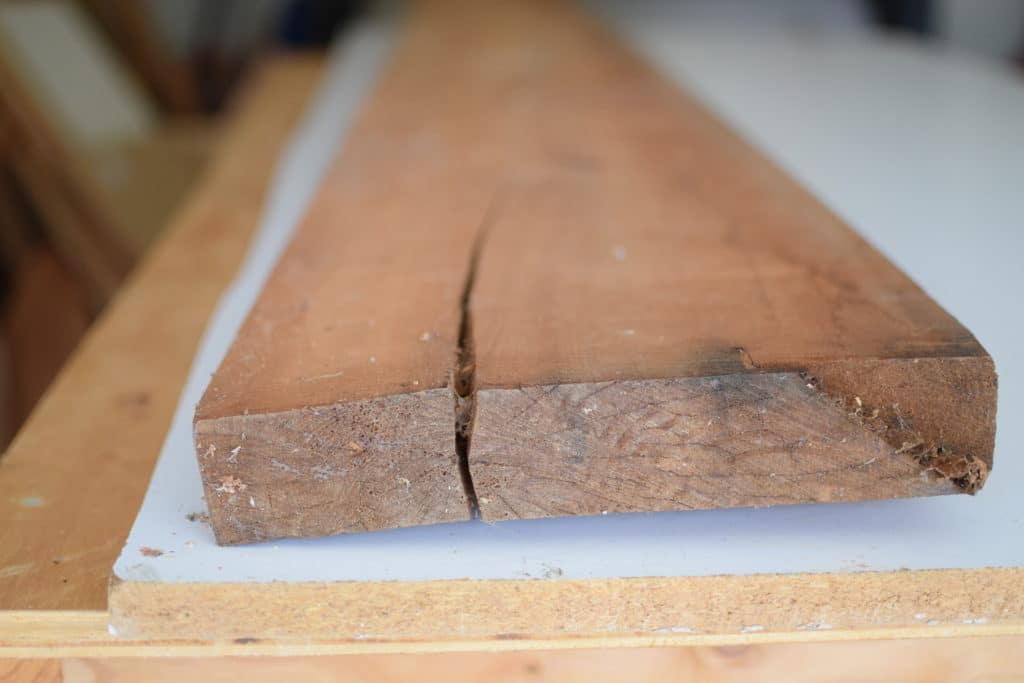
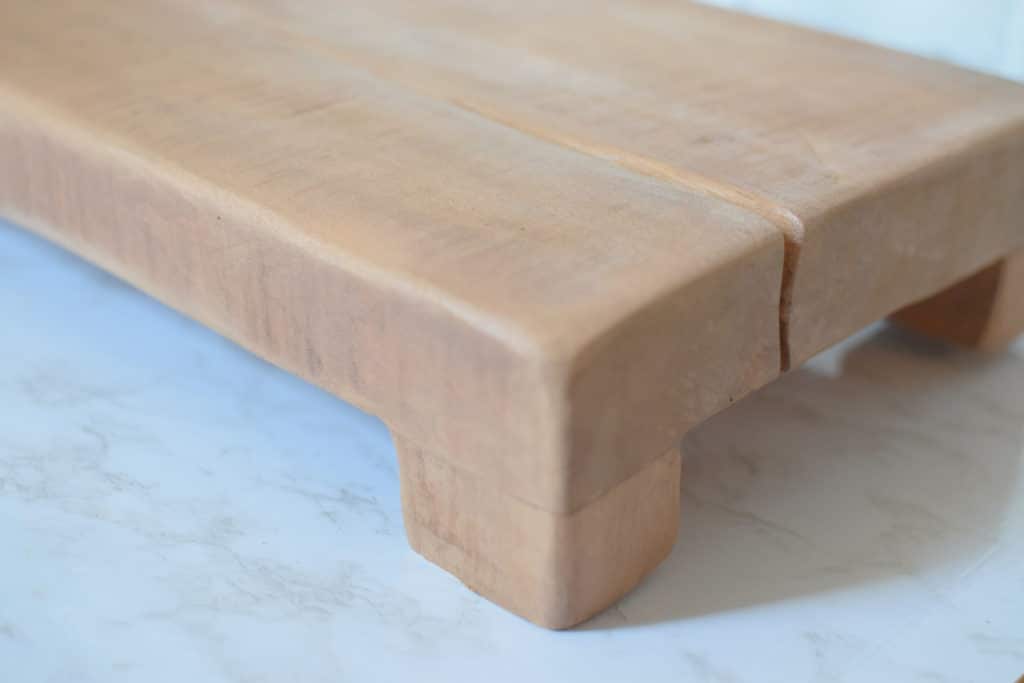
Something else that I love about this project is that it will save those old, cracked boards from the trash. You want to start with boards like that, just to create the antique look!
Step 1: Gather your Materials
Disclaimer: This site contains product affiliate links. We may receive a commission if you make a purchase after clicking on one of these links.
– slab of wood (dimensions are up to you – the more imperfections, the better!)
–miter saw (for tips on how to use a miter saw for beginners, check out this post!)
–orbital sander (a mouse sander or and other handheld one will work fine)
–wood glue
–clamps
-stain of your choice (I used this one and Rustoleum Flagstone)
Helpful Items to create character on the wood:
–these wire end drill brushes
–wire brush
-hammer, chisels, screw driver, etc to rough up the slab
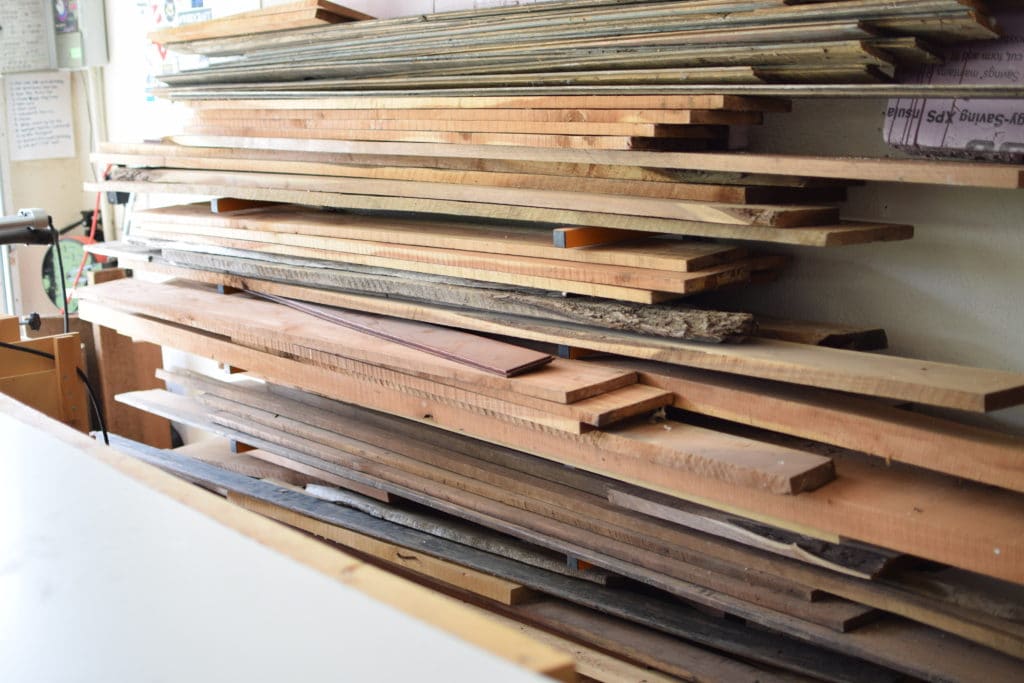
I started out by checking out my lumber stash. I was specifically looking for worn, aged pieces with cracks or imperfections since I was going for something with character. By the way, this lumber rack has been awesome for some garage organization.
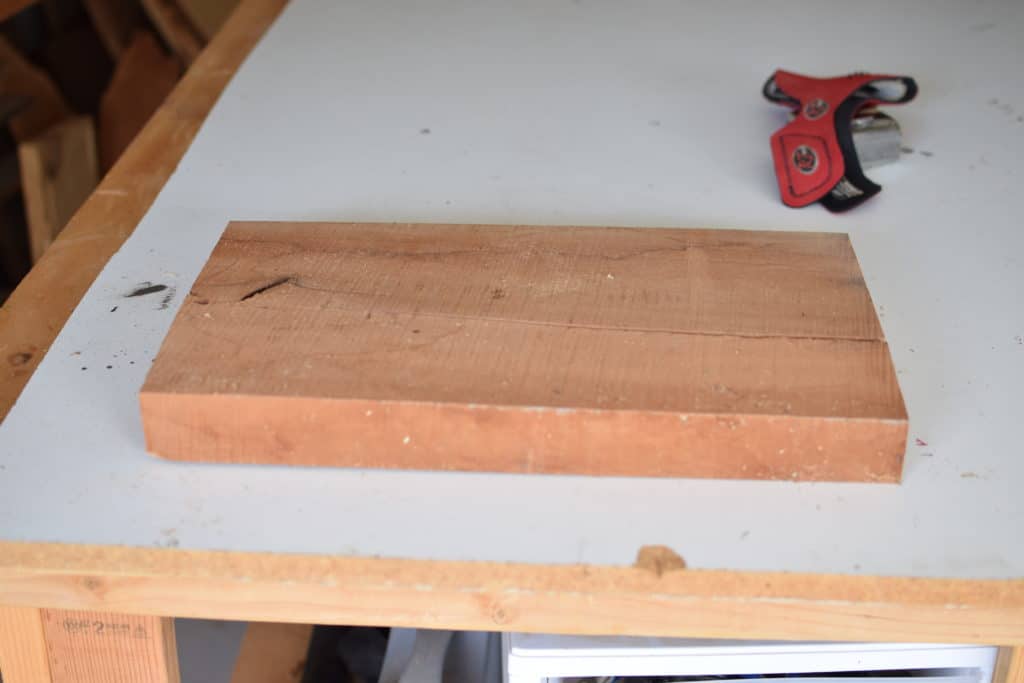
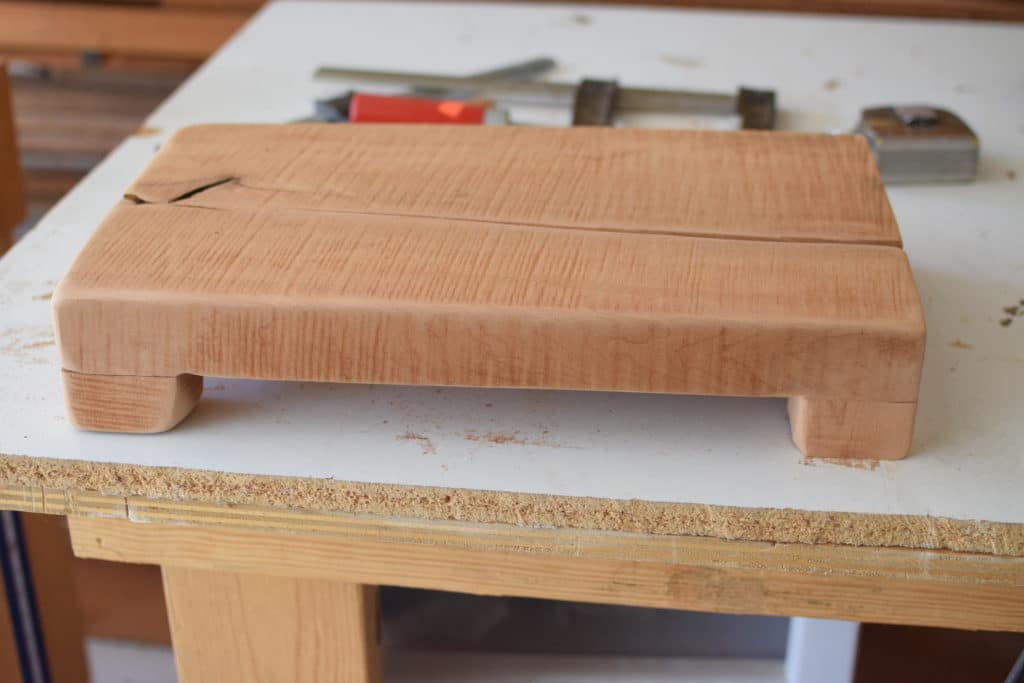
I landed on this piece of cherry wood. I wanted this stand to be thicker, and I thought the imperfections would create the perfect character for the display stand.
I decided on just under 20″ for the width…
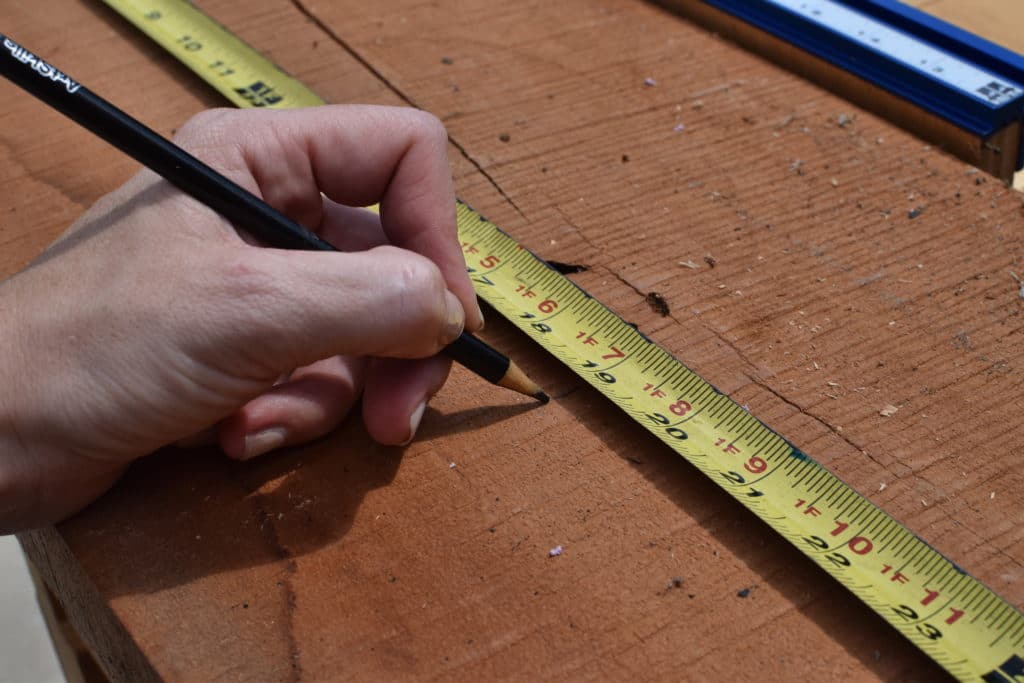
…and trimmed the rough edge off of the other side using my miter saw.

I will be putting this in my kitchen to hold all of my coffee things, so I made sure these dimensions worked for my space. Then, I moved on to make the feet!
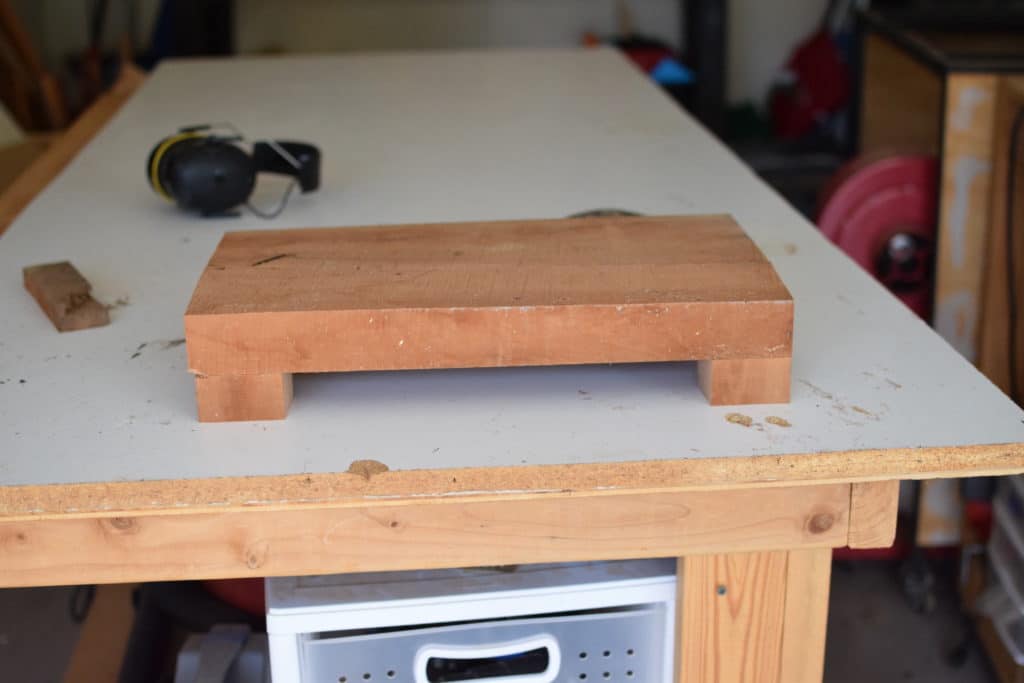
Step 2: Make the Feet of the Riser
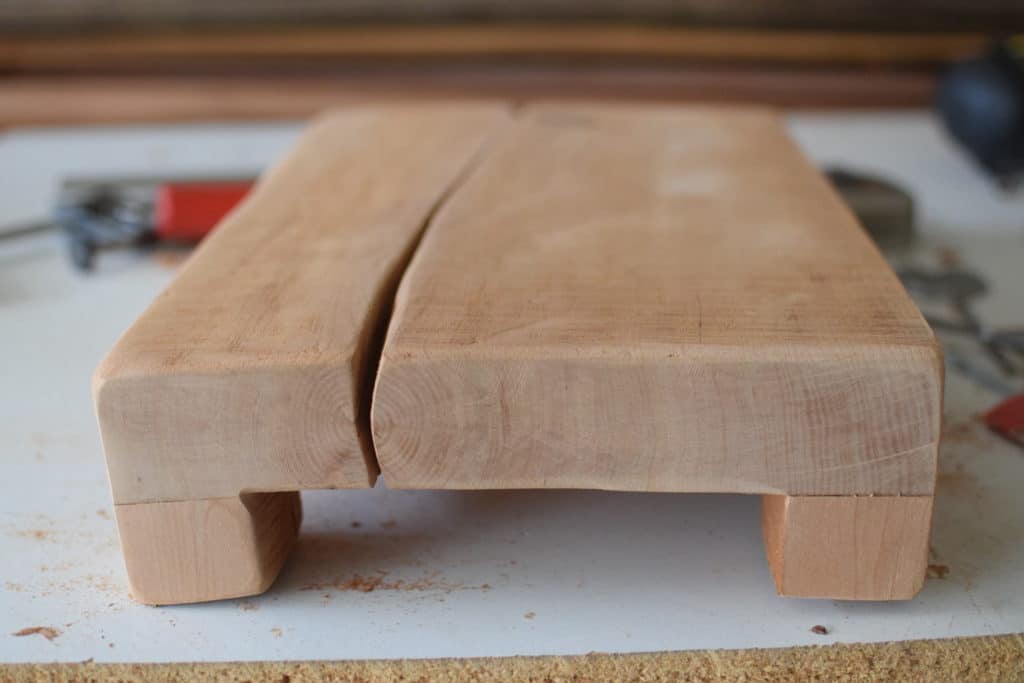
Using the remainder of my stock, I trimmed a piece about 1.5″ thick for the feet.
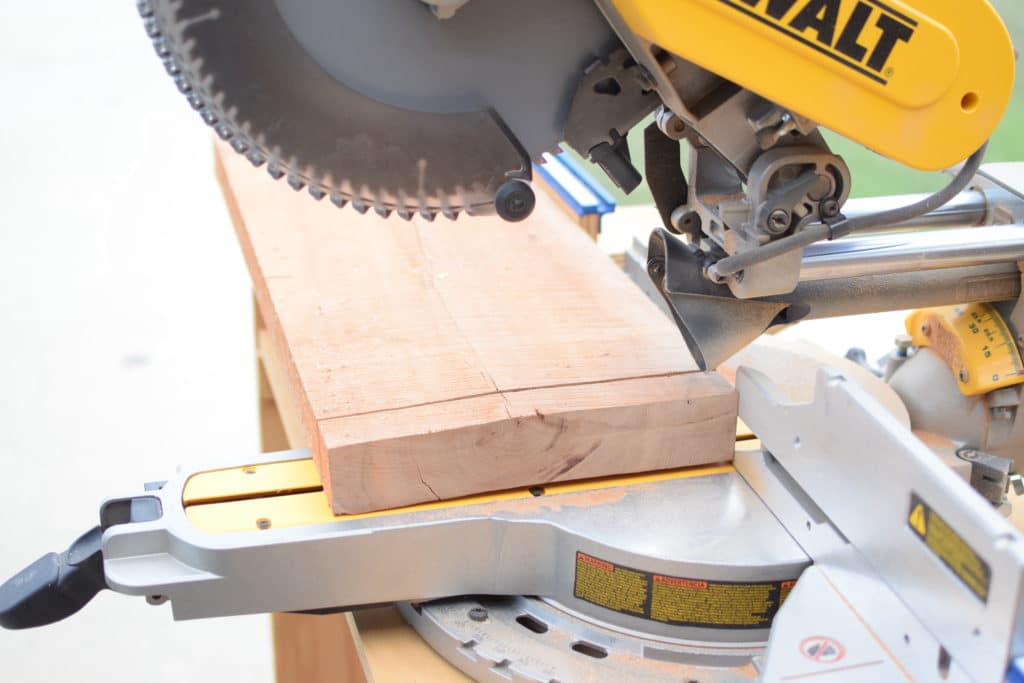
I then trimmed that piece into 4 equal pieces.

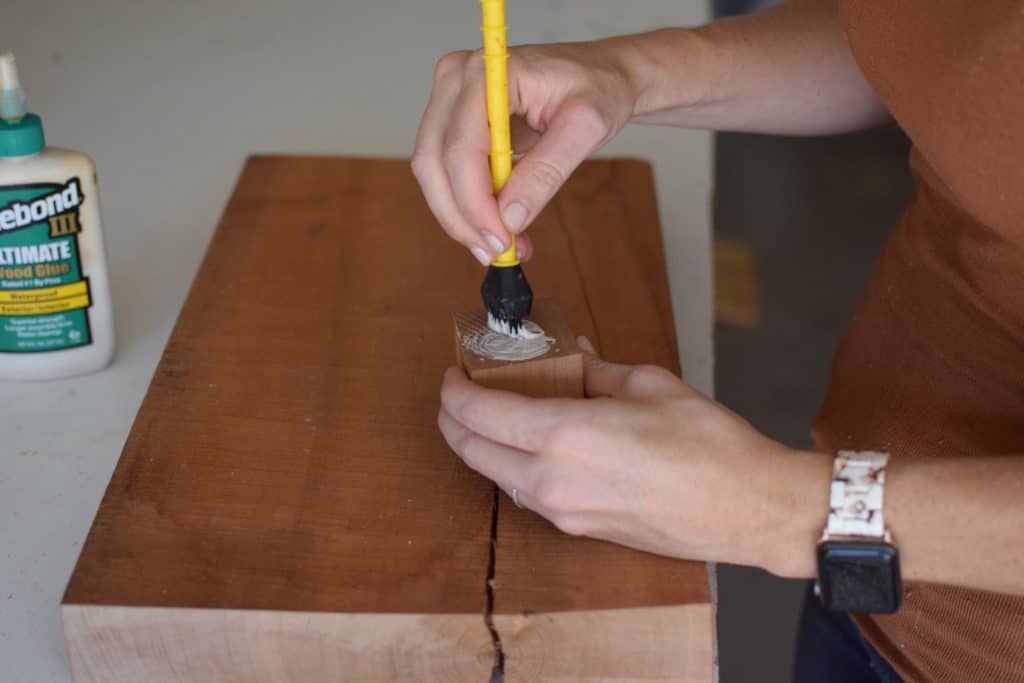
Using wood glue and my glue brush, I attached the feet to the riser board.
And clamped it all down and allowed it to dry for a couple hours.
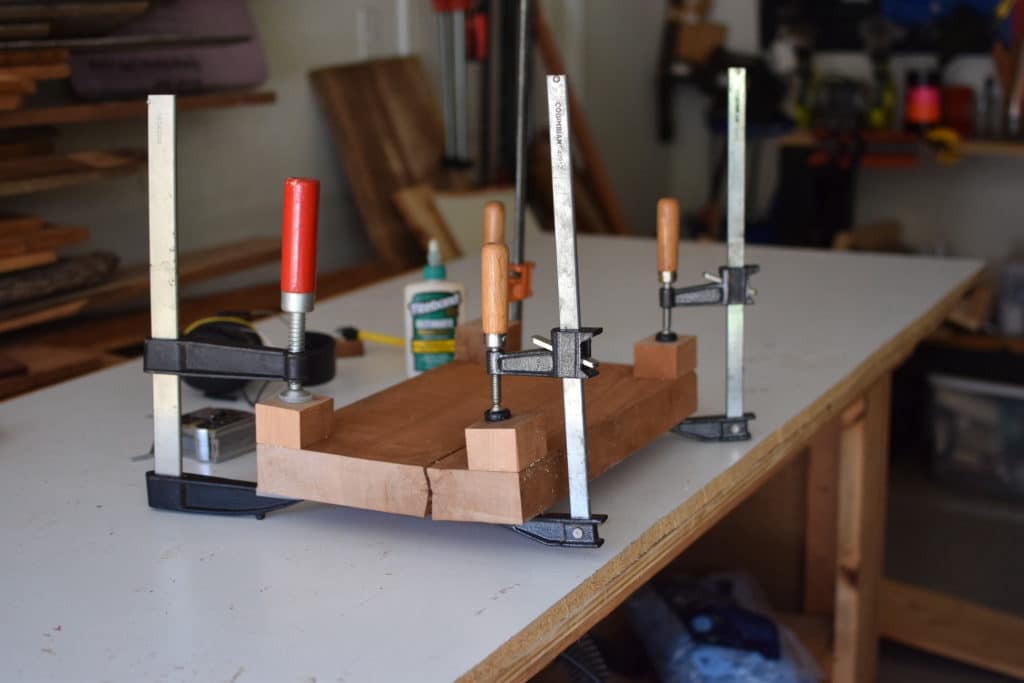
Since we are going for a worn and aged look, don’t worry about it being perfect – we want character!
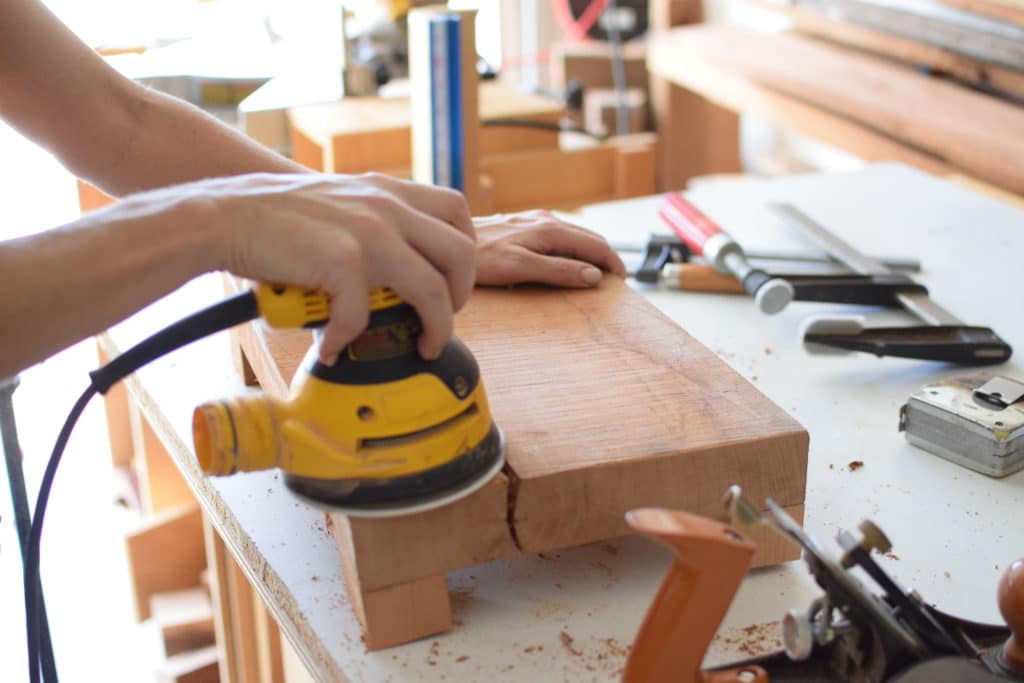
Step 3: Age the Wood
I started with my sander with 80 grit paper to remove any sharp edges or splinters. I smoothed out the edges, which helped make it look a little more worn. I was also careful to not remove too much of the surface – I really like the look of the saw marks and I wanted to keep those.
I know not all pieces will have those marks, so they could be recreated by running the board parallel with the blade on a bandsaw to rough it up a bit, or even a jigsaw if you’re making a smaller piece.
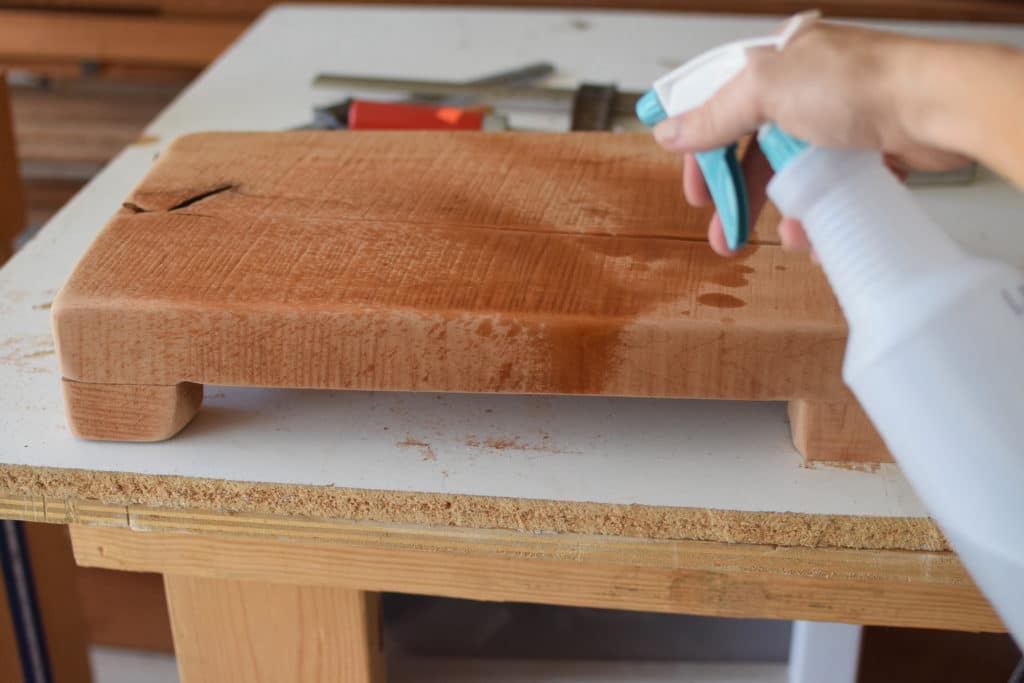
After sanding it, I sprayed it with water to soften it a bit in order to make it easier to run over it with a wire brush and wire end drill brushes. This will make the grain in the wood stand out and be more pronounced, giving it the aged look.
One of the tools that was really helpful in making the piece look used, antiqued, and worn was a hand planer. But you could use a hammer, chisel, wire brush, screwdriver, etc to do the same thing.
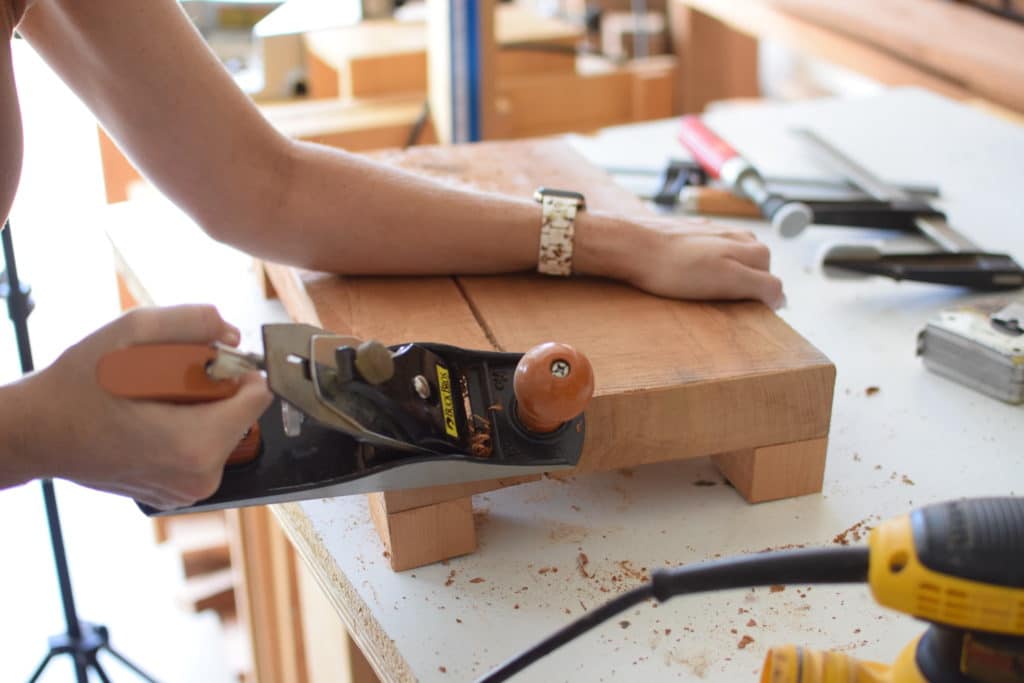
I’m liking this look so far!
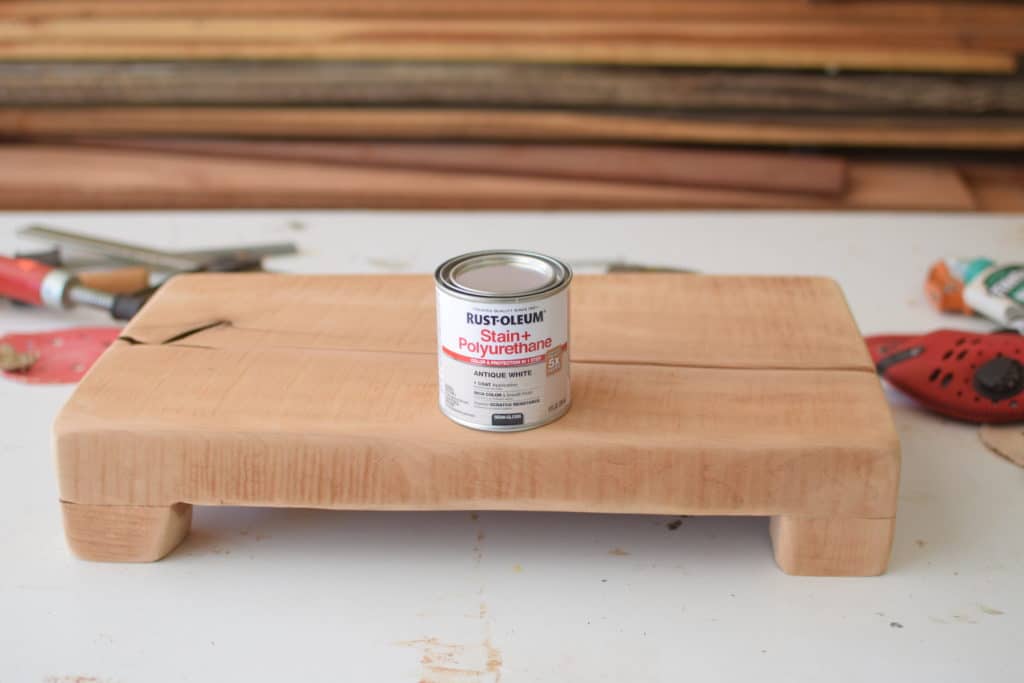
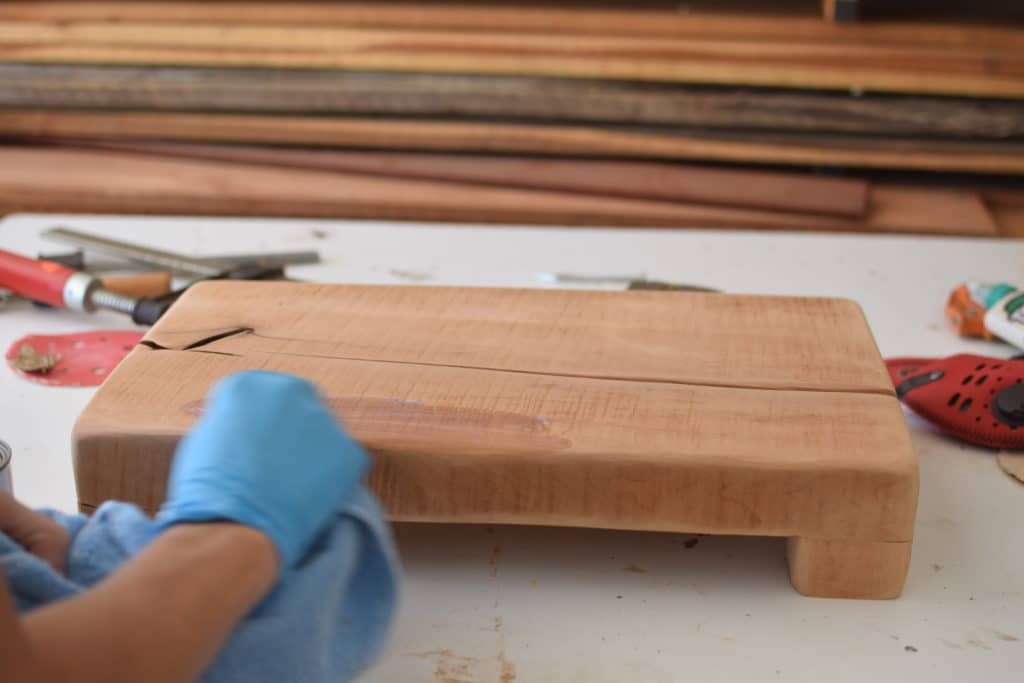
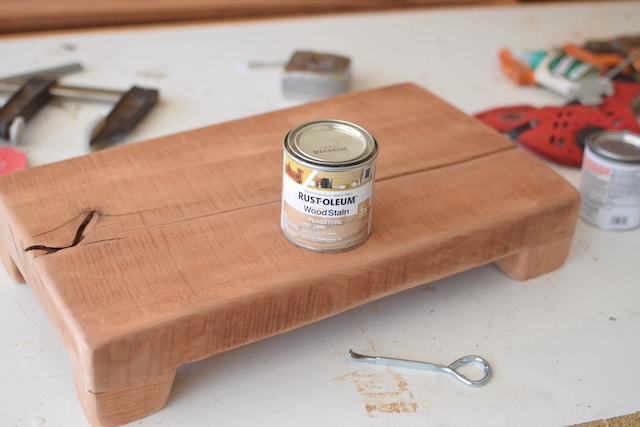
Step 4: Stain the Wood
I tested out some stain on a scrap piece (I ALWAYS recommend this – I have ruined many a piece with a stain I don’t end up liking) and I decided on layering two different stains.
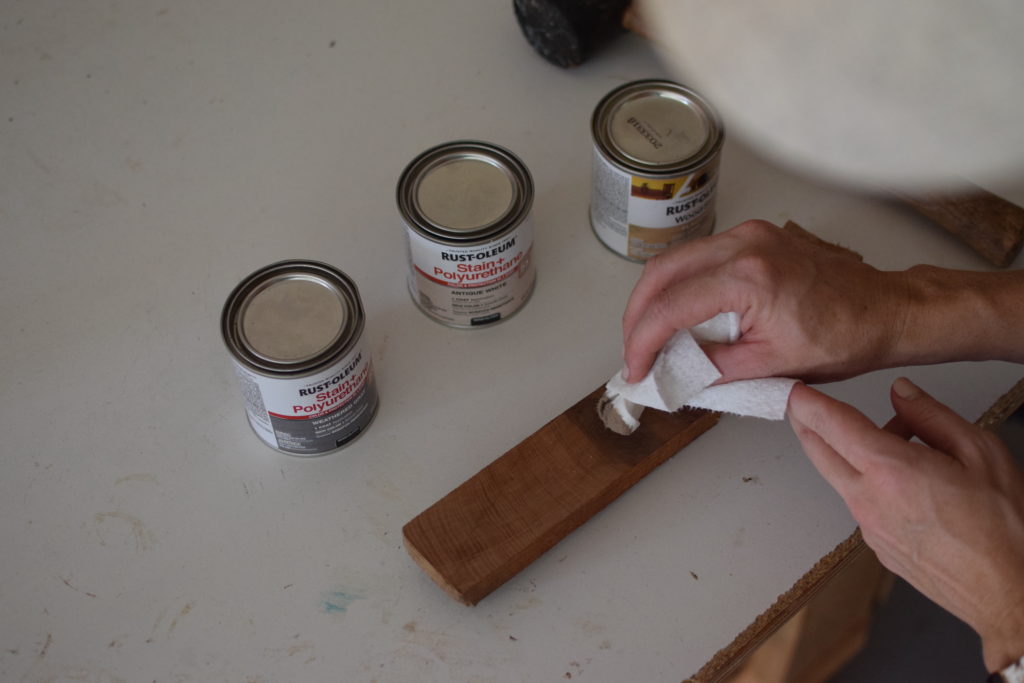
I used this stain on the first layer.
And the second layer was Rustoleum Flagstone Stain.
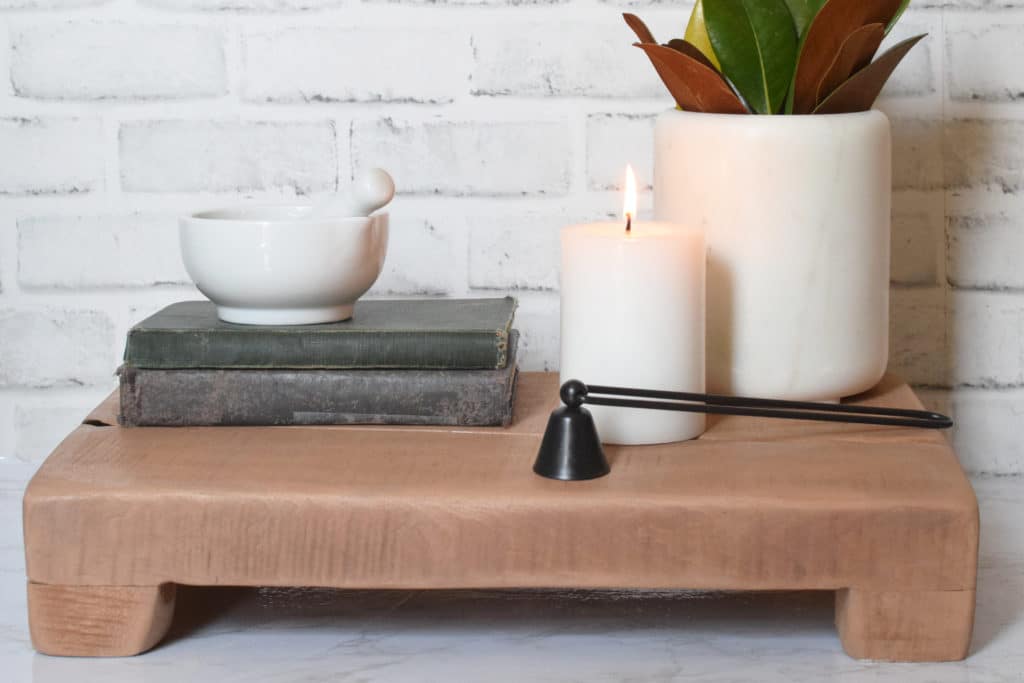
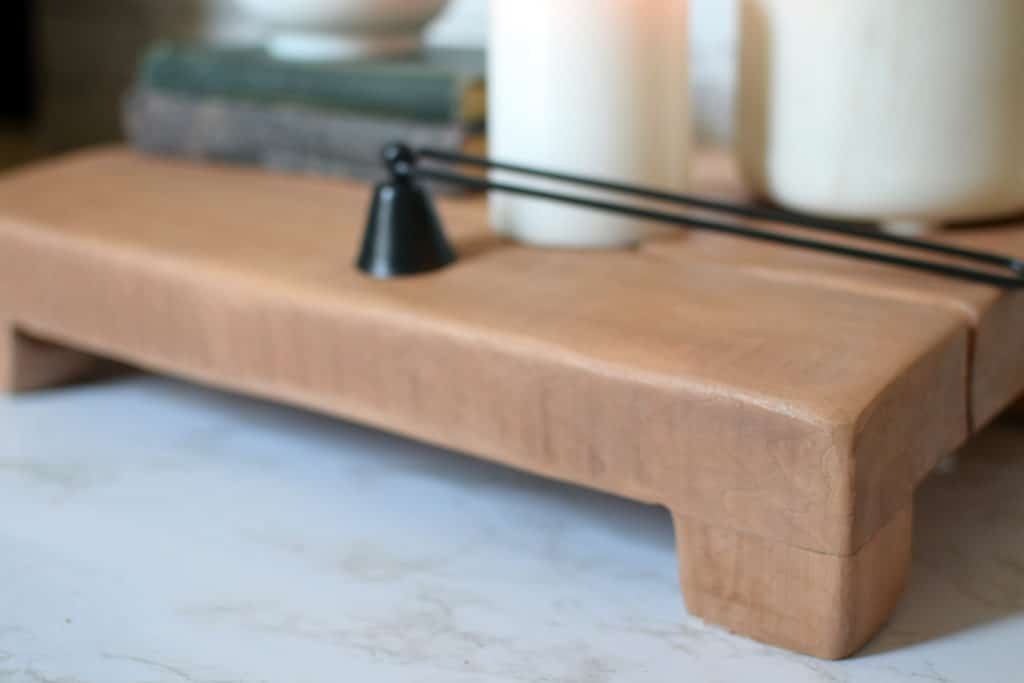
So, what do you think? I love the look of these old display stands and this quick little project was a fun way to recreate the look.
If you like the look, but don’t want to DIY it, I have rounded up a few of these vintage risers that I linked at the beginning of the post that I think you might love as well:
You can find the web story for this DIY vintage-looking wooden riser here!
For a similar article, check out the following:
- Best Wood to Use for a Cutting Board
- Best Finish for a Wooden Cutting Board
- Best Tips and Tricks for Making Your Own Cutting Board
- End Grain Cutting Board with Juice Groove
- How to Make a Cutting Board Handle and Juice Groove
- How to Make a Juice Groove on a Cutting Board: No Jig Required
- How to Make a Wooden Bowtie Inlay
- DIY Rustic American Wood Flag Wall Art

Suzie Wible
Suzie has shared her knowledge for over 10 years about building furniture, painting techniques, how to build your dream home, and basic to advanced woodworking skills. Through this blog, readers will feel empowered to create a home and products they love too.