DIY Rustic Wood American Flag Wall Art
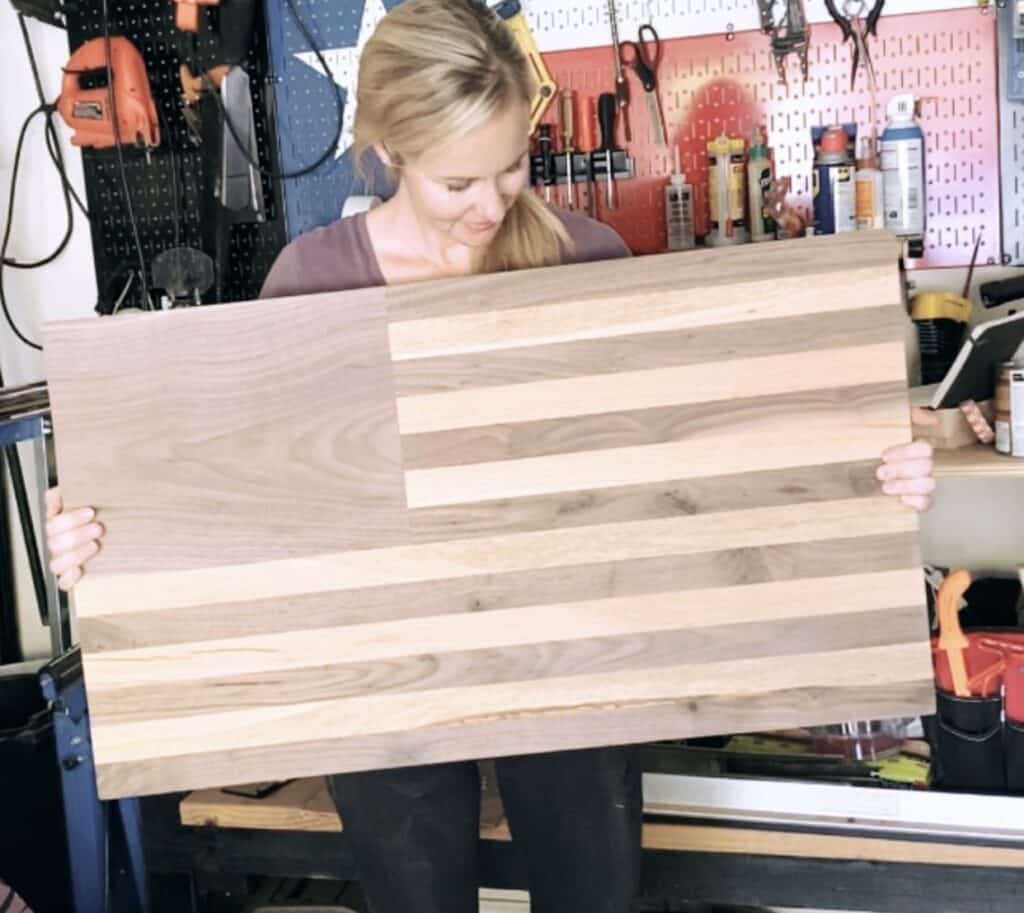
This rustic wood American flag makes a beautiful, patriotic, and unique piece of wall art. In this article, I will outline the plans and steps needed to create your own rustic wood American flag. I will also outline all of the materials and tools you will need to make your own.
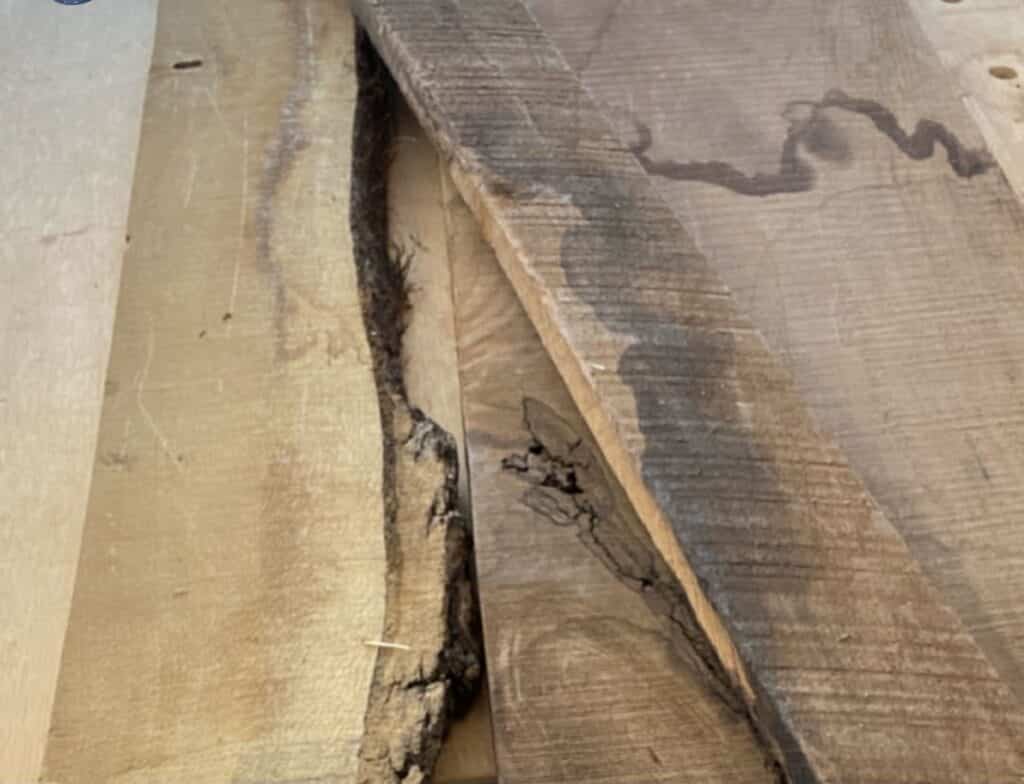
I love that this project was created from reclaimed wood that I had laying around in my garage shop. By using this process, no two flags will ever be the same, thanks to the variations in the natural wood grains.
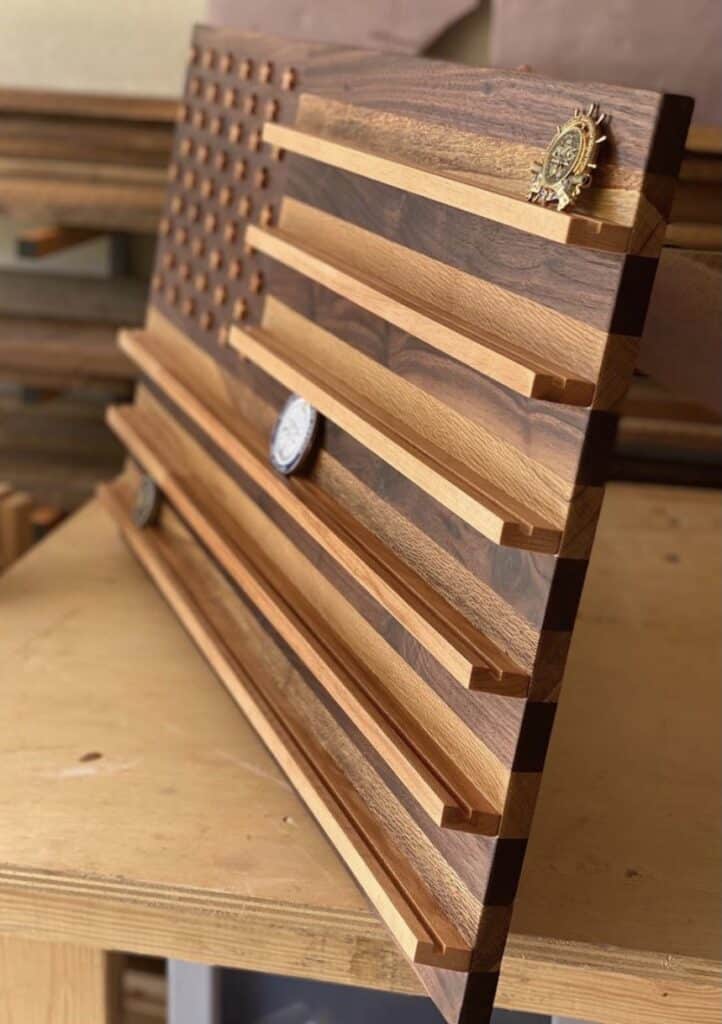
This particular wooden American flag was used as a challenge coin holder for military coins, however, you can simply omit the last couple of steps to make a more simple reclaimed wooden American flag wall art without the shelves.

Ratios of American Flag
In order to make your own rustic wood flags, you need to plan the size of your flag. This will depend of the stock you are working with.
The width of the part of the flag with the stars on it (blue rectangle) is approximately 2/5ths the width of the whole flag.
For the flag I made, the total width is 30 inches. So, the top 7 stripes are 18 inches wide. The rectangle for the stars is 12 inches wide. The thickness of the side of the flag is around 1 inch.
The height of the blue rectangle is slightly more than half of the total height. This is because it is the same height as that of 7 horizontal stripes. The section below the blue rectangle is a total of only 6 horizontal stripes.
The red stripes (darker species of wood) will be the top stripe and the bottom stripes, alternating all the way down.
Step 1: Create Two Separate Glue Ups for the Stripes of the Flag
For this rustic wood flag, I used a mixture of walnut and white oak to create the contrast of the red stripes, white stripes, and blue rectangle. The blue and red colors are walnut, and the white is white oak.
If you don’t have access to wood species like this, you can use simple pine and just stain the stripes with wood stain.
Create the Top Section of the Stripes
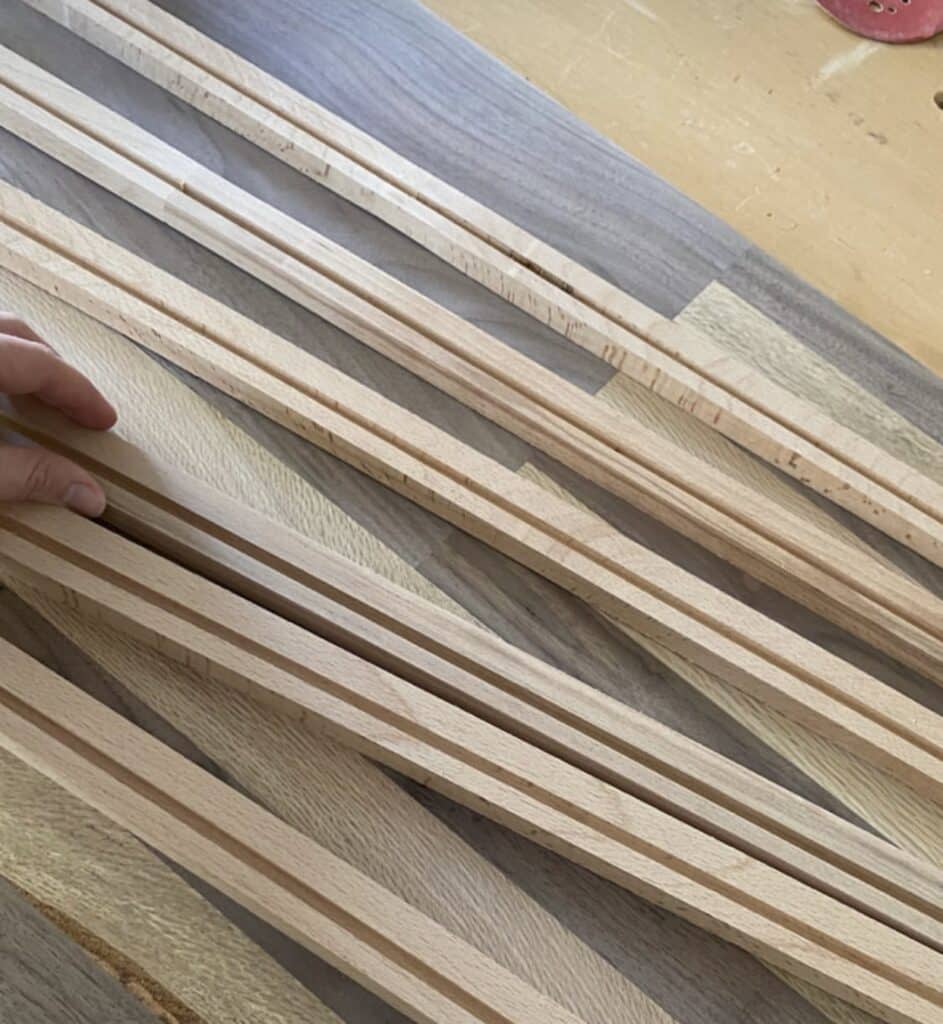
The first section will be the top 7 stripes. Create 7 wood slats that are all the same size and dimension.
There will be 4 slats made out of the darker species. There will be 3 slats made out of the lighter species.
Glue these 7 slats together with wood glue, starting with the darker species on the top and bottom.
Create the Bottom Section of the Stripes
This section will be the stripes that run the whole horizontal measurement of the flag. There are 6.
Create 6 identical slats: 3 from the darker species of wood and 3 from the lighter species of wood. Glue these together with wood glue and allow them to completely dry.
Once both of the sections of stripes are dry, run them both through a wood planer. Make them the same thickness as each other.
Step 2: Create the Star Area
Make sure that the width of this part of the flag is 2/5ths the width of the whole flag.
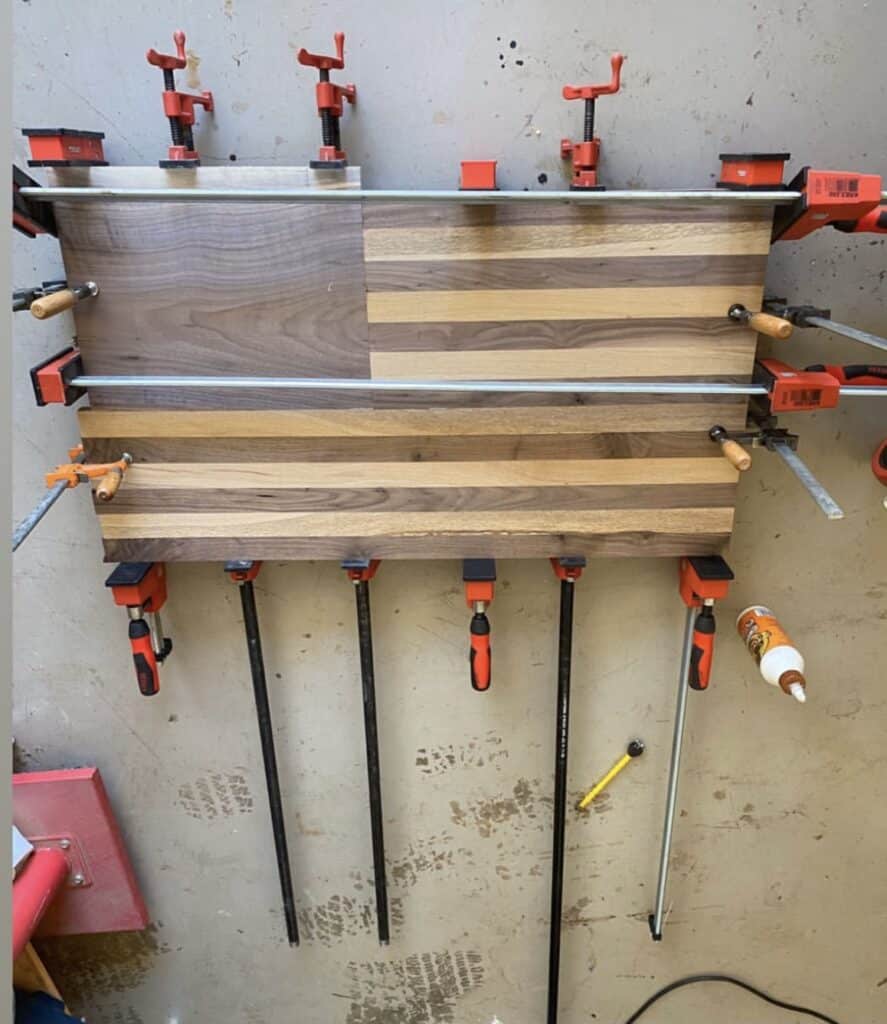
With a combination of many clamps, glue all 3 sections together.
As you can see in the picture below, I left the stars section slightly larger while I glued it up.
Disclaimer: This site contains product affiliate links. We may receive a commission if you make a purchase after clicking on one of these links.
Once it is dry, you can trim up the edges so that they are all flush with each other. You can do this with a table saw, circular saw, miter saw, or a track saw like I used in this outdoor wooden doormat.
Step 3: Add the Finishing Touches
Oftentimes in a glue-up like this, the piece will need a couple of extra steps to make the finish truly beautiful.
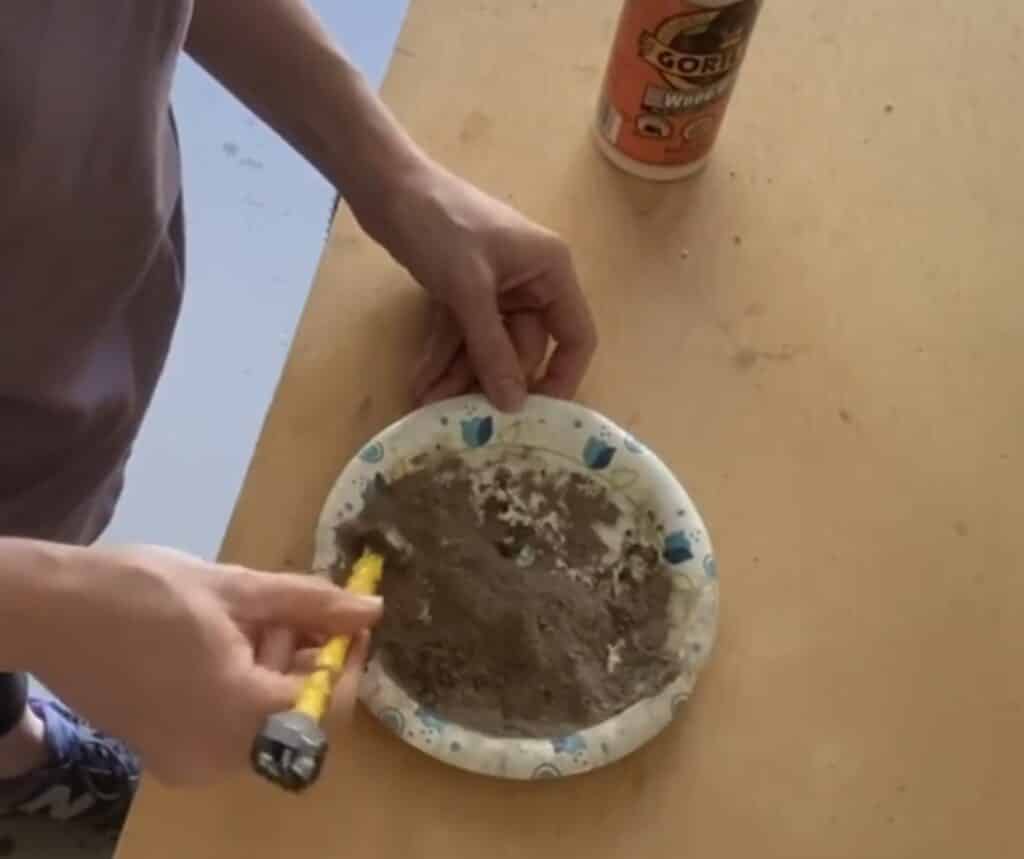
Make Your Own Wood Filler
Making your own wood filler is a great option for a piece of wall art like this because the wood filler you make will match the piece perfectly. I do this process all the time when I make cutting boards.
The first step to making your own wood filler is to gather the sawdust. I do this by sanding the piece and connecting my sander to a shop vacuum. The shop vacuum will collect the perfect dust for this.
Pour wood glue into the sawdust. Mix it together to make a paste.

Apply the homemade wood filler to any small gaps or imperfections in the wood. Allow it to completely dry. It will also shrink as it dries, so be sure to slightly over-fill.

Sand the Wood American Flag
Once the wood filler is completely dry, use an orbital sander to sand the piece. Start with 80 grit, then move to 120 grit.
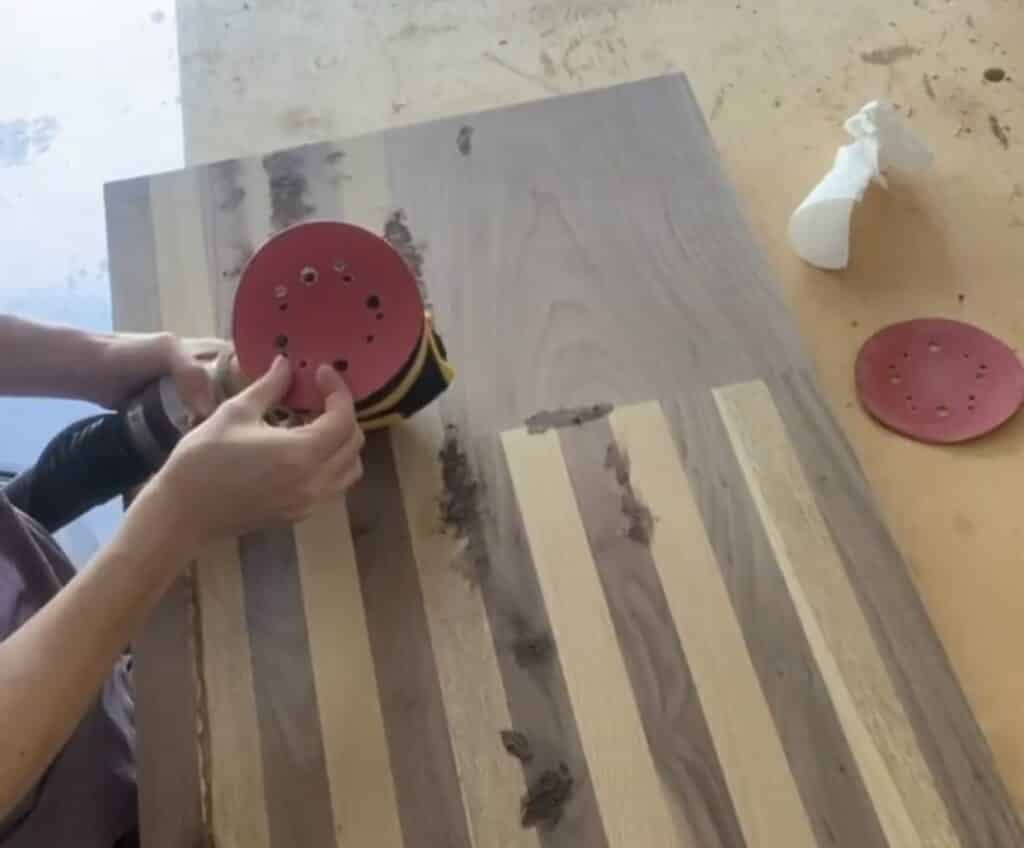
The wood filler will sand flush with the piece and create a beautiful and seamless wooden American flag.

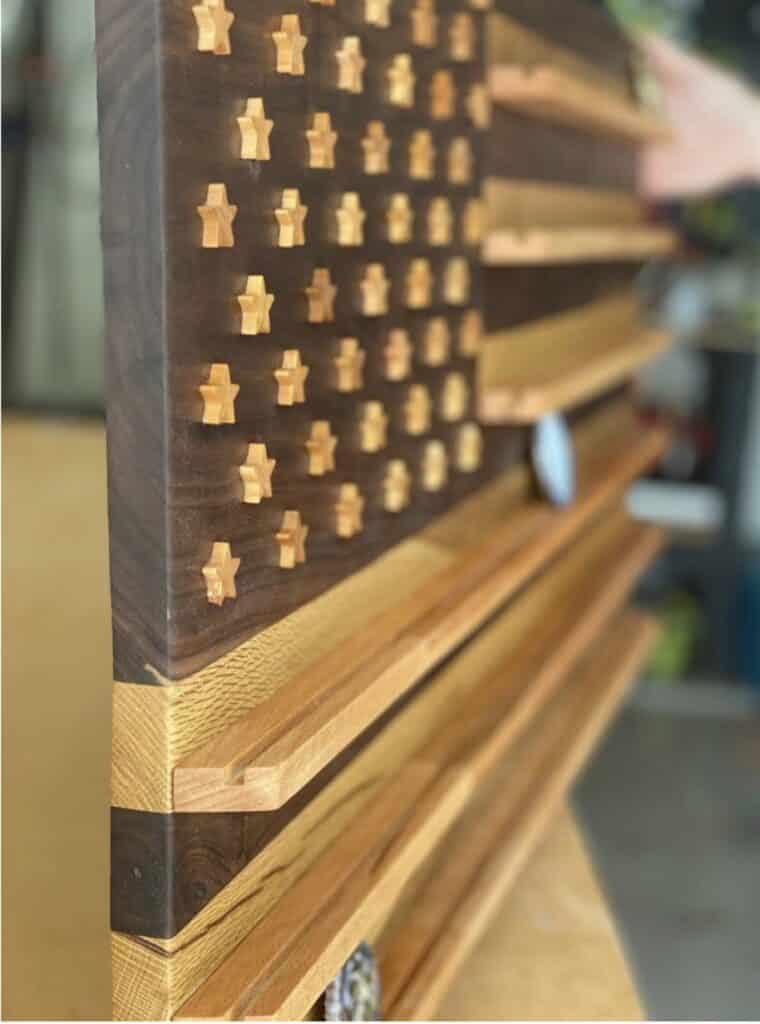
Step 4: Add Shelves
Omit this step if you would like a simple rustic wooden flags. I added these simple shelves to the stripes in order to display military challenge coins for a family member.
Create the grooves in the shelves with a dado blade on a table saw. This will create a groove wide enough to house the coins.
Trim the shelves to the width of the flag. Add a 22 degree miter to the end of each shelf.
Attach them to the flag with glue, clamps, and tack nails from the back.

Step 5: Add the Stars to the Flag
For the star shapes, I purchased wooden stars. The wood species of the stars matched the white oak stripes perfectly.
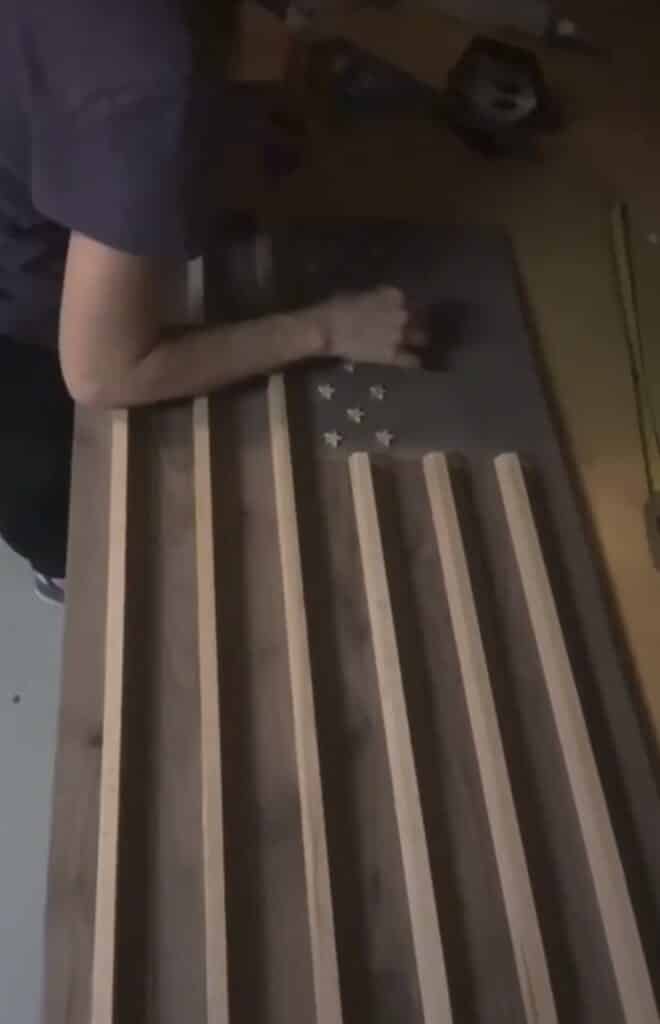
Lay out the stars. There will be 9 rows. The rows will alternate between 6 stars and 5 stars, with the top row having 6 stars.
Once you are happy with the lay out of the stars, attach them with wood glue.
Step 6: Add the Sealer
For this particular piece of wall art, I used Walrus Oil. This is because it is a thinner liquid and easier to apply than my favorite matte finish.

Make sure the entire surface of the wood flag is covered. Allow it to completely dry. Buff the piece with a microfiber cloth.

You can use a french cleat to attach this to the wall.
And that’s it! You now know how to create your own rustic wooden American flags. These flags are a great gift idea. They are also a great way to celebrate patriotic holidays like Memorial Day or Fourth of July! Let me know what you create!

If you found this article helpful, be sure to check out the following:
- Best Wood to Use for a Cutting Board
- Best Finish for a Wooden Cutting Board
- Best Tips and Tricks for Making Your Own Cutting Board
- End Grain Cutting Board with Juice Groove
- How to Make a Cutting Board Handle and Juice Groove
- How to Make a Juice Groove on a Cutting Board: No Jig Required
- How to Make a Wooden Bowtie Inlay

Suzie Wible
Suzie has shared her knowledge for over 10 years about building furniture, painting techniques, how to build your dream home, and basic to advanced woodworking skills. Through this blog, readers will feel empowered to create a home and products they love too.