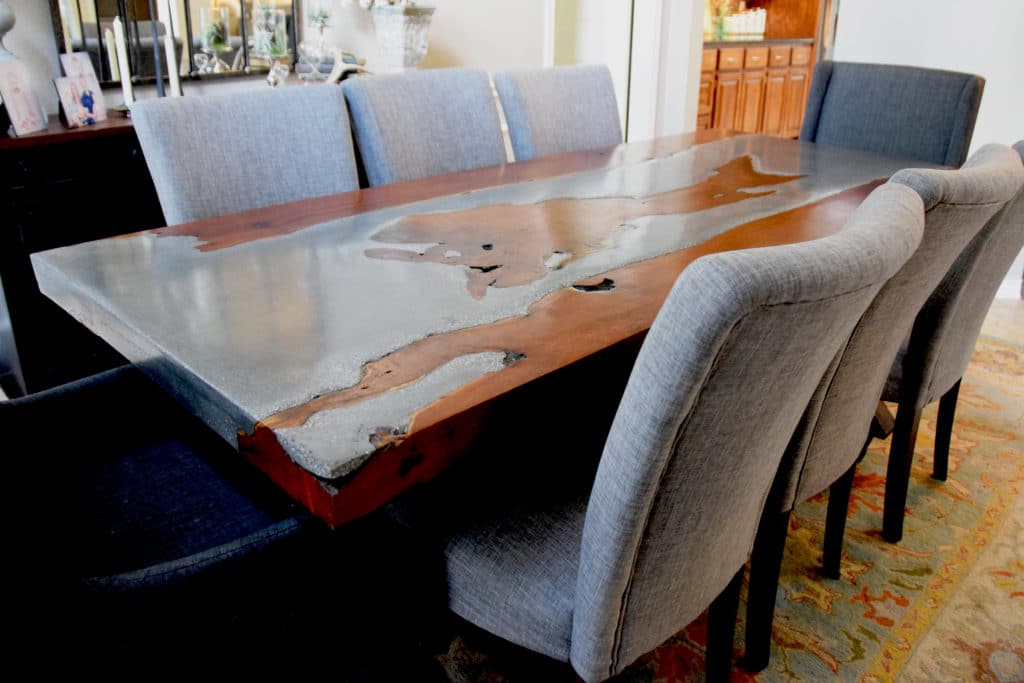
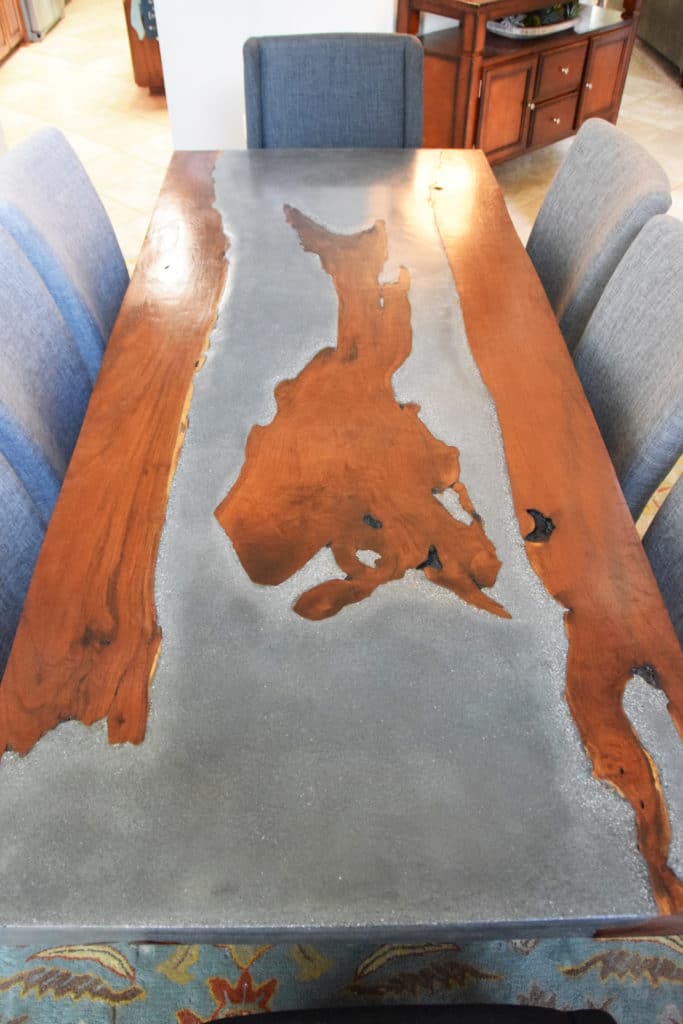
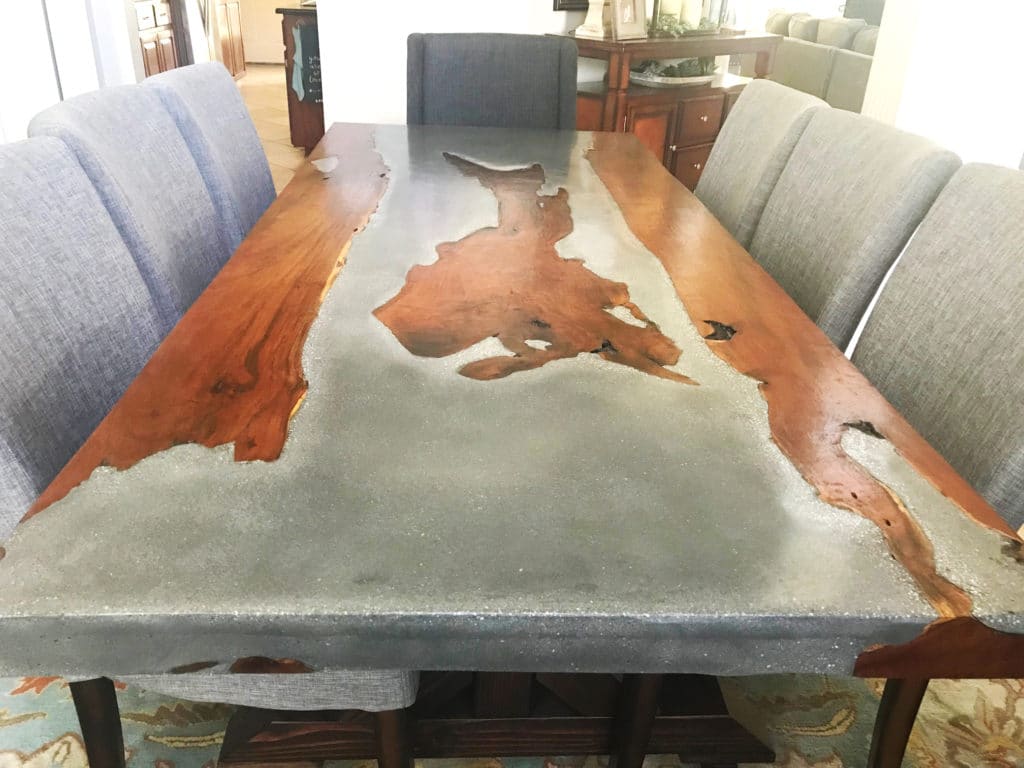
Today, I’m going to show you how we made this live edge wood and concrete table! I learned so much while making it, so as always, I’m sharing the good, the bad, and the mistakes. I love how unique every concrete and wood table is and I can’t wait to see what you create!
I have kept this slab of live edge mesquite wood around for literally years. Seriously, it has made two moves with us. I never knew quite what I wanted to make with it, then when we needed a dining table, I decided to try my hand at working with concrete for the table top.
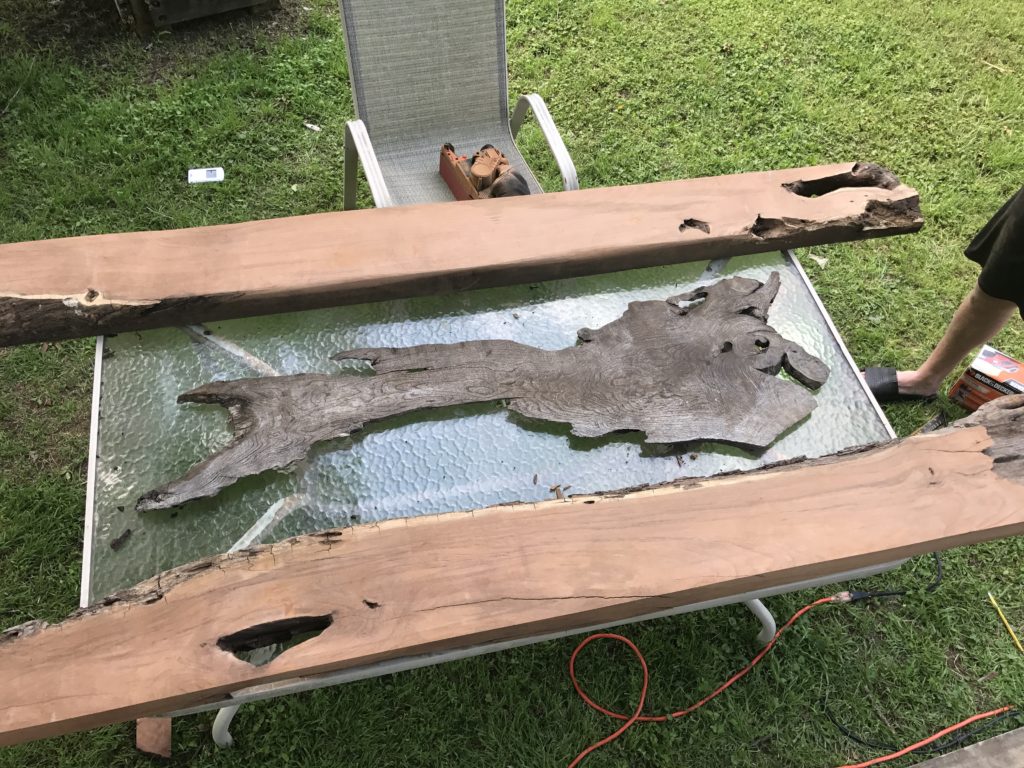
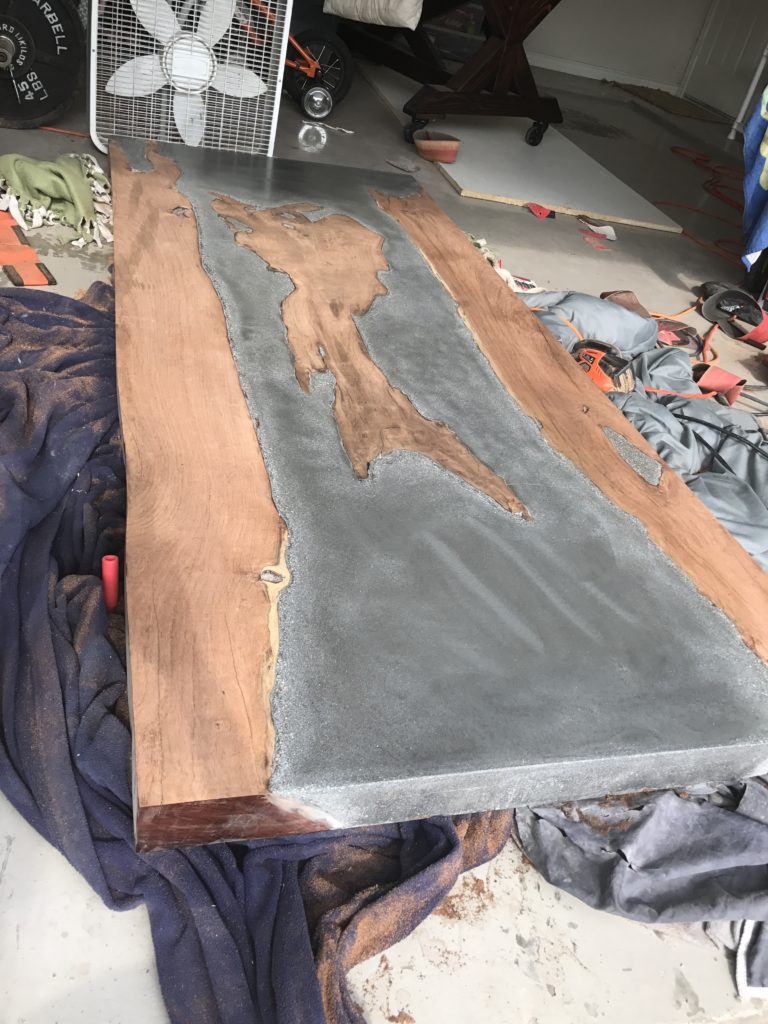
I started by re-sawing it so the outside of the river table top would be mirrored to each other. By doing this, we create two live edges and two straight edges. The straight edges will be the outside edges of the table top and the live edges will make the “river” part of the middle.
This left quite a bit of space in the middle of our table that would be just concrete. Then, I remembered we had another slab of mesquite wood that could help fill in the middle! The piece fit perfectly and I love it makes the wood and concrete table truly unique.
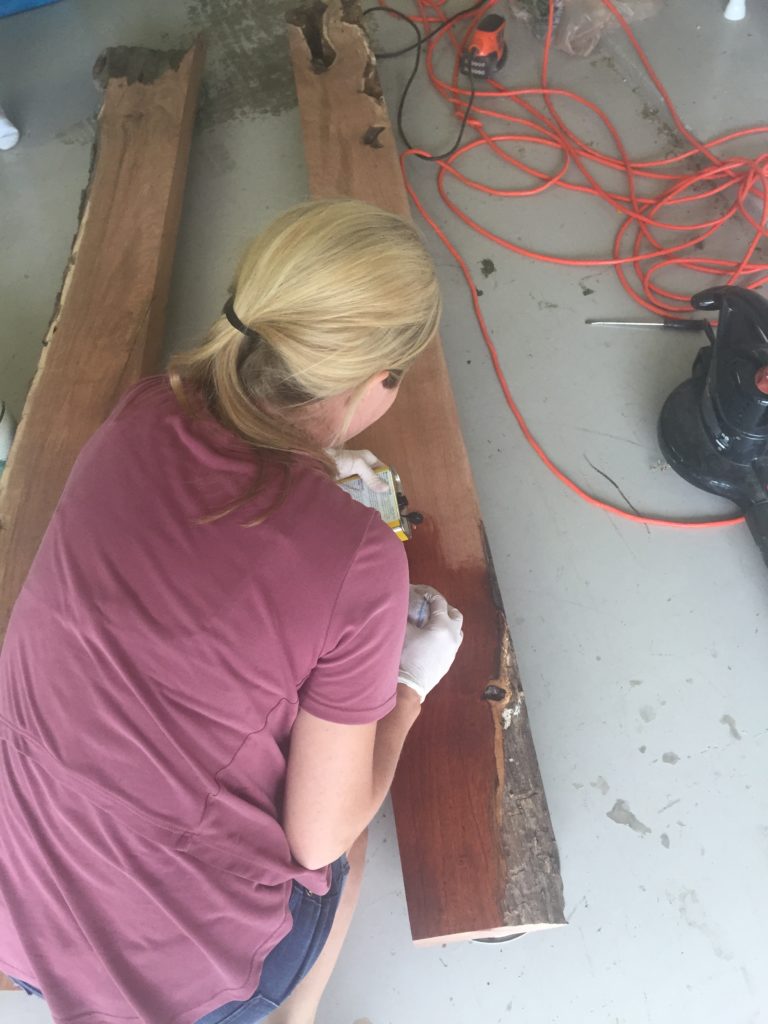
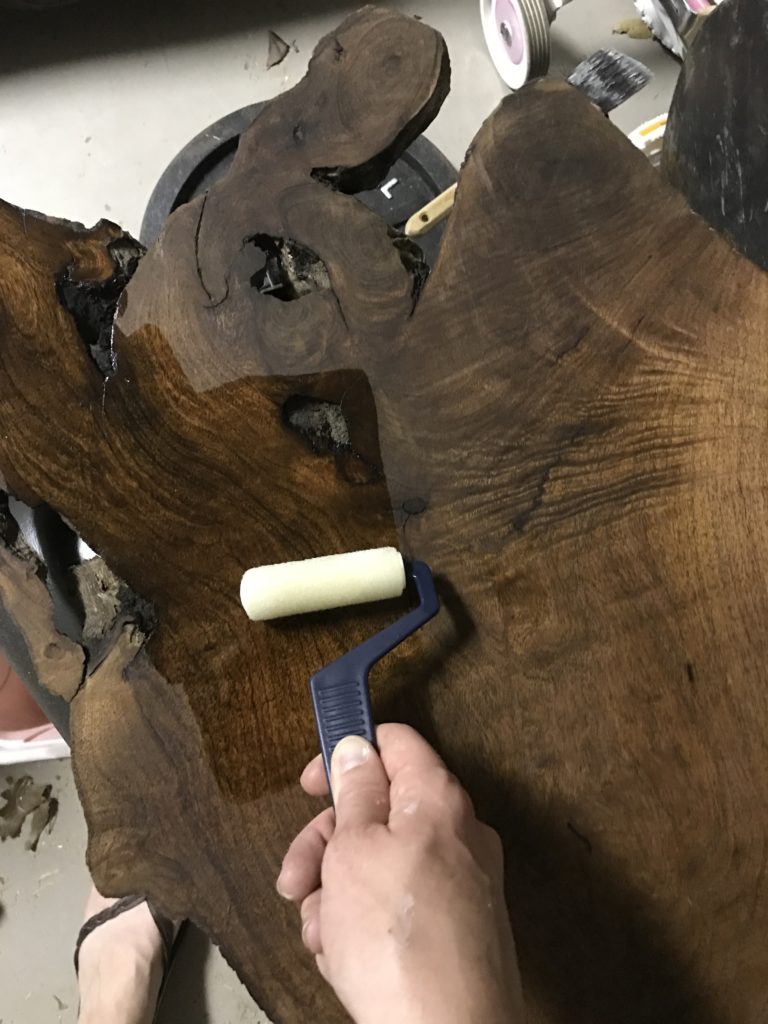
I then sanded the wood slabs down and put the finish on, but if I could do it over again, I would do this after I poured the concrete. We had to grind the concrete down, which ended up hurting the finish on the wood (more on that later).
Disclaimer: This site contains product affiliate links. We may receive a commission if you make a purchase after clicking on one of these links.
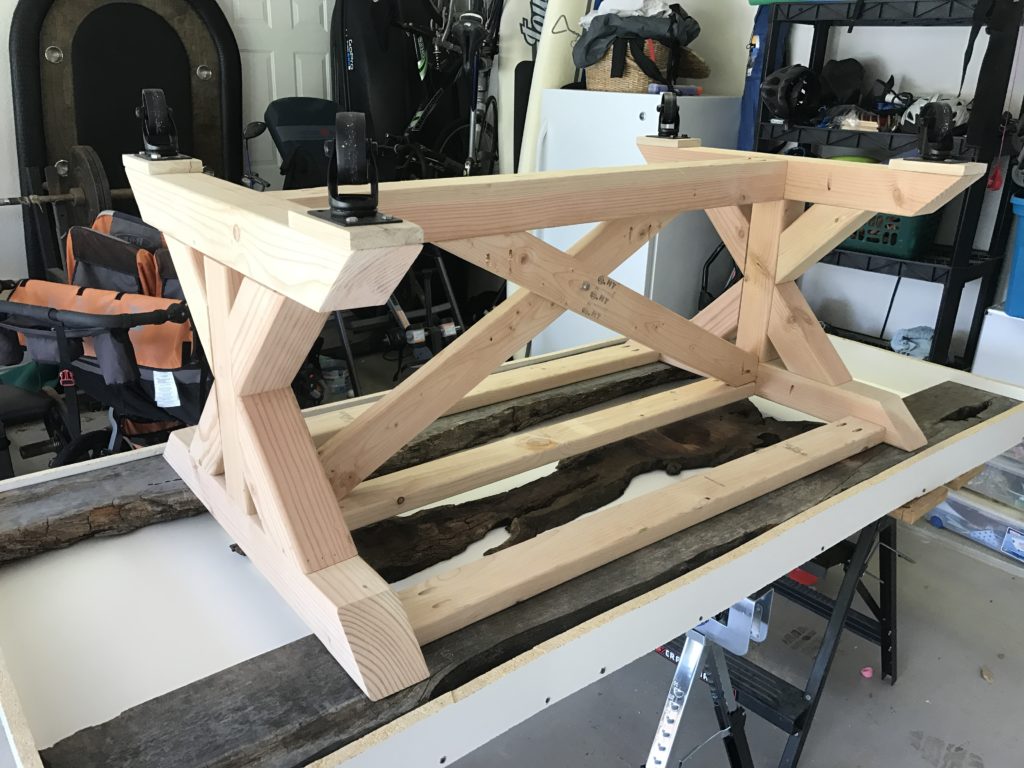
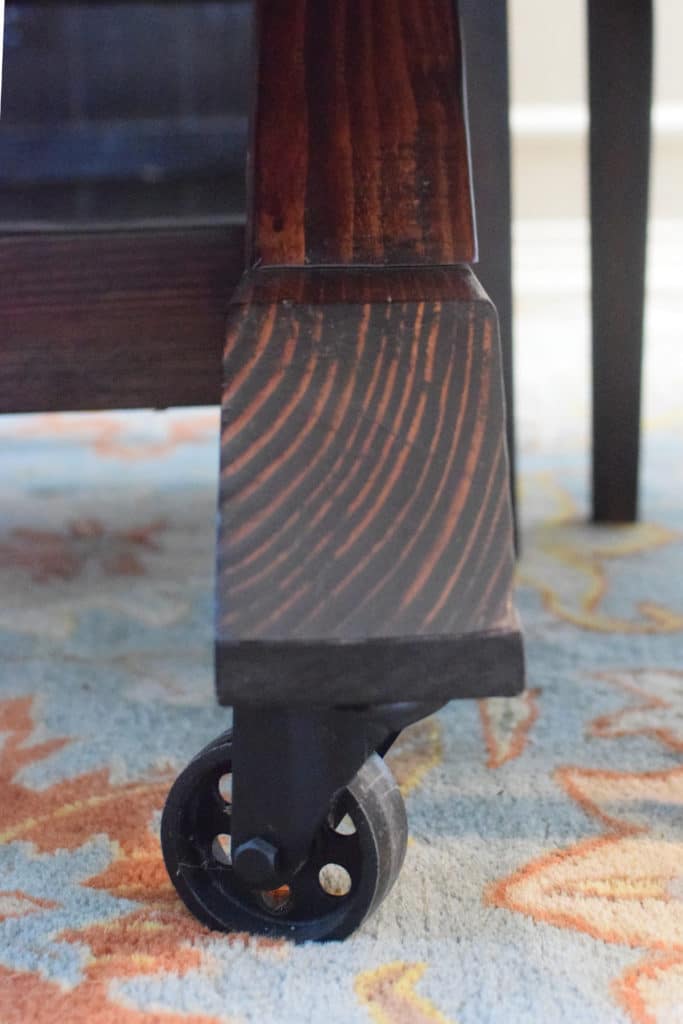
I made the base out of 4×4’s, slightly modified from these plans. In order to make the base look slightly more clean and professional, I would run these boards through my planer if I could do it again. I used my miter saw to make all the cuts. Tip: for a post about how to use your miter saw for beginners, check out this post!
The stain I used is Provincial. And I bought these casters. Being that it is so heavy, casters are a MUST.
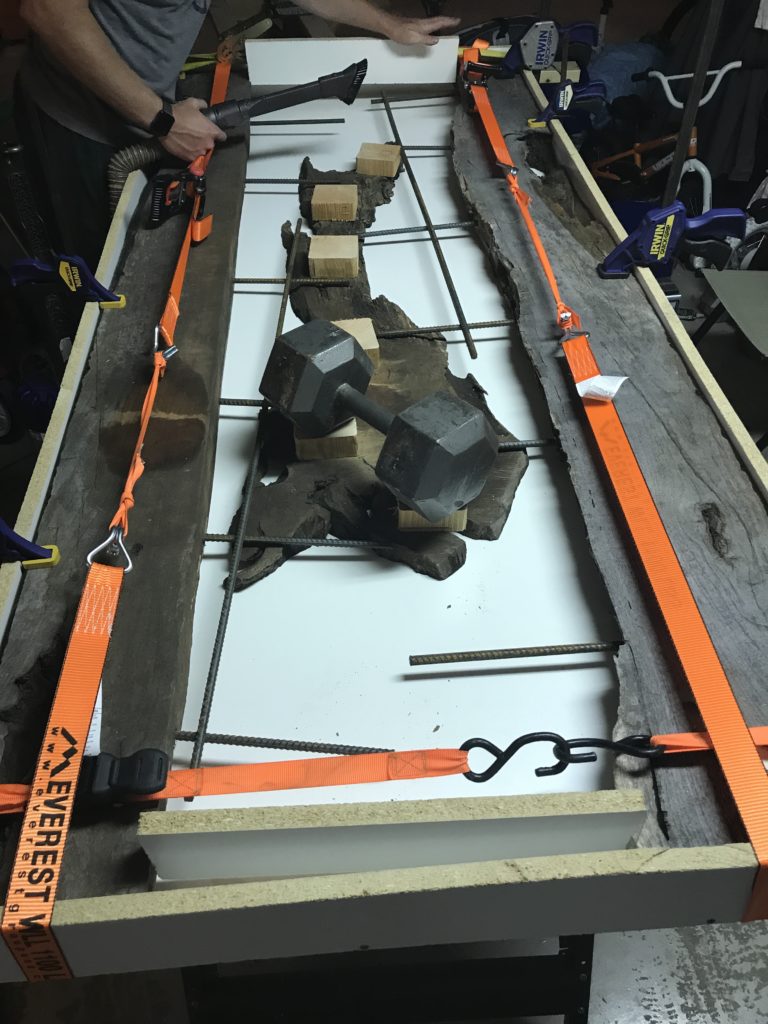
The form was made out of melamine boards so the concrete wouldn’t adhere to it. Be sure to seal the edges of the form with silicone to make sure there aren’t any leaks when you pour the concrete.
I drilled horizontal holes in the slabs for rebar to fit into in order to add stability to the concrete. The will ensure the concrete on your table top won’t crack over time. Find a Beginner’s Guide to Using a Drill here.
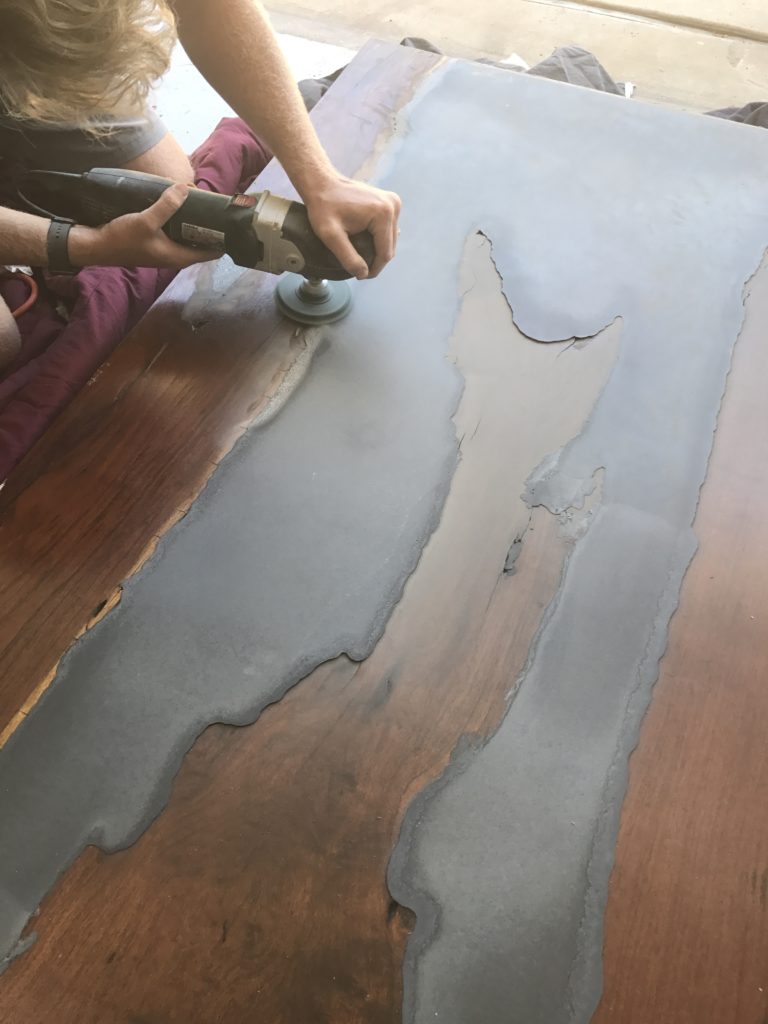
I also recommend running your slabs through a planer so the edges of concrete and wood are flush. Being that the wood wasn’t perfectly flat when we poured the concrete, there was a ridge on the edge of the concrete, which required grinding the concrete down. This ruined the finish on the wood, hence why I would finish the wood after you pour.
The concrete we used was Butterfield Brand concrete. It is much stronger than the basic stuff you buy at big box stores and is actually countertop grade. I finished it with the finishing product that Butterfield makes.
Once it was all dried, we had to do a ton of sanding/grinding to get it all flush.
Getting it inside was an ordeal. My husband invited some friends over to watch the playoffs and was all “oh hey, while you’re here, can you help us move this??” It took 8 guys and it’s hard to describe exactly how heavy this thing is. We joke that it will stay with the house forever…if we ever sell our home, we will put in the contract that it will convey with the house!
Suzie has shared her knowledge for over 10 years about building furniture, painting techniques, how to build your dream home, and basic to advanced woodworking skills. Through this blog, readers will feel empowered to create a home and products they love too.
4 Comments
Stunning!!!
Gorgeous!!
Suzie,
The table turned out really nice! You did a great job!!!
I do have a couple questions for you:
How long did it take to cure enough to be able to take it out of the mold?
And did you do anything “special” to the edges, to make sure they weren’t sharp?
Lastly. How did you attach the top to the legs?
Thanks for sharing,
Tim
Hi Tim, I let it sit in the mold for 48 hours. We grinded the edges down and some parts on the top that needed to be touched up. Seemed to work well. I used these tabletop fasteners:
https://www.amazon.com/gp/product/B01FGE8BJQ/ref=as_li_tl?ie=UTF8&camp=1789&creative=9325&creativeASIN=B01FGE8BJQ&linkCode=as2&tag=theaccpie-20&linkId=0f8c69af61d622cfdab8b33272bb56d1