Easy DIY Wood Shelf for the Wall
Update: I have since used this shelf ledge to display my son’s wide array of LEGO sets in his room. This wall shelf is a great solution for kids’ growing selection of LEGOs. It’s simple to make and provides tons of space to display those LEGO sets and figures!
This blank wall in our living room has been through many changes in the past few years. Nothing really stuck or looked right to me. We needed something substantial – some way to fill a big, blank wall. After rotating around artwork, family pictures, mirrors, and iron and wood pieces, I finally landed on making this DIY wood picture ledge shelf.
What I love about this project is the versatility to change it up and also how much wall real estate it covers. And as an added bonus – it’s a really great beginners’ project! For anyone starting out with making your own home decor items, the 7 foot picture ledge shelf is a great project to start with, since you need minimal tools and you will do very straight forward cuts.
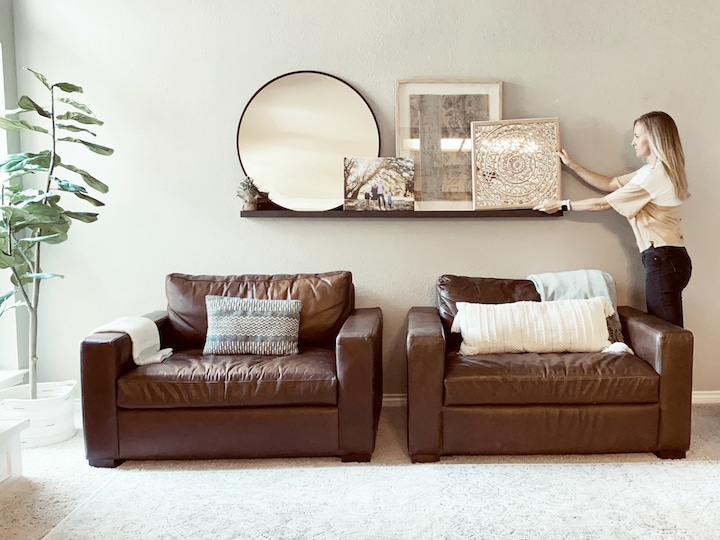
I rounded up all of the items I used to give you some ideas for a photo ledge decor at the bottom of this post. If I couldn’t find the original, I linked similar products. That wooden/mirror piece on the right, for example. I got it at World Market years ago and they don’t sell it anymore. But I found something similar for you from Target!
However, this wall shelf is perfect to show off LEGO builds for your kids. That’s where it resides in our house now – on our son’s wall in his room! He loves that you can easily see all of the LEGO sets he has made.
Although these are pretty simple plans, I created a step by step guide to build the picture ledge that shows the dimensions for the build. Enter your info below if you’d like a printable plan with dimensions, cut list and step-by-step instructions.
Materials Needed to Make Your Own LEGO Display Shelf:
Disclaimer: This site contains product affiliate links. We may receive a commission if you make a purchase after clicking on one of these links.
- (1) 1×4 stock, cut to 7′ long piece of wood (or however wide you want your shelf)
- (1) 1×3 stock, 7′ long
- (1) 1×2 stock, 7′ long
- 1.5″ wood screws
- 2.5″ wood screws
- wood glue
- glue brush
- drill (Find a Beginner’s Guide to Using a Drill here)
- drill bits to pre-drill holes
- miter saw (for tips on how to use a miter saw for beginners, check out this post!) or a circular saw
- stain
- sealer
- level
- stud finder
- table saw
- orbital sander
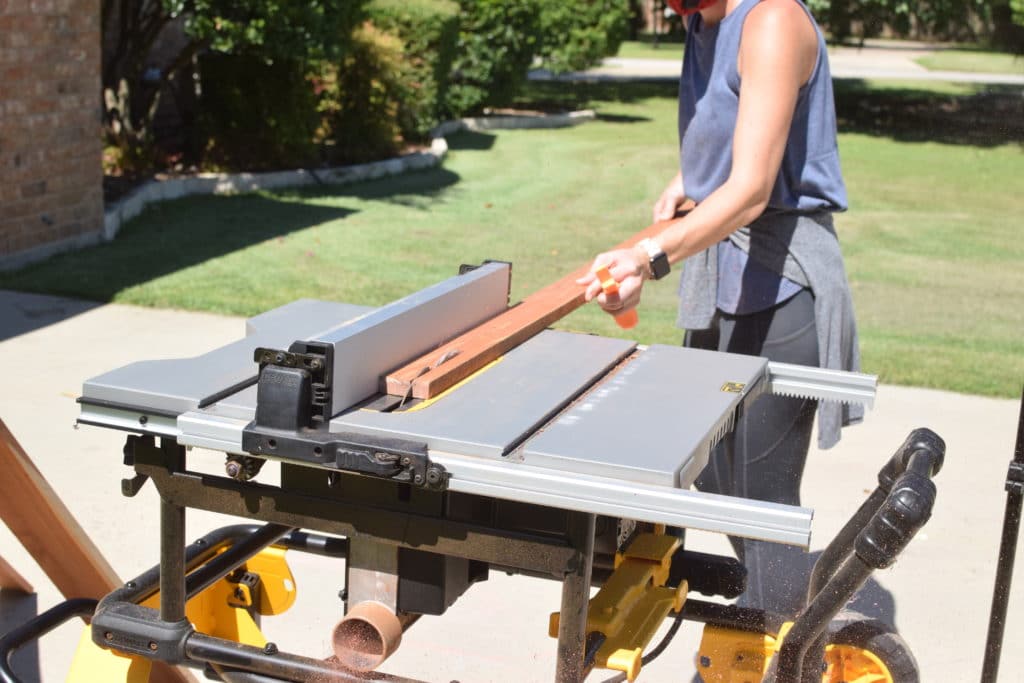
I wanted to use materials that I had on hand, so I ripped down these wooden planks of cedar on my table saw. However, the great part about this simple build is that it uses common board dimensions found at the store. This would even be one of the many perfect scrap wood projects to use what you have on hand!
So, the first step is to dimension the boards if needed.
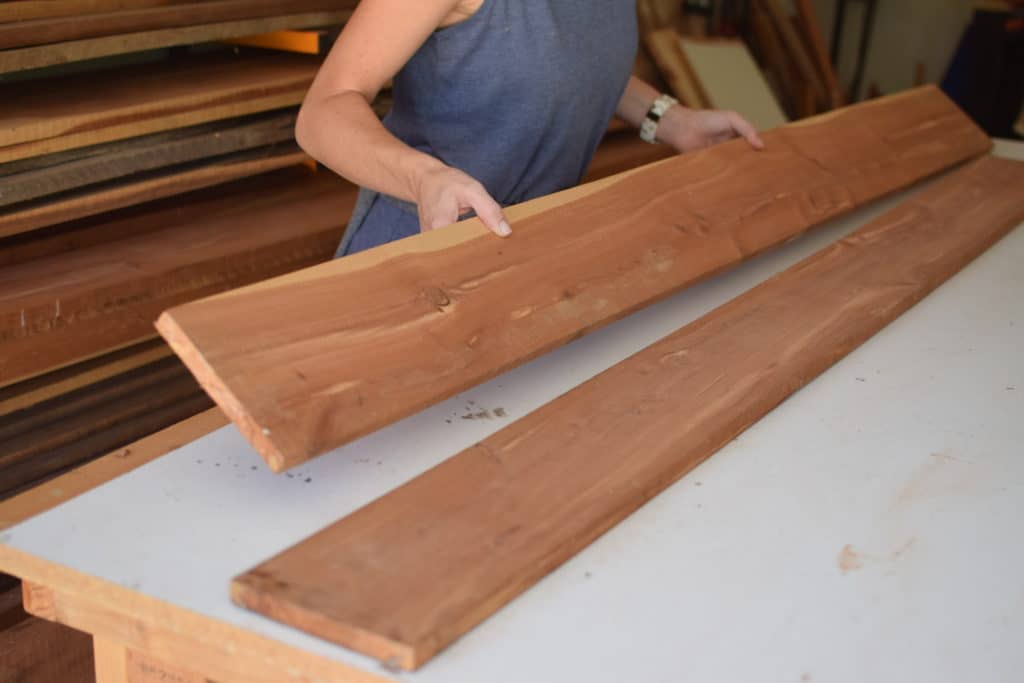
Like I said, this photo ledge is a great beginner project, because you don’t need a table saw to rip it down if you just end up buying it dimensioned off the shelf. Without dimensioning the boards, this is an easy DIY project! Keep reading to find the step-by-step tutorial.
Dimensions of a LEGO Display Shelf
But if you want to use stock you already have, rip cut (cut lengthwise) a straight line for (1) 1×4, (1) 1×3, and (1) 1×2. Otherwise, you can find these exact sizes at the store.
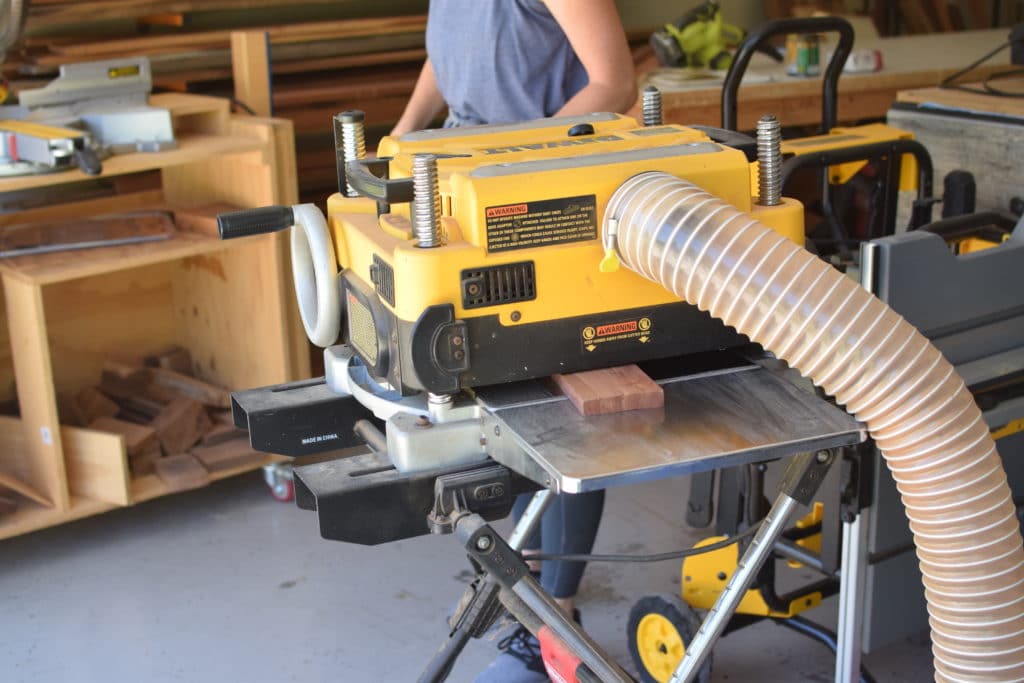
I ran all of my pieces through my planer just to clean them up a bit. Being that they were cedar and a little rough on a few sides, doing this saved me a ton of sanding time. You could skip this step if you bought the lumber off the shelf and it doesn’t need much sanding.
This is when you would cross cut your pieces with your miter saw to size. Mine were 7′ long, so I just decided to keep it that size. This size filled the wall space well and worked for my space.
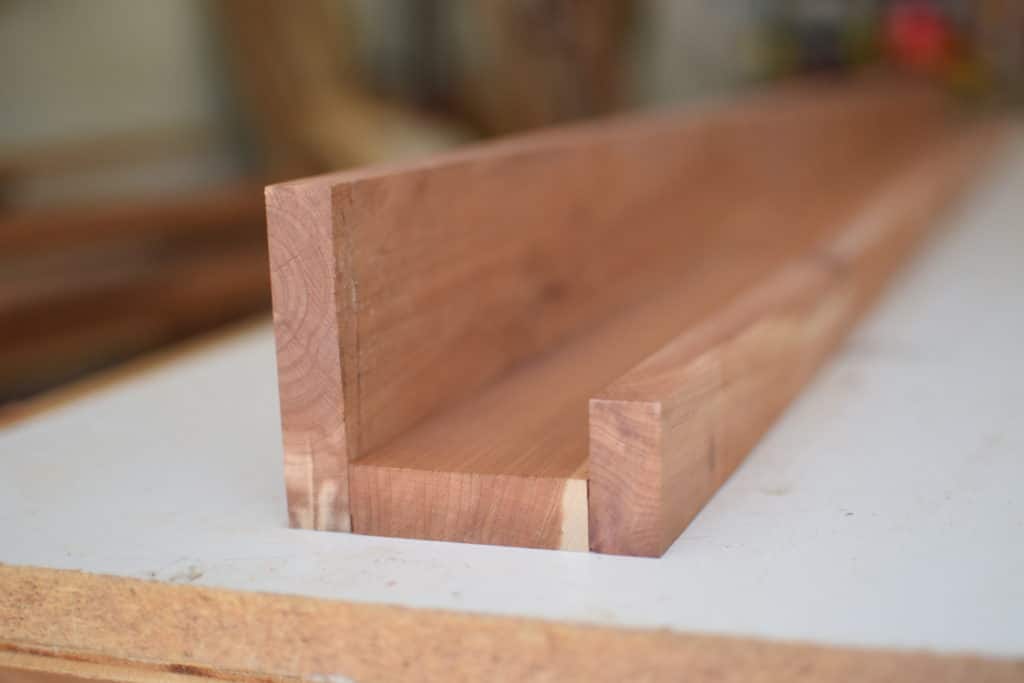
I have found that it is much easier to sand before it is assembled, so you can get into all of the nooks and crannies easily.
Using my orbital sander and 120 grit sand paper, I sanded all of the sides of all 3 pieces. I was careful to go over the front top corner of the 1×2 and round it off a bit. This gives it a finished look and achieves what a router with a round over bit would do as well. Just a small finishing touch that I think makes the piece look a little more polished. Only the best for those LEGO sets, right?
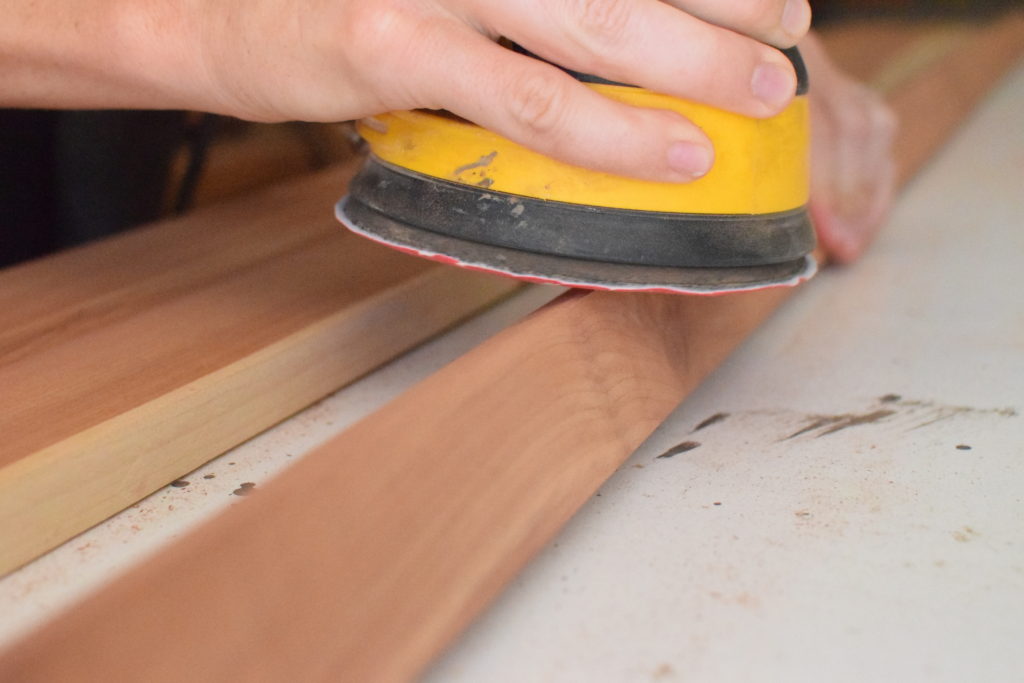
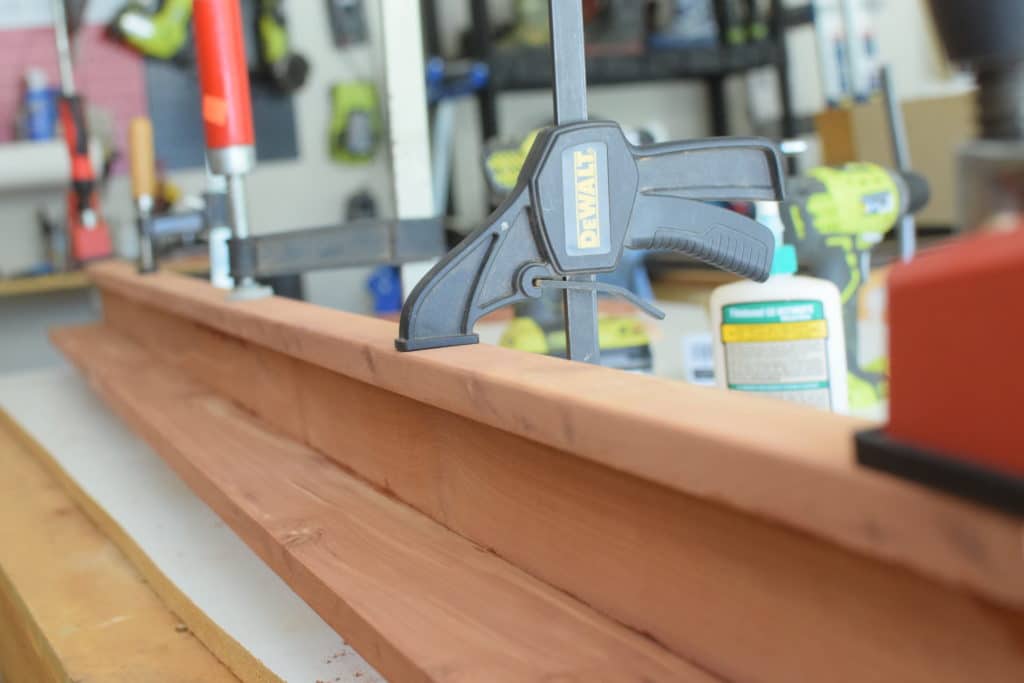
Next, glue the 1×4 bottom pieces to the 1×3 side pieces using wood glue and a glue brush. Clamp it together so you can drill support screws from the back of the piece. You can also join these pieces together with wood glue and pocket holes.
These shelves are very similar to the shelves I made that house military challenge coins in a rustic American flag wall art that I made.
To prevent the wood from splitting, you will want to pre-drill holes. I just purchased this drill bit set and love it. It’s amazing what a difference quality tools make, even for something small like drill bits. It’s worth the cost for quality tools sometimes!
I also use a countersink bit so that the head of the screw will sit flush with the wood and not scratch the wall.
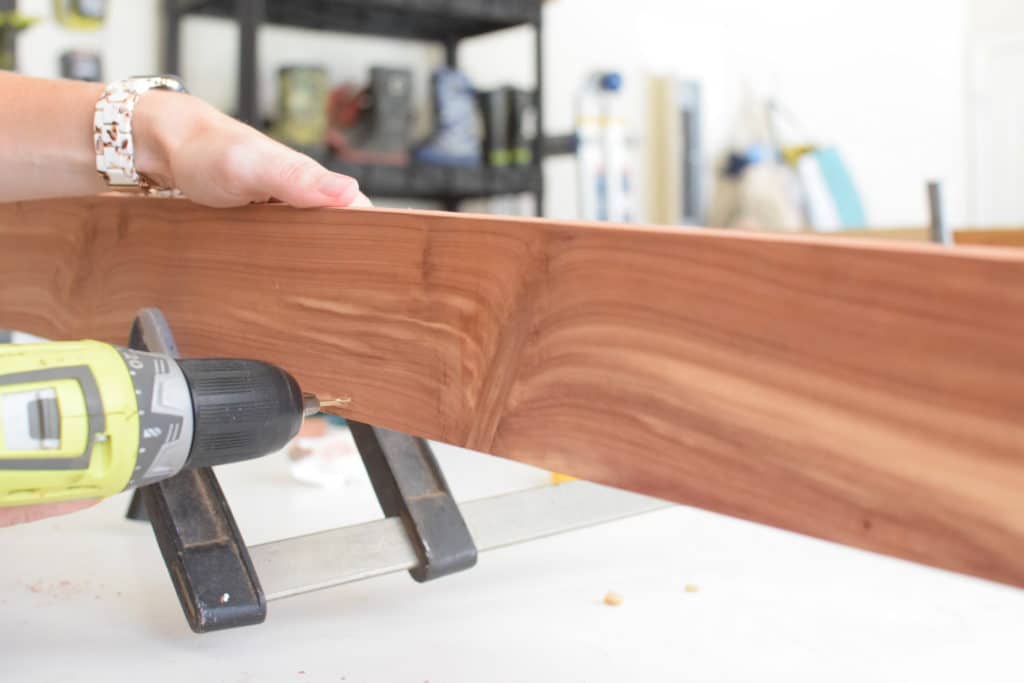
You can see what the countersink bit does below in order to make the screw heads sit flush. Since this is up against the wall, it’s a must in order for the picture ledge to sit flat against the wall.
Add 1.5″ wood screws to attach the 1×4 to the 1×3.
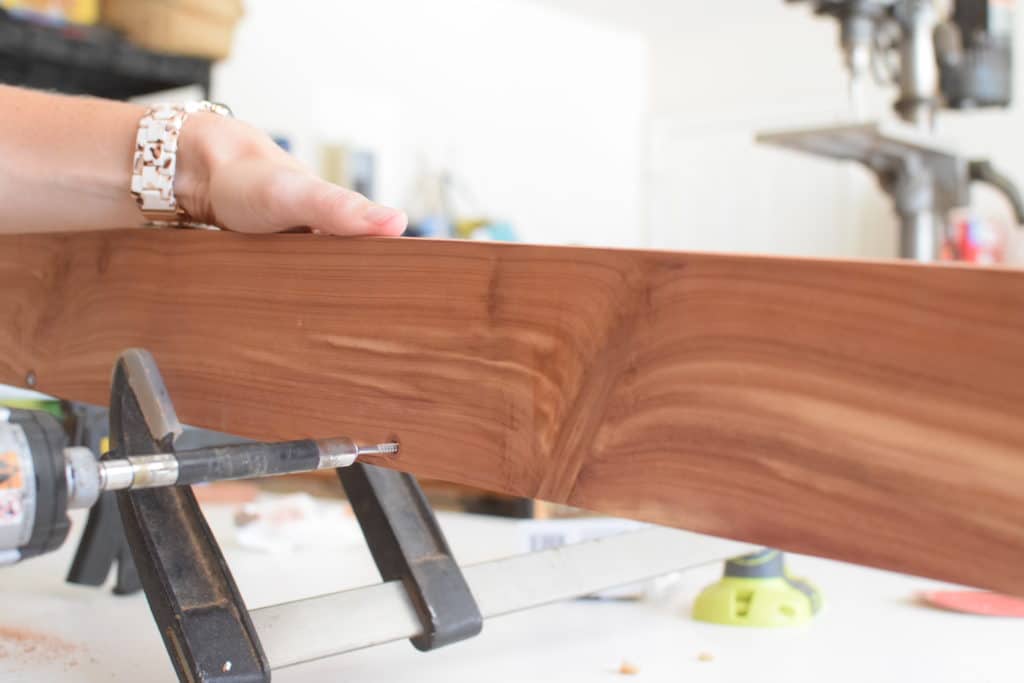
Once those two pieces are glued and screwed together, you can attach the front 1×2. In order for there to not be any holes/imperfections in the front of the piece, this 1×2 will just be glued on.
If you use sufficient quality wood glue and evenly distribute it with a glue brush, this will be plenty strong for its use since it isn’t load bearing.
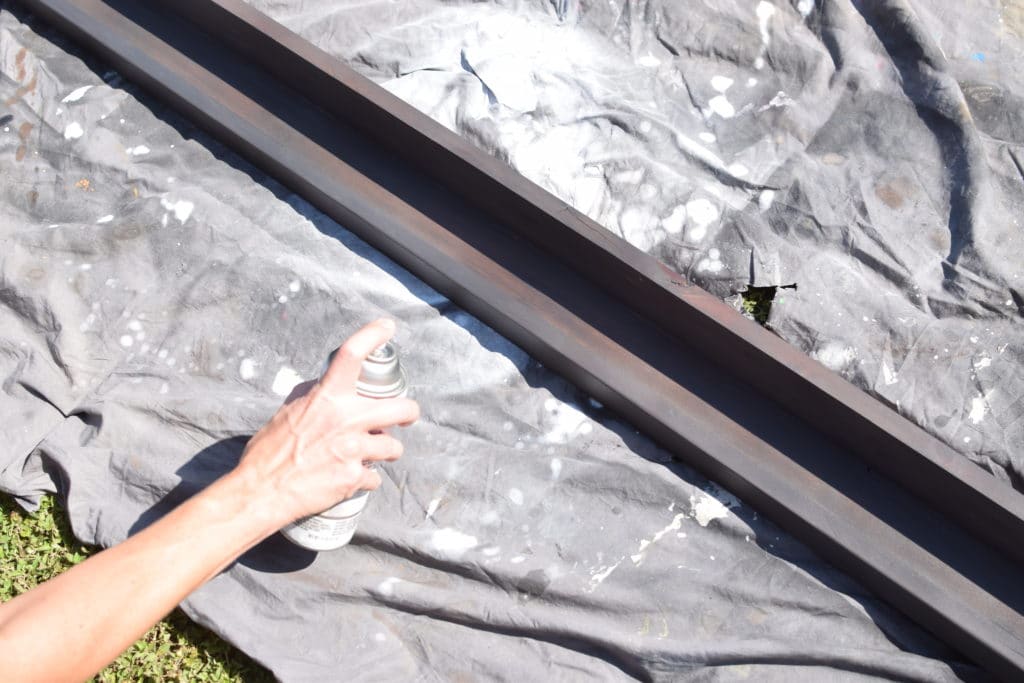
I opted for a darker stain for my space, almost black. It went well with the rest of my room, but you should choose whichever paint/stain fits your space the best for these wooden shelves.
I always recommend testing your stain on a scrap piece of the same species of wood to make sure you like it first. I have ruined more projects than I’d like to admit because of the stain choice. Trust me, test it out first!
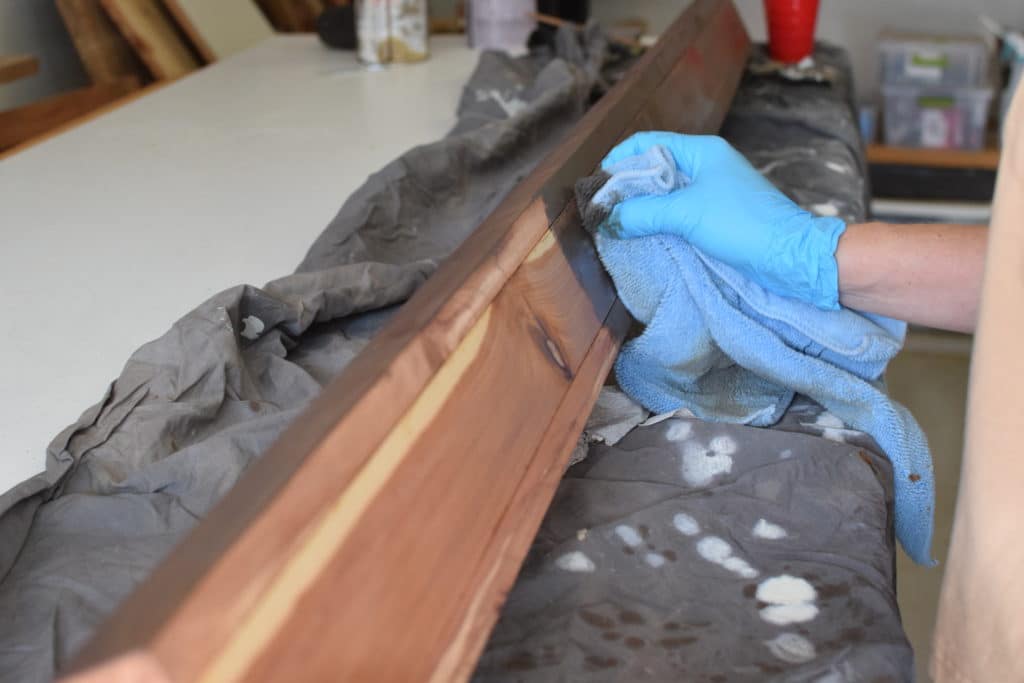
To give the picture ledge a finished look, protect it, and even out the wood tones from the wood stain, I gave it a few coats of sealer on the pieces of wood. This helps make the wooden boards a little more professional and finished.
How to Hang a LEGO Display Shelf
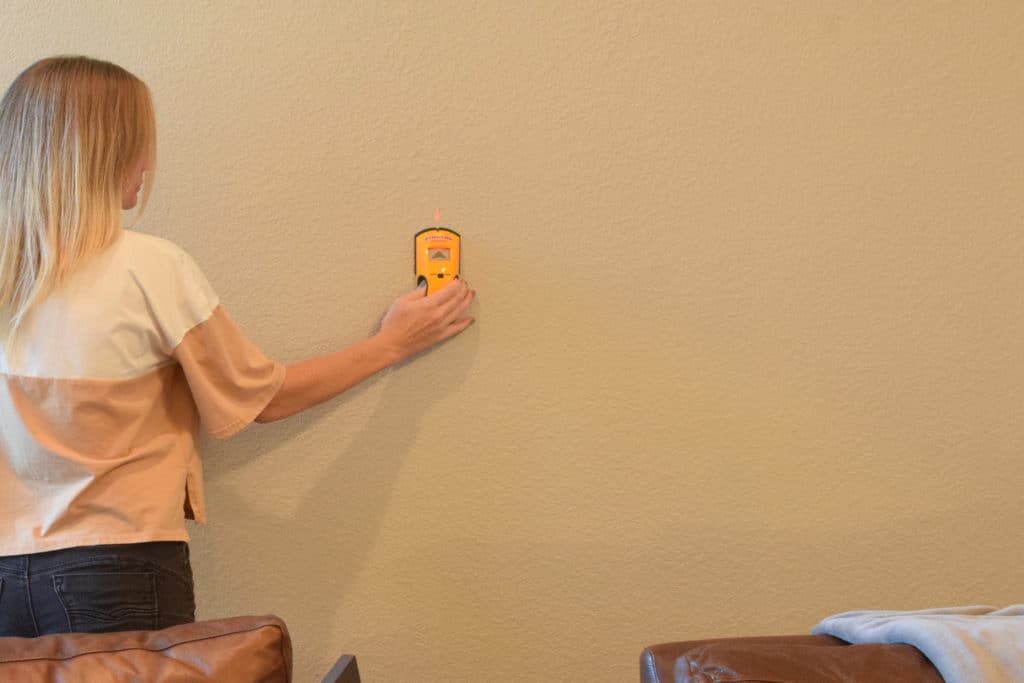
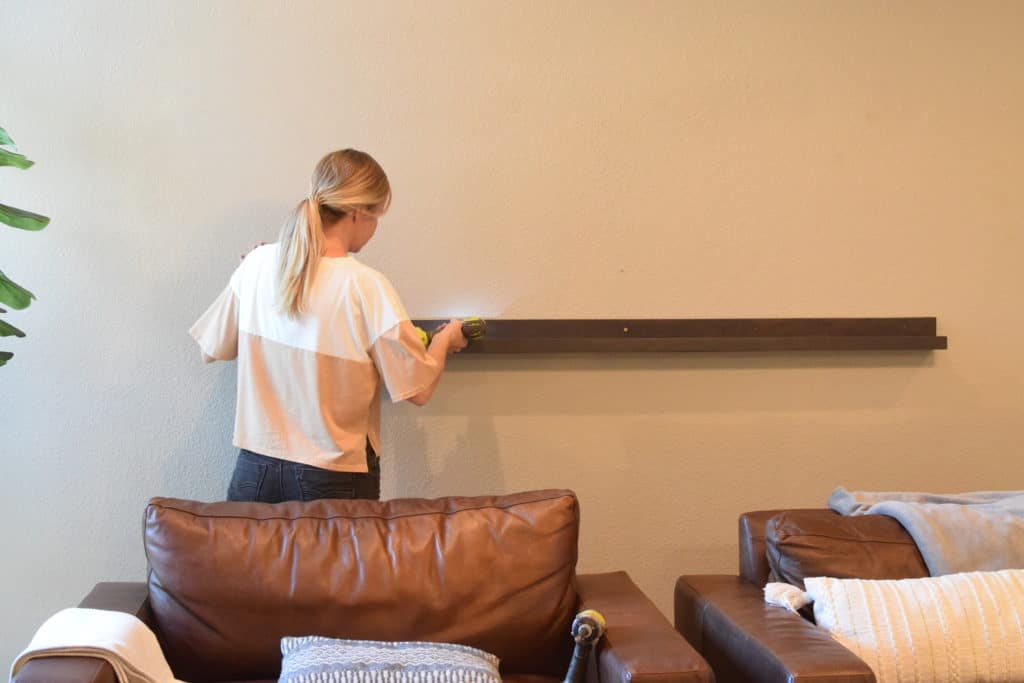
Alright, now that it’s made, it’s time to install it! Since it will most likely be holding an ample amount of weight, you need to locate your wall studs with a stud finder and install the picture ledge directly into those. Mark however many you can to fit the width of the shelf – the more the better.
Pre-drill your first hole that will go into the middle stud. Don’t worry about pre-drilling the rest of the holes just yet – we will do that once it’s up on the wall and level.
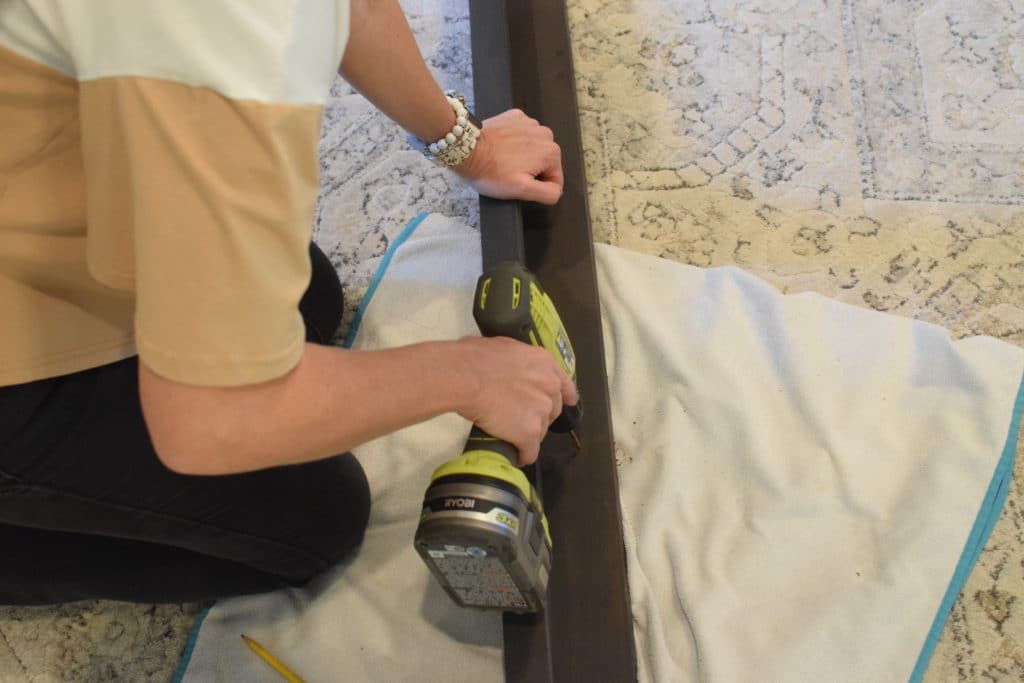
Start the 2.5″ wood screw into the picture ledge with your drill. It’s much easier to do it now, rather than trying to hold it up on the wall and do it then.
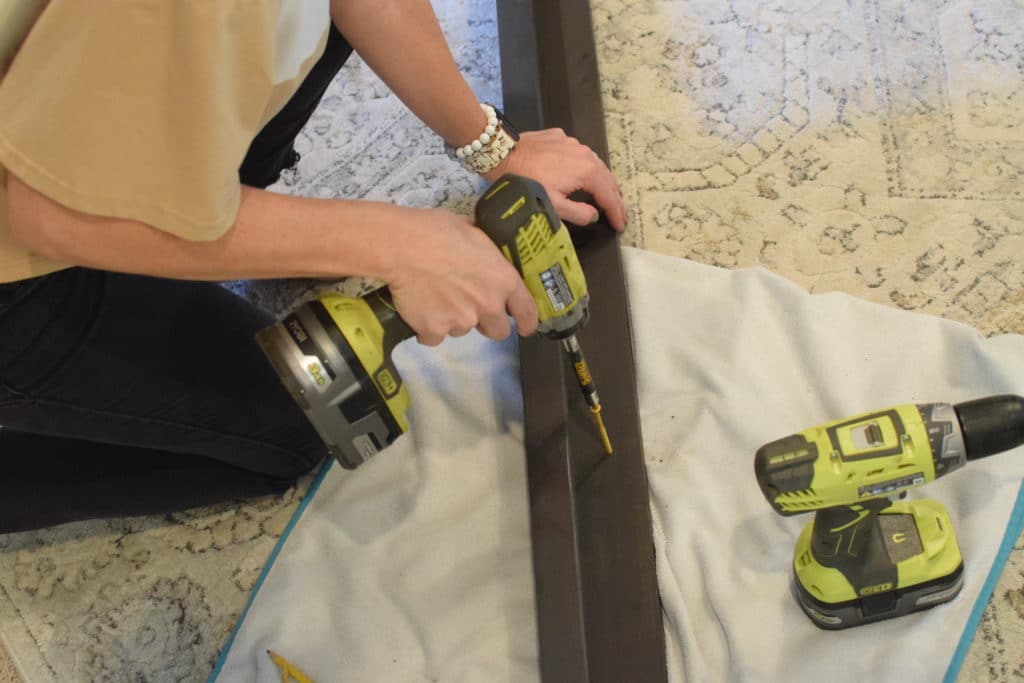
To make it easier to level, only add this one of the screws or wall anchors for now. Check out your local hardware store like Home Depot store for quality wall anchors. This process is actually very similar when installing floating shelves or open shelving for a kitchen. For a floating shelf, you would essentially wrap the wood shelf with wood after it is attached to the wall.
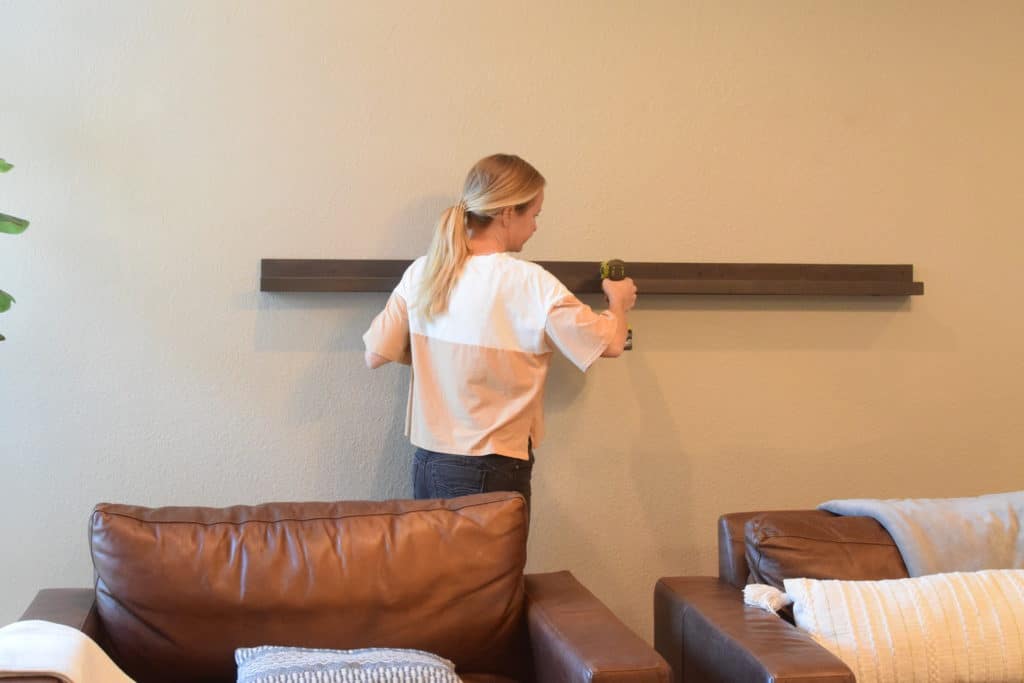
You can now pivot the picture ledge on that one screw as needed to get it level.
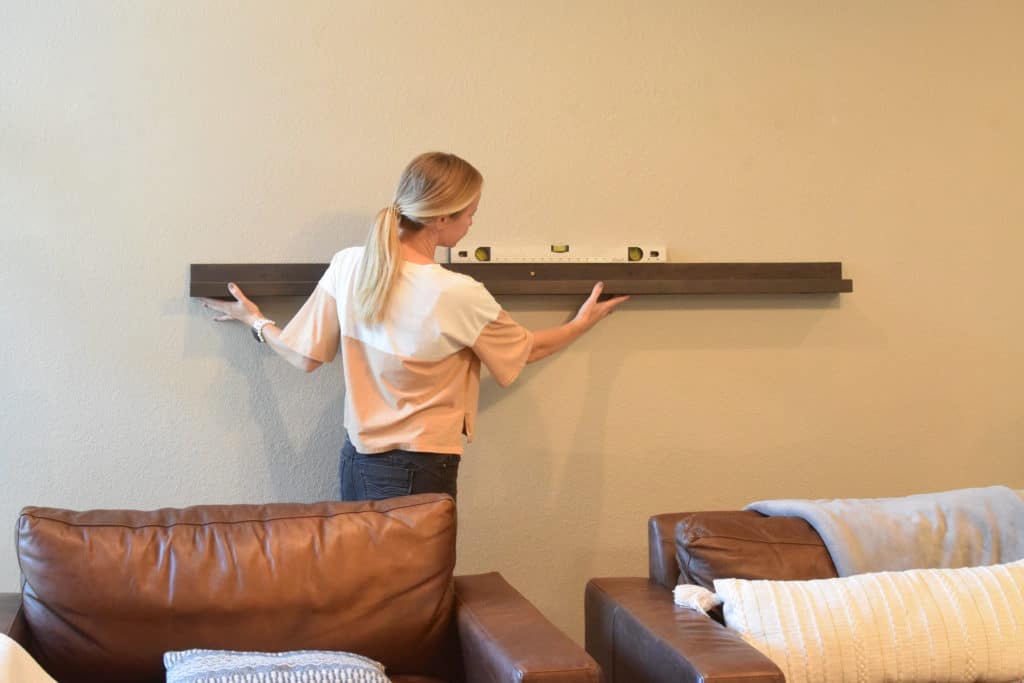
And now you can pre-drill the rest of the holes to line up with the studs. Add the screws directly into the studs. Do this for the remaining studs. Again, the more the better!
RELATED: For another idea for a how to fill a large wall, check out this tutorial for how to frame a canvas print! This is also a great way to fill a large or small spaces as the dimensions are easily adjustable.
And that’s it! This project is for simple DIY shelves, which are a great way to display large, heavy objects. I love DIY projects that are simple, functional, and beautiful and this one fit the bill perfectly. And now the fun part – style it and use it for storage space! This is much easier with those LEGOs, but here are a couple ideas as well. These DIY wood shelves would also be a great idea for a home office storage.
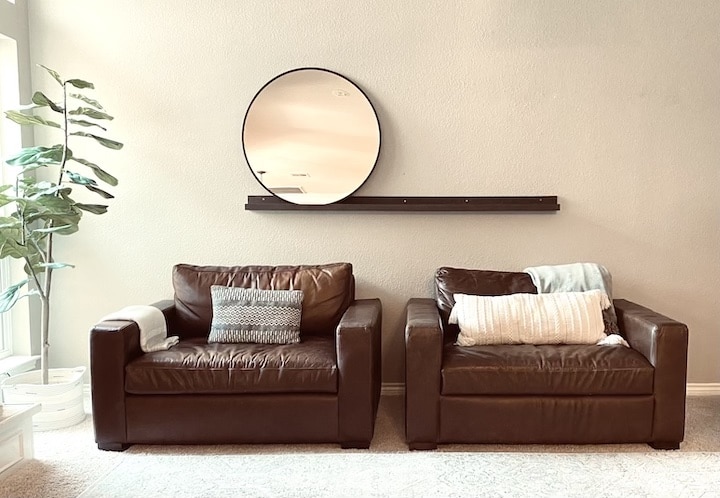
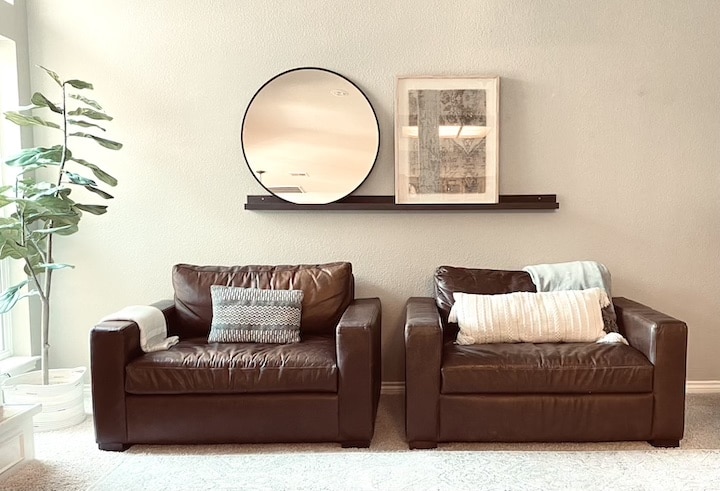
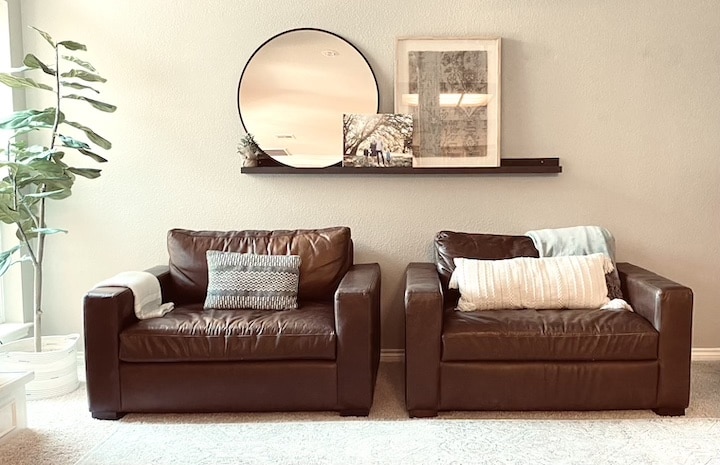

Shop the look of the whole space below! I provided links in order to give you ideas of how to style your picture ledge shelf.
Find the web story for this picture ledge shelf here!

Suzie Wible
Suzie has shared her knowledge for over 10 years about building furniture, painting techniques, how to build your dream home, and basic to advanced woodworking skills. Through this blog, readers will feel empowered to create a home and products they love too.