How to Get Started Building Furniture: A Beginner’s Guide
I am often asked how to get started with building furniture or other home DIY projects. I see many people who desire to make their own wood furniture as a hobby, but get overwhelmed with where to start. I’m always very excited to share with them that they can make quality pieces with only 3 tools: a miter saw, a power drill, and a Pocket Hole Jig System!
Disclaimer: This site contains product affiliate links. We may receive a commission if you make a purchase after clicking on one of these links.
I once heard that the heart is happiest when the head and hands are working. I couldn’t agree more. Building is my creative outlet. You can read more about my story here, but the short of it is this: I love creating and making. I especially love making things that will be used and will last a long time.
In this article, I will discuss a guide for the basic, must-have woodworking tools for beginners. And I would love for you to take a deep dive into learning the tools so you can build too! This blog exists to empower others to create a home they love as well. So, let’s look at the only 3 major tools I believe you need in order to get started with making your own furniture, learning the basics of building and home DIY projects.
Basic Tool for Furniture Making #1: The Miter Saw
The miter saw is a work horse for your home shop. It is so versatile and it allows you to make much more accurate cuts than just a circle saw, for example. One thing I love about the miter saw is that you can make quality cuts and furniture pieces with a very basic miter saw.
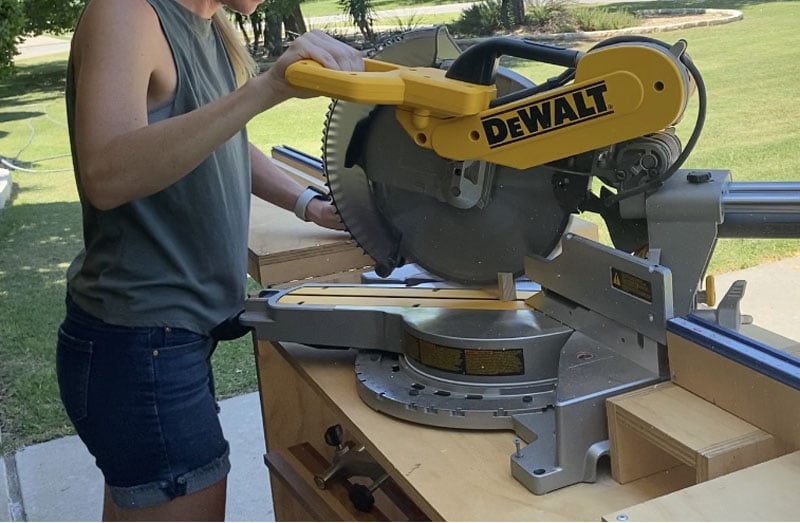
When I first got started with building, I bought the cheapest miter saw I could find. I didn’t want to spend a lot of money without knowing if I would get much use out of it. Spoiler: I used it a ton and it served me well for years. For example, I made this DIY Wood Slat Headboard and Frame, this Sliding Barn Door, and these Custom Built-Ins with that little miter saw.
I have since upgraded my miter saw to the Dewalt Sliding Compound Miter Saw. As my projects have gotten more advanced, this upgrade was a game-changer for the quality of my work. A few examples of the projects I have built with this are a sitting bench, DIY large rustic coffee table, modular dining tables, floating canvas frame, picture ledge shelf, wooden light up Christmas star, and a wooden cigar ashtray. It’s truly a great saw and will be able to handle any at-home furniture making you might do.
In addition to upgrading my miter saw, I also built a mobile miter saw workbench for it. It was also a game changer for a lot of reasons – one of my favorite being less sawdust in the garage! You can read a deep-dive into how to use a miter saw for beginners in this article.
You can spend a wide range on a miter saw, but one thing I love about miter saws, is that you can make quality pieces with just a basic miter saw.
Basic Tool for Furniture Making #2: The Power Drill
The cordless power drill is something that I’m sure you are at least a little familiar with. However, it is important to fully understand how to properly use the power drill in order to get the most use out of it.
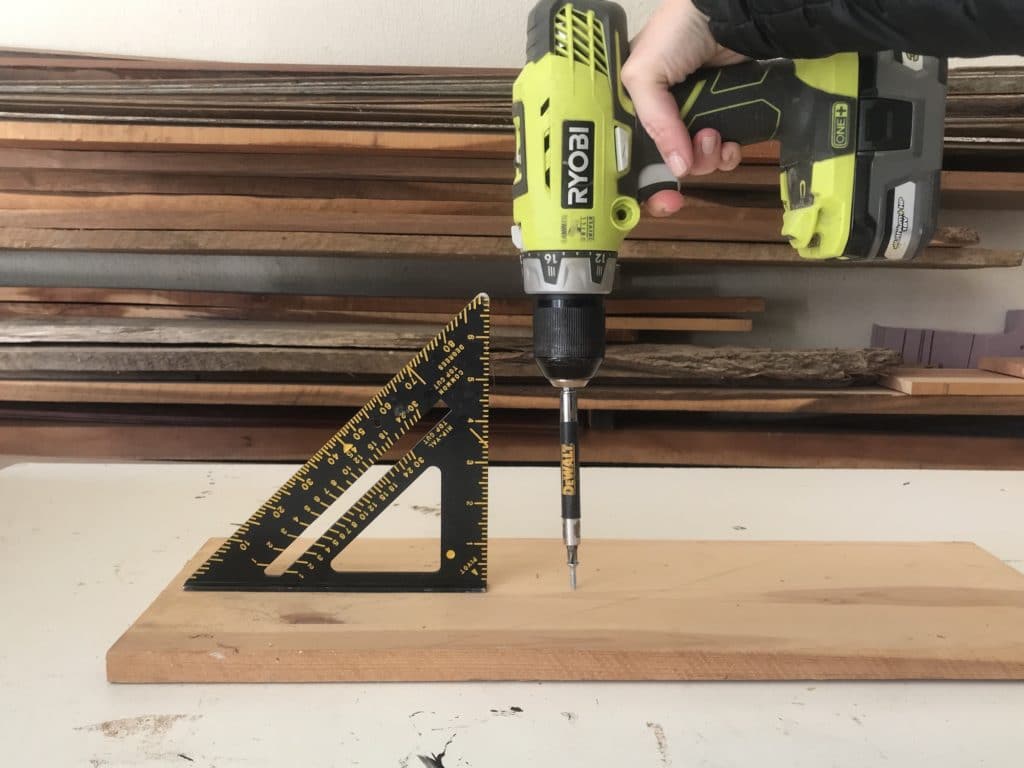
I prefer cordless because it is so much more versatile than a plug-in power drill. Because of this, you will also need to purchase a battery and a charger. Certain systems, like Ryobi’s One+ will offer a ton of tools that connect to their batteries. However, the batteries and chargers don’t always come with the specific tool you are buying.
I learned this the hard way when I bought Ryobi’s brad nailer. I saved up JUST enough to purchase it, then realized I had to buy the charger and battery as well. It has worked out in the end, since I have purchased so many Ryobi tools that are compatible with the battery and charger I had to buy, but it is still something to take into account when thinking of purchasing a cordless power drill.
I own this power drill and this impact driver. You can read all about how to get started with power drills here.
Basic Tool for Furniture Making #3: The Kreg Pocket Hole Jig System
Kreg’s Pocket Hole Jig System is one that will take your builds up a notch. Pocket holes provide a way to hide your screws when joining pieces of wood. The Kreg Pocket Hole Jig is a system that allows you to quickly drill pocket holes with the correct angle and depth.
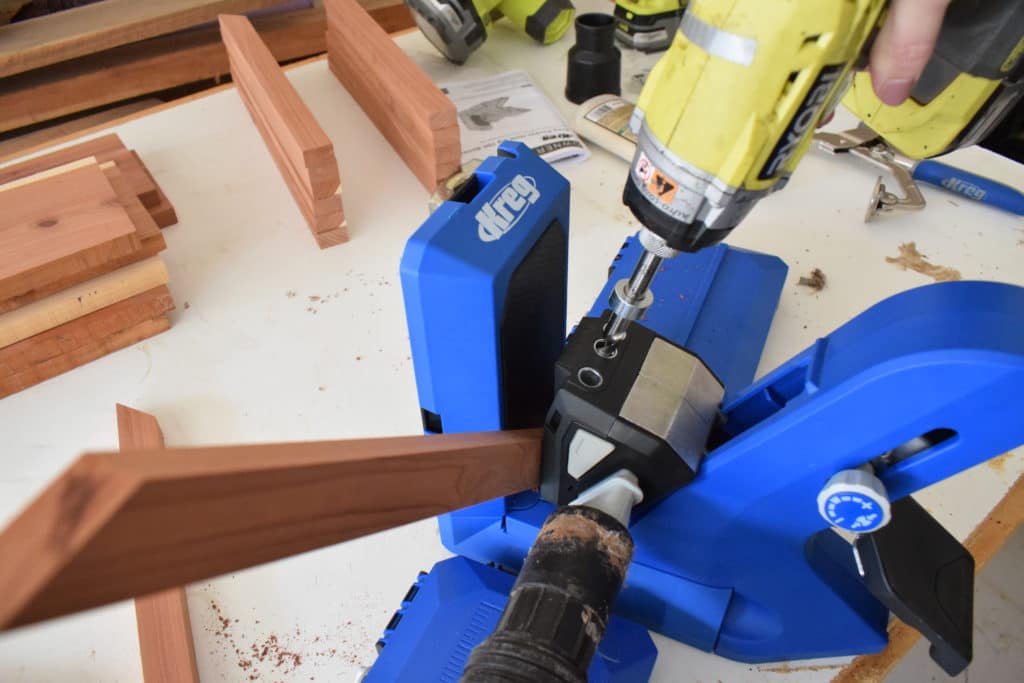
The projects you can make with a Kreg Pocket Hole Jig are truly endless. Start with something fun, like a table! Tables are my favorite builds – they create a space where people gather, relationships are made, and friendships are formed. I can’t think of a better space to create!
You can find my deep dive tutorial for how to use a Kreg Pocket Hole Jig System here.
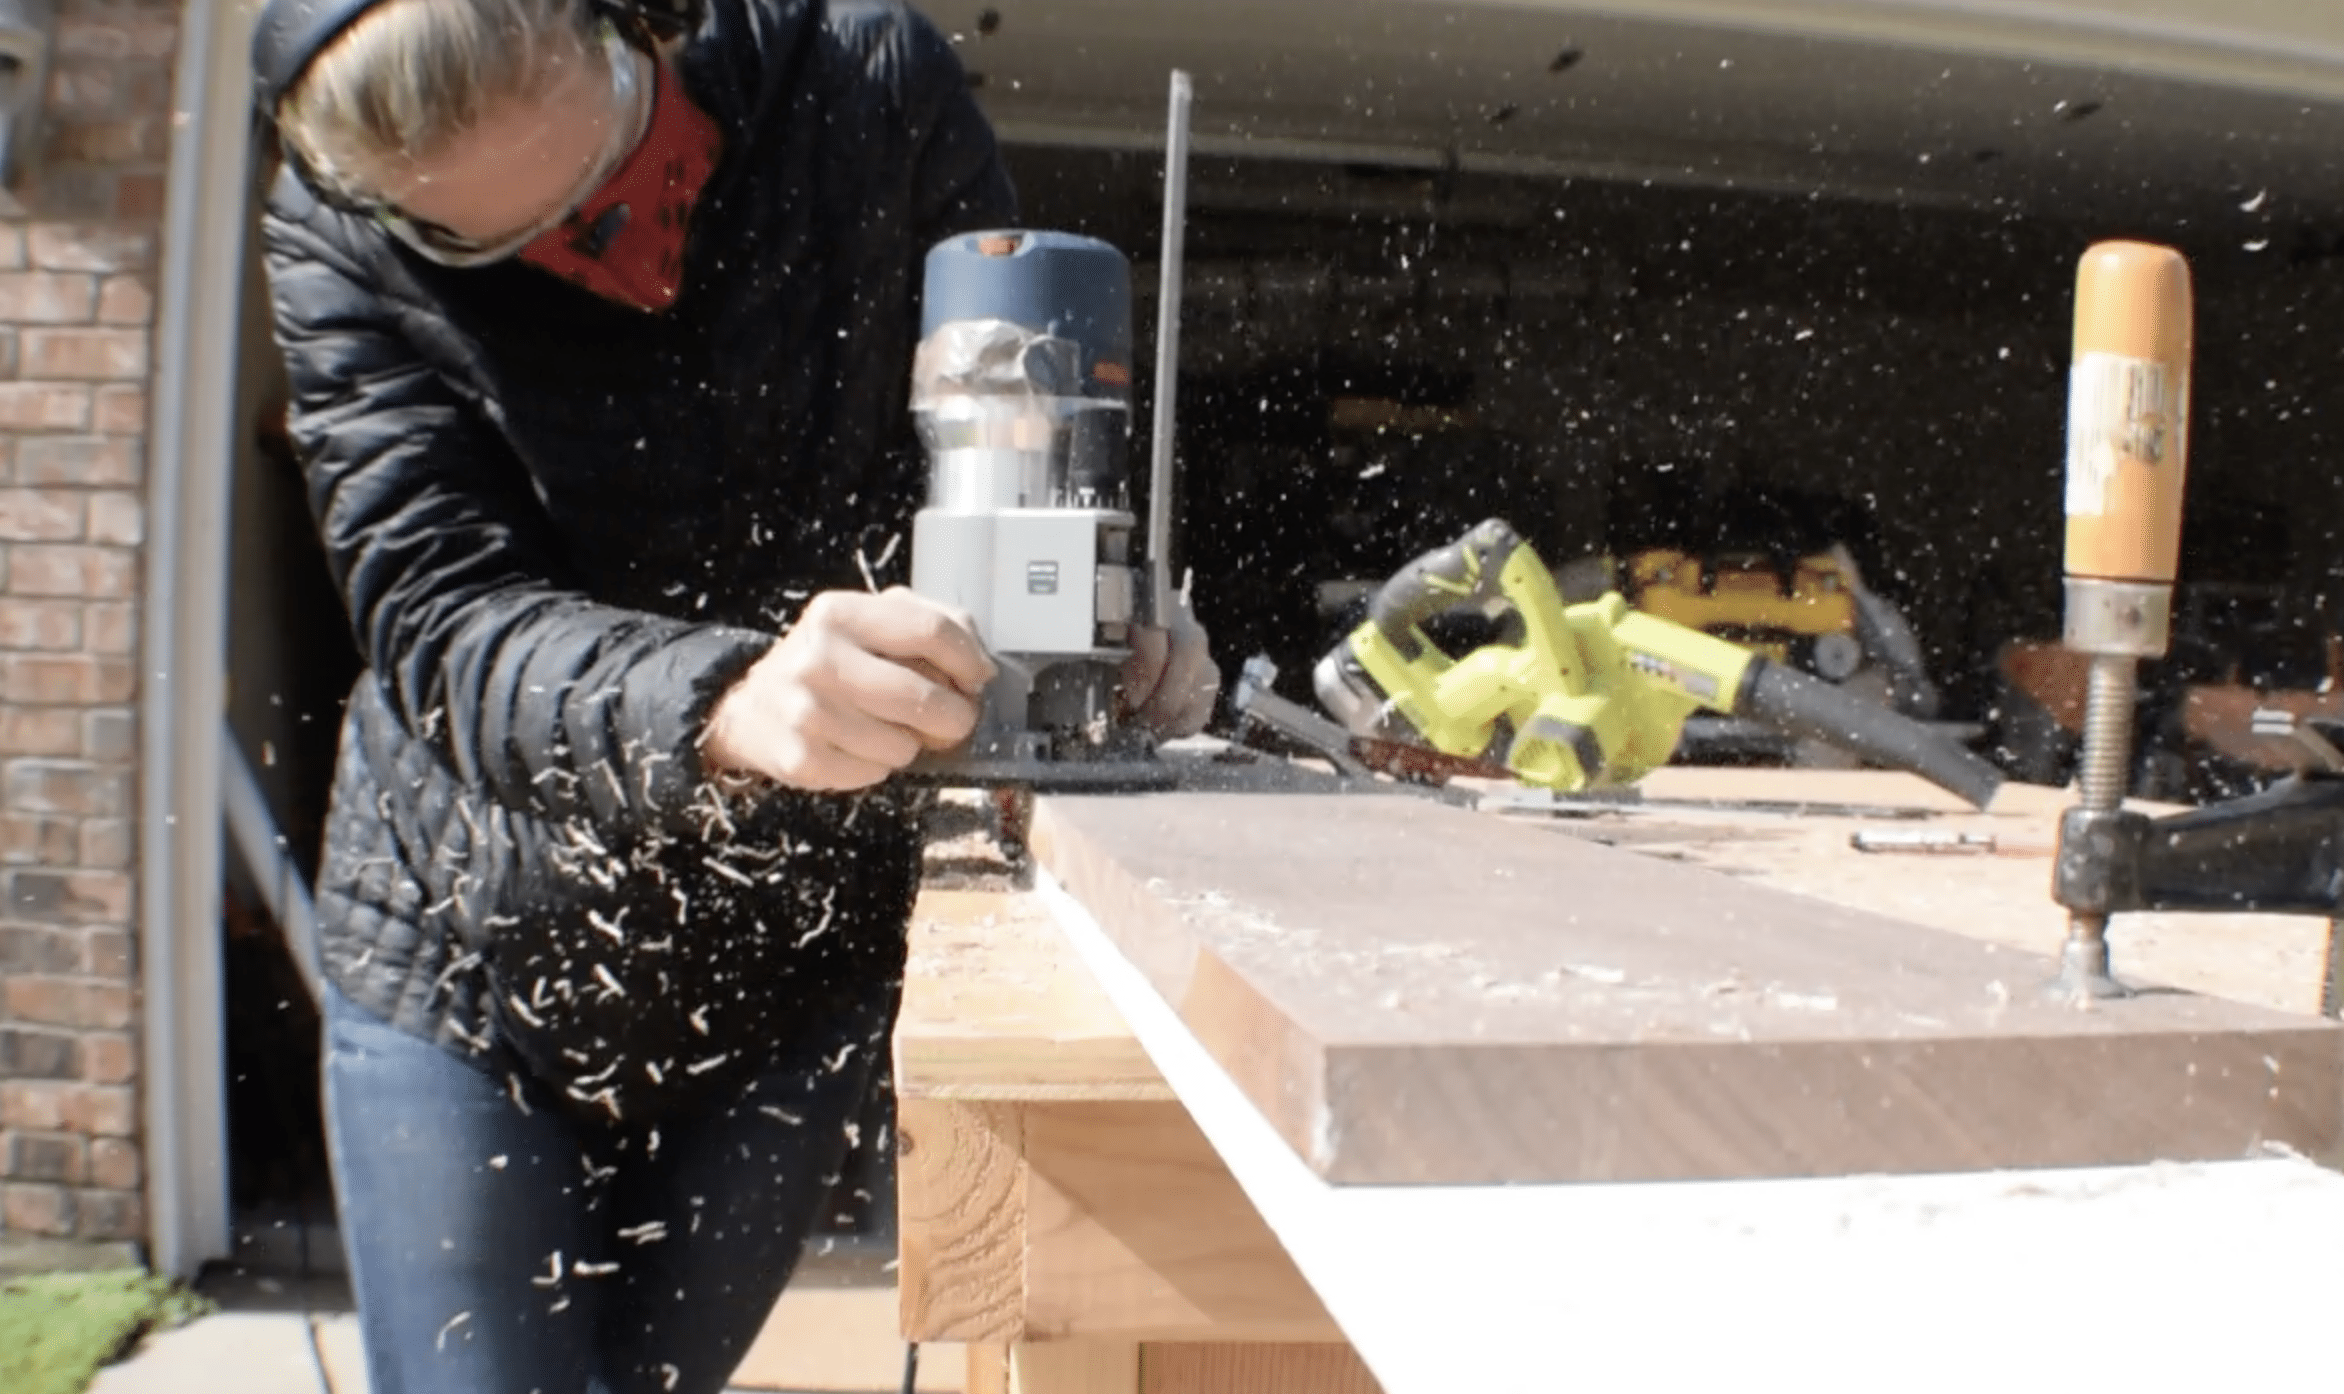
The Next Tools to Buy
Of course, we would all love a perfect, huge, well organized, and well-stocked wood shop with all of the best tools. But, that’s far from a reality for most everyone. My “shop” is one half of our garage. And I feel very lucky to have that space! Because it is small, I have to think wisely about tools I bring home because of space. And I have to be intentional about shop organization.
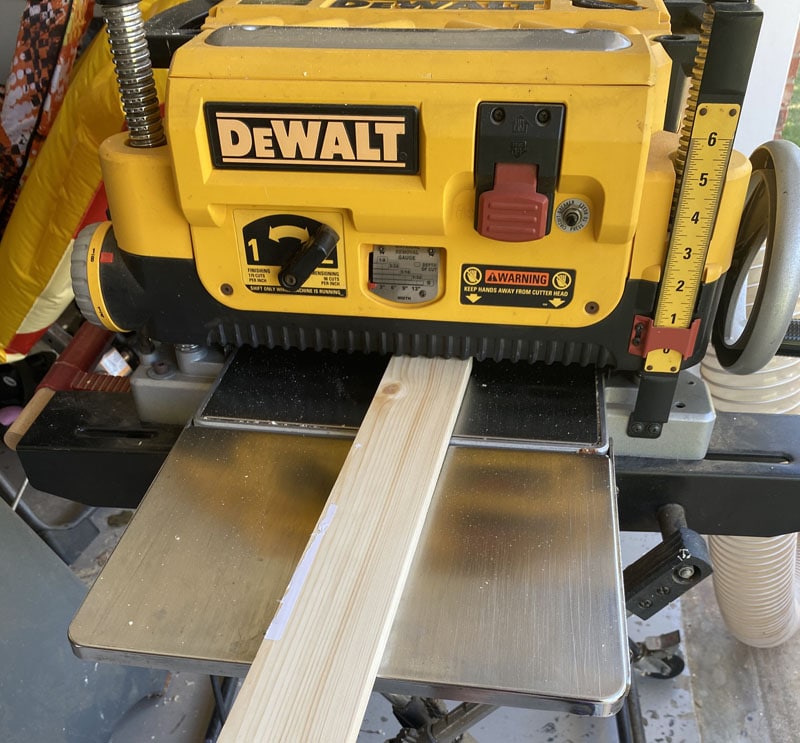
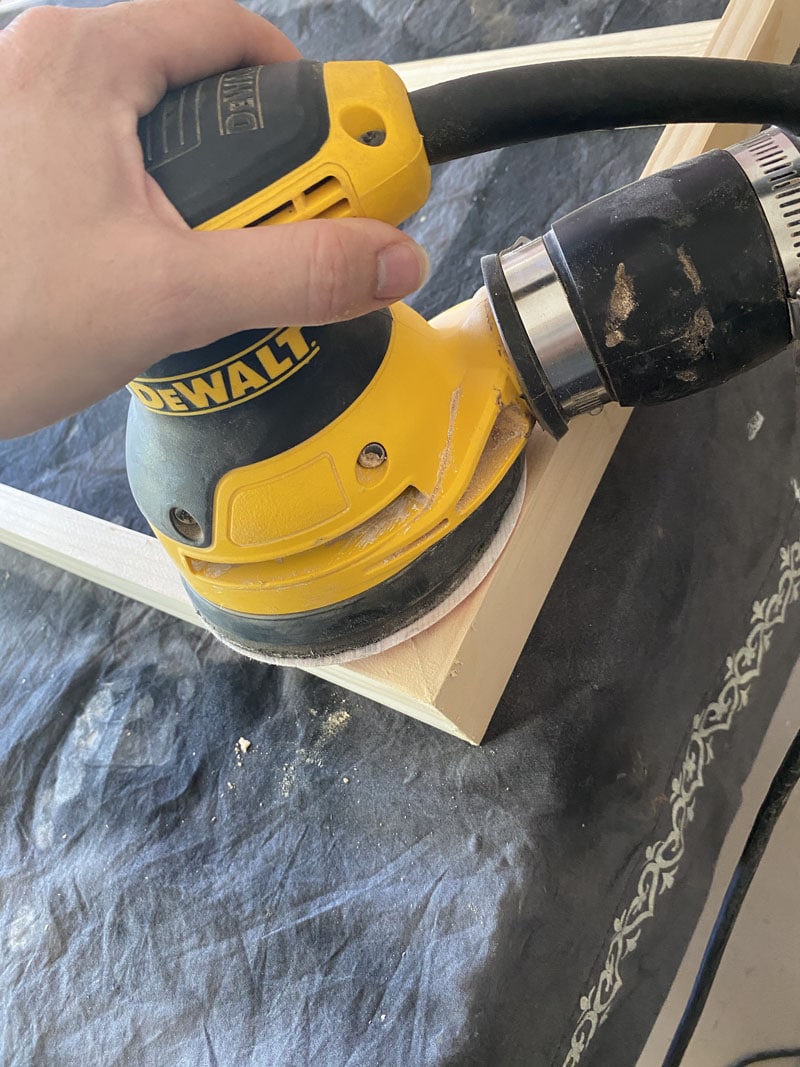
Even with space in mind, these 3 basic power tools I just covered are a necessity for getting started with woodworking. If you would like to step things up yet another notch, the next tools I would suggest you buy are a router, a planer, and a sander. You’ll be making store-bought quality pieces in no time.
So, there it is – the 3 basic, must-have tools to get started with woodworking, furniture building, and home DIY projects!
Once you have honed your skills with these tools, a great project to attempt would be this DIY mudroom hall tree build. Building quality furniture doesn’t just end there, though. Check out this post on how to get a smooth finish when painting things like cabinets!
I can’t wait to see what you create!

Suzie Wible
Suzie has shared her knowledge for over 10 years about building furniture, painting techniques, how to build your dream home, and basic to advanced woodworking skills. Through this blog, readers will feel empowered to create a home and products they love too.
3 Comments
Comments are closed.