How to Build a DIY Fireplace Surround: A Step by Step Guide
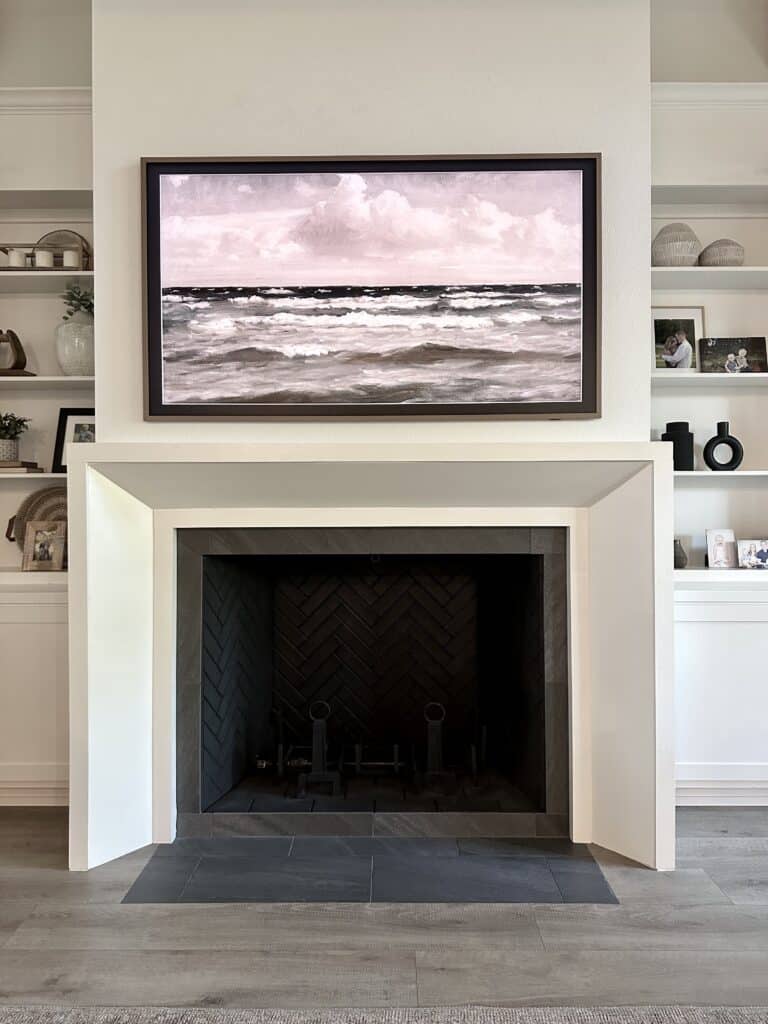
In this tutorial, I’m going to show you a step by step guide to building your own gas fireplace surround. This particular design surrounds 3 sides of a fireplace, as opposed to just a mantle above a fireplace. This DIY fireplace surround would work great with a gas fireplace or a wood-burning fireplace.
This was such a fun build! I love making things that create a big impact and are a focal point in a room. I had never made anything like this and new builds are always fun for me.
The particular dimensions of your surround might differ from mine. The variables that affect this will be the size of your fireplace, the space of the wall surrounding the fireplace, and personal preference. I will share the specific dimensions for our surround in hopes that you can either use the same dimensions, or modify them to make them your own.
Step 1 in Building a Fireplace Surround: Take Measurements
I will provide the measurements of our surround. If they work for you, great! If not, modify them to make them fit your space.
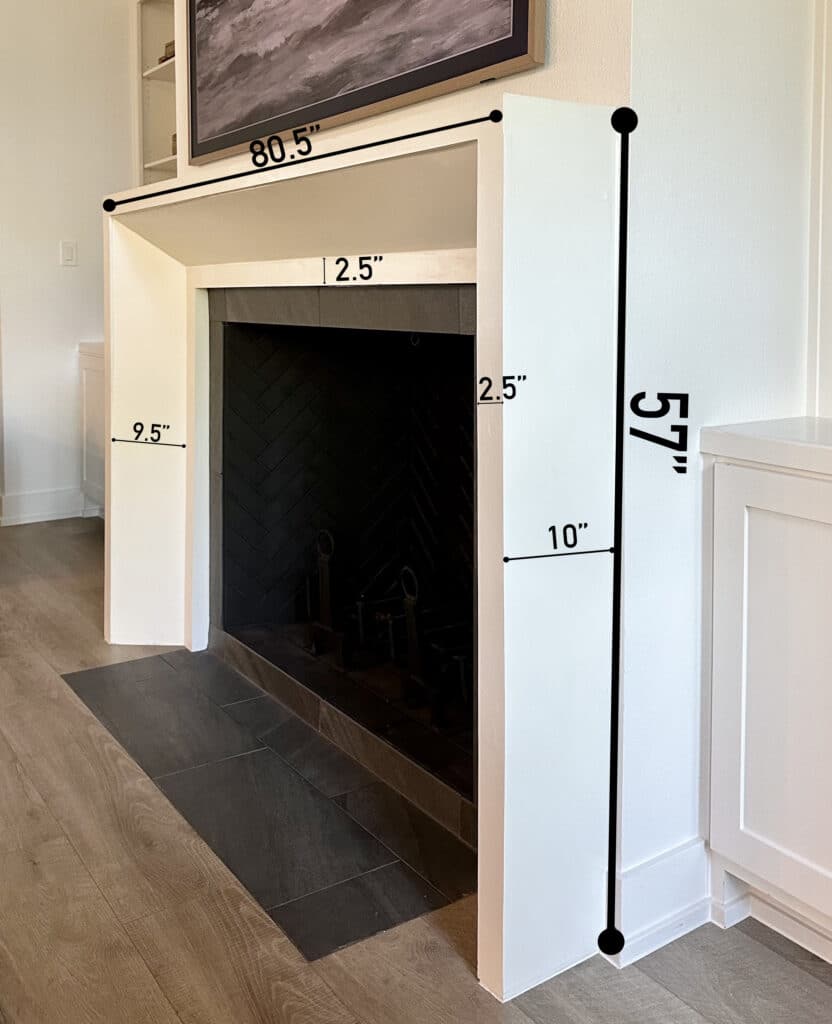
The opening of the fireplace surround is 57.5 inches wide and 45 inches tall.
NOTE: Be sure to check with your local building codes for the required space between the opening of the fireplace and the surround. Typically, you need to allow 6″ around the fireplace opening to account for heat output, but be sure to double check this according to your local requirements.
If you’re concerned about a fire hazard, replace the plywood with cement board.
Our gas fireplace model is the 50″ Rutherford made by Heat’n’Glo.
Step 2: Gather your Materials and Tools
This surround is made primarily out of wood. However, one thing I love about this design is how easily you can apply a top coat so that it doesn’t look like wood.
You can apply a thin coat of cement, roman clay, skim coat it, or just simply paint it. We ended up skim coating our surround, then applying paint.
Materials needed:
Disclaimer: This site contains product affiliate links. We may receive a commission if you make a purchase after clicking on one of these links.
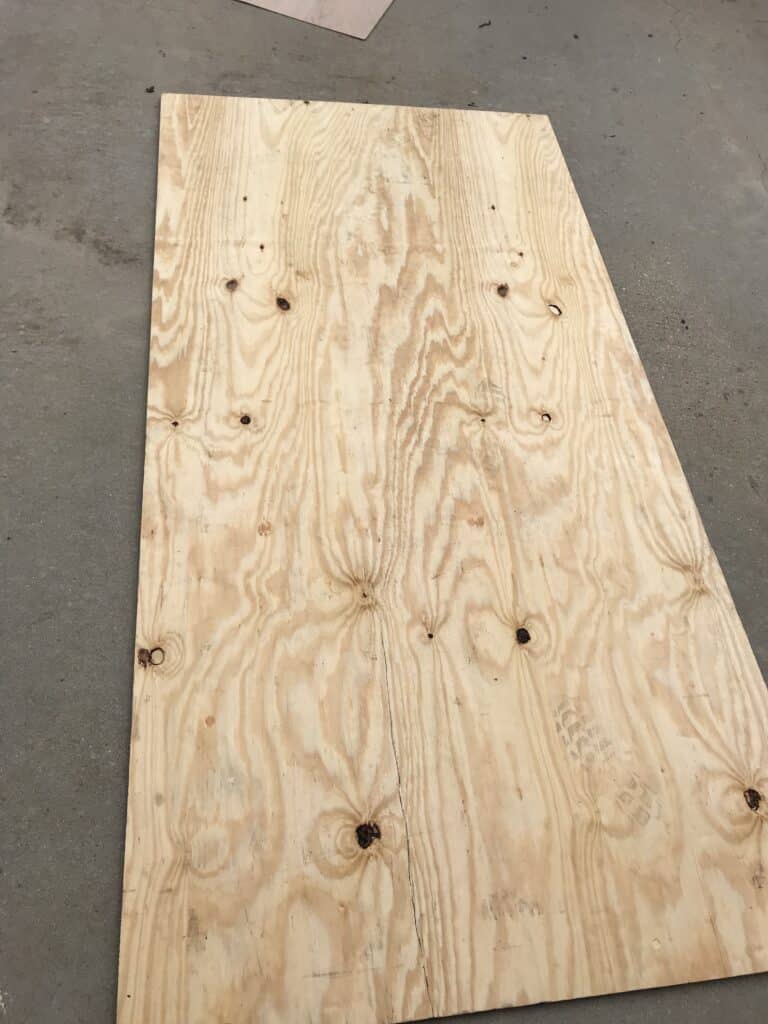
- (2) 4 foot x 8 foot 3/4″ thick plywood
- 1/8″ thick eucalyptus board
- screws
- wood glue
- joint compound (or preferred topcoat)
- paint, if desired
- caulking for install
- wood shims
Tools needed:
- drill
- miter saw
- table saw
- nail gun
- Kreg pocket hole jig
- carpenter’s square
- measuring tape
- stud finder
Step 3: Make the Cuts
I will provide many pictures in order for you to see the steps involved in assembling this diy gas fireplace surround.
I made all of the rip cuts with my table saw. All of the cross cuts and angled cuts were made with my miter saw.
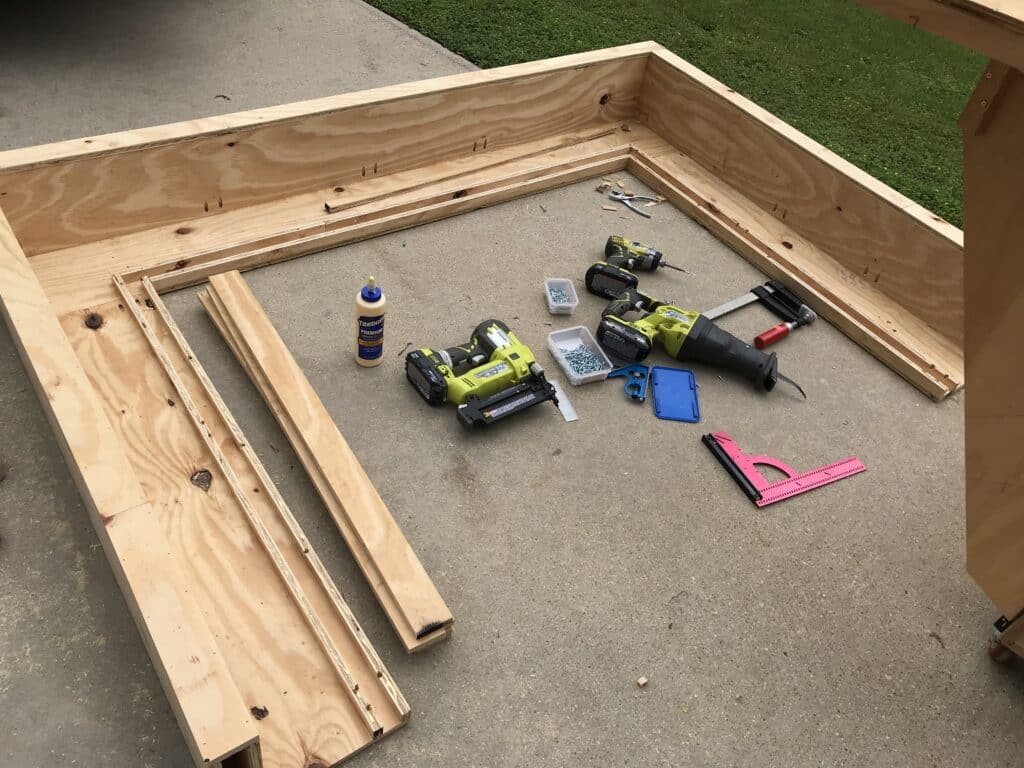
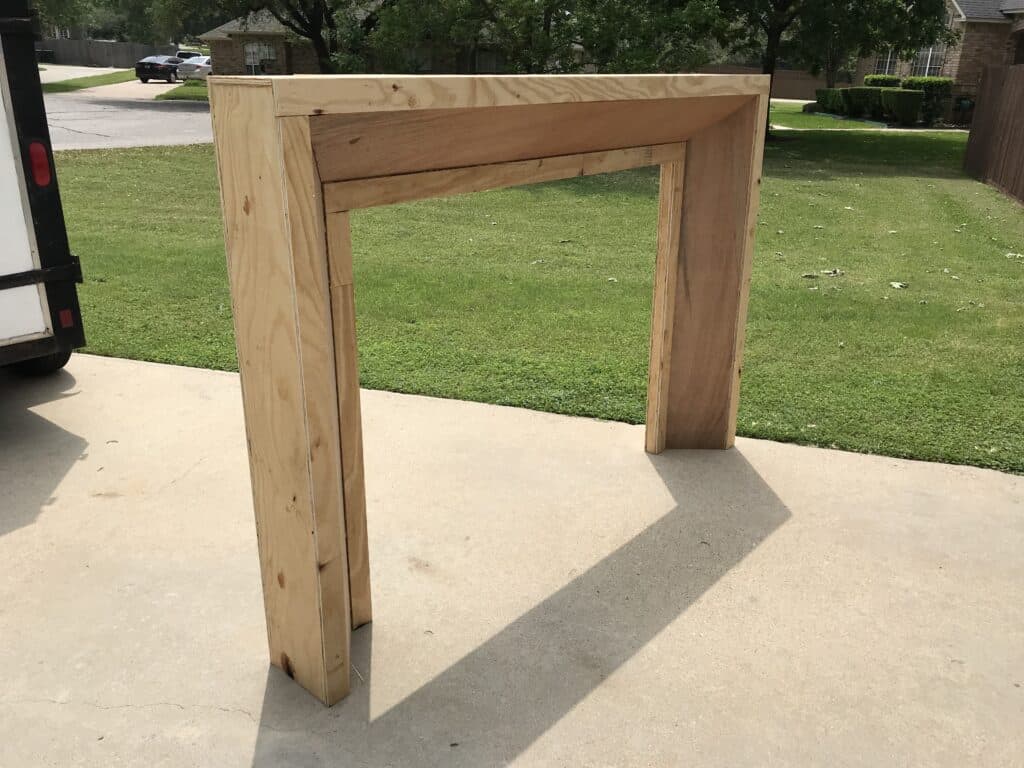
I began with the back of the surround and treated it as a base. All of the assembling was done flat on the ground like the picture below, so be sure to create a strong background.
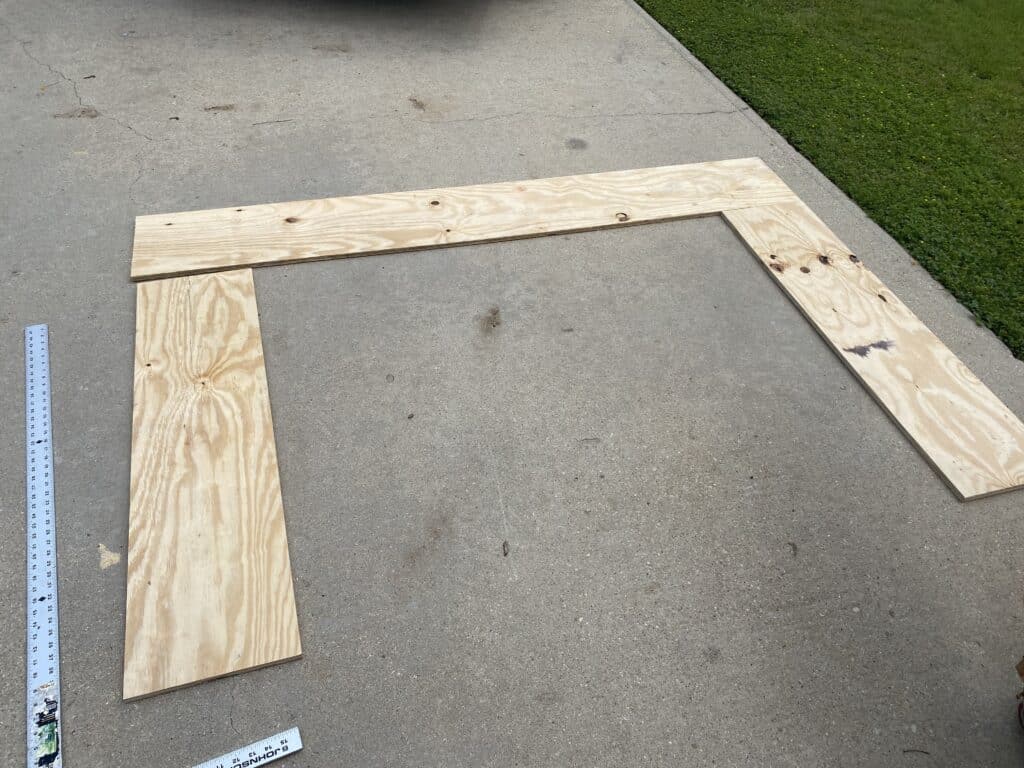
It is very important to use a carpenter’s square when you’re assembling any of the pieces for this project. Since this fireplace surround will be such a focal point in the living room, anything off square will stand out.
Step 4: Begin Assembling the Fireplace Surround
After the back of the surround is assembled, add the top (mantle) portion of the surround.

I find it easiest to measure and cut as I go. I measure against the actual wood that has been cut. I find that this creates a more precise outcome.
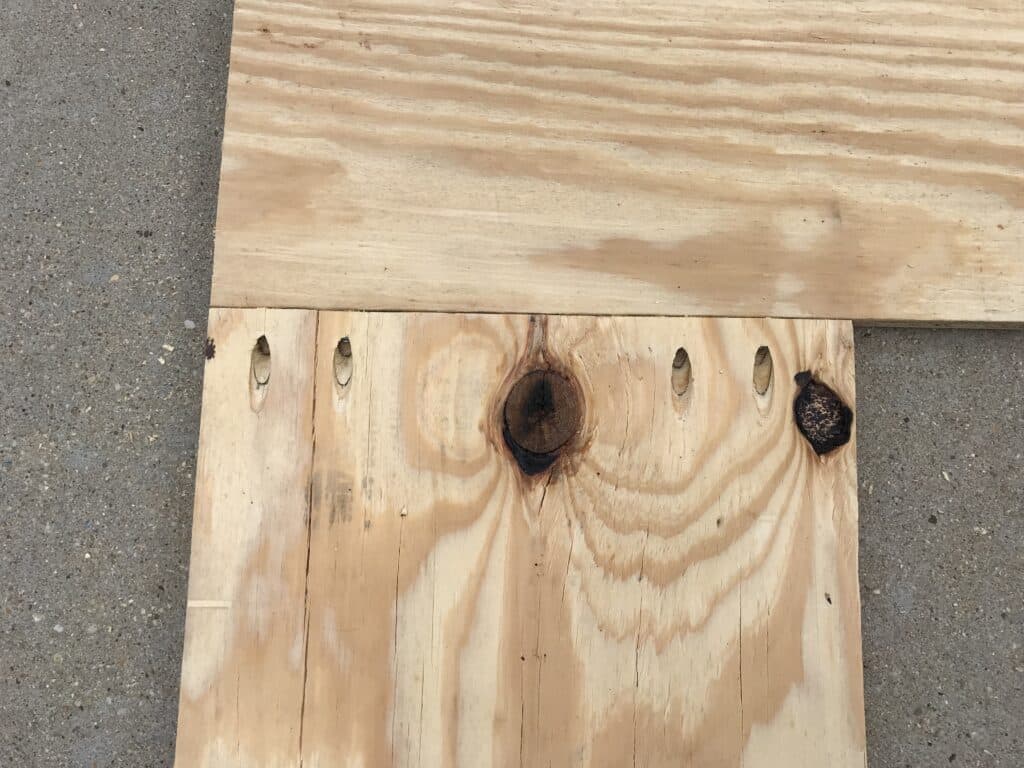
Assemble all of the pieces with wood glue and pocket hole joints.
The wood glue I used is Titebond III (my go-to glue). The pocket hole jig I used was my Kreg pocket hole jig.
The Kreg clamps are also very helpful in achieving good pocket hole joints. They really help holding things together while the pieces are joined together with pocket holes.
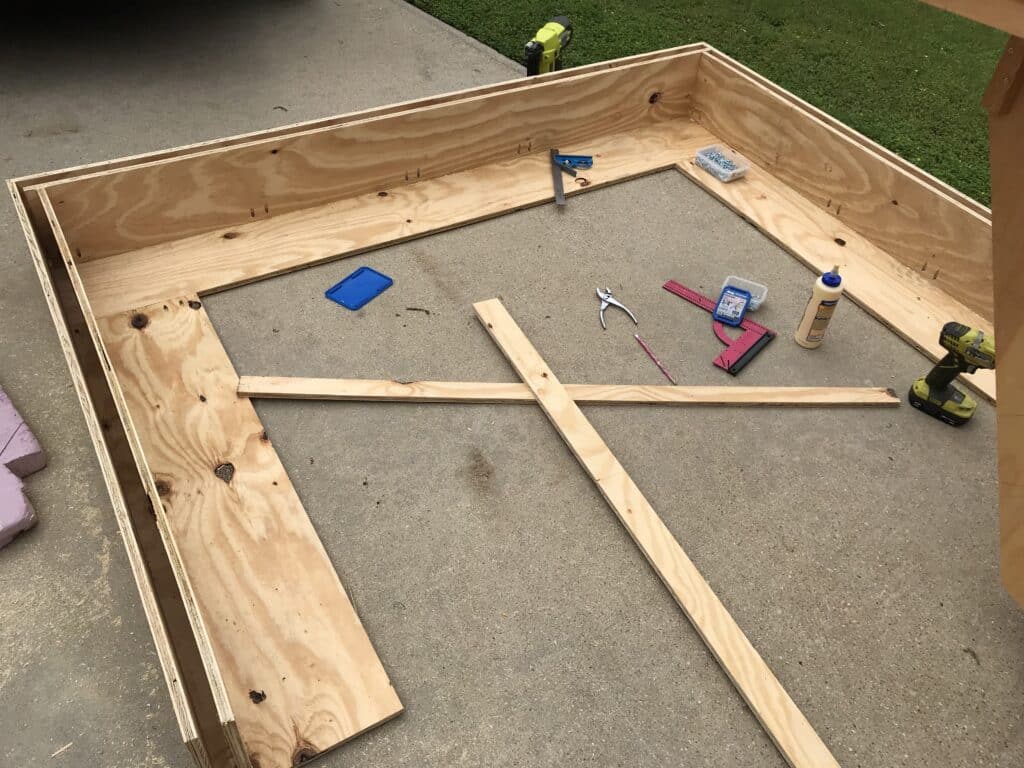
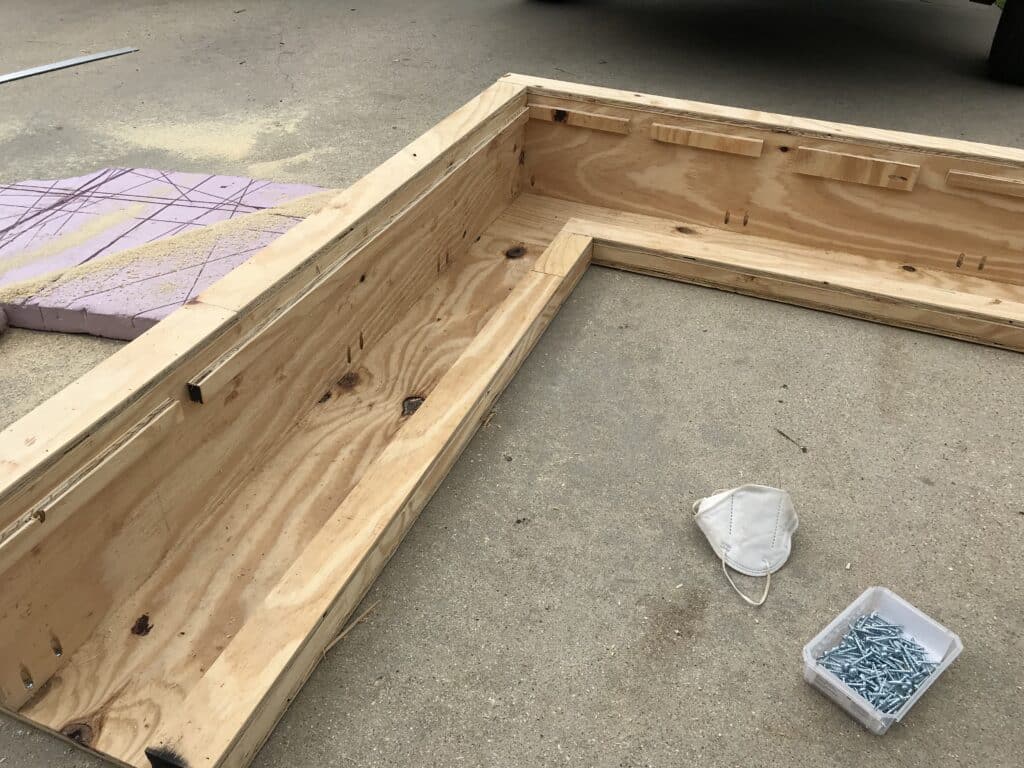
Once the top is attached the back, add the sides to the left and right.
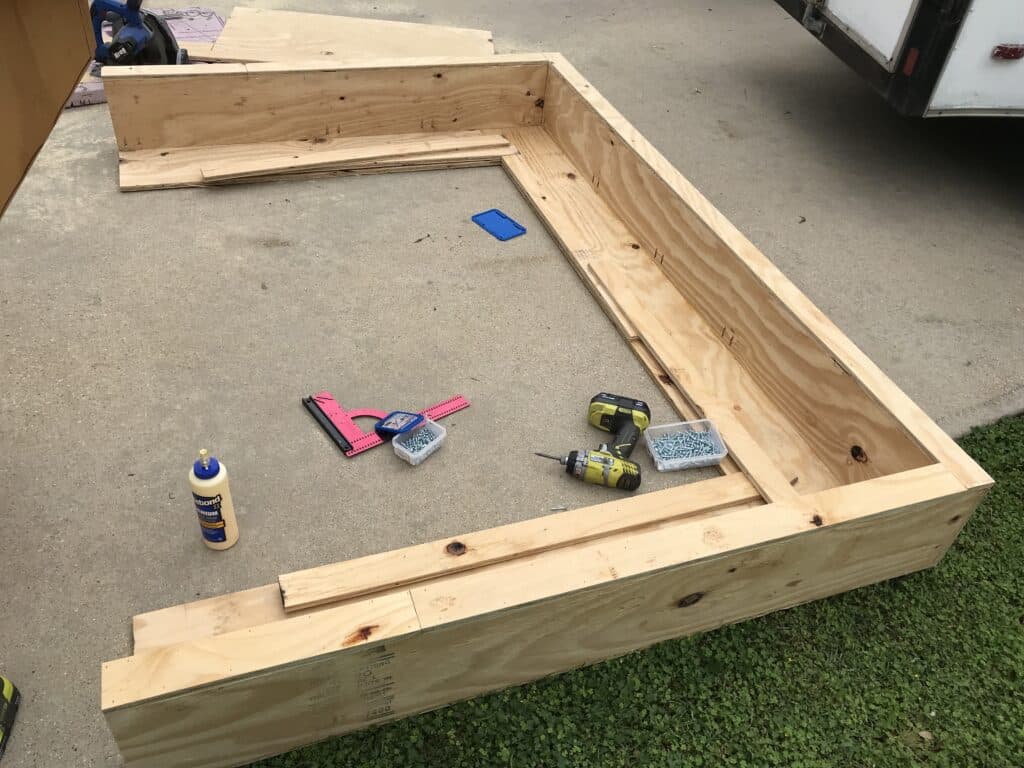
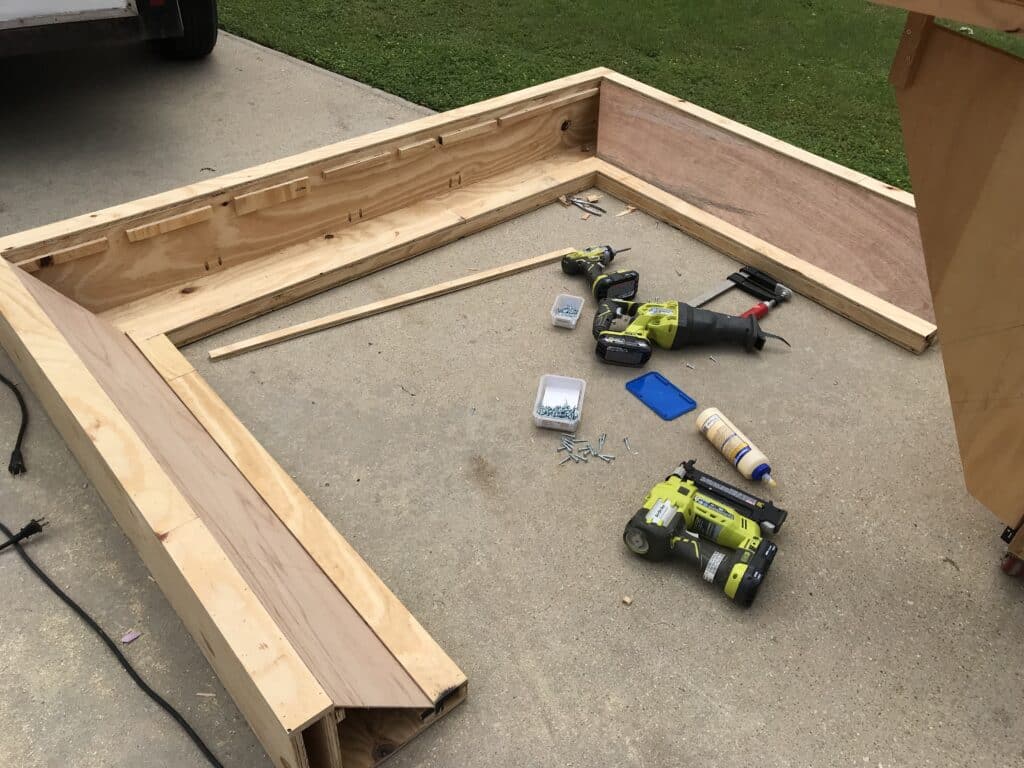
You will then make 3 more similar cuts in order to make the outside border of the fireplace surround. Using wood glue and pocket holes, attach these 3 pieces 2.5 inches from the surrounding border.
You will then create a face for the border you just created. Set your table saw to the exact measurement of the outside frame you just made. Pay close attention to the kerf (width of the blade) when making your cuts. Make the rip cuts in the plywood on the table saw.
Attach these pieces with wood glue and a nail gun.
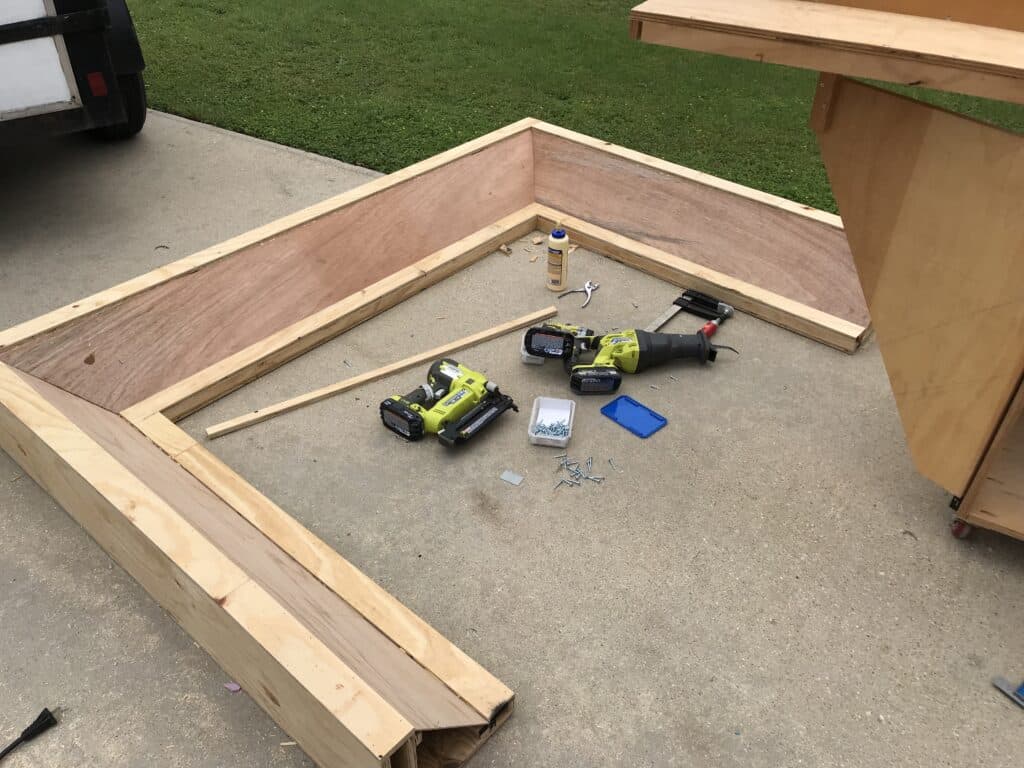
You will then create essentially the same border on the inside, only shorter. This is 2 inches thick.
Once the frame of the inside border is created, cut the face frame for this border. It will be similar to the outside frame of the surround.
Aesthetically, this width looks best if it matches the outside border, in my opinion.
You will then use scrap pieces to create a base for the angled pieces. This will provide a space for the eucalyptus board to be nailed in to.
I cut the 1/8″ plywood (eucalyptus board) at a 32.5 degree angle. This was also something that I measured against what I had already built. Your surround will be the most accurate if you verify this as well.
Attach the eucalyptus board with nail gun and wood glue.
This piece is slightly tricky, as it is similar to crown molding. Just be sure to take lots of measurements before you make your cuts.
Below is a picture of what the surround looks like on the inside. This will give you a good idea of how to assemble it.

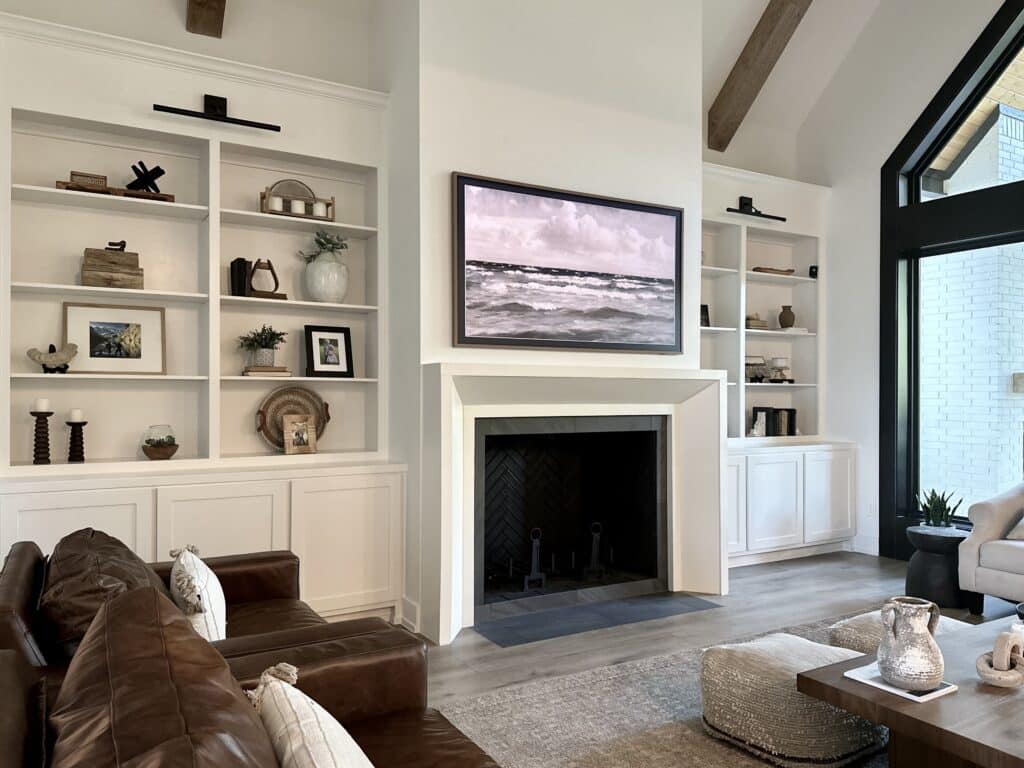
This is what the surround looks like fully assembled.
Step 5: Apply the Top Coat
I wanted to keep the gas fireplace surround for our house simple. I wanted the finish to be super smooth and painted.
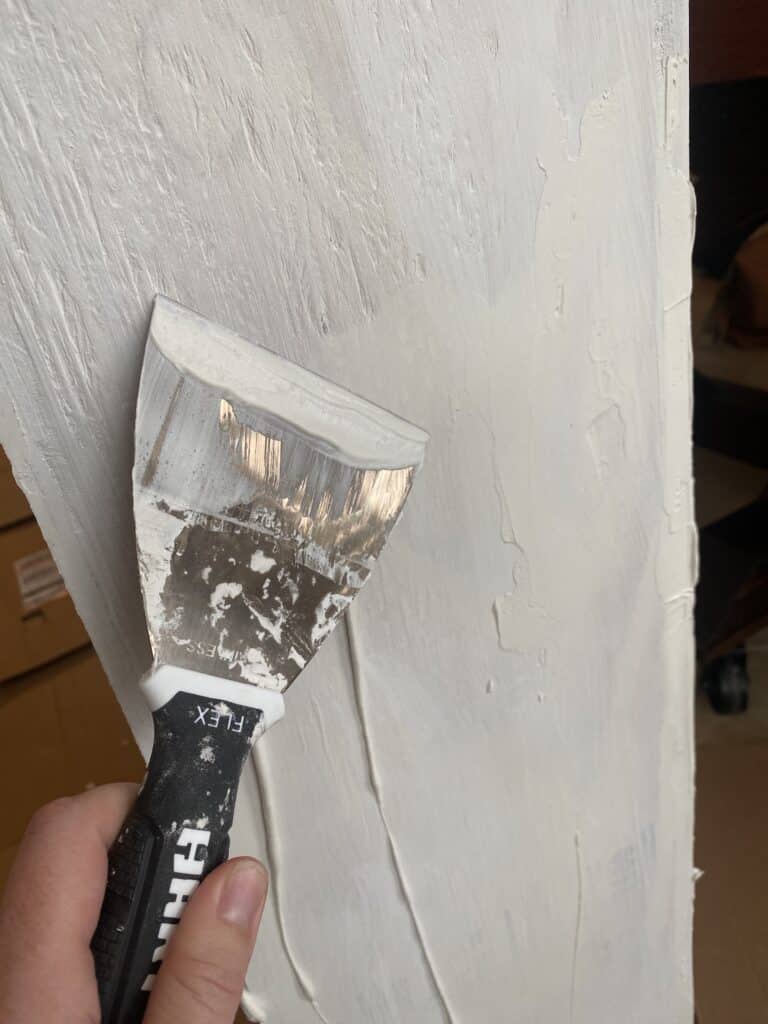
So, I bought joint compound and a putty knife. The plywood I used was not smooth and had a lot of imperfections.
I used the joint compound to cover all of these imperfections by applying multiple thin coats. This also filled all of the nail holes.
It took about 4 coats to fully cover the texture on the whole thing. I lightly sanded between coats in order to get a super smooth finish. This was time consuming and slightly messy but worth it in the end!
After the joint compound had completely dried, I applied Kilz primer.
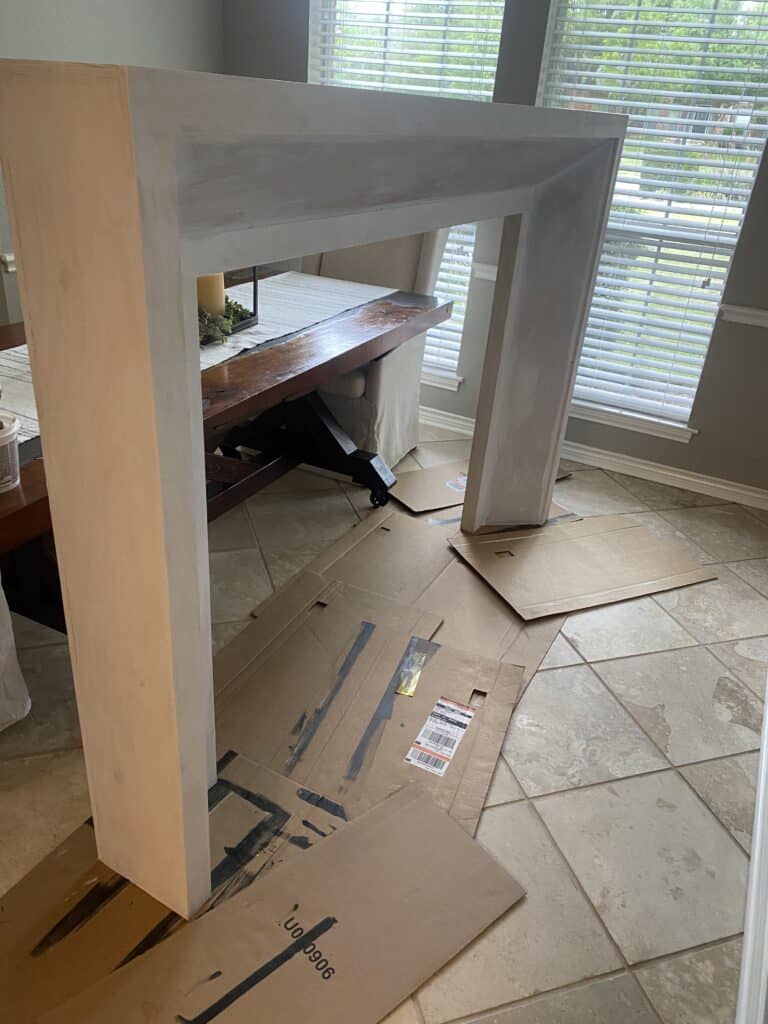
Once the primer had dried, I painted two coats of Snowbound by Sherwin Williams. This is the color on our cabinets, walls, and trim in our house.
Some other options for finishing the fireplace surround include: roman clay, covering it in a faux natural stone spray, or a concrete skim coat.
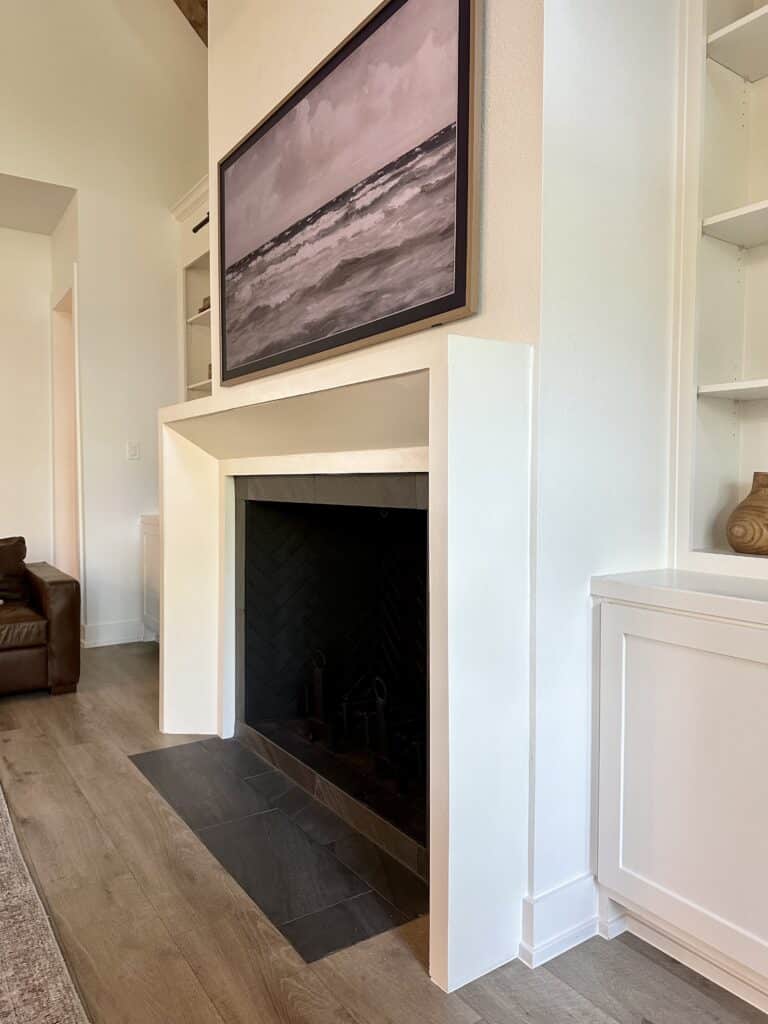
Step 6: Install the Fireplace Surround
The final step is to install the fireplace surround. Begin by setting the surround in place. In our case, we needed to put wood shims at the bottom of the surround in order for it to not wobble. This also ensured that the surround would sit flat against the wall.
I also drilled pocket holes in the sides of the surround so that I could screw it directly into the studs behind the drywall. This step is especially important in order to ensure that the fireplace surround will not tip over.
Once it was attached to the wall, apply caulking where the surround meets the wall and the floor. Be sure to purchase paintable caulking so that you can make any touch ups that might be needed.
Ideas for DIY Fireplace Surround
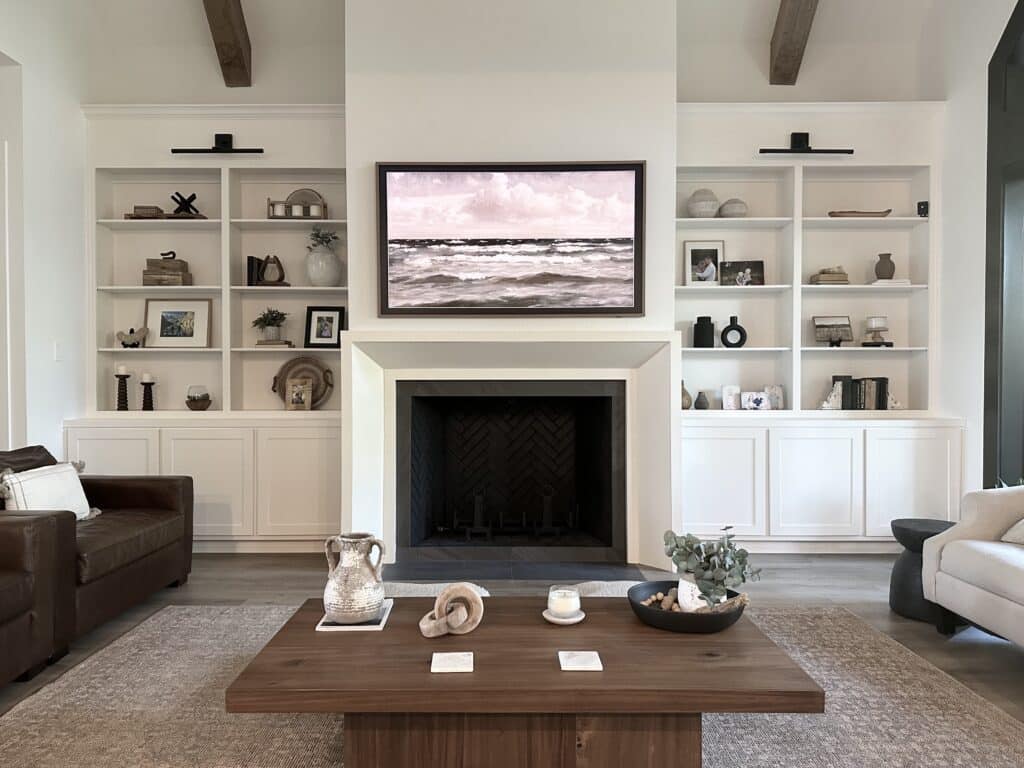
This is such a great DIY project that packs such a big punch for a room. It is simple, yet beautiful and greatly adds to the look and feel of a family room. Although we did this for our gas fireplace, it would also work great for wood fireplaces as well.
This fireplace project would also be a great way to spruce up an existing brick fireplace. Building a surround like this, then placing it in front of the brick would be a great and cheap way to update an old fireplace.
The entire surround cost about $100 in materials. Not too bad, considering a similar stone fireplace surround can cost in the thousands!
In fact, I plan on doing the exact same thing again very soon for an electric fireplace in our primary bedroom. During the construction of our new home build, we intentionally wired for a future electric fireplace. I think a surround like this would look great around it.
This diy fireplace mantel would also work great for a faux fireplace. Simply adding this surround to a wall creates a fun space when an actual fireplace might not be an option.
Before you know it, you will have a beautiful fireplace surround! Happy building!
If you’re interested in other DIY home projects, be sure to check out the following posts:
- DIY Kitchen Vent Hood
- DIY Mudroom Locker Built Ins from Stock Cabinets
- How to Add Pull Out Drawers to Existing Cabinets
- How to Paint a Dresser Black
- DIY Upholstered Sitting Bench
- DIY Round Side Table
- DIY Square Coffee Table
- DIY Custom Closet on a Budget
Check out the webstory for How to Build Your Own Fireplace Surround here!

Suzie Wible
Suzie has shared her knowledge for over 10 years about building furniture, painting techniques, how to build your dream home, and basic to advanced woodworking skills. Through this blog, readers will feel empowered to create a home and products they love too.