How to Make an Easy Floating Frame for a Canvas Painting
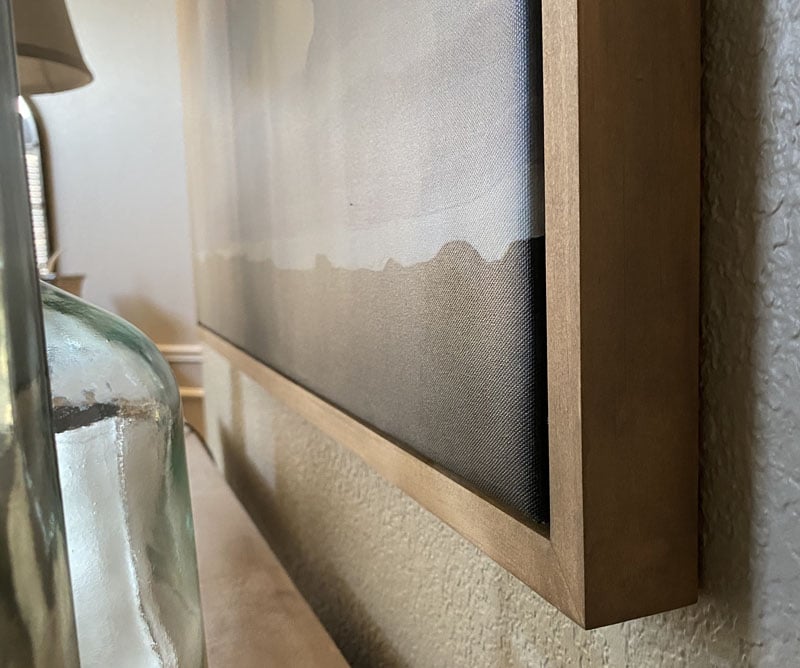
Today, I’m going to share a tutorial for how to build a DIY wood canvas frame that you can quickly and easily make at home. The specific frame style is “floating” meaning the frame looks like it is floating around the canvas without touching it.
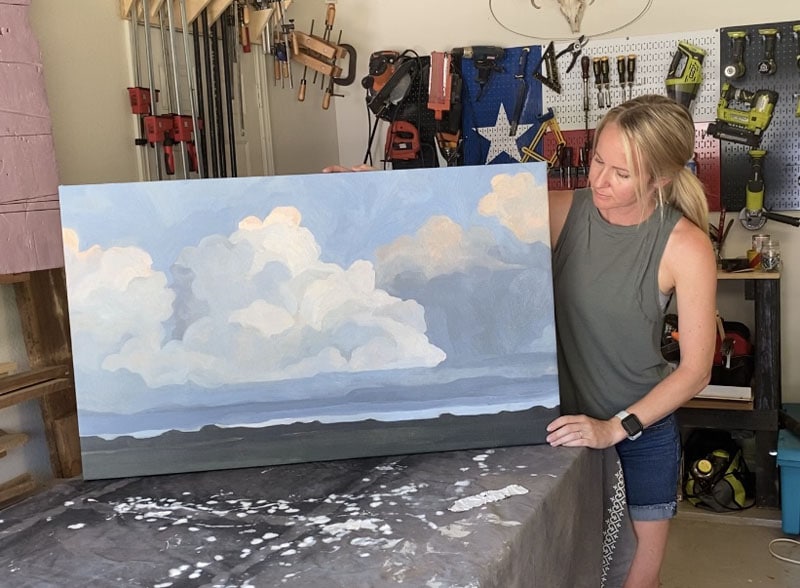
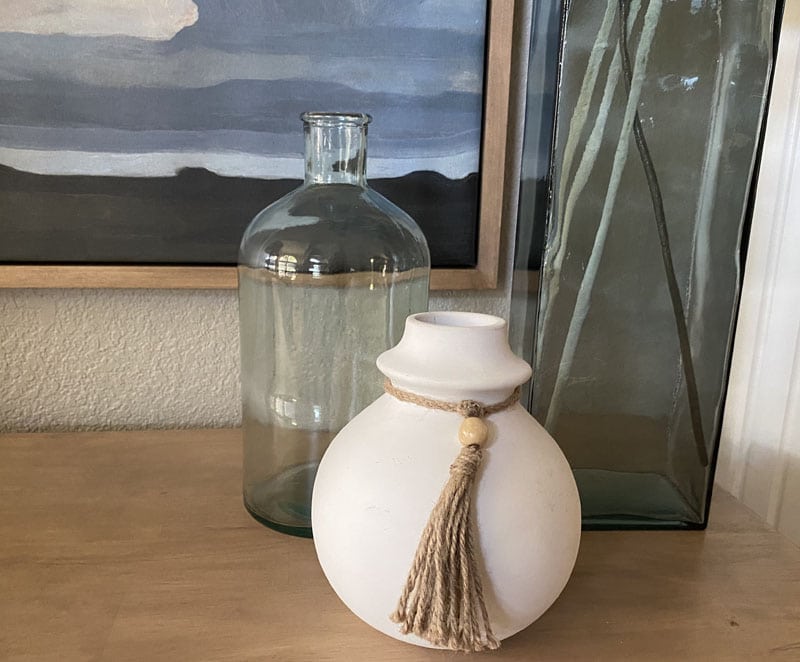
For this project, I partnered with Photowall and chose one of their beautiful canvas prints for our home. I have been really into landscape artwork, so after looking around hundreds of their prints, I finally landed on this one.
Disclaimer: This post is sponsored by Photowall. All opinions are my own. A discount code for their site can be found at the bottom of this post. Disclaimer: This site contains product affiliate links. We may receive a commission if you make a purchase after clicking on one of these links.
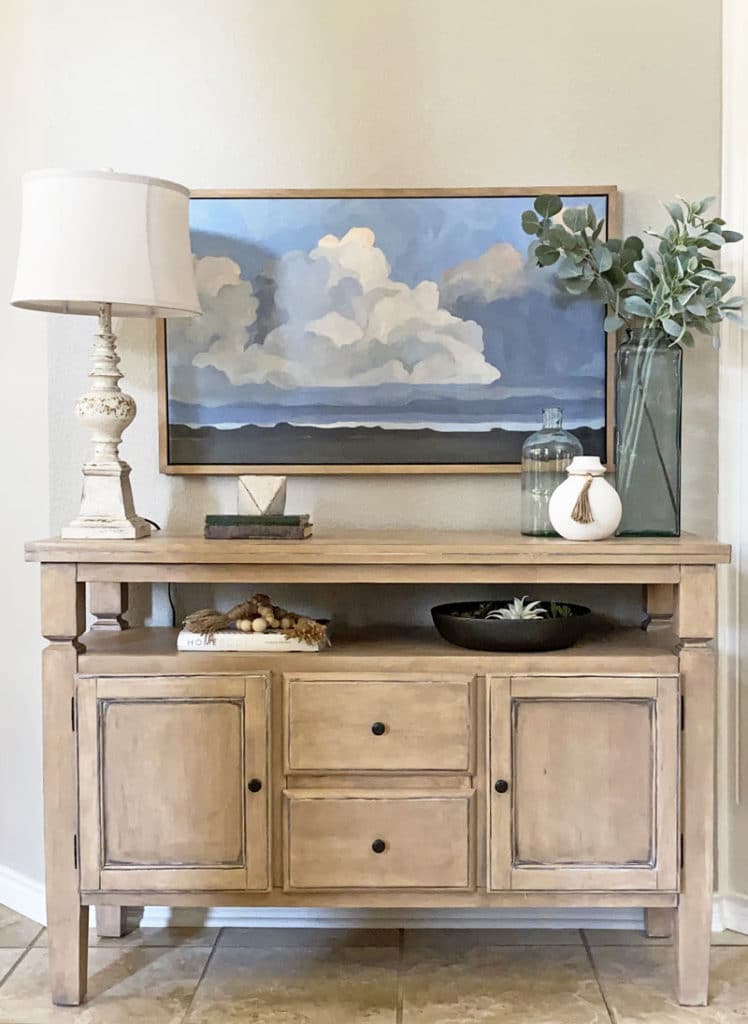
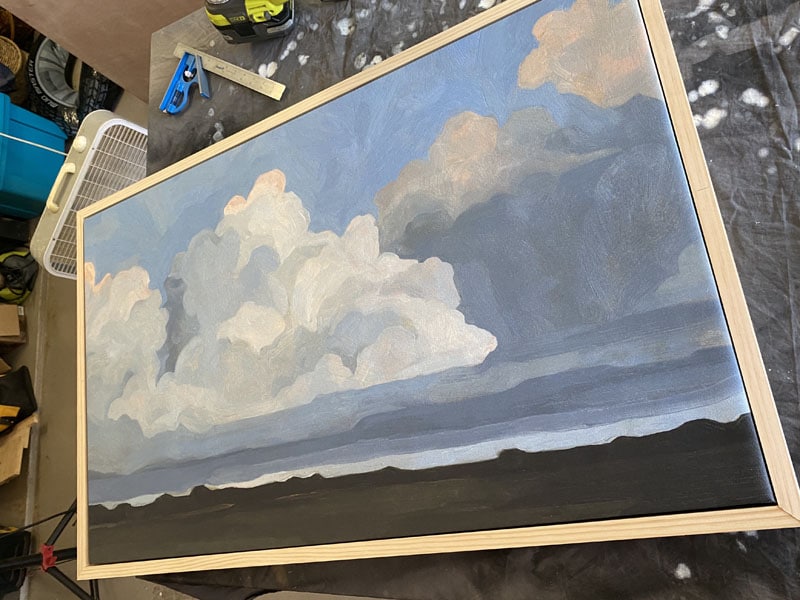
I love this canvas print so much and wanted to complete the look by framing it out with wood. Floating canvas frames have caught my eye for awhile, so I set out to build one! Here’s how she turned out:
And here’s how I made it!
Supplies for a DIY Canvas Wood Frame:
-**prime 1″x2″ boards: enough to frame the canvas on all sides (I used (2) 8 ft pine boards)
-1″x3″ board, long enough to go the width of the frame once
–miter saw
–wood glue and glue brush
–90 degree position squares
–combination square
–spring clamps
–nail gun
–wood filler
–planer
–orbital sander
-stain of your choice
-playing cards (trust me!)
**Prime boards are a good option for this project because although they might cost a bit more than standard boards, they have less knots and imperfections. When making something like this frame, this is important if you want to create a more professional look.
Tip: you can save a little money on wood if you buy larger boards and dimension them yourself. Here is a great tutorial for how to dimension your own boards.
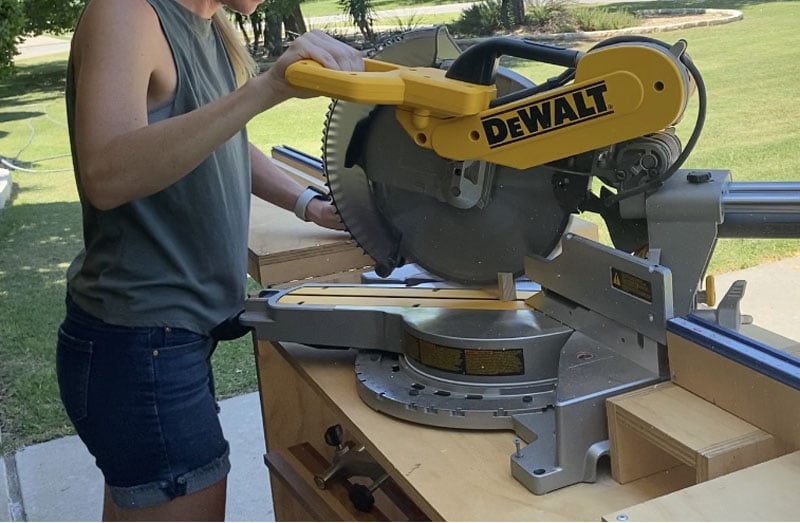
First, cut a 45 degree angle at the end of one of the 1×2 board with your miter saw. For tips on how to use a miter saw for beginners, check out this article!
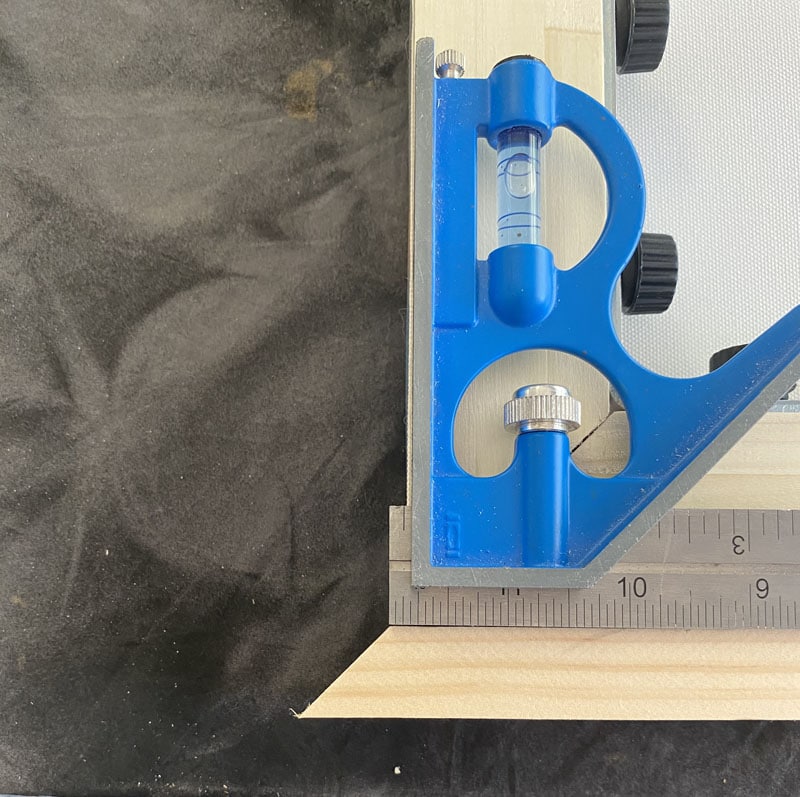
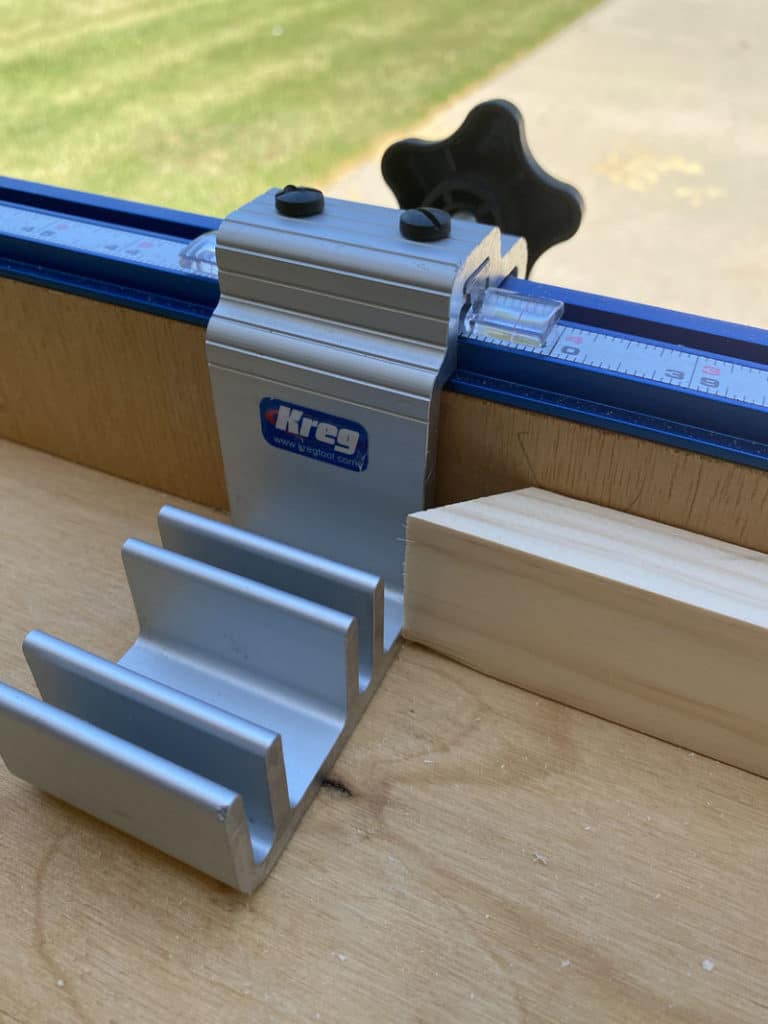
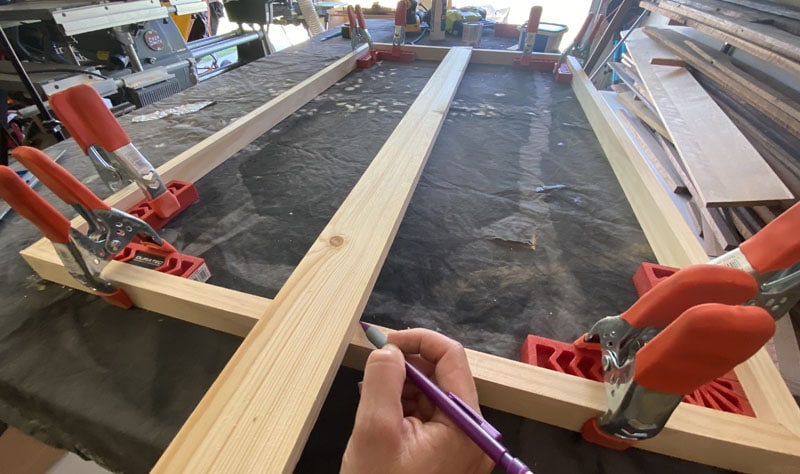
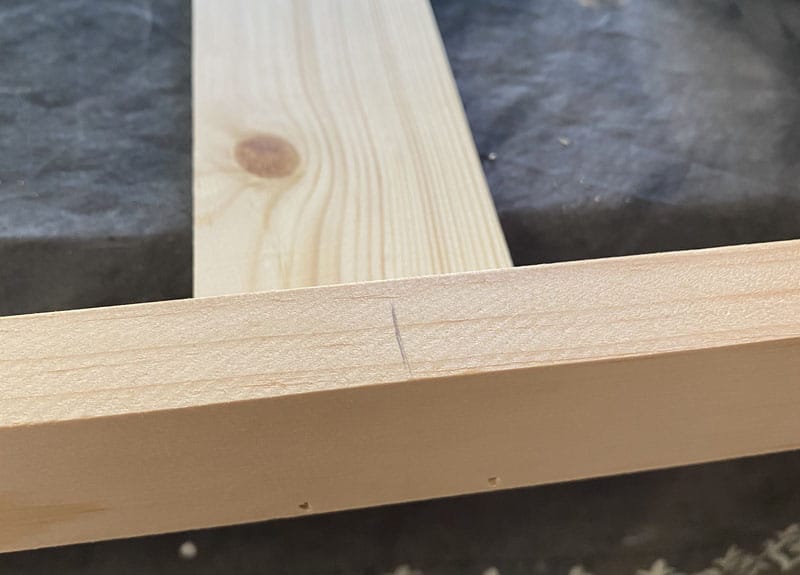
Line the board you just cut on one edge of the canvas, use your combination square, and mark the distance you want between the canvas and the frame to create the gap for the floating frame look.
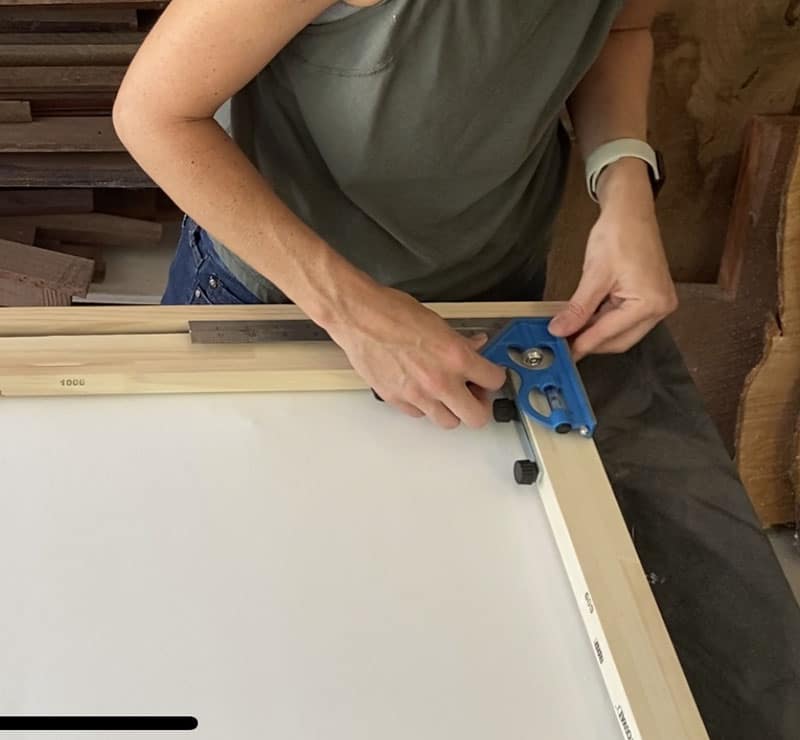
The combination square makes it much easier to get an equal gap all the way around the canvas to create the floating look.
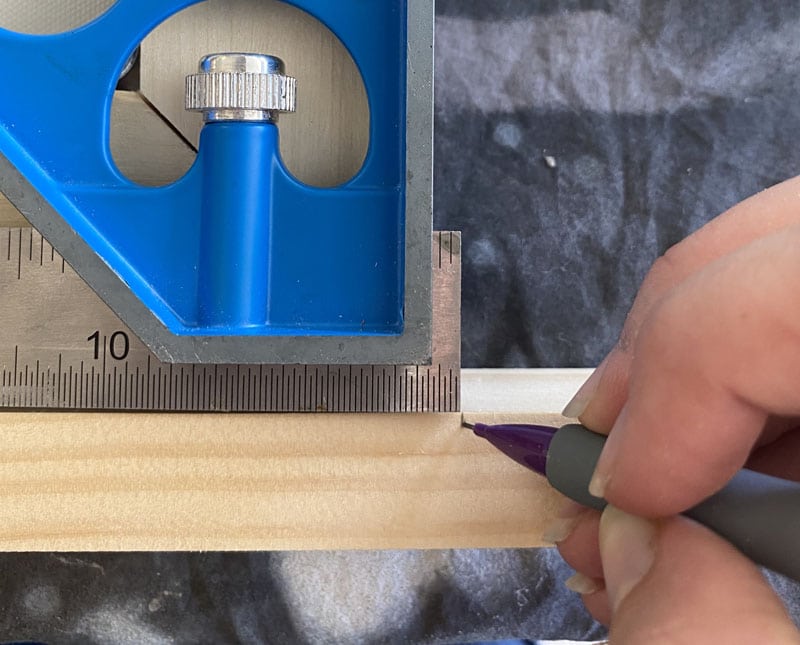
When the first side is lined up, take your combination square to the other side of the 1×2 and mark where your next miter cut will be.
Since it can be a little tricky to make a perfect cut for a miter joint at an angle, I recommend slowly inching towards your mark.
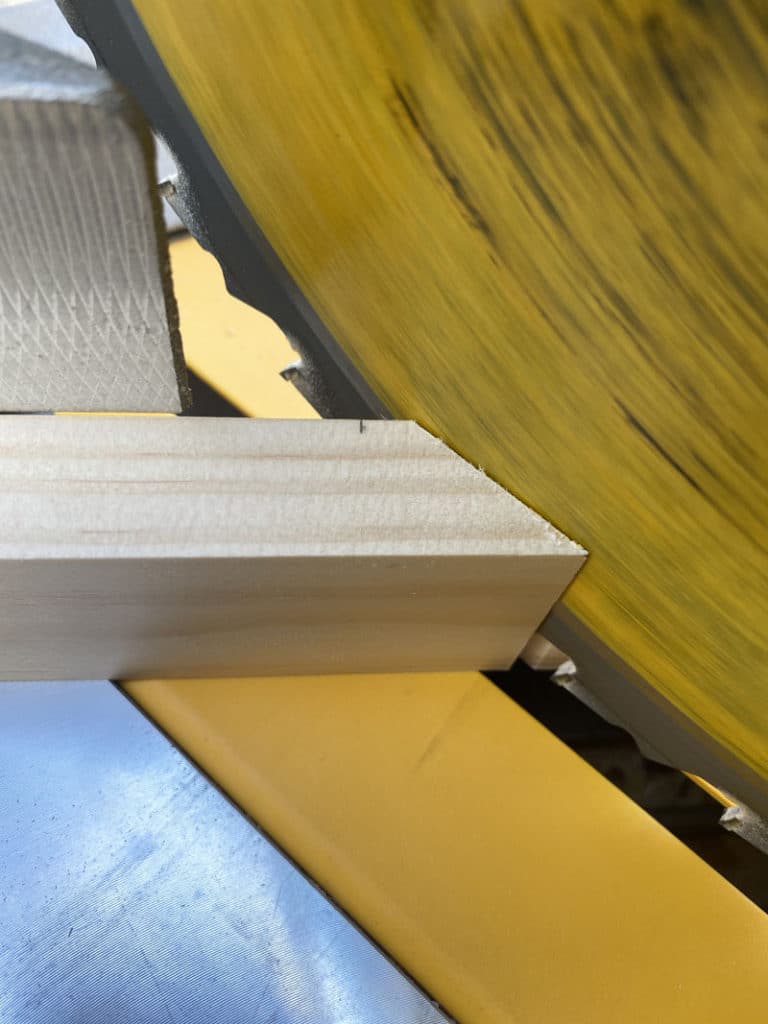
Once the first board is cut, make another board the exact same size. Stop blocks for the miter saw make this process so quick and easy.
Repeat the same process for the remaining two sides. Once you have completed all four sides, you should be able to frame the picture with a slight gap between it and the canvas.
RELATED: This wood framed canvas would look great on a picture ledge shelf. That project is a great option to fill a big, blank wall!
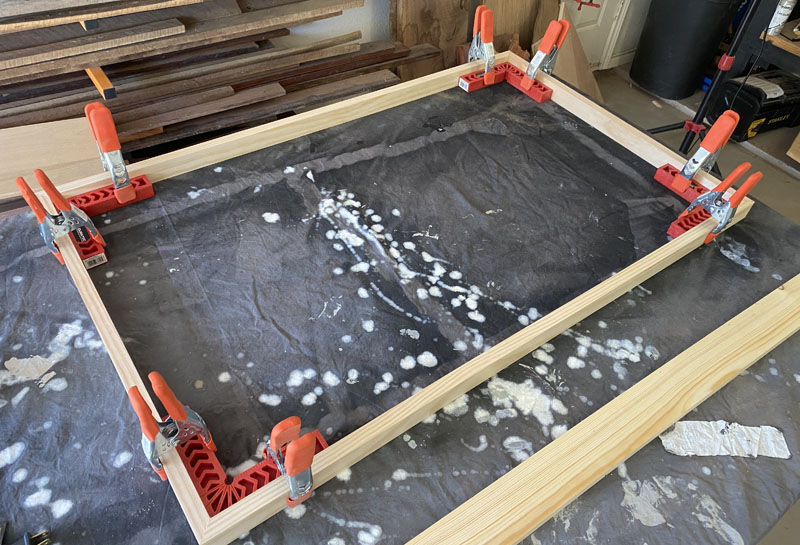
Now, to glue it up. I used this wood glue and glue brush.
These 90 degree position squares and spring clamps ensured a perfectly square frame, which is so important when it needs to be such a precise frame. Anything off-sqaure will be even more obvious when it’s around a perfectly squared-up canvas.
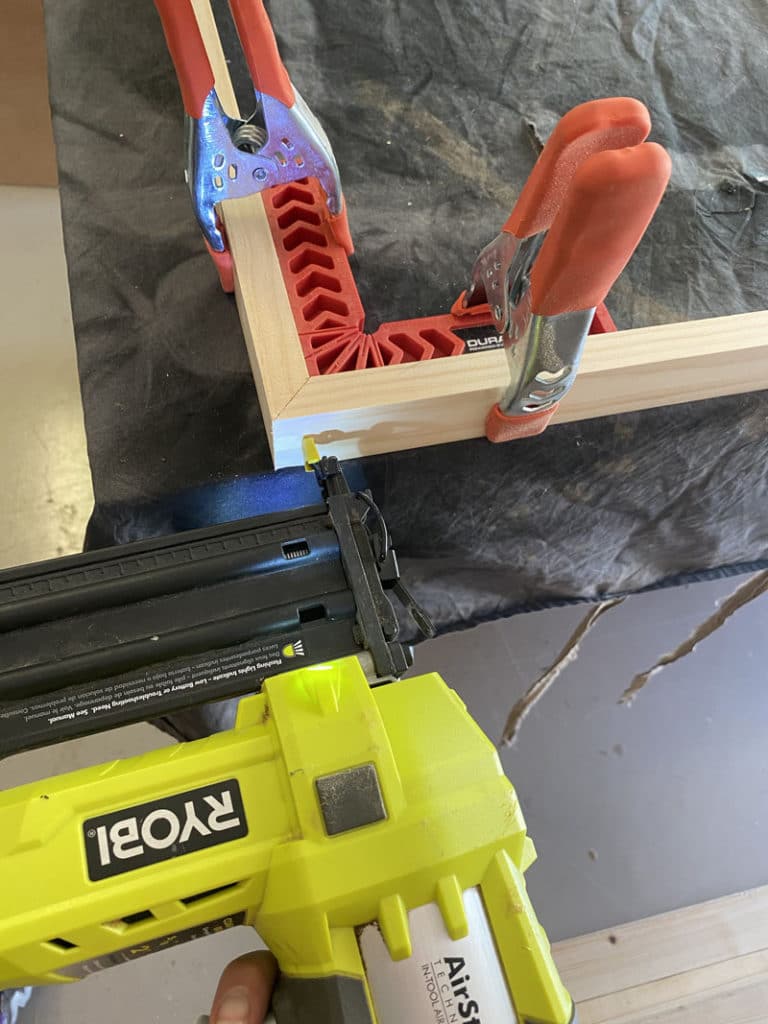
While it is still clamped, add a couple nails with a nail gun.
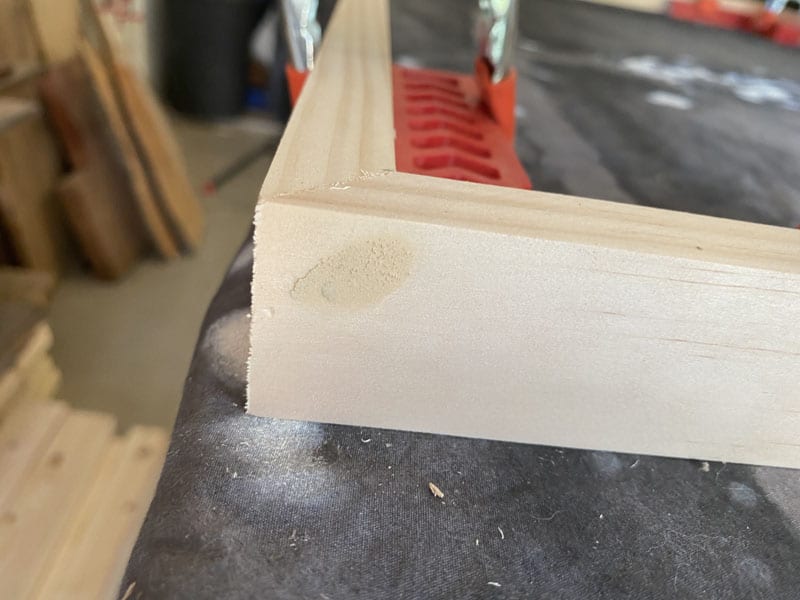
Then, fill the holes with wood filler and allow that to dry.
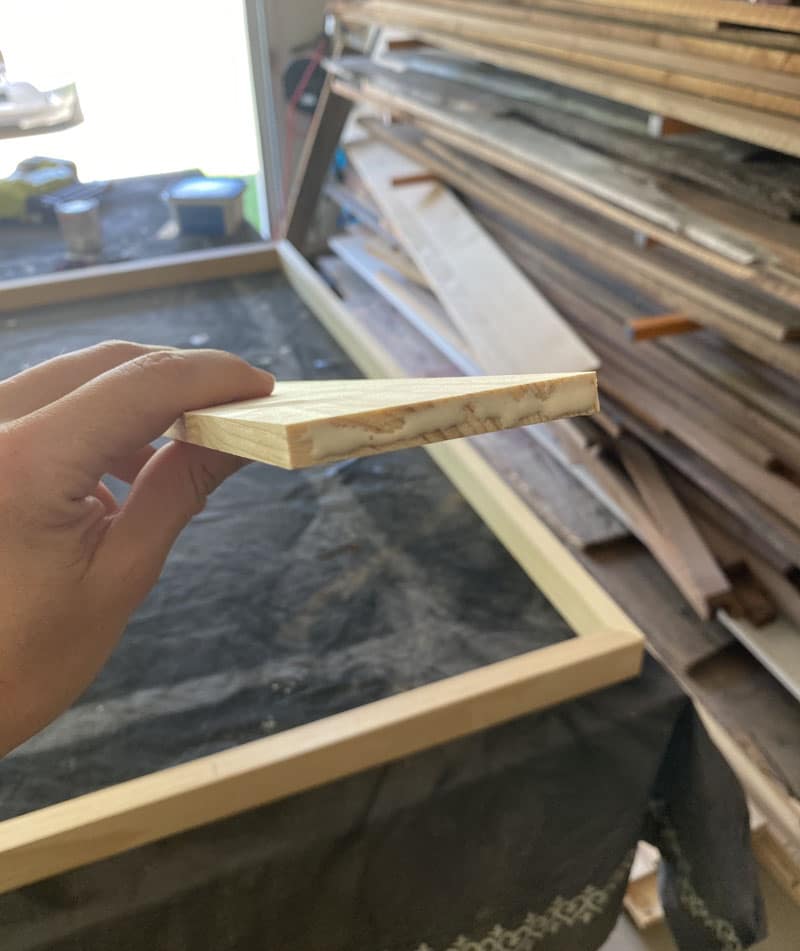
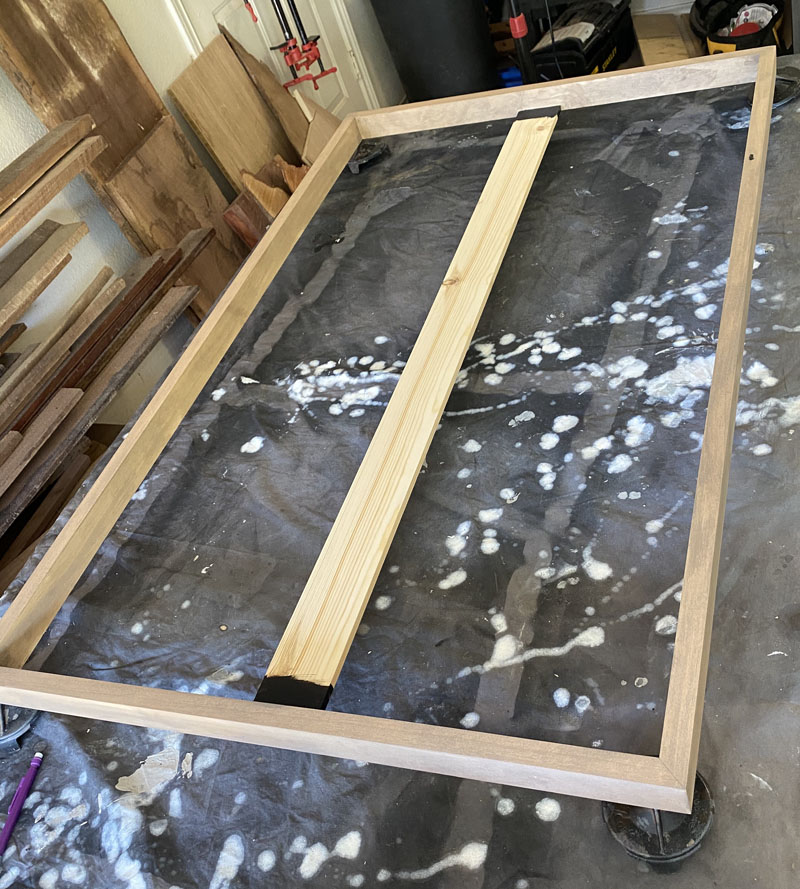
Now, for that stretcher on the back. This stretcher will connect the frame to the canvas. Measure the width for it to sit inside the frame, then trim it with the miter saw.
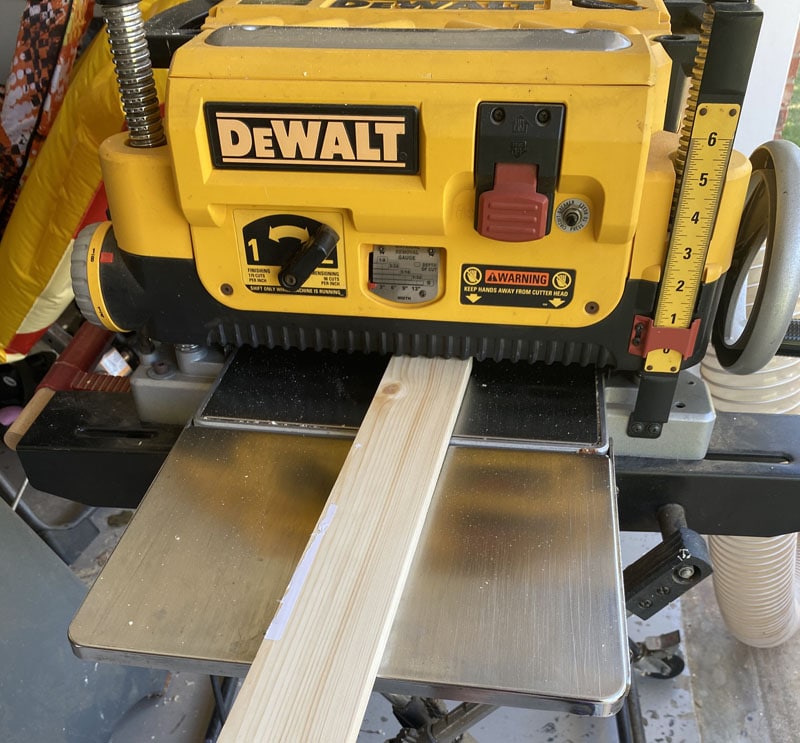
For me, when the stretcher sat on top of the canvas, it sat about 1/4″ proud of the depth of the frame. So I planed it down to the perfect thickness. You could potentially skip this step, depending on the thickness of your canvas and whether it is too thick or not.
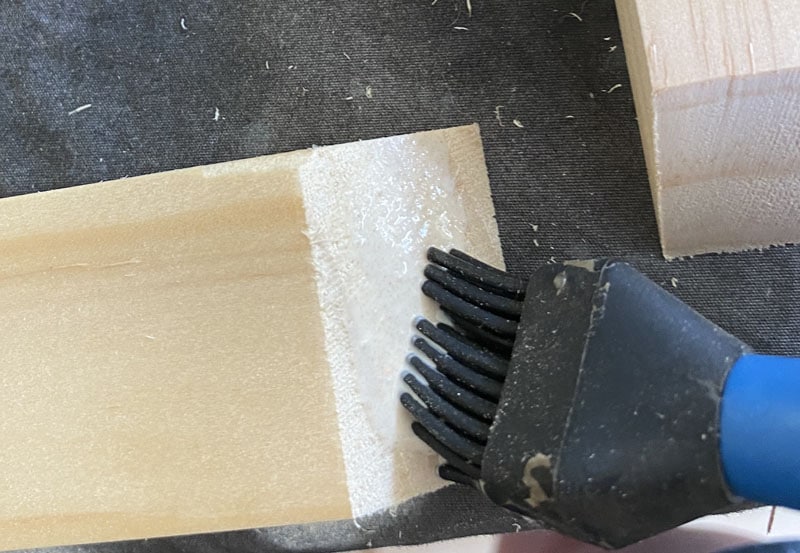
To attach it to the frame, add some glue…
…and nail it in from the outside of the frame. Fill these nail holes with wood filler.
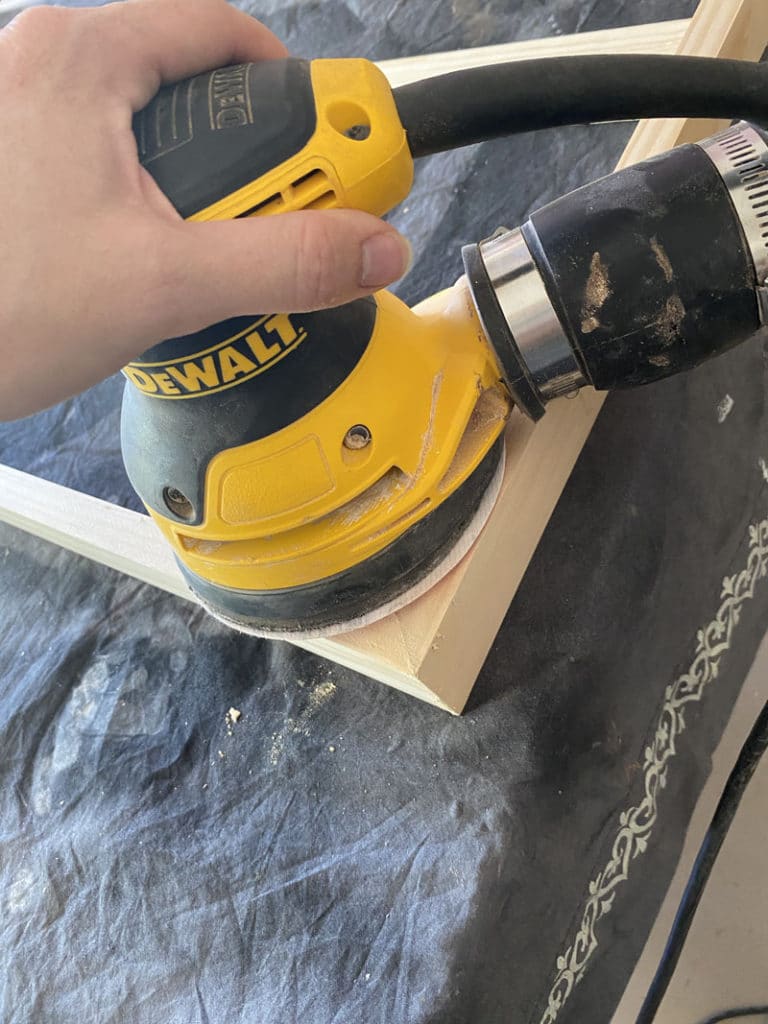
Run over the whole thing with the sander. I used 220 grit.
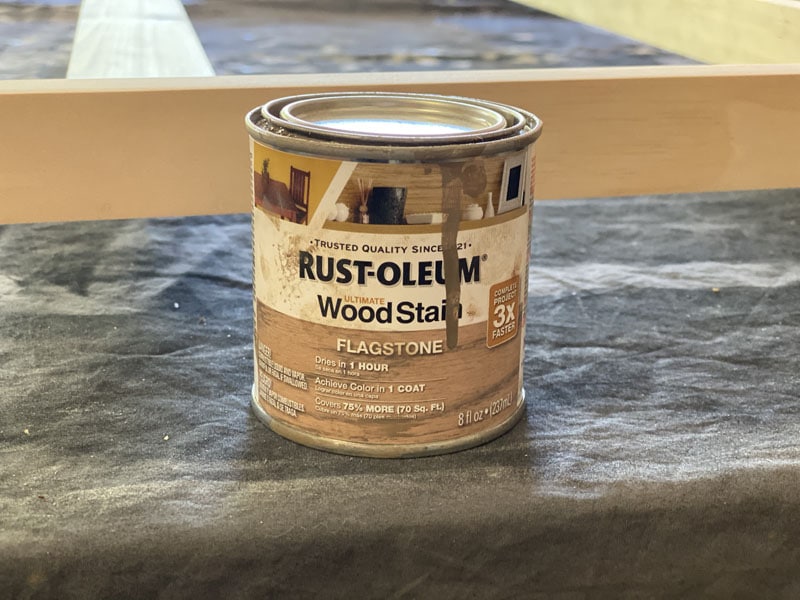
And now you can stain it. For this project, I used Rustoleum Flagstone.
Paint the ends of the stretcher black just in case you can see through the gap while it’s hanging.
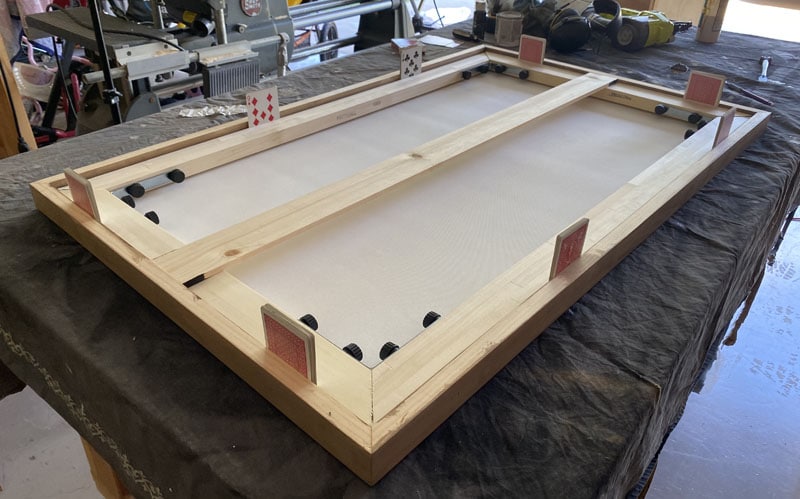
Now here is where the playing cards come in! Use the same amount of cards in every stack to evenly space the canvas inside the frame. For me, it was 12 cards in each stack.
I used this method to add the face frame to the front of the drawer of the mudroom hall tree build and DIY shoe storage bench. It also comes in very handy when installing drawer slides on face frame cabinets.
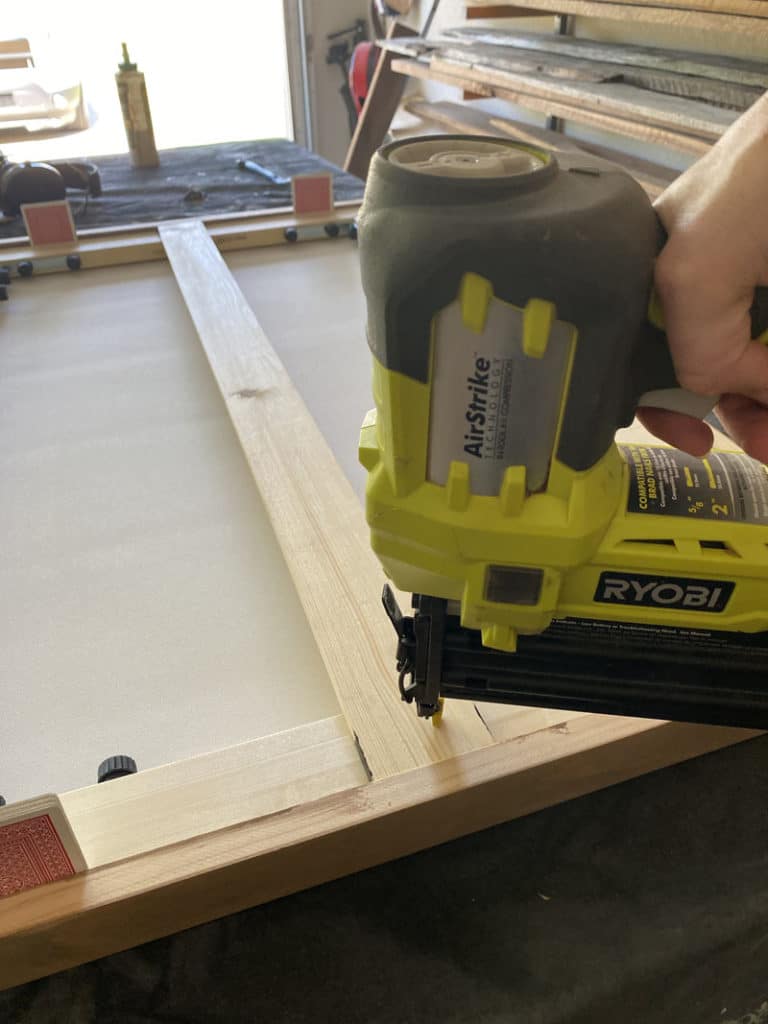
With the cards still in, nail the frame to the stretcher.
Remove the cards, flip it over, and that’s it! I love how it turned out. The DIY wood floating canvas frame makes the painting look much more custom and finished.
The prints below from Photowall were all in the running as well. (Click the pictures to follow the link). In addition to canvas prints, they also offer wall murals, wallpaper, framed prints, and posters.


Find any you like? Use code theaccentpiece25 for 25% off your order from Photowall!
So, there you have it! A simple tutorial for how to make your own wooden floating canvas frame for a painting at home. As always, I’d love to hear from you if you make one!
Check out the web story for how to make a floating frame for a canvas here!

Suzie Wible
Suzie has shared her knowledge for over 10 years about building furniture, painting techniques, how to build your dream home, and basic to advanced woodworking skills. Through this blog, readers will feel empowered to create a home and products they love too.
Looks cool Suzie! Nice job!