Installing Drawer Slides on Face Frame Cabinets
Installing drawer slides on face-frame cabinets is a very simple and easy process, thanks to the DrawerJig from Milescraft. This jig allows you to quickly, flawlessly, and accurately install soft-close, ball-bearing drawer slides in cabinets. In this article, I will cover all you need to know about using this drawer slide jig.
Face Frame vs. Frameless Cabinets
It is important to note that this tutorial will cover a cabinet with a face frame, as opposed to a frameless cabinet. Even though this jig will work on both frameless and face frame cabinets, I will be working with a framed cabinet.
A frameless cabinet means just that – there is no frame around the opening of the front of the cabinet. A cabinet with a face frame means that the front of the cabinet has trim around the front.
When the cabinet front is added to a drawer, the front of the drawer can either be flush with the frame (inset) or it can have an overlay drawer front.
In the picture below, I am installing the face frame on the front of a shoe storage drawer.
For this tutorial, I will be installing drawer slides on a face frame cabinet with inset drawers.
How to Install Drawer Slides on Face Frame Cabinets the Easy Way
The DrawerJig from Milescraft provides all you need to accurately install drawer slides. It comes with two pieces that will first be used to attach the drawer slides to the cabinet member, then it will flip around to support the drawer while you attach the slides to drawer boxes. It is the easiest way I have found to do this and I highly recommend this affordable jig!

Disclaimer: This post is sponsored by Milescraft. As always, all opinions are 100% my own. This site contains product affiliate links. We may receive a commission if you make a purchase after clicking on one of these links.
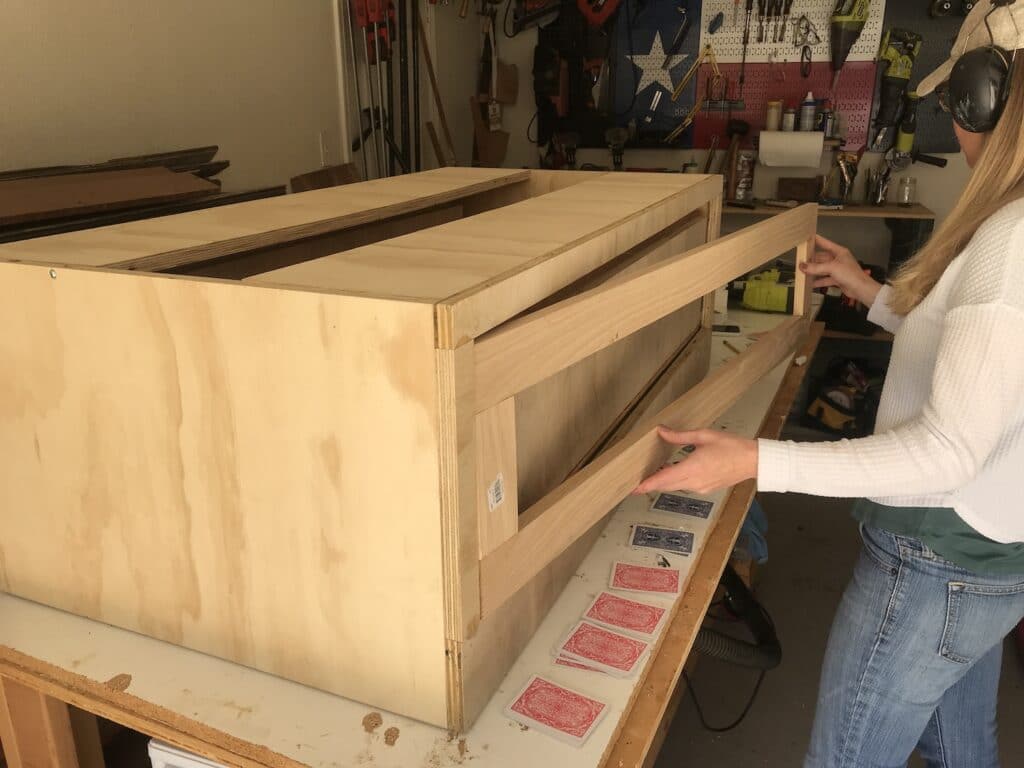
A jig like this is so helpful when you don’t have an extra set of hands around. I easily installed this very large drawer on my own, without any hassle or any need for adjustments.
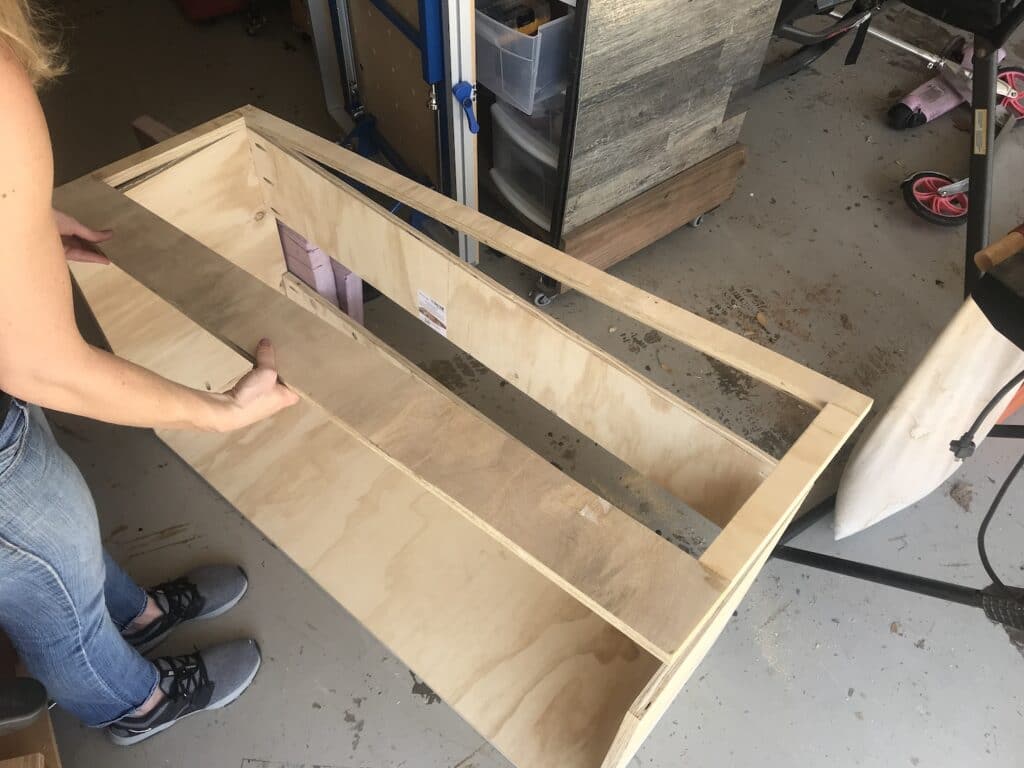
Build the Drawer Box
When deciding on the dimensions for a drawer box on a face-frame cabinet, start by measuring the opening of the face frame where the drawer will go. Subtract the width of both drawer slides from the width of the opening. This measurement will be the width of your drawer box.

To find the depth of your drawer box, measure the distance from the back of the cabinet face frame to the back of the cabinet. Then, subtract 2″. This measurement will be the depth of your drawer box.
It is very important to build square drawers, so use things like a square and clamps to assemble the drawer box. I made all of the plywood cuts on my table saw, which generally provides the straightest cuts.
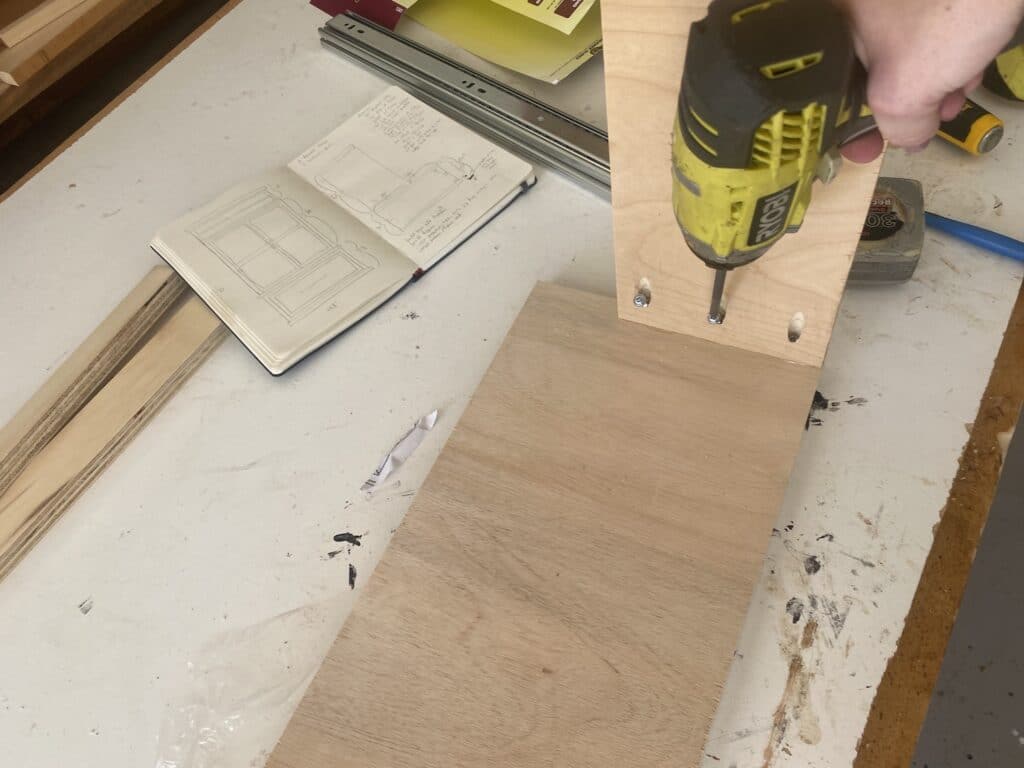
Add a Spacer to the Inside of the Cabinet Box
Since this is a face frame cabinet, you will need to attach a spacer on the inside of the cabinet side for the drawer slides to attach to. This will ensure that the drawer bottom and sides will clear the face frame when it slides out.
Make sure that the thickness of the spacer is the same thickness as the overhang of the face frame on the inside. I used wood glue and screws to attach the spacer to the side of the cabinet.
Be sure to countersink the screws when installing the spacer, so that the cabinet drawer slides will sit flush one the spacer. Counter sinking the pilot hole will bore out a space in the screw holes for the screw heads to sit flush with the surface.
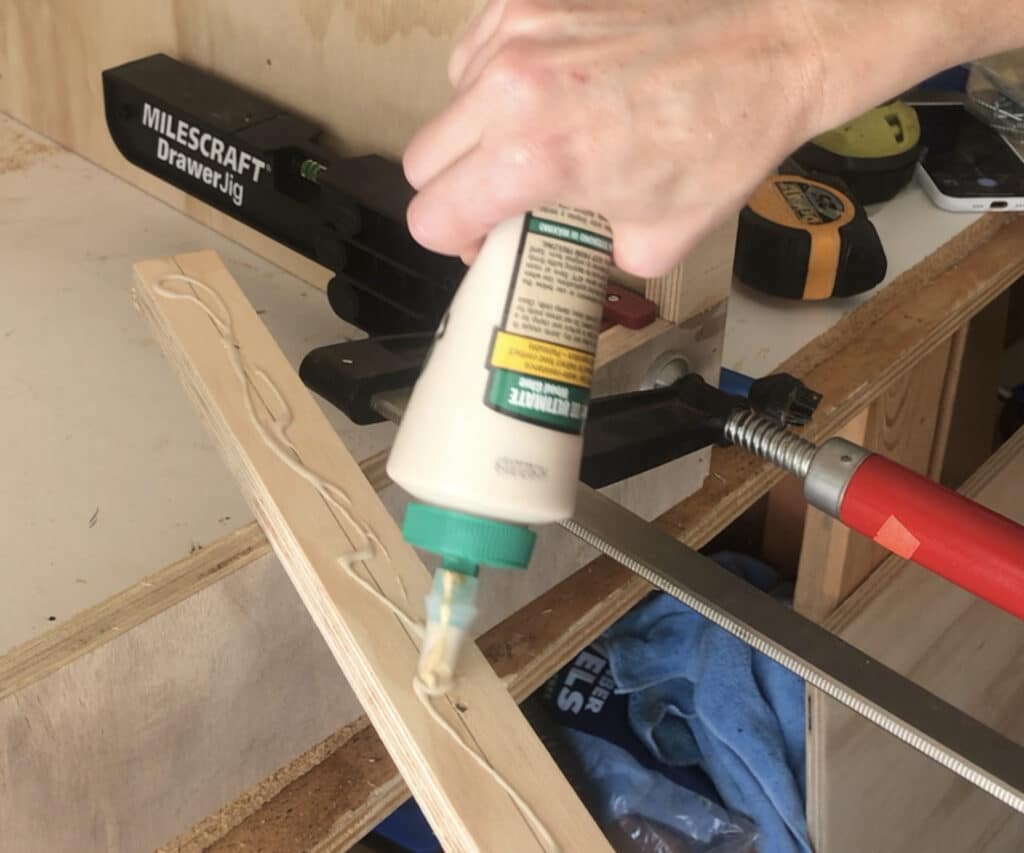
Clamp the DrawerJig mounting brackets to the inside of the cabinet, using the red tab and alignment fence on the jig to level it with the front of the face frame. The tab and fence on the jig will ensure that the bottom of the drawer clears the face frame edge perfectly.
With this jig, there is no need to draw a level line – it is all done for you! This jig also has a very handy built-in level. There is also a large clamping area and anti-marring pads to protect the cabinet.
Add the spacer to the top of the jig and secure it in place.
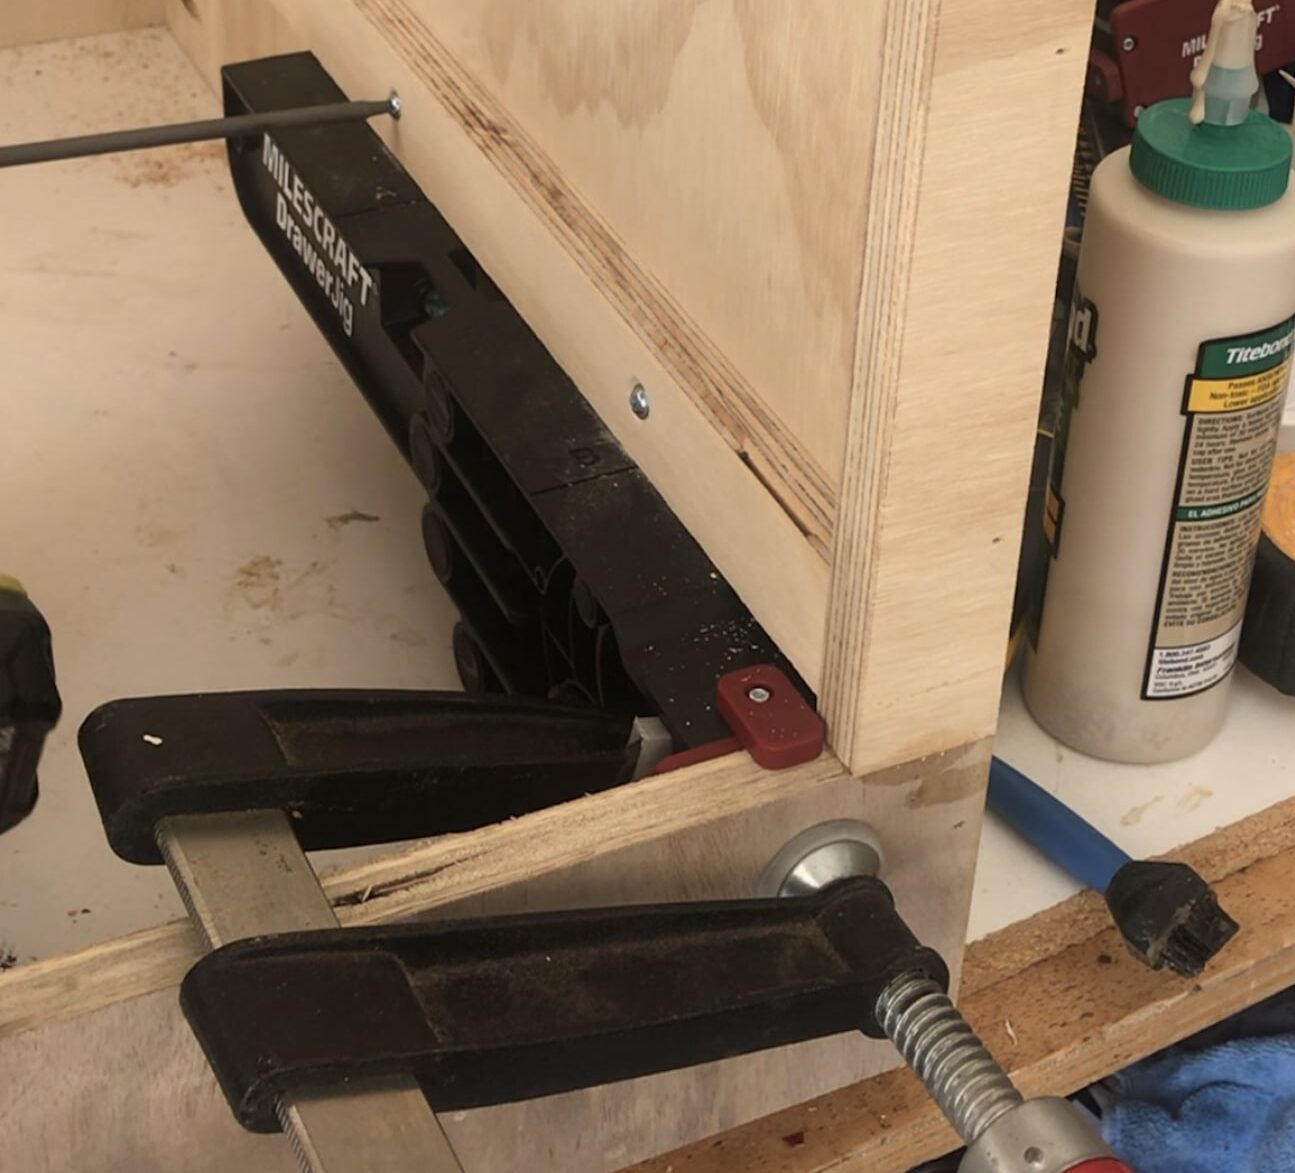
Attach the Drawer Slide to the Spacer
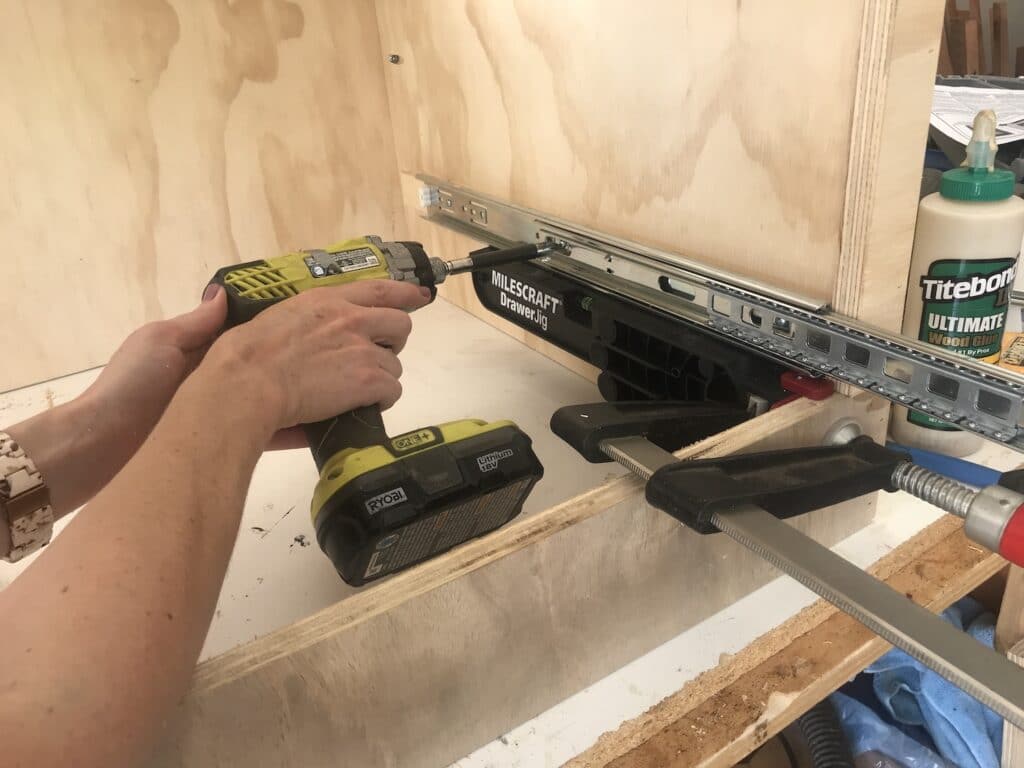
Once the spacer is installed, the next step is to place the drawer glides on the jig. For inset drawers, align the front of the drawer slides to be flush with the inside of the face frame. Attach the drawer slide to the spacer with provided screws, according to the instructions that came with your drawer slides.
Attach the Drawer to the Drawer Slides
Once the drawer slides are attached to the cabinet member, unclamp the DrawerJig and flip it around to the front. Re-clamp it to your cabinet on both the left and right sides, using the red tabs to set the vertical height correctly. By doing this, you are able to attach the slides to the drawer side very easily.
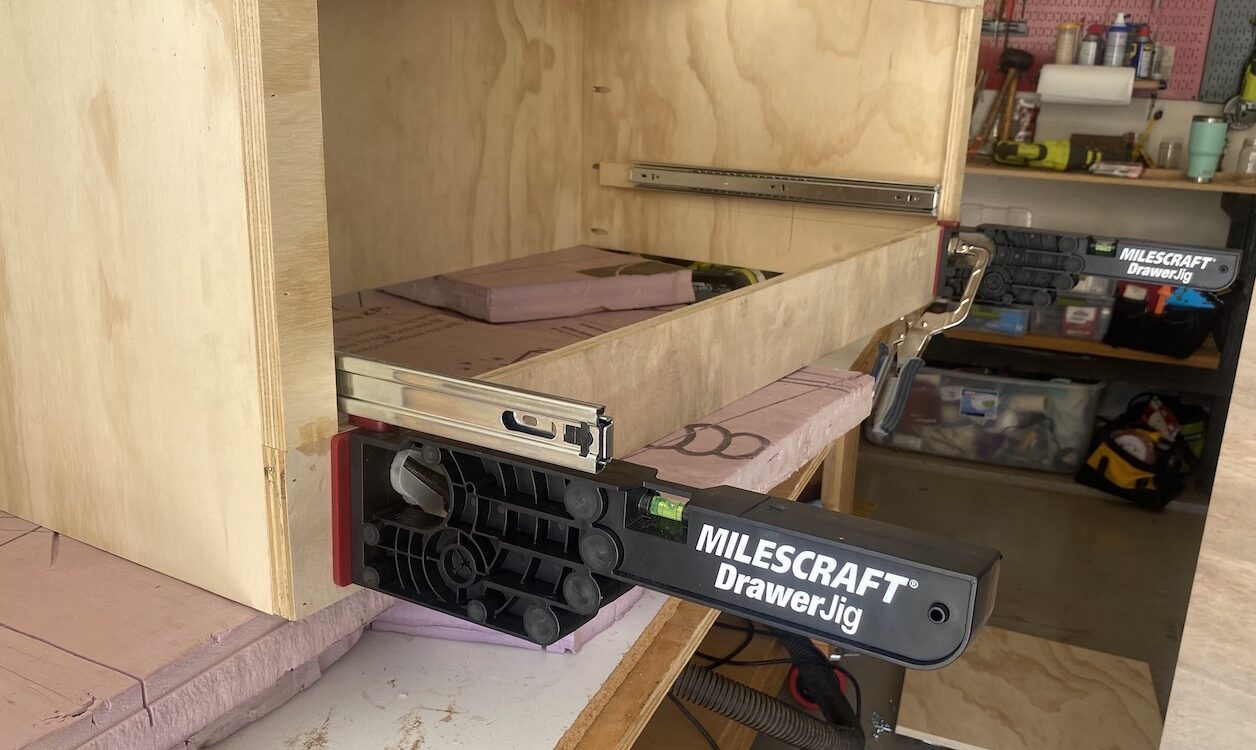
You can now set the drawer members on top of the DrawerJig. This jig makes it so easy when you don’t have an extra set of hands to help with mounting wider drawers in the correct position!
Extend the drawer slides so that the front of the slide is flush with the front of the cabinet box. Use the provided screws to attach the drawer slides to the side of the drawer. It is helpful to drill a pilot hole as well.
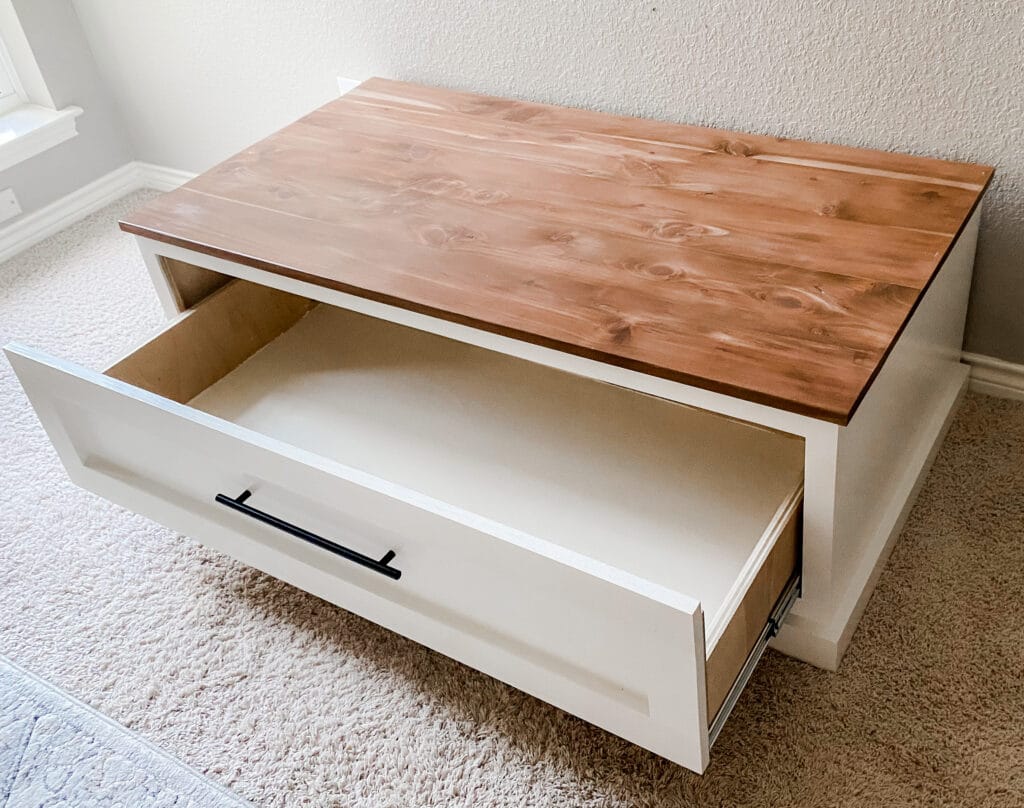
There are lots of types of drawer slides, however, I am installing full extension drawer slides. They have ball bearings and they are soft close.

Once the slides are attached, remove the DrawerJig from the cabinet. And that’s it! You now have a fully functioning and square drawer in your cabinet. I love how simple and accurate this jig makes the process!
This is the process you would also use if you go the RTA cabinet route for custom kitchen cabinets. I also used this method when I added a pull out drawer to existing kitchen cabinets.
Frame the Drawer Front
Notice that the face of the cabinet is not flush with the front of the frame. This will be fixed when you frame out the front of the drawer box.

In order for the cabinet front to be flush with the face frame, you will need to frame out the front of the drawer box.
The trim used should be the same thickness as the face frame, making it fully flush with each other.
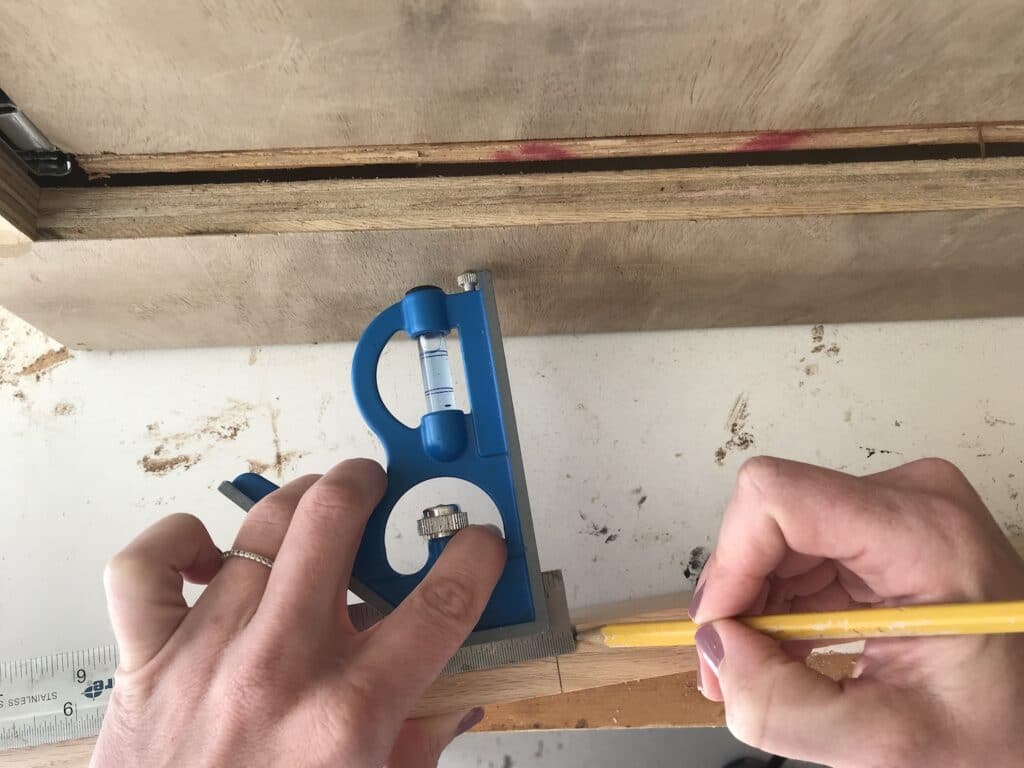
Trim around drawers typically have a 1/8″ gap around all sides. Start by measuring the total width and total height of the opening for the drawer.
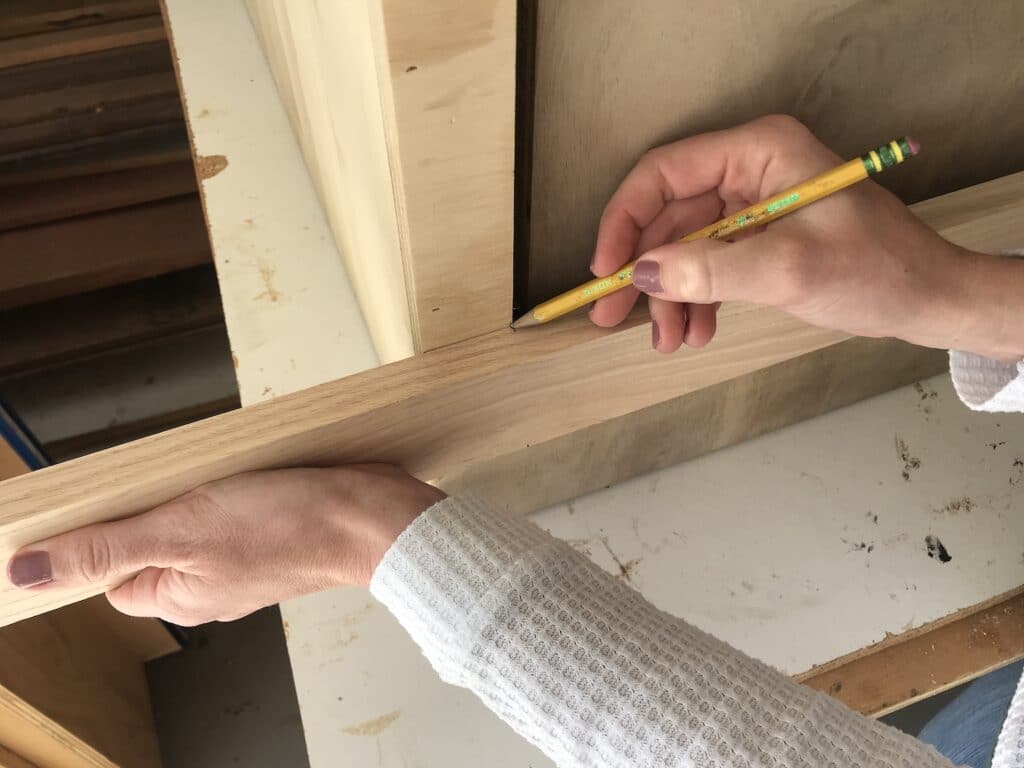
Subtract 1/4″ from both the width and height to find the correct size for the cabinet front. This will leave a 1/8″ gap all around the drawer, between it and the cabinet face frame.
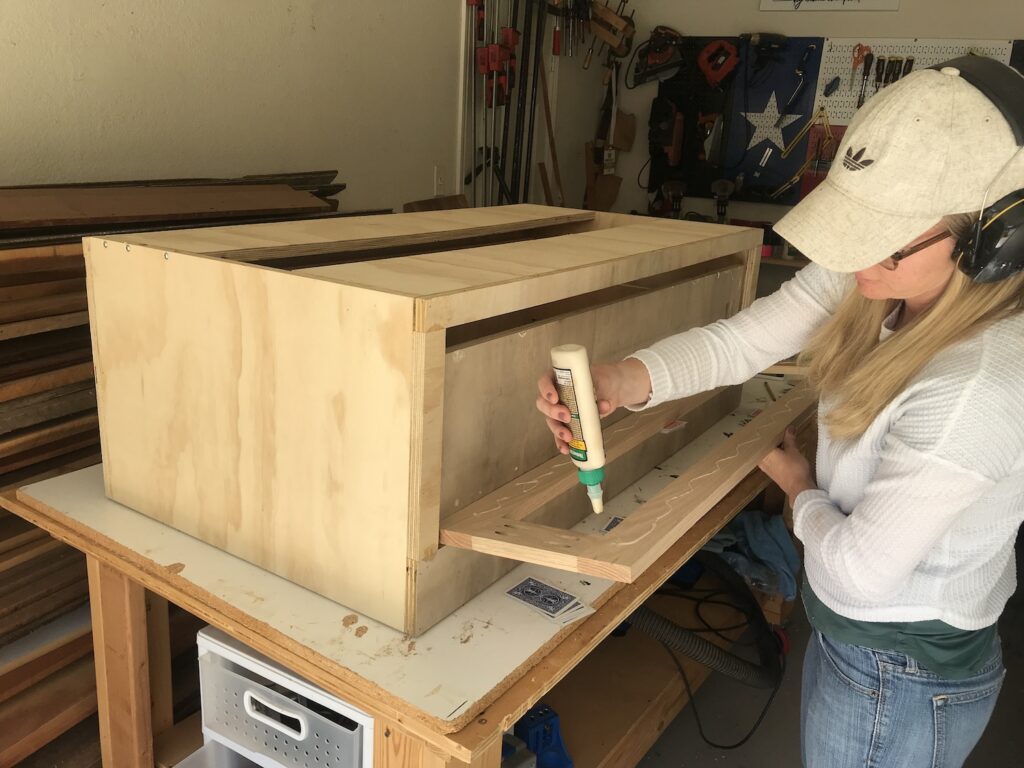
Assemble the frame for the drawer fronts with pocket holes and wood glue. I used oak for this part, just to add a little more stability, since oak is stronger and more dense than pine.
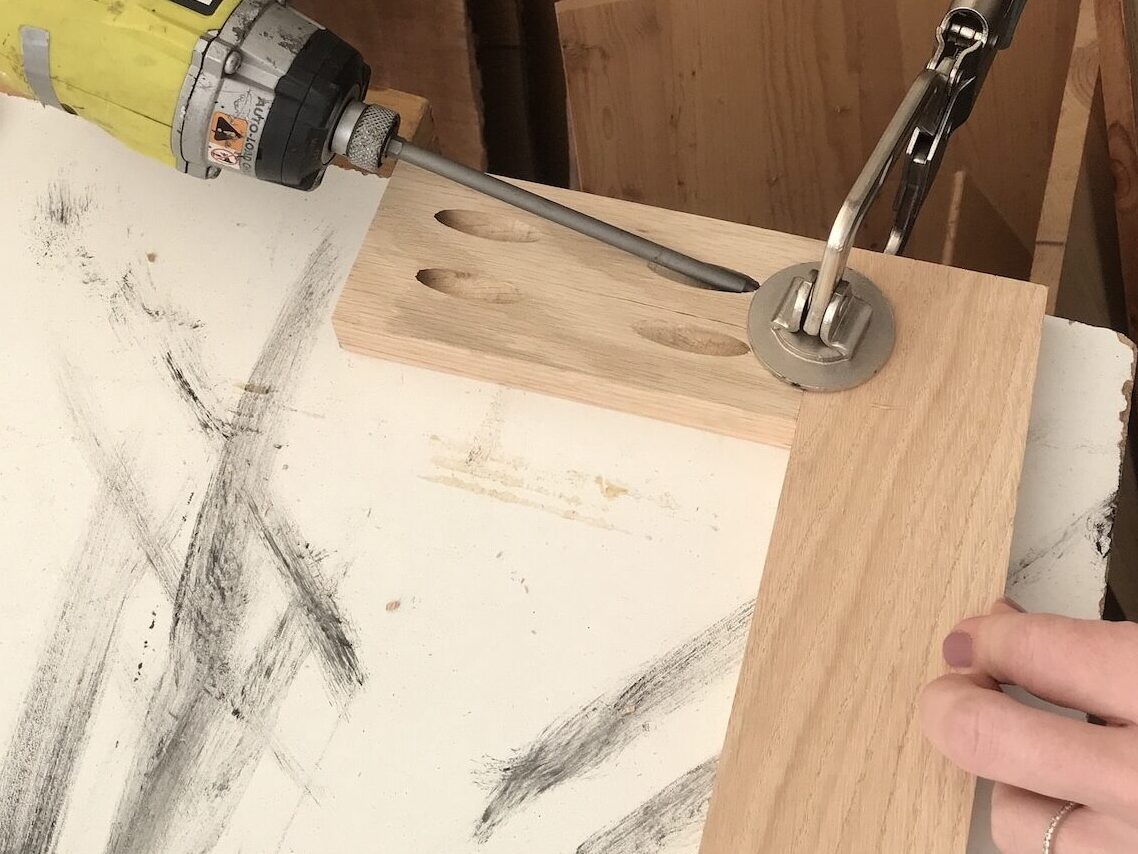
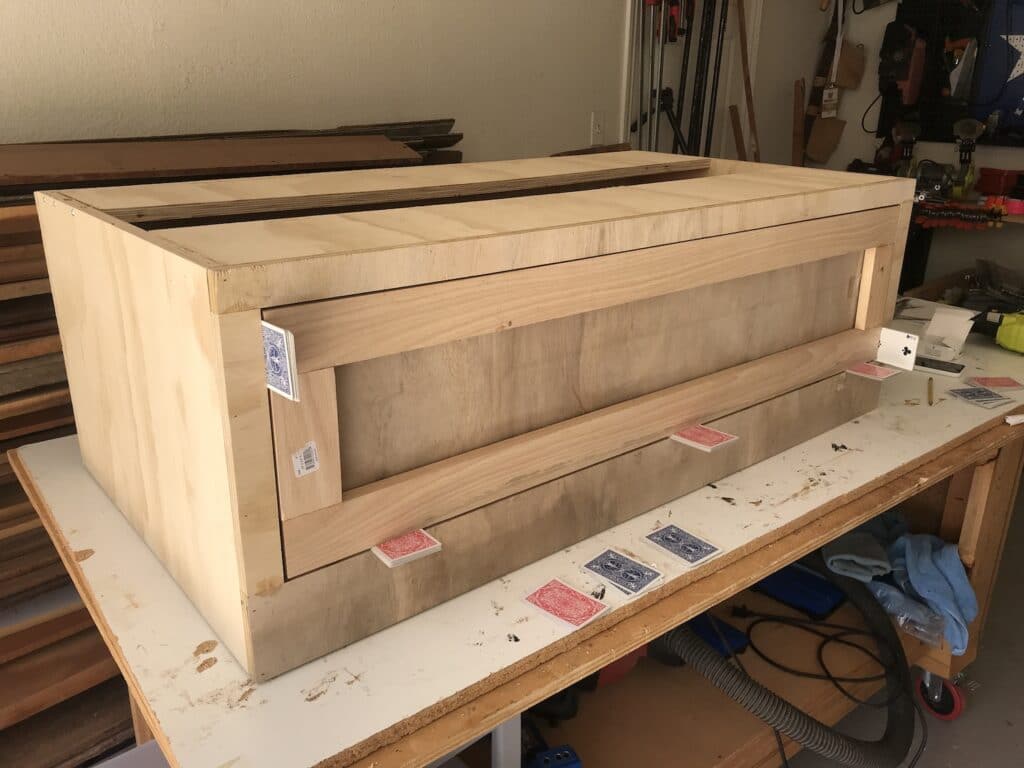
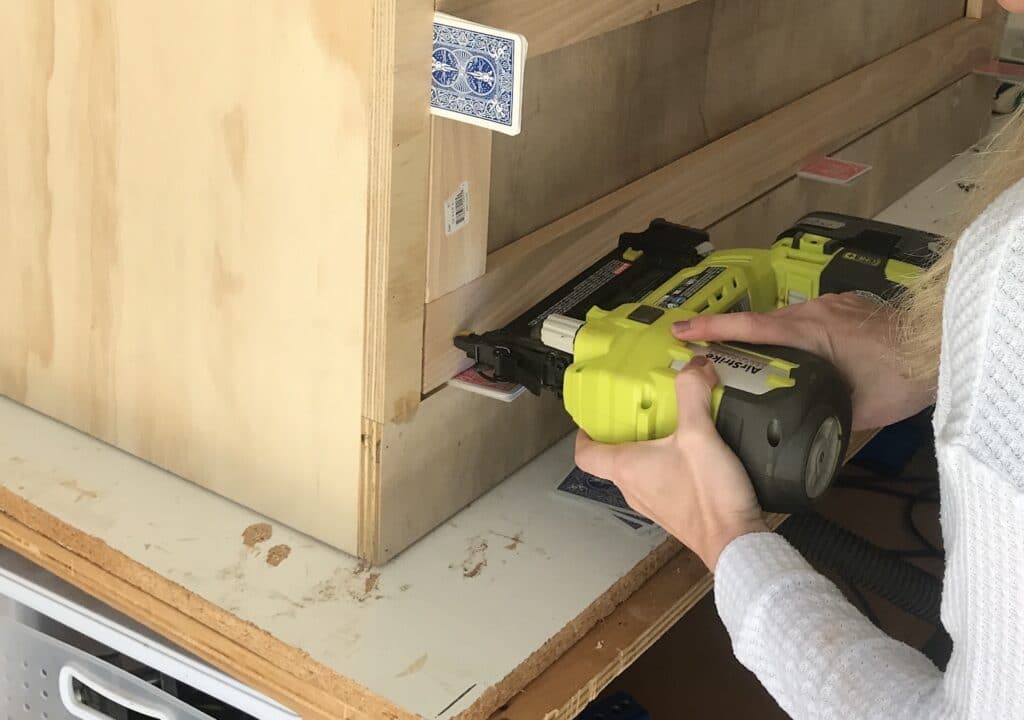
You can perfectly center the frame for the cabinet front to the cabinet box with a simple household item: playing cards!
Place the drawer front inside the cabinet face frame. Figure out how many of the playing cards it takes to fill 1/4″ gap. Divide that number equally by 2 and insert those stacks around the frame to hold it in place. This will ensure that the gap is even on all sides of the drawer.
I used a similar process in this tutorial on how to make a floating frame for a canvas.
Add wood glue and secure the frame to the drawer face with brad nails. Remove the cards and you will now have a drawer box, with a frame that is flush with the face frame on the cabinet, and also has a perfect 1/8″ gap all around it!
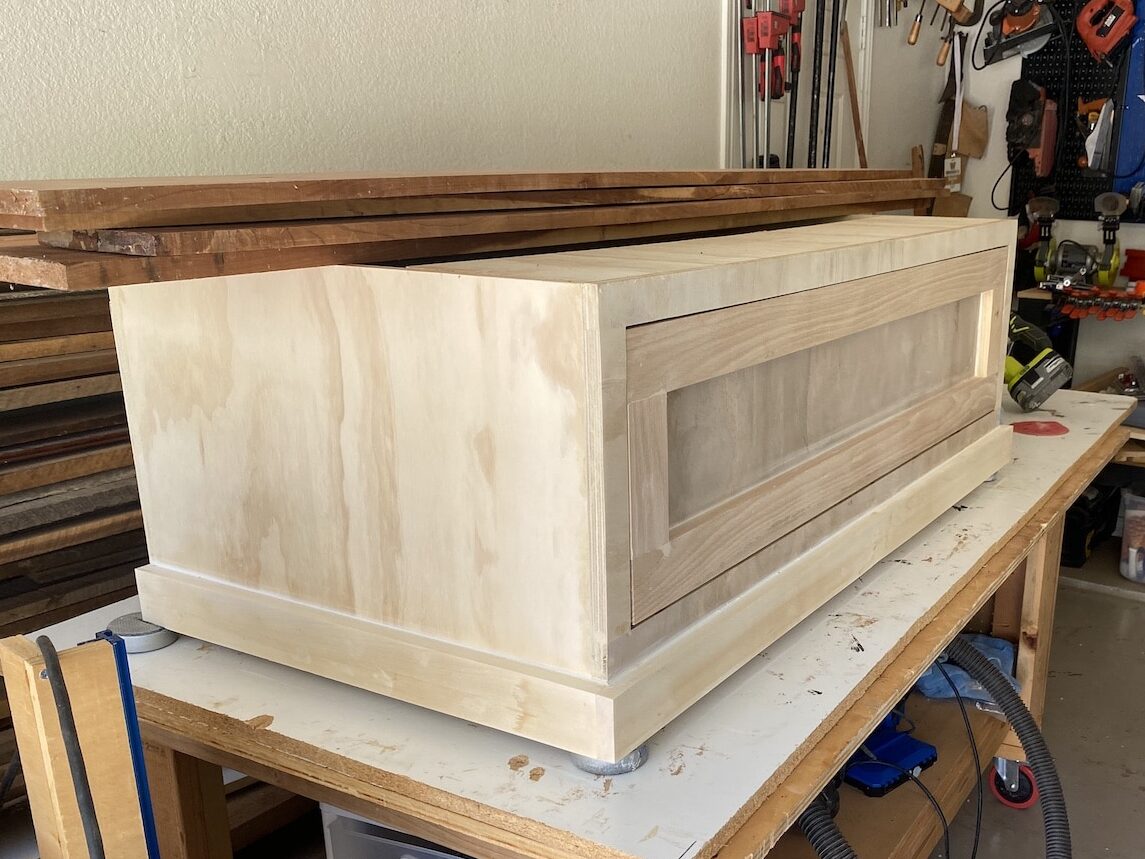
Apply the Finish
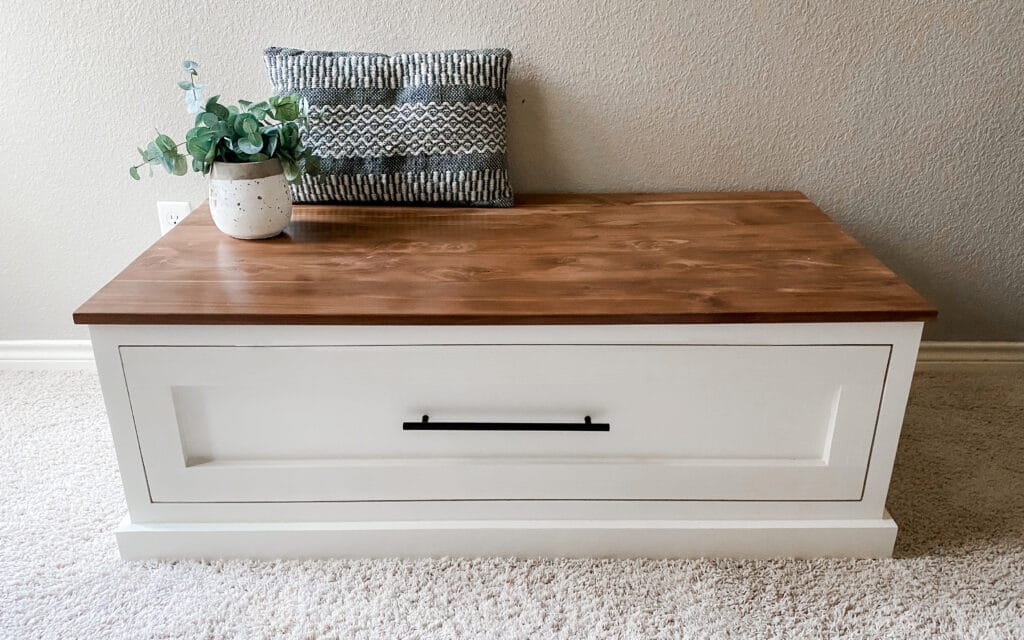
After this, I added trim around the bottom, drawer hardware, paint, and made a bench seat top for it. For tips on how to get a smooth paint finish on cabinets, check out this post. I sealed it with the same finish that I mentioned in this post on which is the best finish for a wood kitchen table, which also worked great for this cabinet.
Tip: if you’re building custom cabinets, be sure to check out this guide on upper kitchen cabinet dimensions. This would also be useful if you’re making mudroom built-ins from stock cabinets and wanted to add drawers.
You can read more about this build in this post on how to make mudroom or hall tree built ins!
I love how simple the Milescraft DrawerJig makes the installation process for drawer slides on face frame cabinets! It is a great option if you’re looking for an affordable and easy-to-use jig to make installing drawers very easy and accurate.
You can check out the webstory for how to install drawer slides on face frame cabinets here!
If you’re doing cabinetry projects, you might find the following articles helpful:

Suzie Wible
Suzie has shared her knowledge for over 10 years about building furniture, painting techniques, how to build your dream home, and basic to advanced woodworking skills. Through this blog, readers will feel empowered to create a home and products they love too.