
recent posts
The Perfect Gift Idea for Men Over 60 Years Old
Have you ever tried to find that perfect gift for the hard-to-shop-for men in your life? Specifically, men over 60 years old. You…
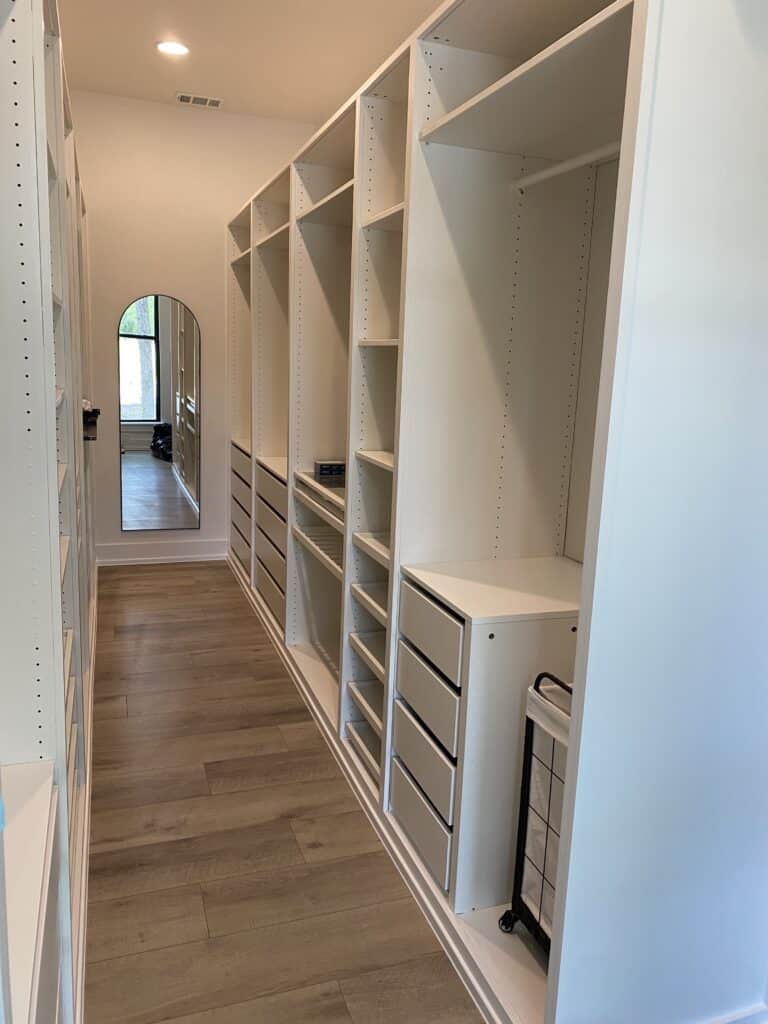
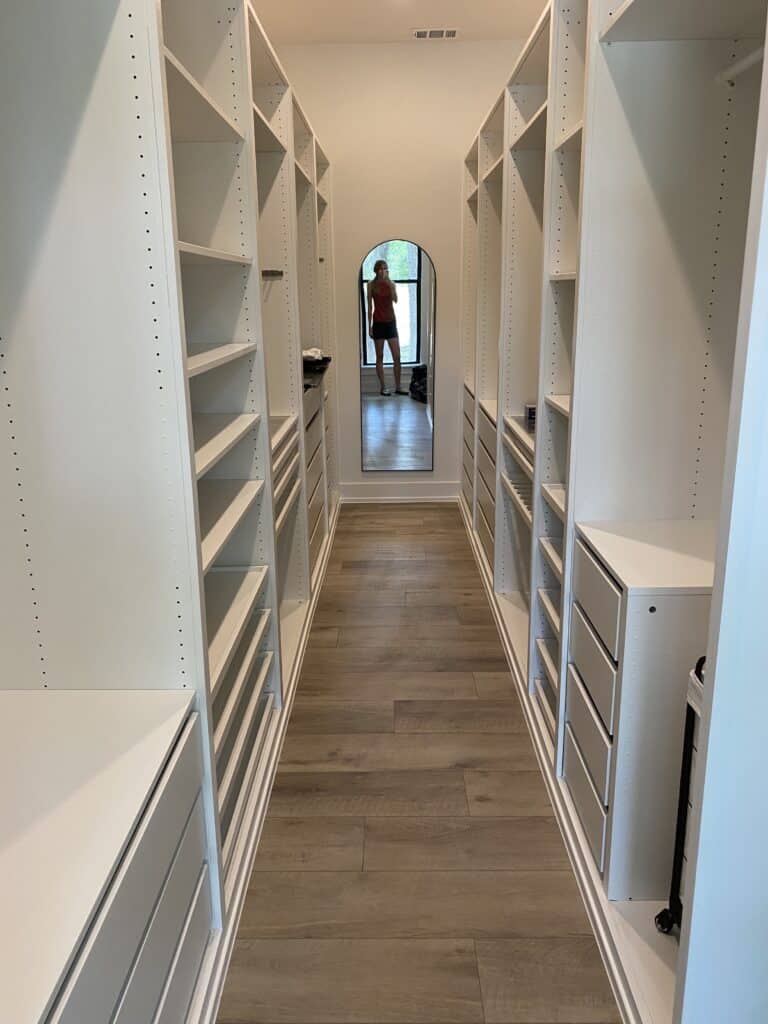
Bedroom Closet Dimensions: A Size Guide with Examples
The bedroom closet, often overlooked as a minor detail in designing a home, is actually an incredibly important aspect in creating a functional…
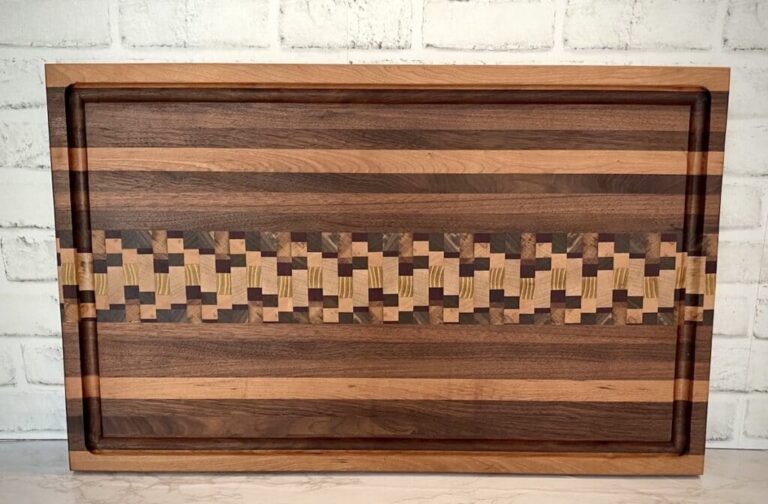
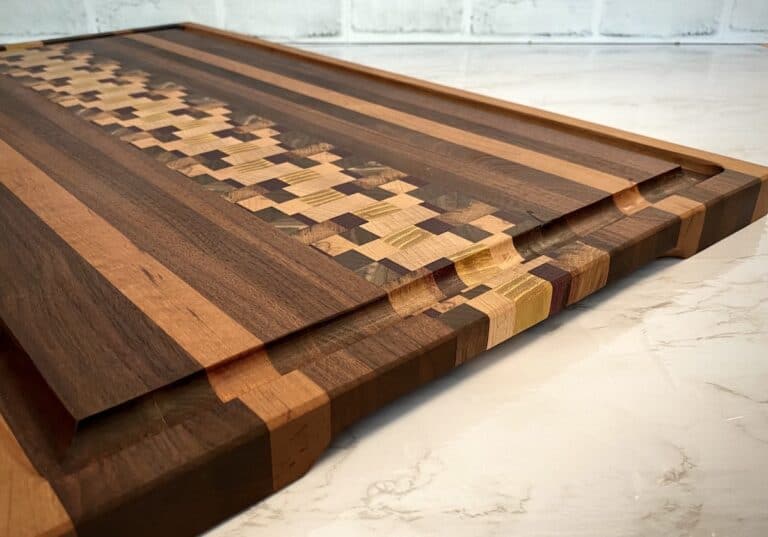
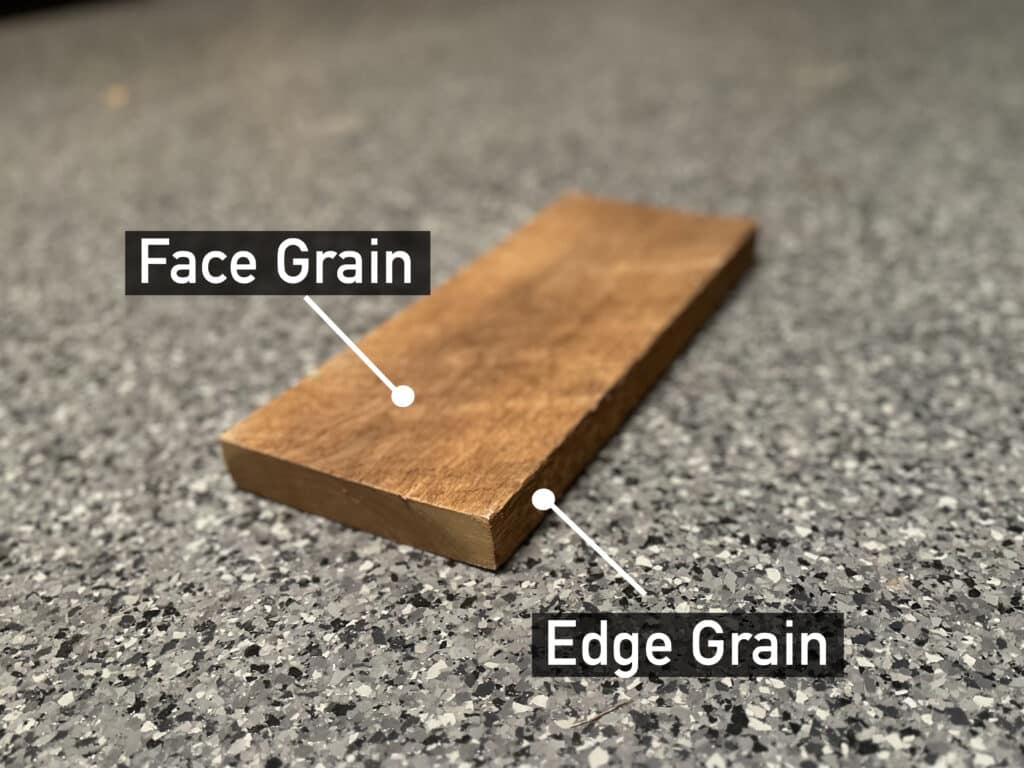
Edge Grain vs End Grain Cutting Boards: A Simple Guide
Cutting boards are a staple in almost every kitchen and are quite commonly used. However, not all cutting boards are created equal. …

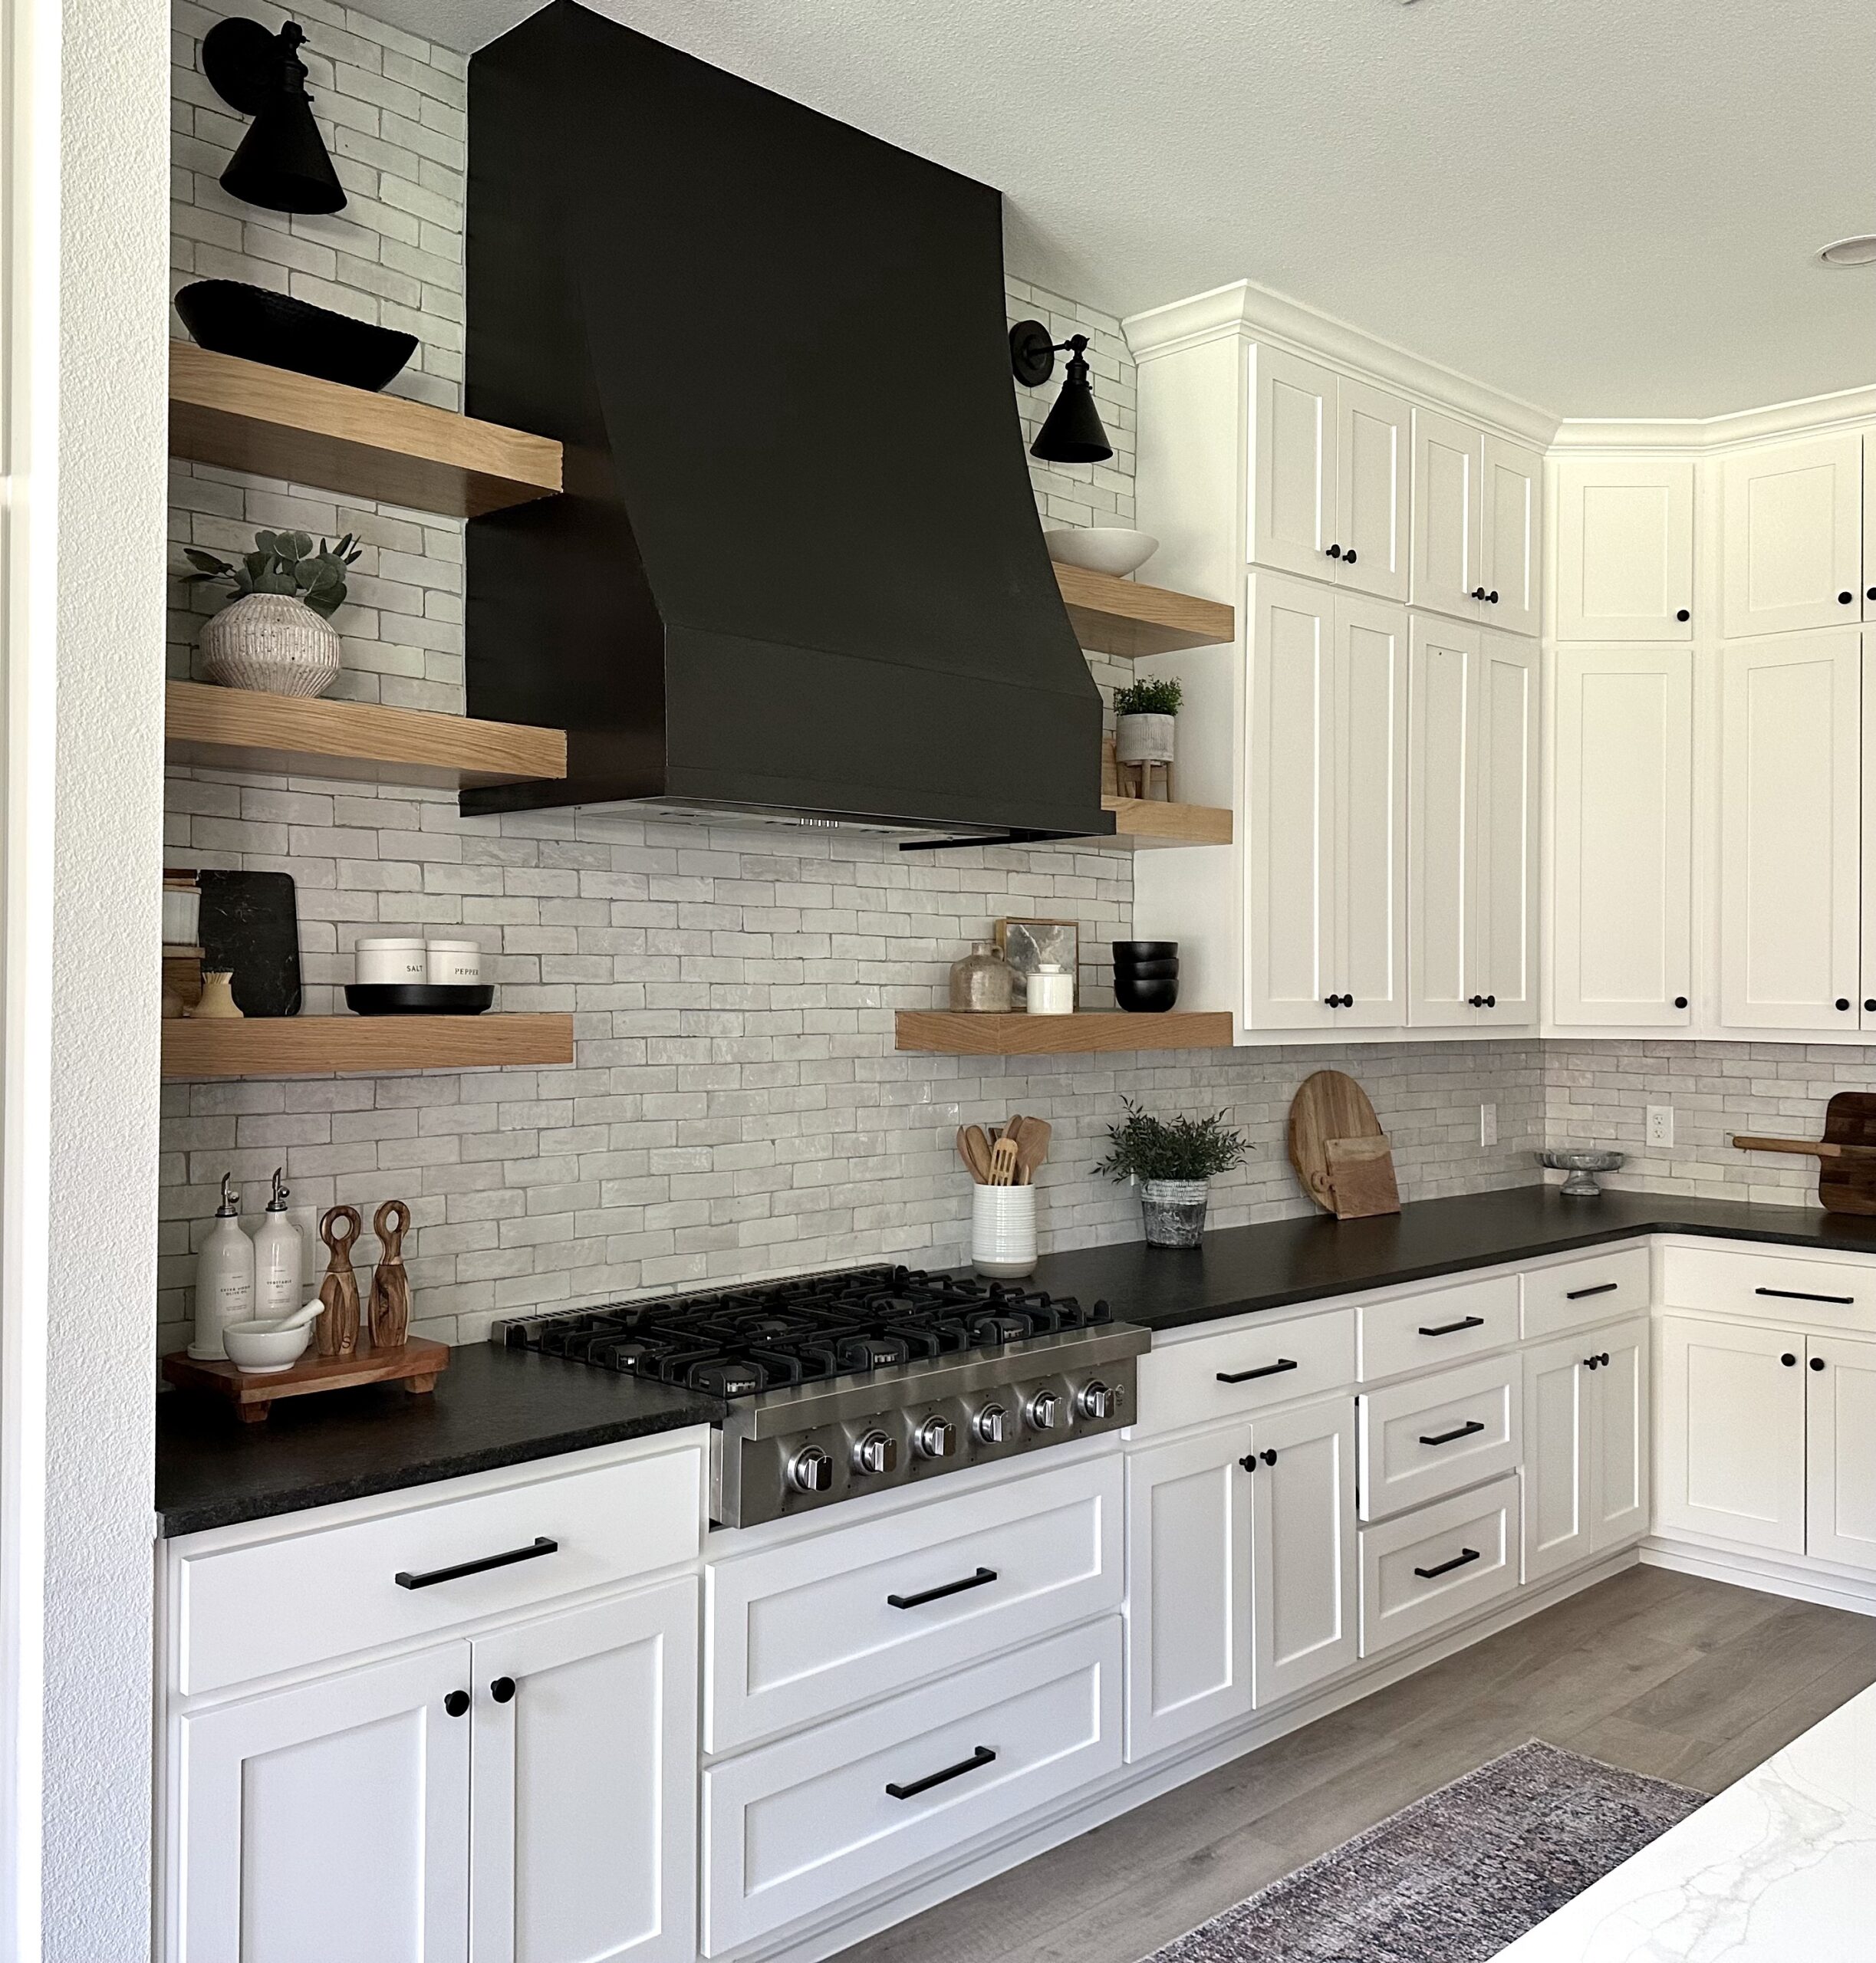
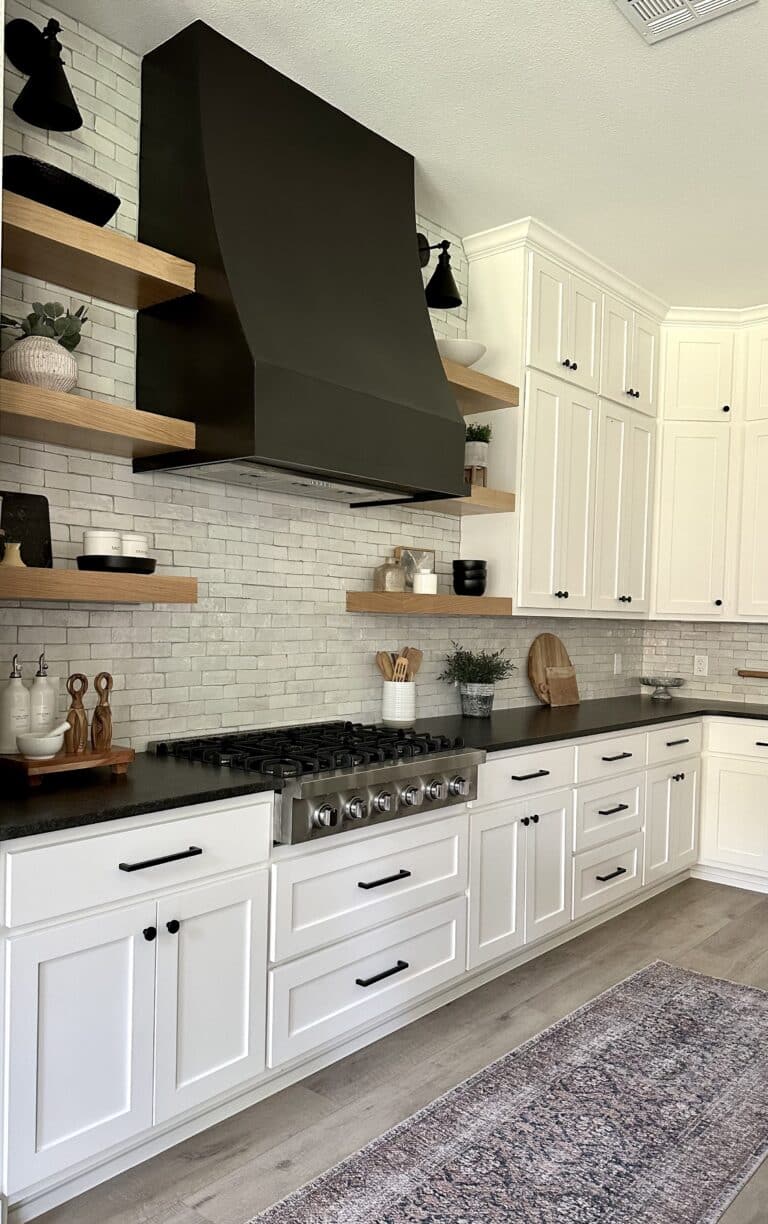
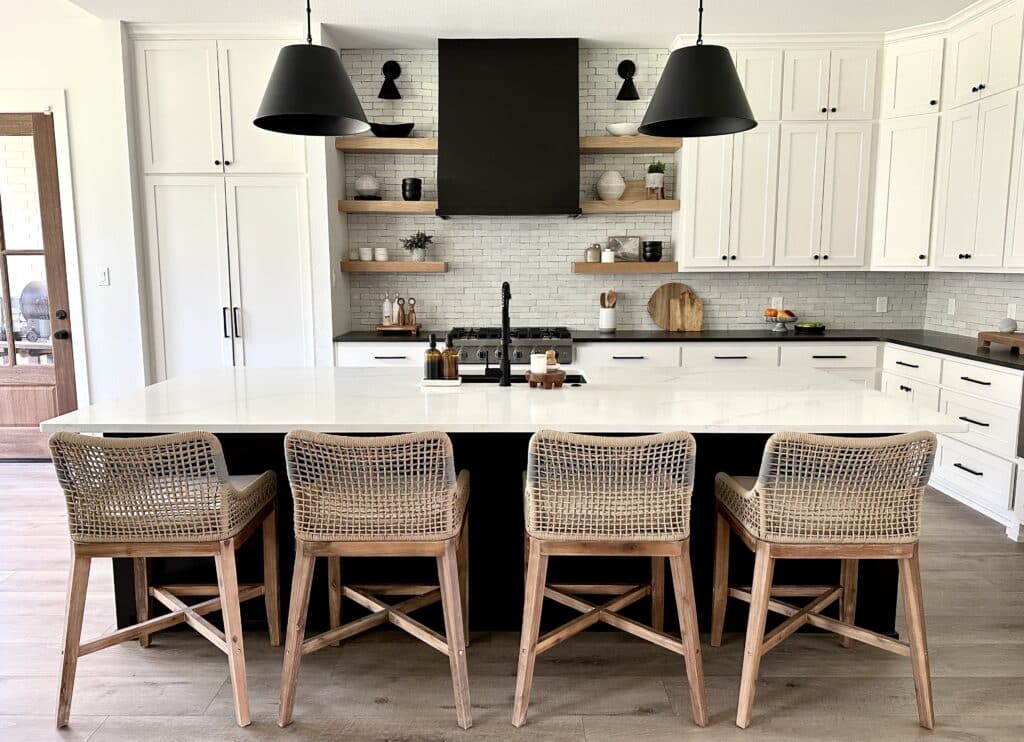
Most Popular Kitchen Range Vent Hood Cover Ideas
In the realm of kitchen design, a vent hood does not only have a practical function in the kitchen, it provides an opportunity…
See All >
Download our
Most Recent Project Plan

Hi there!
I’m Suzie
I’m a DIY enthusiast, house-to-home transformer, woodworker with over 10 years of experience, custom home builder, and endlessly curious maker. Building, making, and creating is my passion. Creating a home with my own two hands is my jam.
Read more…
As Seen On


Find your next project or inspiration

Browse by Specific Topic

Recent Web Stories