How to Make an Outdoor Wooden Mosaic Doormat
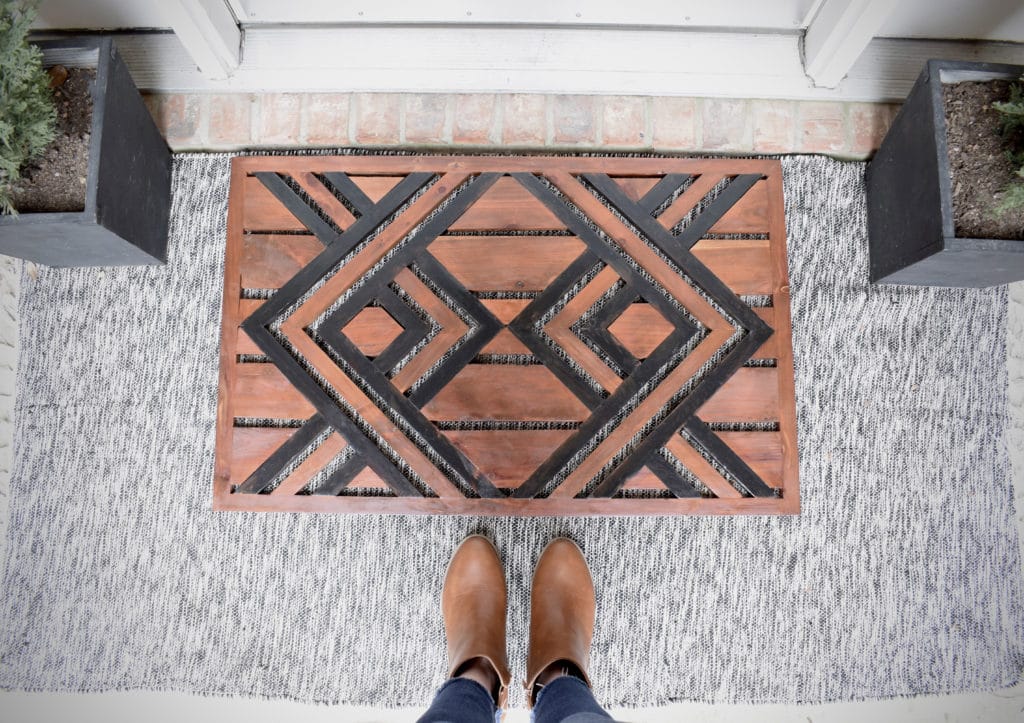
I have always loved wooden doormats for the front porch, so I recently set out to make a mosaic version of one. I love how the wood brings warmth and character to the porch, and I wanted to change it up a bit by creating a fun design!
In order to make this wood doormat long-lasting and durable enough for heavy traffic all year, I joined the wood slats together with Kreg Jig pocket holes, wood glue rated for outdoor use, and sealed it with spar urethane.
Disclaimer: This site contains product affiliate links. We may receive a commission if you make a purchase after clicking on one of these links.
I tested out a new tool for this project that I’m so excited to show you, because it’s incredible. It’s the Adaptive Cutting System from Kreg Tools and I have a feeling you will want one soon! I made every single cut for the doormat on this tool!
For a complete review on the Adaptive Cutting System Master Kit, check out this post!
I rarely make cuts in my garage in order to cut down on sawdust, and I love how easily I can roll out the table to make the cuts. And as a huge bonus, it stores upright when it’s not in use, so it takes up very little real estate in our garage.
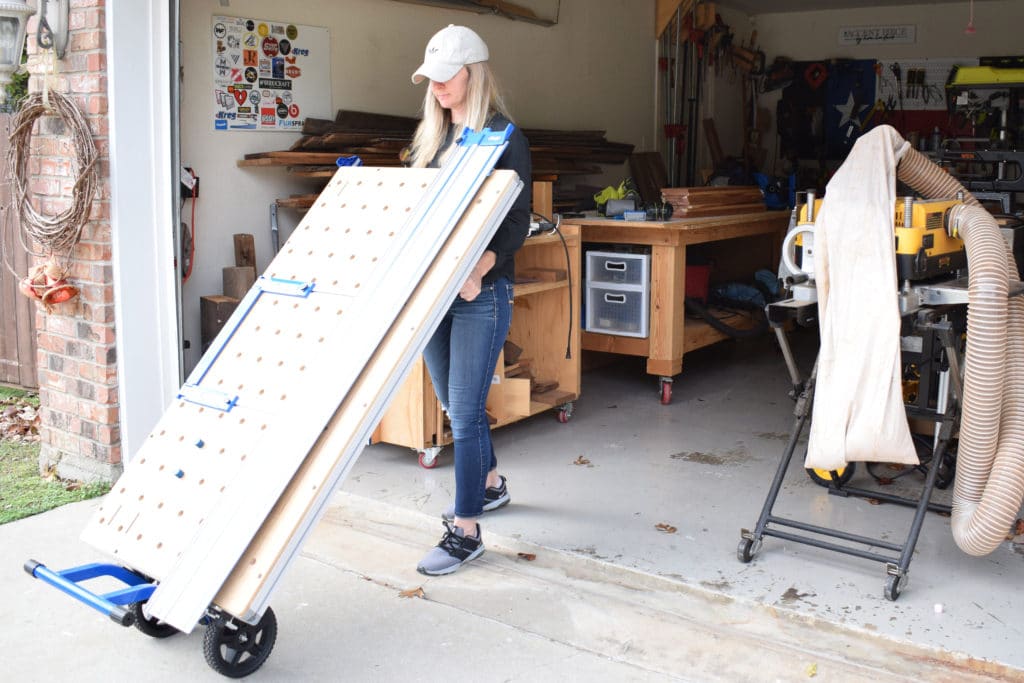
The Adaptive Cutting System is a track saw table and system that is a great way to make repeatable, accurate, and safe cuts like ripping boards, crosscuts, and miters. #sponsored (It could theoretically even replace your table saw, miter saw, circle saw, even a jointer!) Keep reading to see what it is and how it’s used!
This is a sponsored post by Kreg Tools. All reviews and opinions expressed in this post are based on my personal view.
If printable PDF plans are more your thing, download the free plans for the wood doormat below!
Step 1: Gather your Materials
To make this DIY Wood Slat Doormat, you will need:
- (5) .5″ x 6″ x 72″ Cedar Boards
- Kreg Adaptive Cutting System Master Kit in order to dimension your boards and cut your miters and crosscuts
- Kreg Jig (For an in-depth look at how to use your Kreg Pocket Hole Jig, check out this post)
- 1 1/4″ Kreg Screws (to learn how to choose the correct length Kreg screw, check out this post)
- Wood Glue rated for outdoor use
- 3″ Face Clamp
- Drill (Find a Beginner’s Guide to Using a Drill here)
- Stain
- Sealer
For this doormat, I decided to use cedar wood. I started with (5) 72″ long, 6″ wide boards. I planed these down to slightly thicker than .5″.
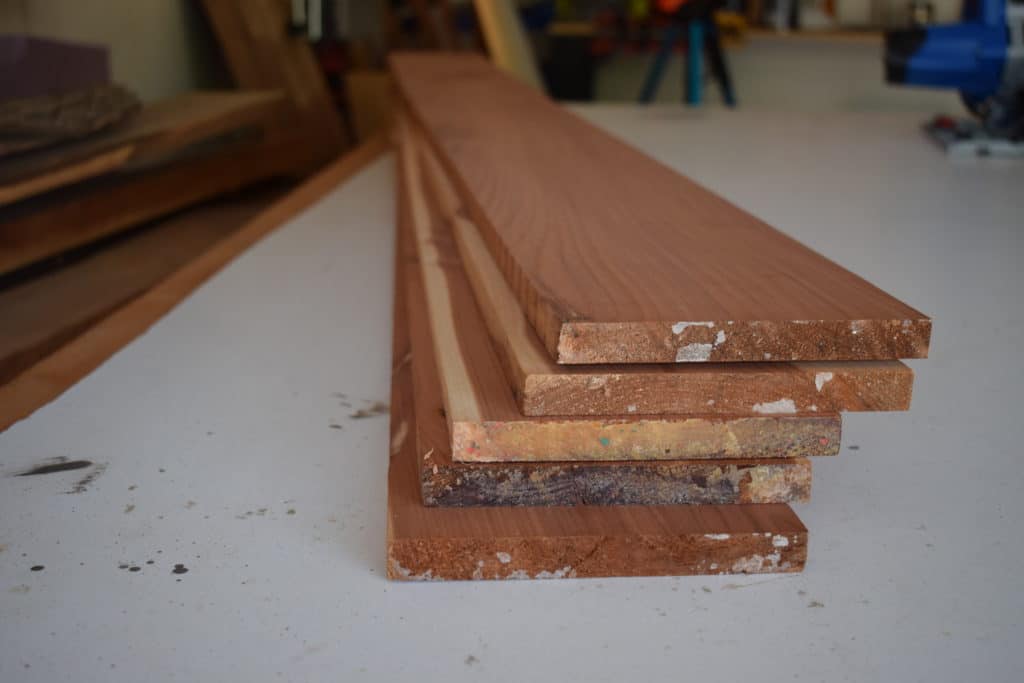
Q: Why is cedar good for outdoor use?
A: Cedar is great for outdoors because it is rot and bug/insect resistant. It also has a natural resistance to decay and moisture. Because of this, cedar is a good option for this outdoor wood slat doormat, especially when it is sealed with Spar Urethane.
Another thing I LOVE about this system is you can save money by dimensioning your own boards – which is especially important with the current prices of lumber! You can easily make your own custom size stock for whatever your project calls for.
Step 2: Dimension your lumber
Using your Kreg Adaptive Cutting System Master Kit, begin the dimensioning process by trimming the rough edges off of your boards if needed.
Since the stock I used was rough cut lumber, I essentially used the Kreg Adaptive Cutting System to joint the edges by trimming off the rough edge. You can see below the rough edges that needed to be trimmed off in order to straighten the edges of a long board. The system can handle up to boards 62″ long.
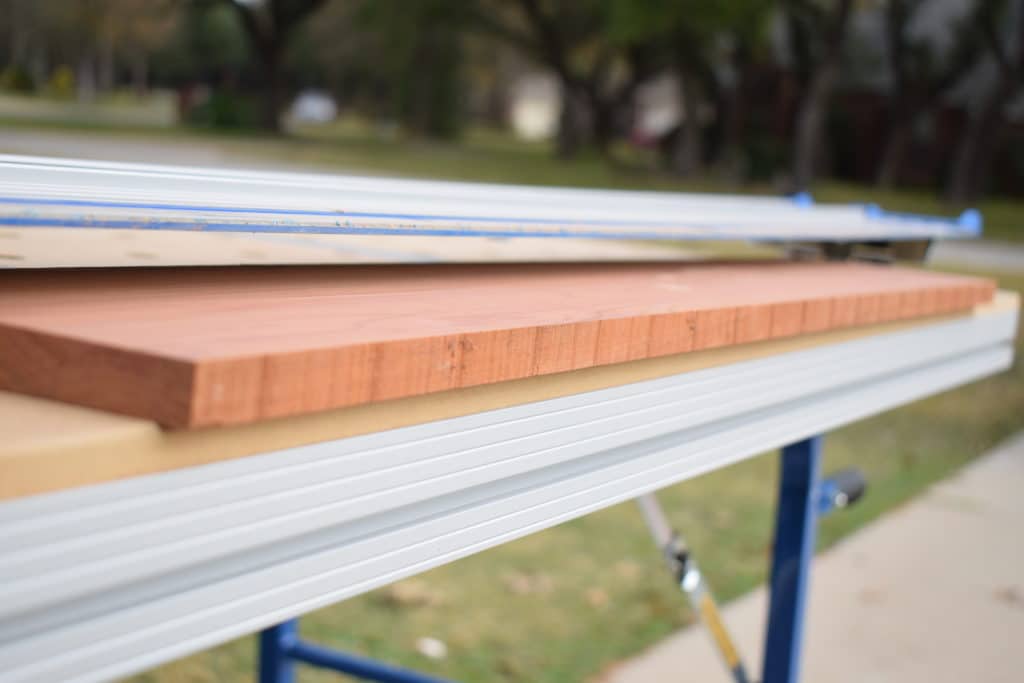
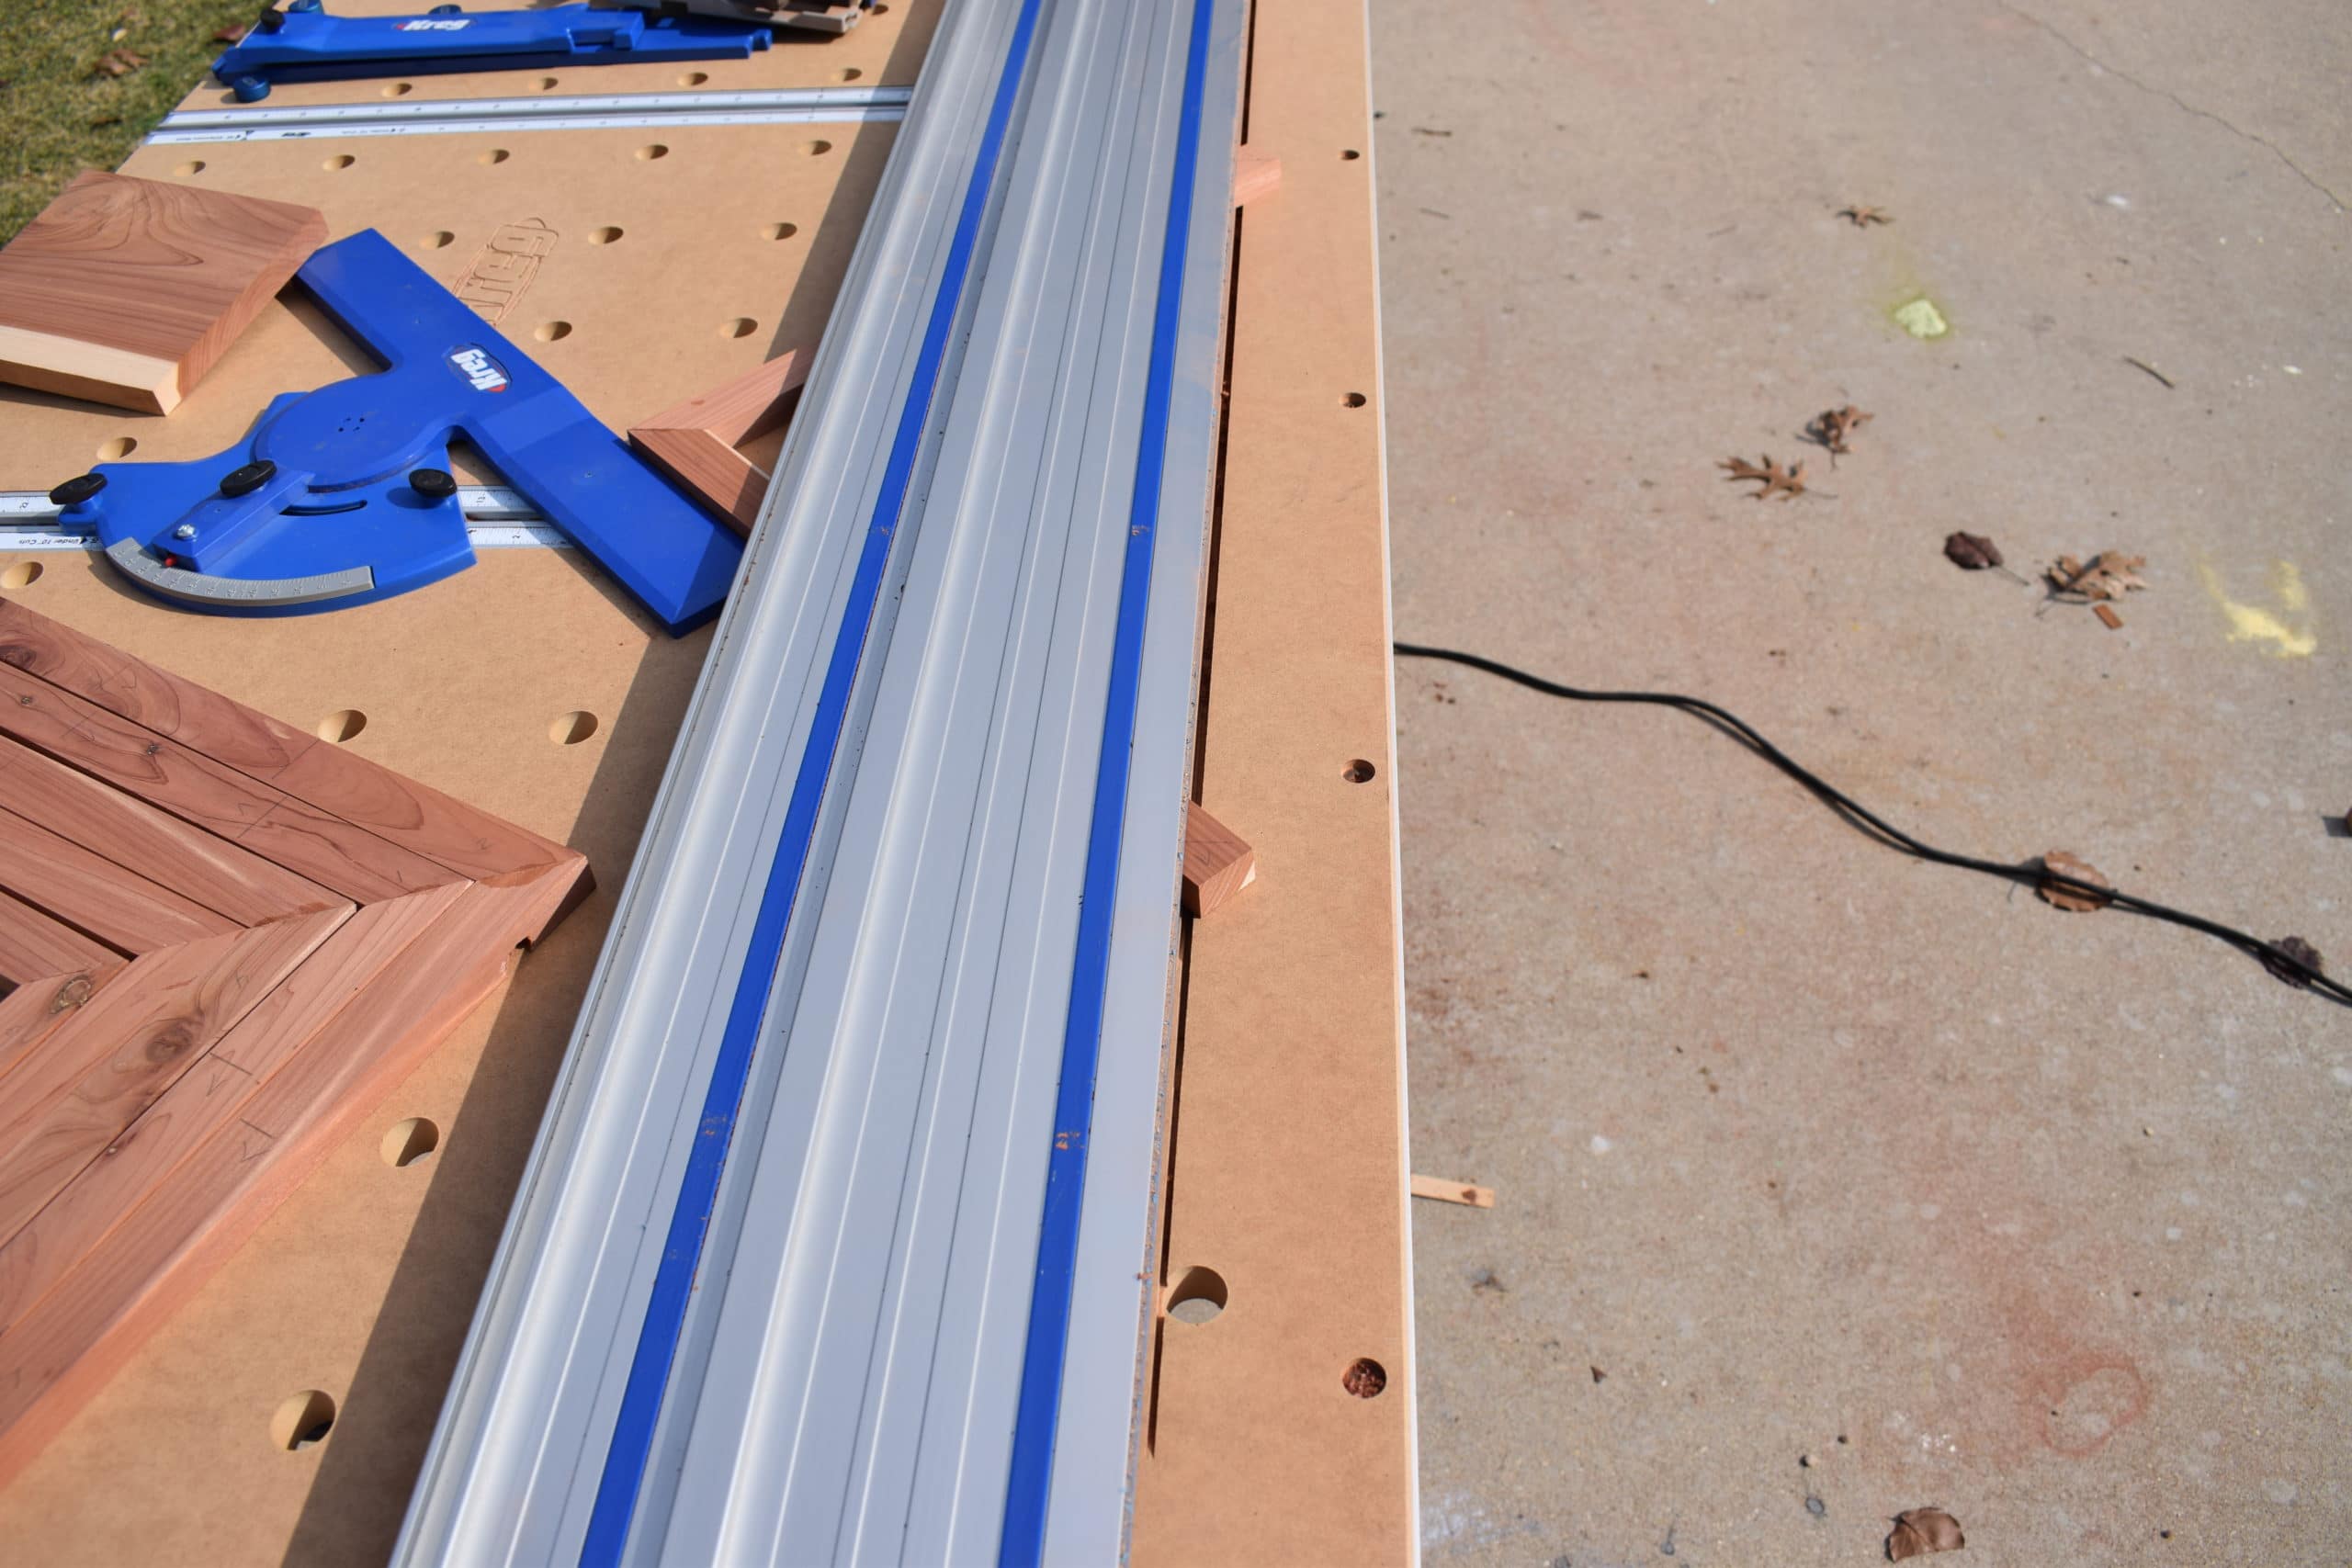
To set up the system to joint the edges, lay the track over the stock, leaving the stock slightly proud. Trim off the excess. The track makes it so easy to create a straight and square edge!
RELATED: For another method of jointing long boards, check out this post for how to joint boards without a jointer, or this post for 3 methods of jointing a long board without a jointer. I also used this method when I made a rustic wood American flag wall art.
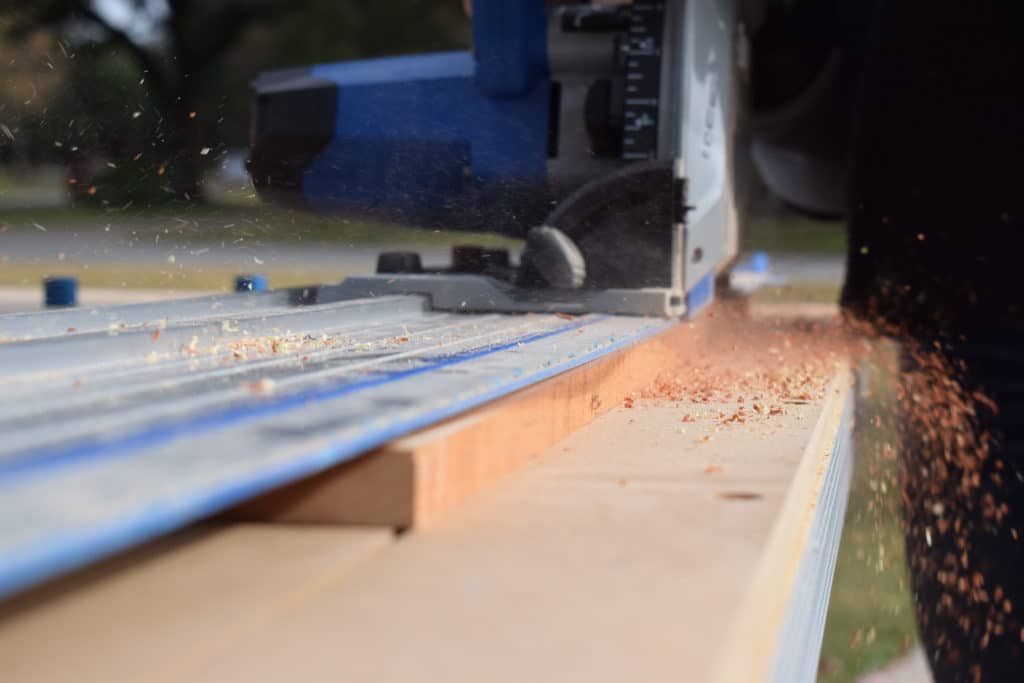
Check out that perfect cut! This would be so useful when you’re building a tabletop and butting two boards lengthwise against each other for a seamless top.
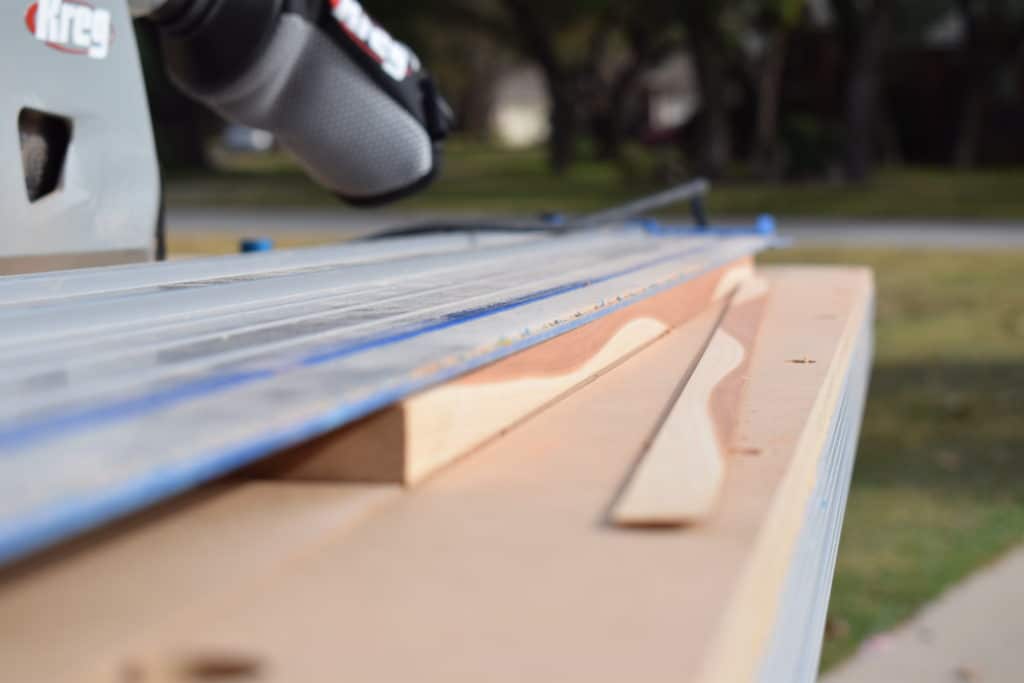
Once you have at least one straight edge on all of the boards, you can begin creating the 1″ wide, 15″ long pieces for the wooden doormat.
Start by setting the guides on the table to 15″ and adding versa stops in order to crosscut your pieces.
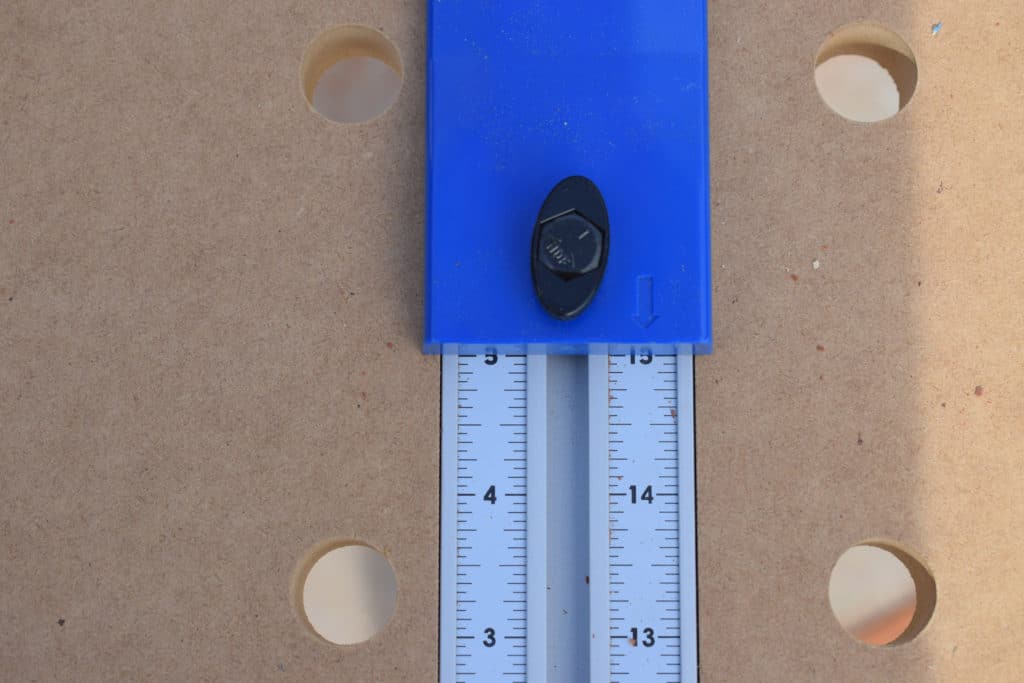
You will create (5) 15″ long pieces.
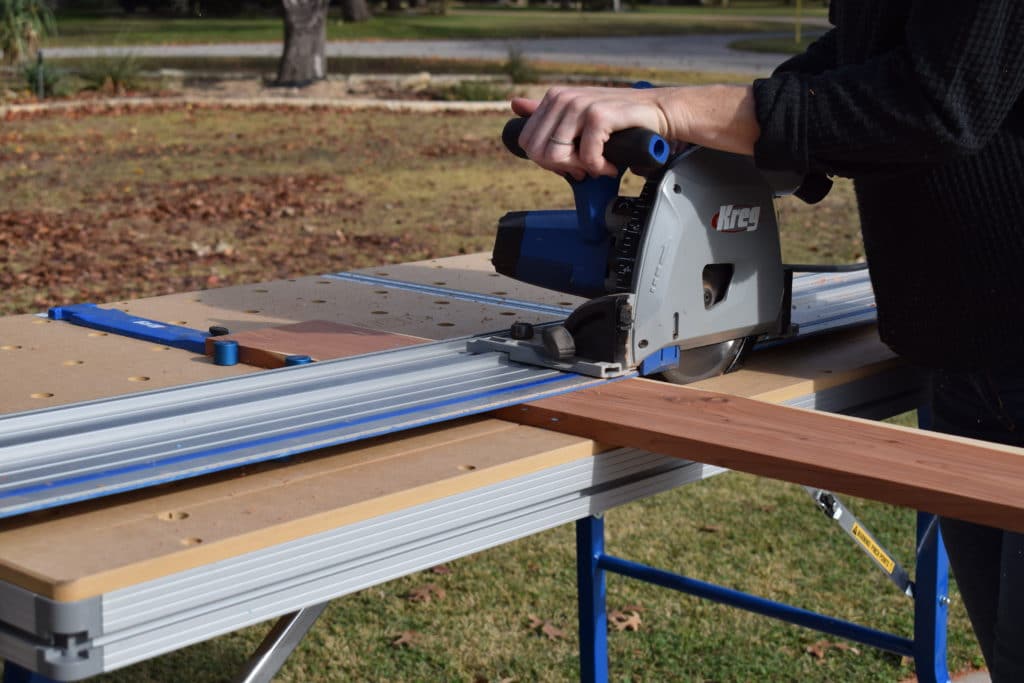
You can now start on creating 1″ wide pieces. This system makes it so easy to create repeatable cuts!
You will begin by setting both rip guides to 1″.
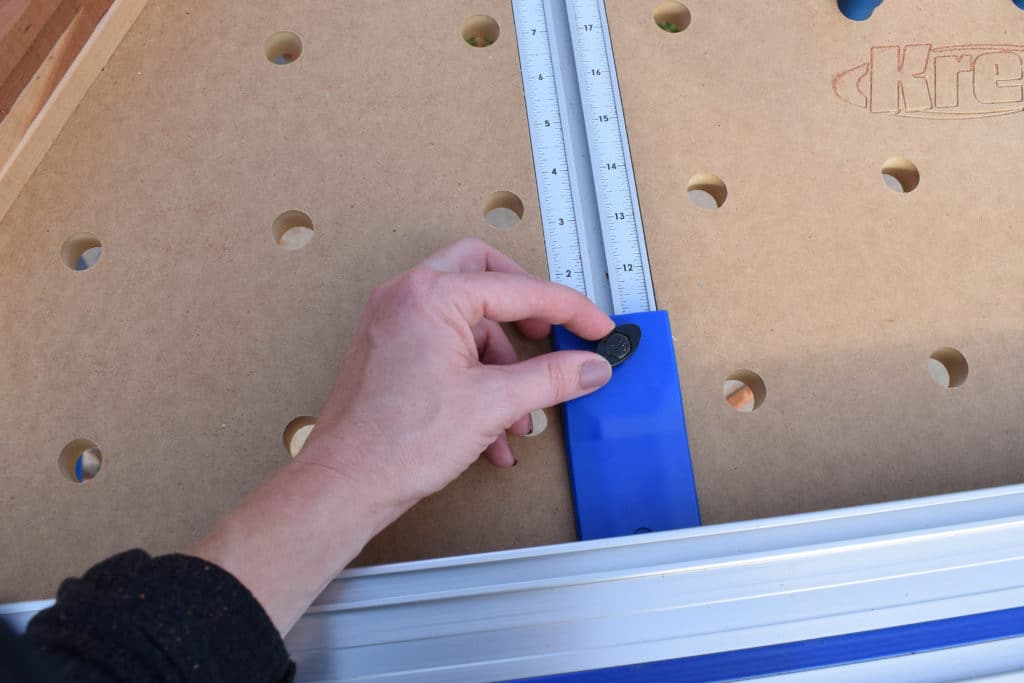
Place your stock under the track, put the piece against the stops again, and cut away.
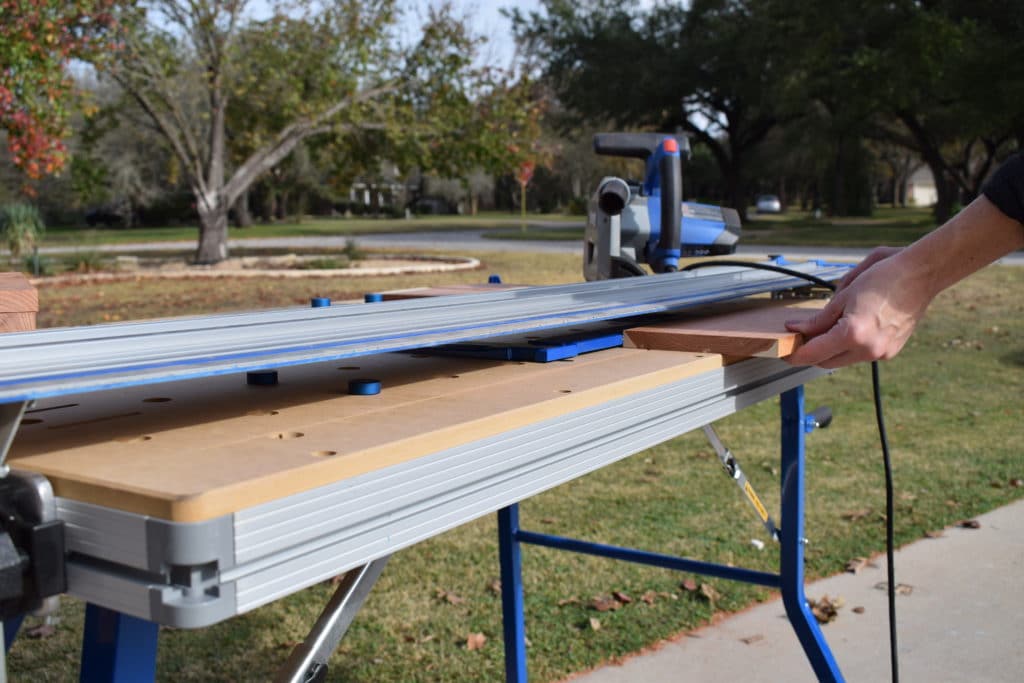
The stock left under the track will be your new 1″ piece. After your cut, remove that, butt the remaining stock against the stops, and cut again.
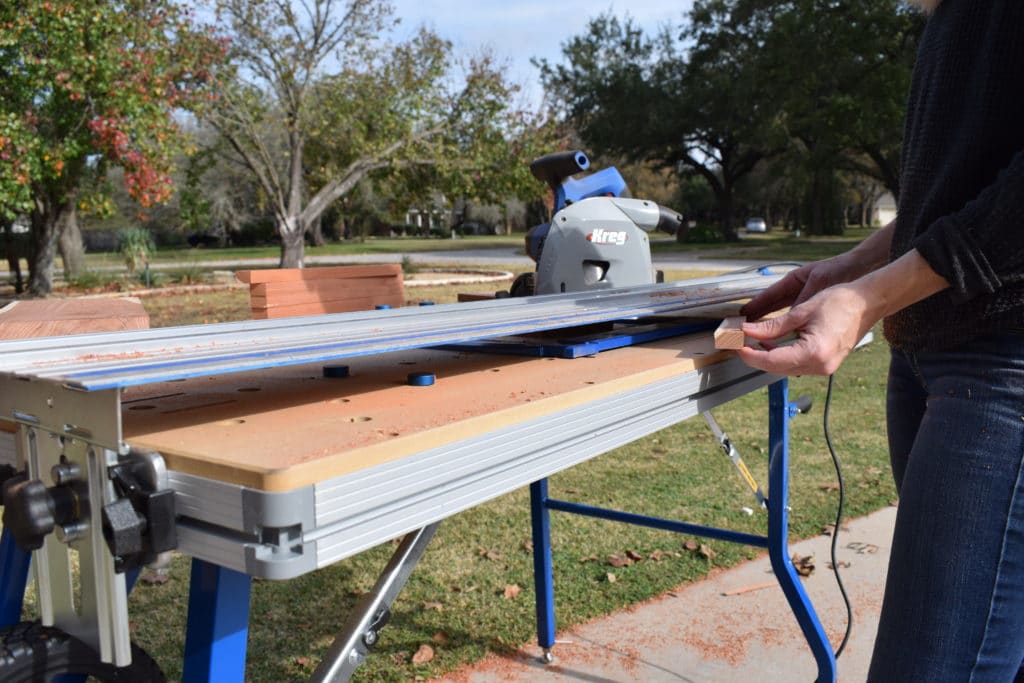
I love how the ACS system creates a safe and versatile way to make repeatable cuts. It would also be an easy way to break down large plywood sheets without having to mess with outfeed tables. That’s why this system is a good alternative to table saws – you don’t have an exposed blade, but you are still able to make repeatable and square cuts.
Repeat that process until you have (24) 1″ wide, 15″ long pieces
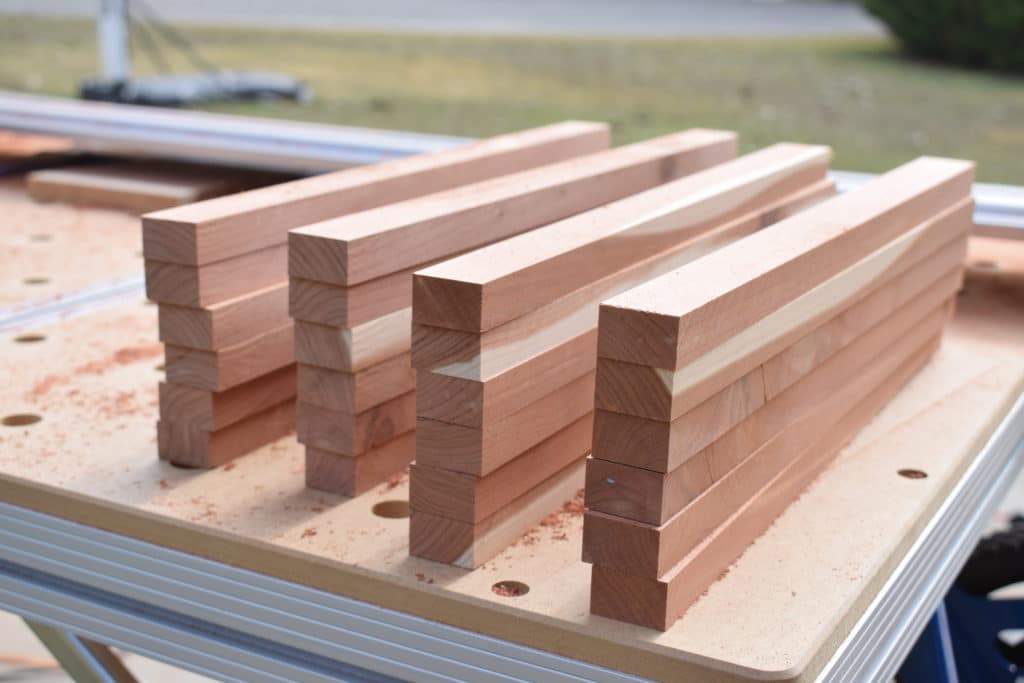
Now that you have jointed edges, made crosscuts, and made rip cuts, it’s time to make the miter cuts!
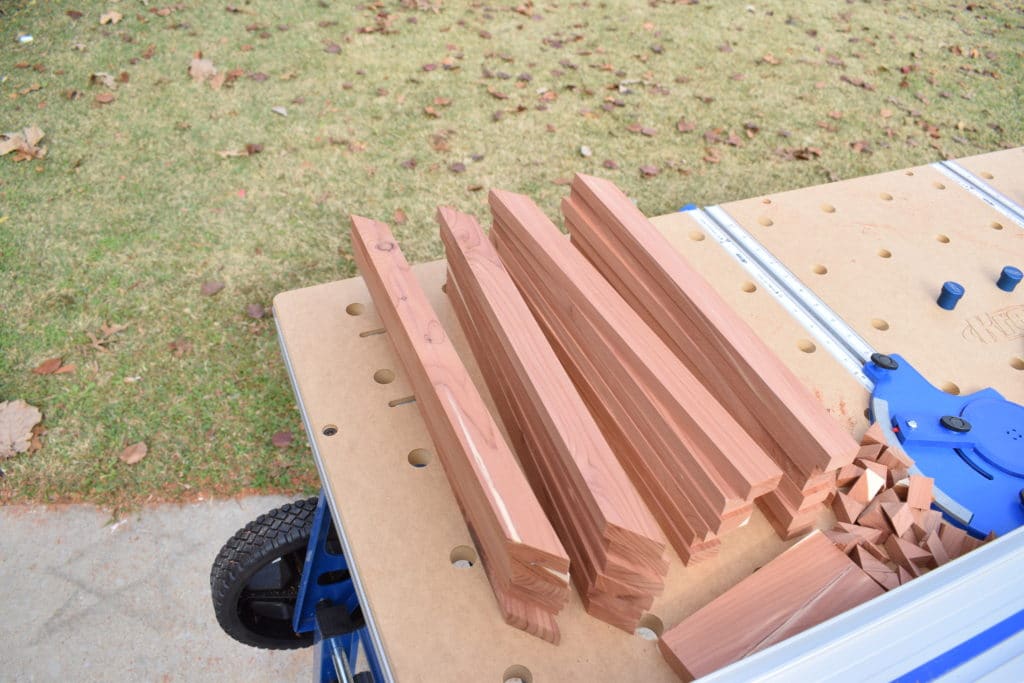
Set your miter gauge to 45 degrees and cut the boards one at a time to create a miter on both ends for half of the 15″ boards.
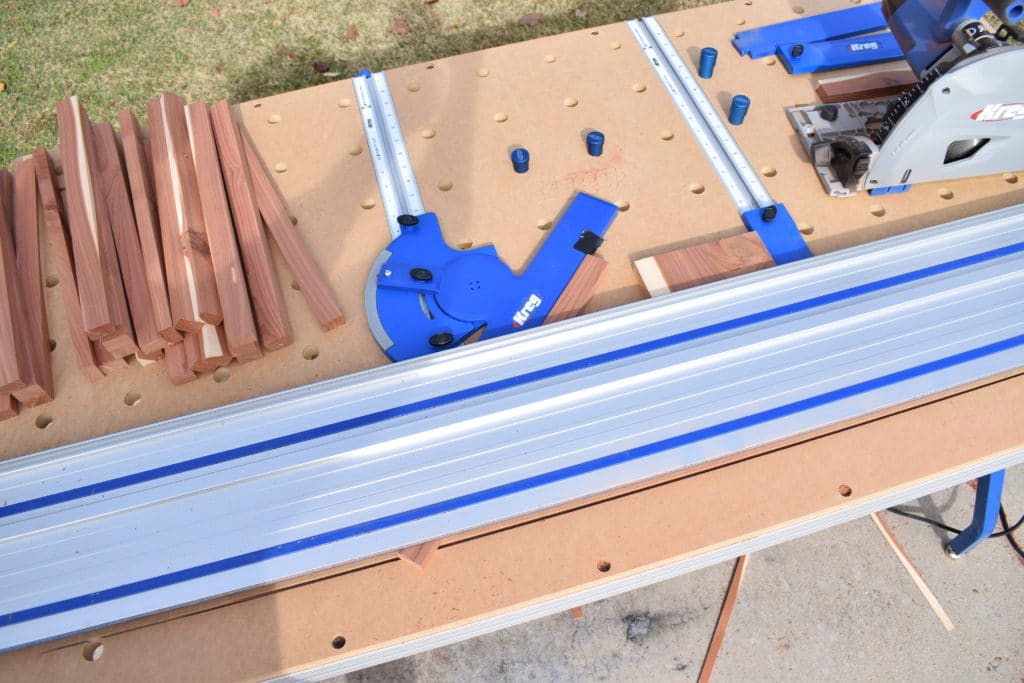
Having the ability to create miters like this would have been so helpful when I made the DIY Outdoor Wooden Christmas Star. Perhaps I’ll knock out a couple more with this system!
The other half of the boards will have a miter on only one end.
Step 3: Create the pocket hole joinery
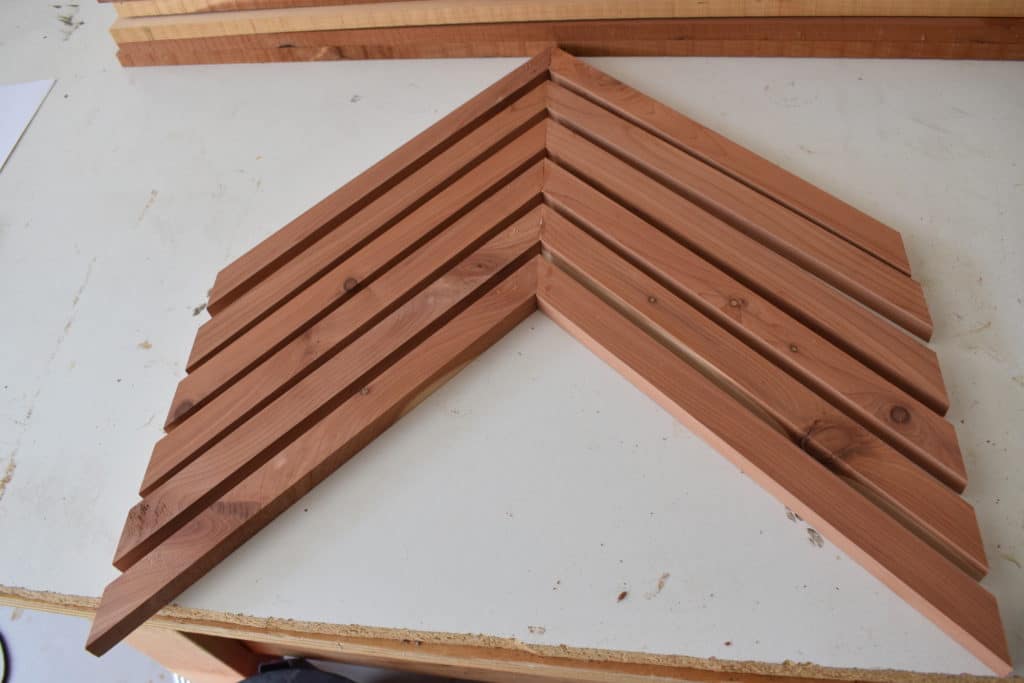
You can now use a Kreg pocket hole system to create 6 sets of 90 degree angles.
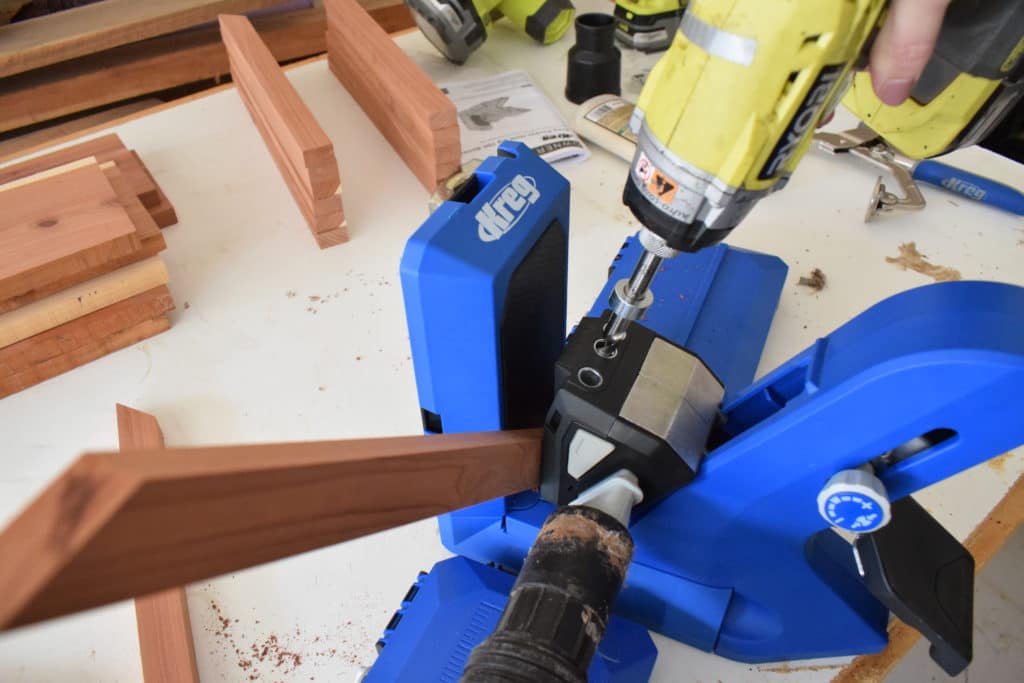
I have used a Kreg Jig for pocket holes for years and for countless projects, and Kreg Tools has somehow managed to make an awesome product even better. I used the Kreg 720 Pro for this and it made such easy work of creating all of the pocket holes (and there are a lot!).
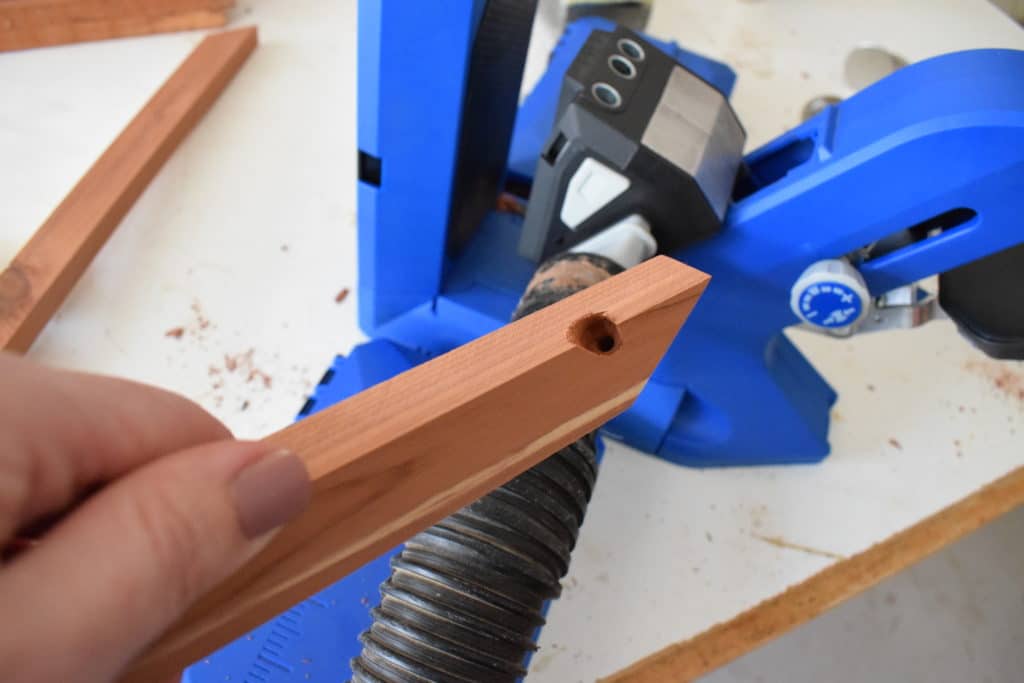
Use wood glue rated for outdoor use when you are joining the pieces together.
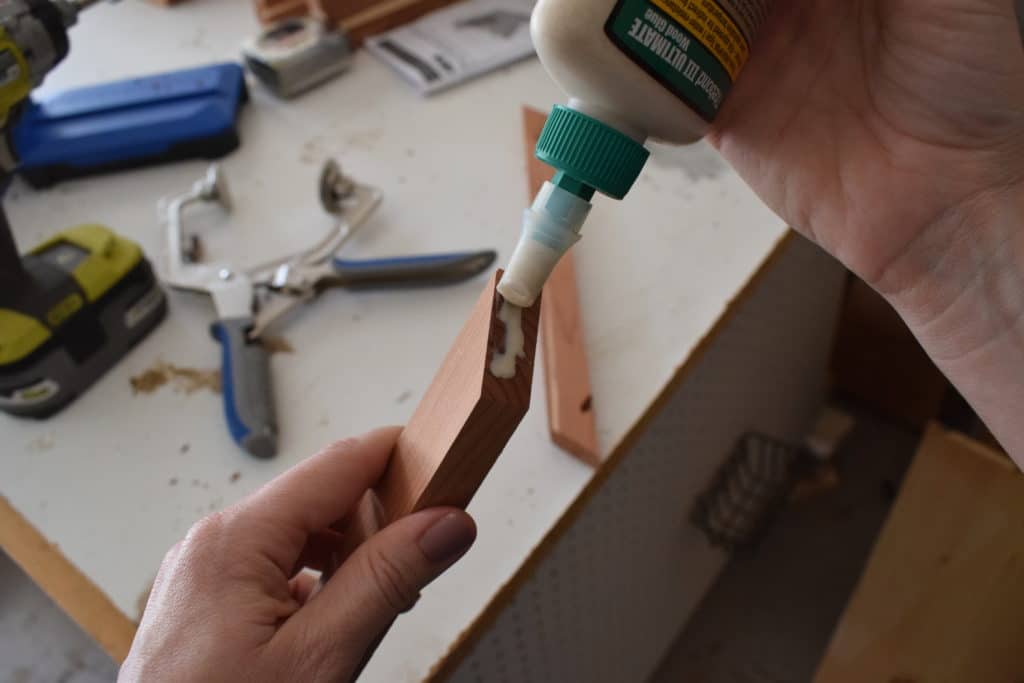
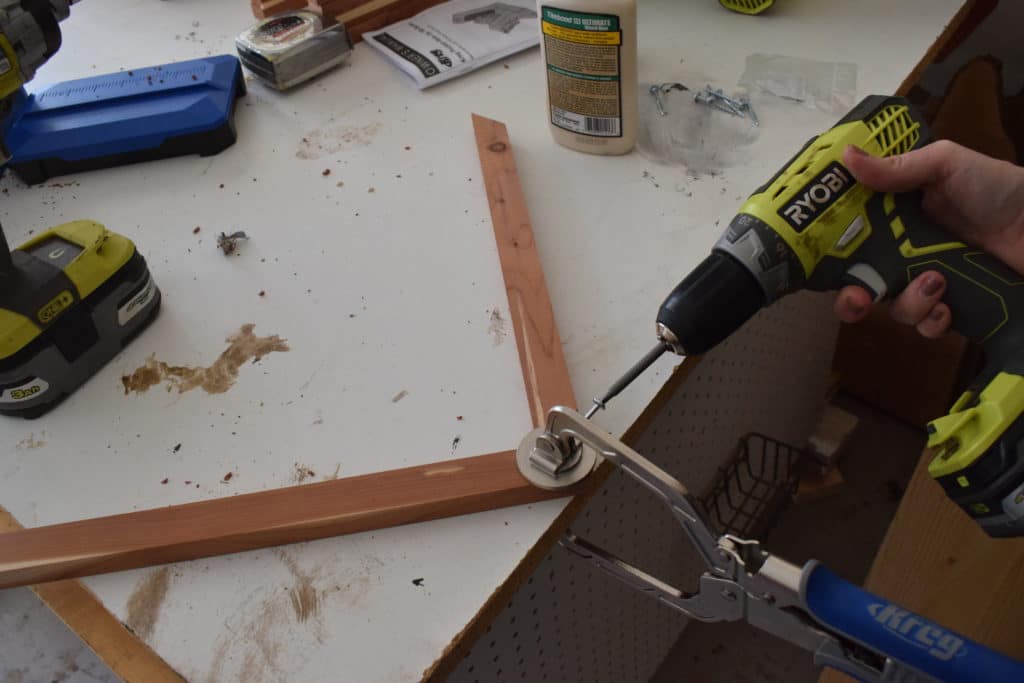
This face clamp is a must for this project. It will keep all of your joints square and flat.
Once you have made 6 of these, you can move on to staining 4 of them!
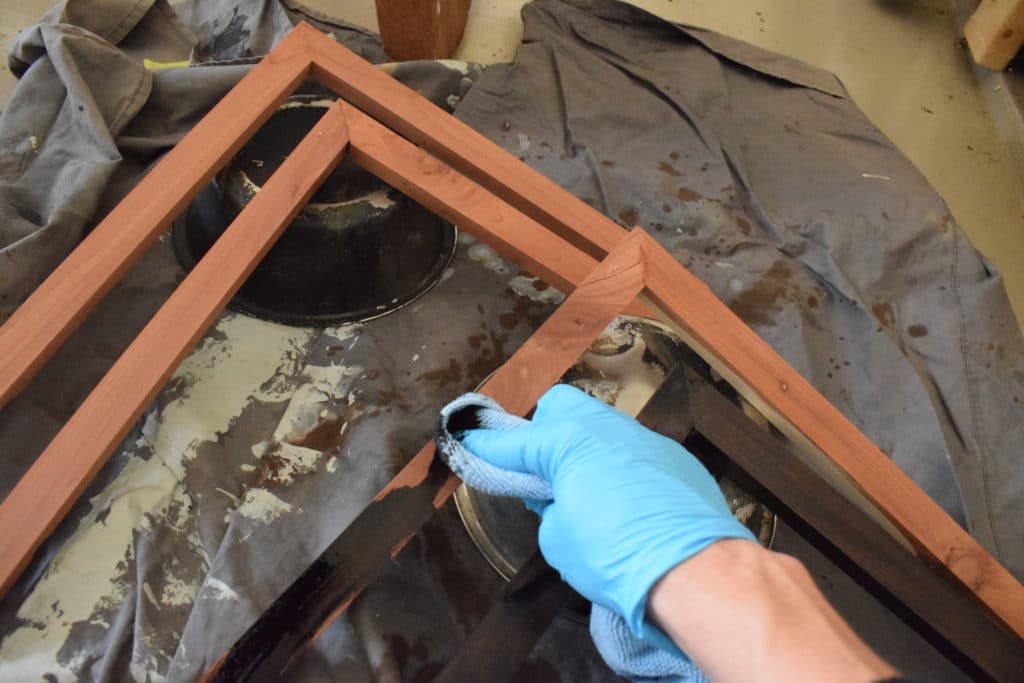
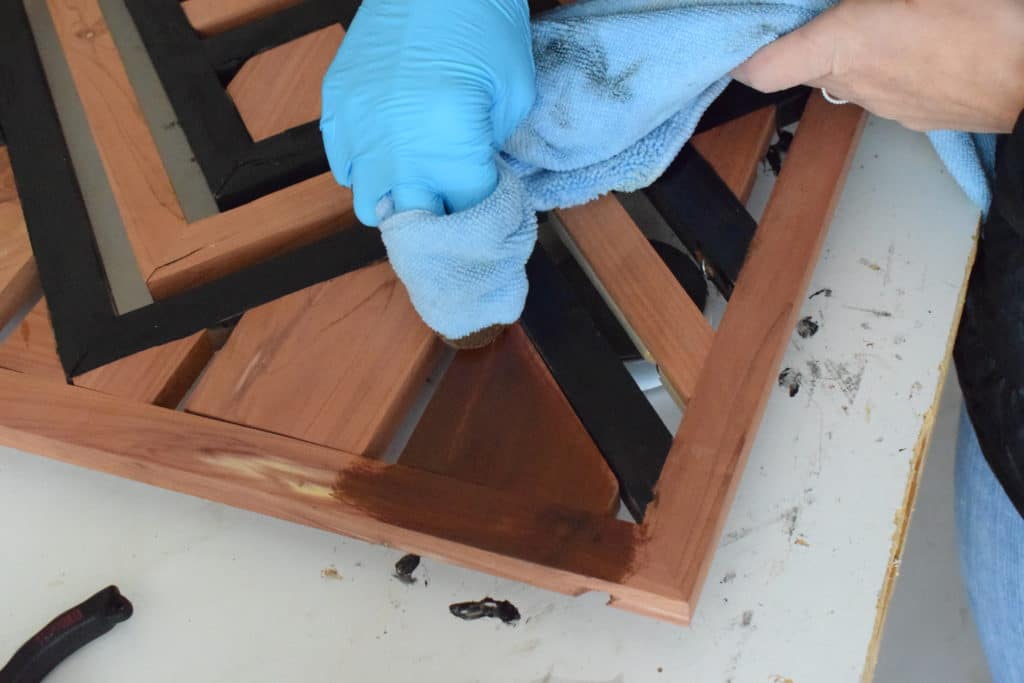
I found it easiest to stain before you assemble so you aren’t trying to get into all of the nooks and crannies after assembly.
Next up: create the two longer pieces of the frame. They will be .5″ x 1″ x 34″. Use the same process as above to joint the edges, crosscut, and rip the boards.
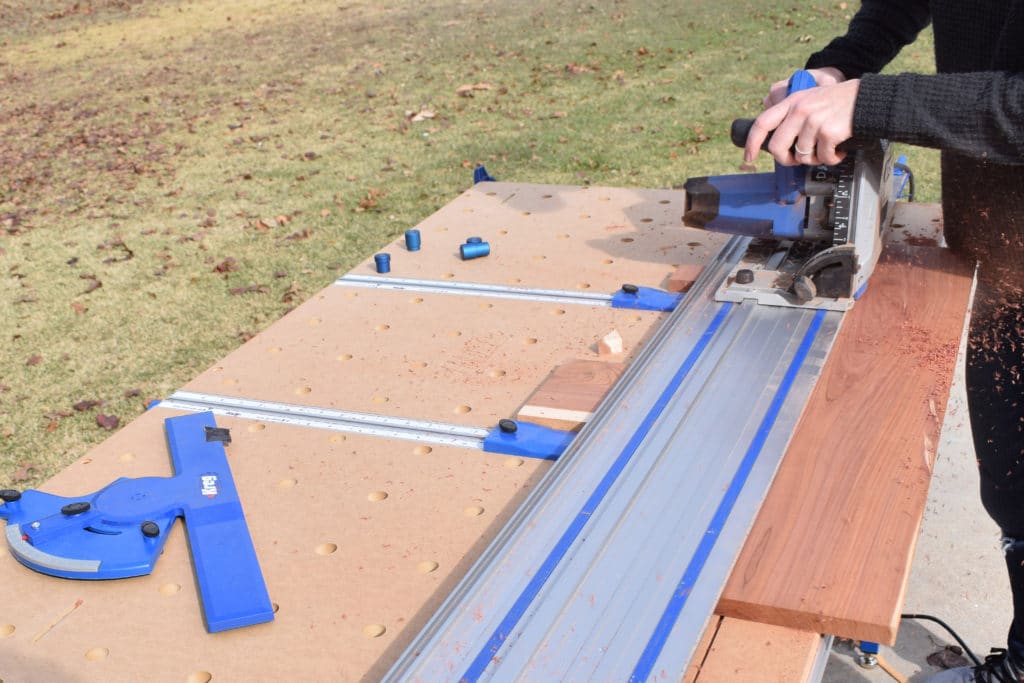
With those two frame pieces made, you will now attach the 6 angles to them. Start in the middle (17″).
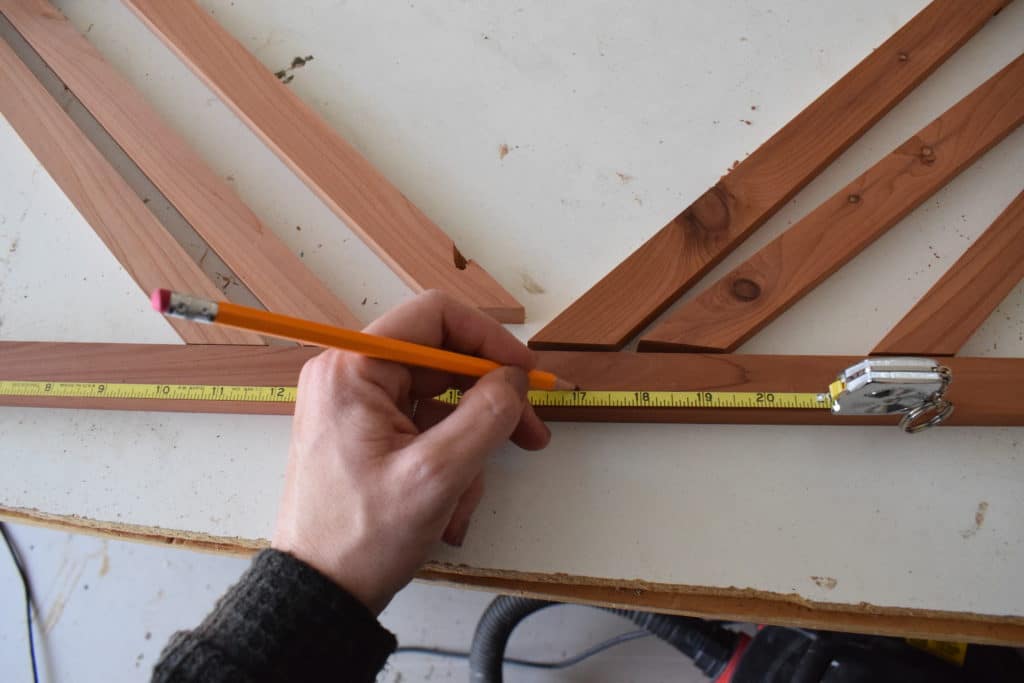
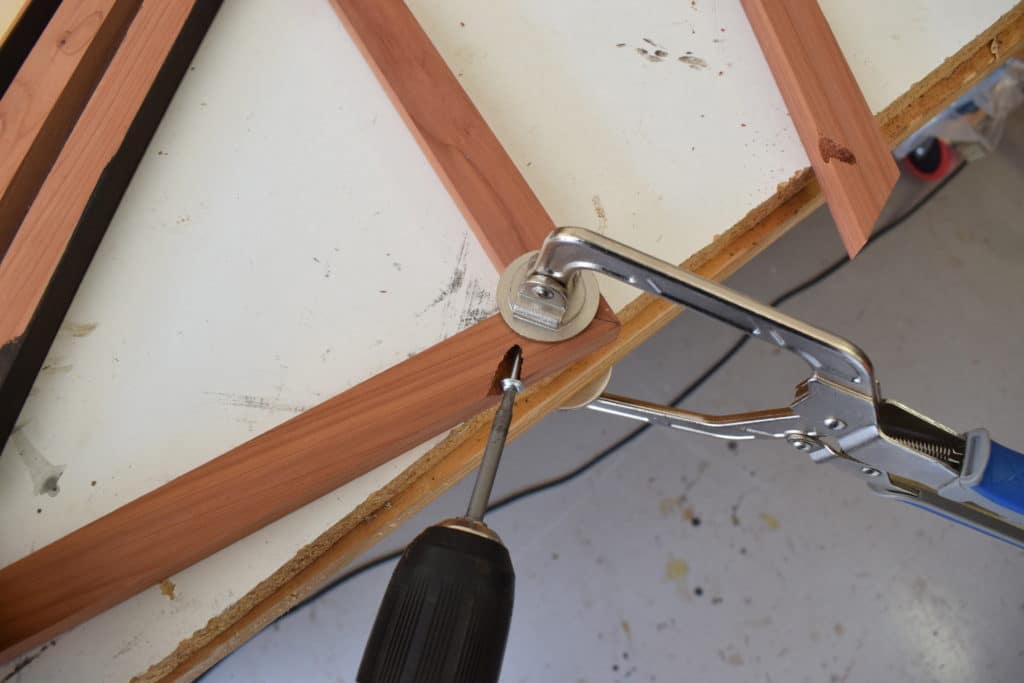
Attach with pocket holes, face clamp, and wood glue rated for outdoor use. You can use scrap wood as spacers for the gap between the wood slats – make the gaps .5″ wide.

Repeat this process until all 6 pieces are attached to the frame.
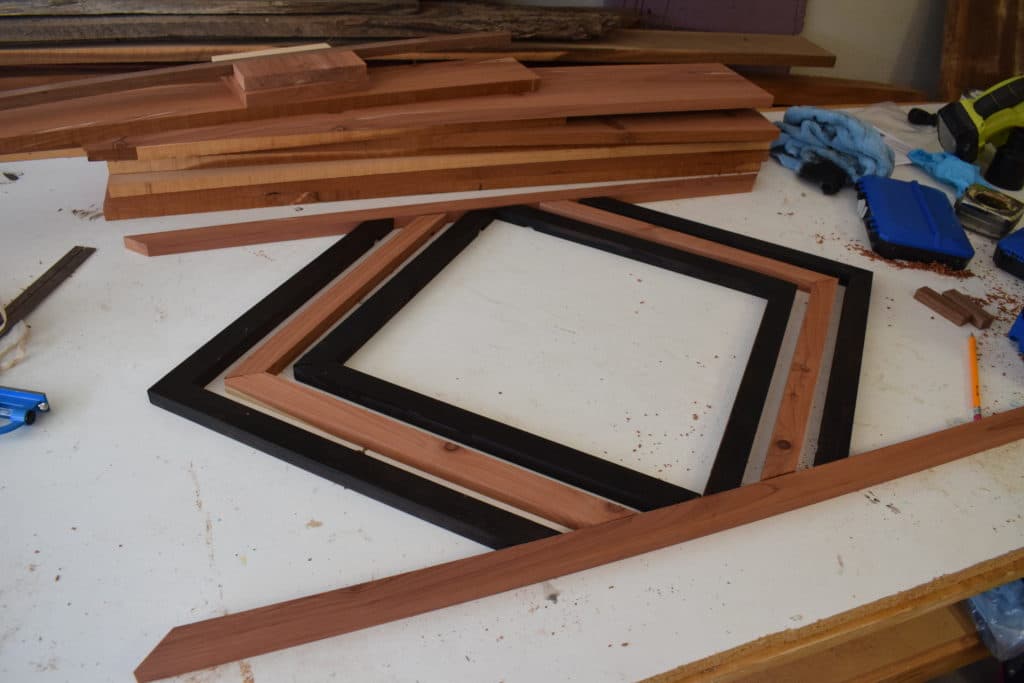
You can now make the remaining two frame pieces. Create (2) .5″ x 1″ x 23″ pieces. This will leave them intentionally too long so they can be trimmed down to fit the existing frame.
I found it easiest to lay the existing doormat on top of the two smaller ends of the frame. You can then mark your cuts, rather than having to take precise measurements with a ruler. You will use this method two more times to build this wood slat doormat.
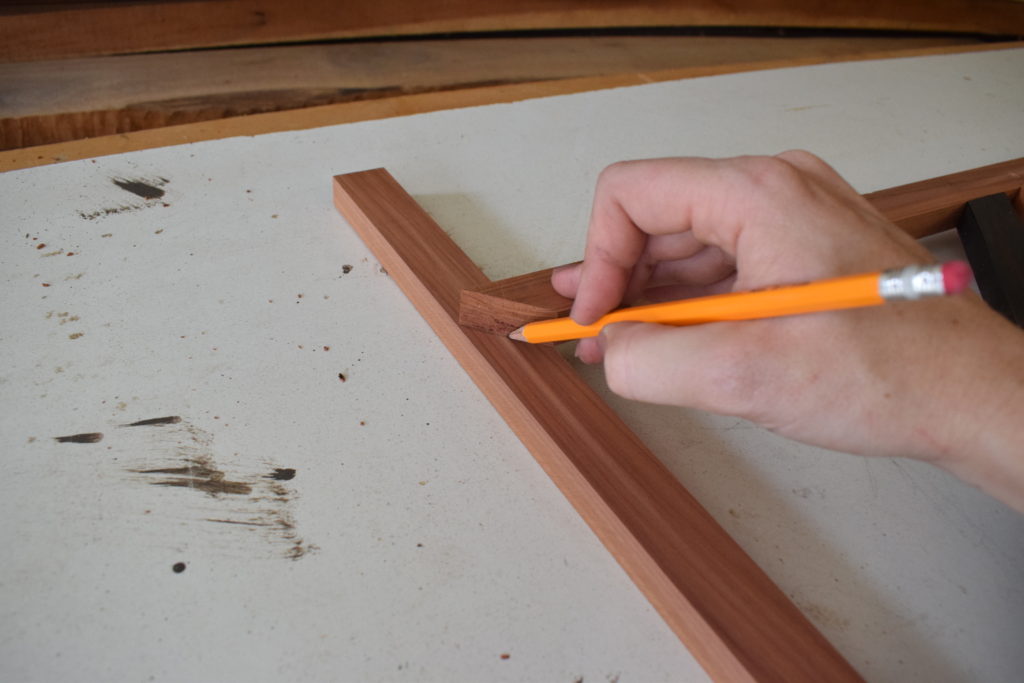
Attach the small pieces of the existing frame using pocket holes and wood glue.
Next up: create 6 more angles from the 15″ long pieces, using the same method as before.
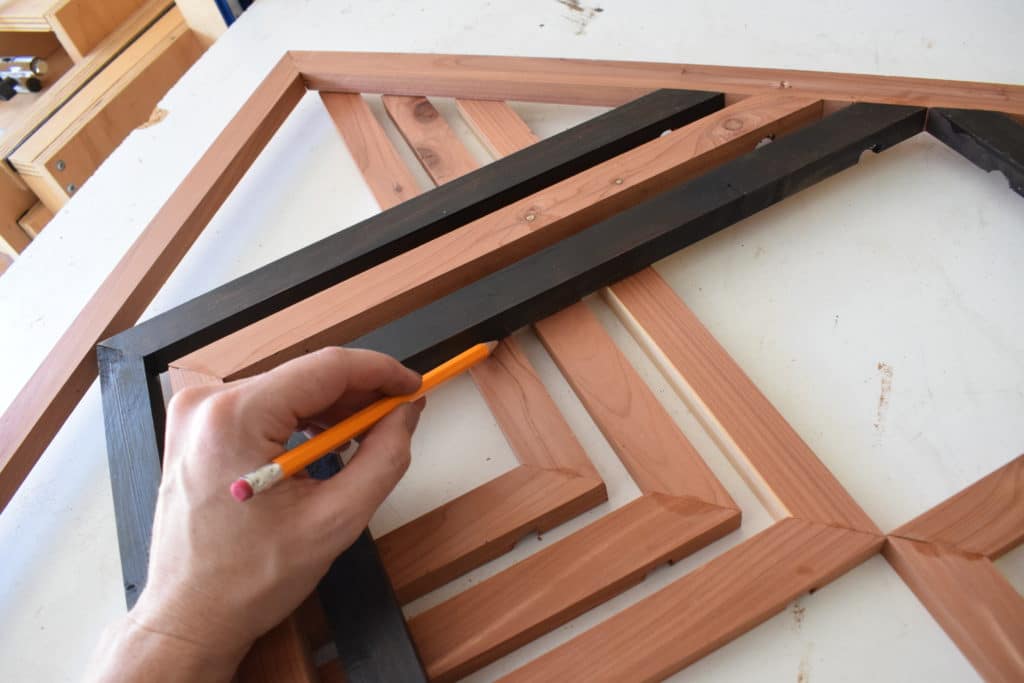
In order to make these cuts, you will lay the existing doormat over the angles already spaced out, similar to what you did to make the cuts for the short boards of the frame.
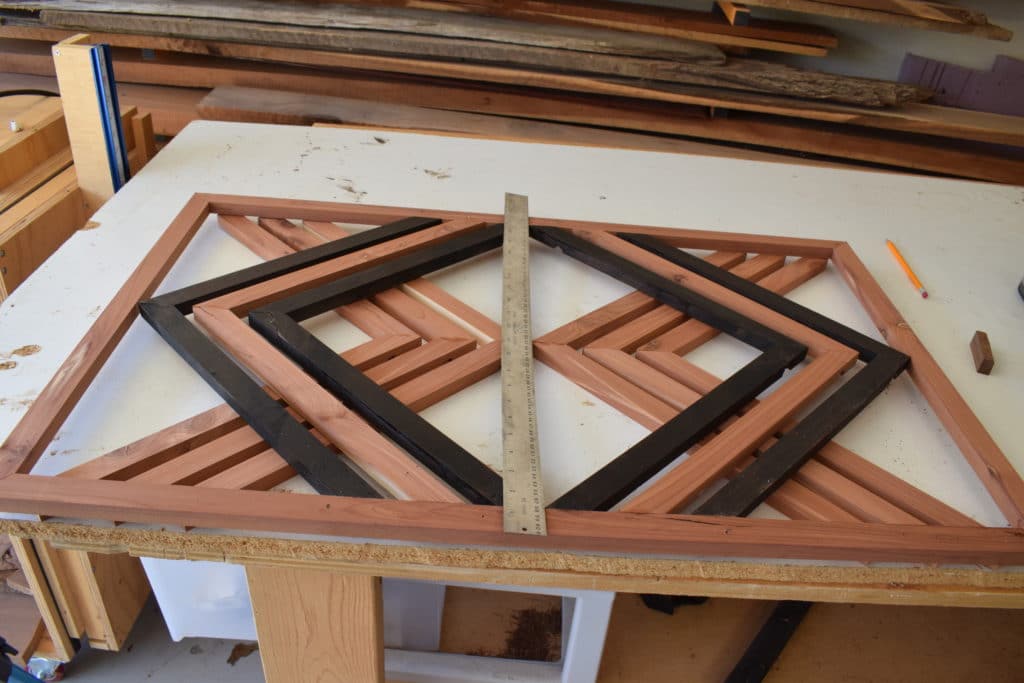
Make your marks and make the cuts on the ACS system. The good thing about this project is that all of the cuts (besides ripping the boards) are either 90 or 45 degrees!
You know the drill – cut, stain, create pocket holes, attach to the frame!
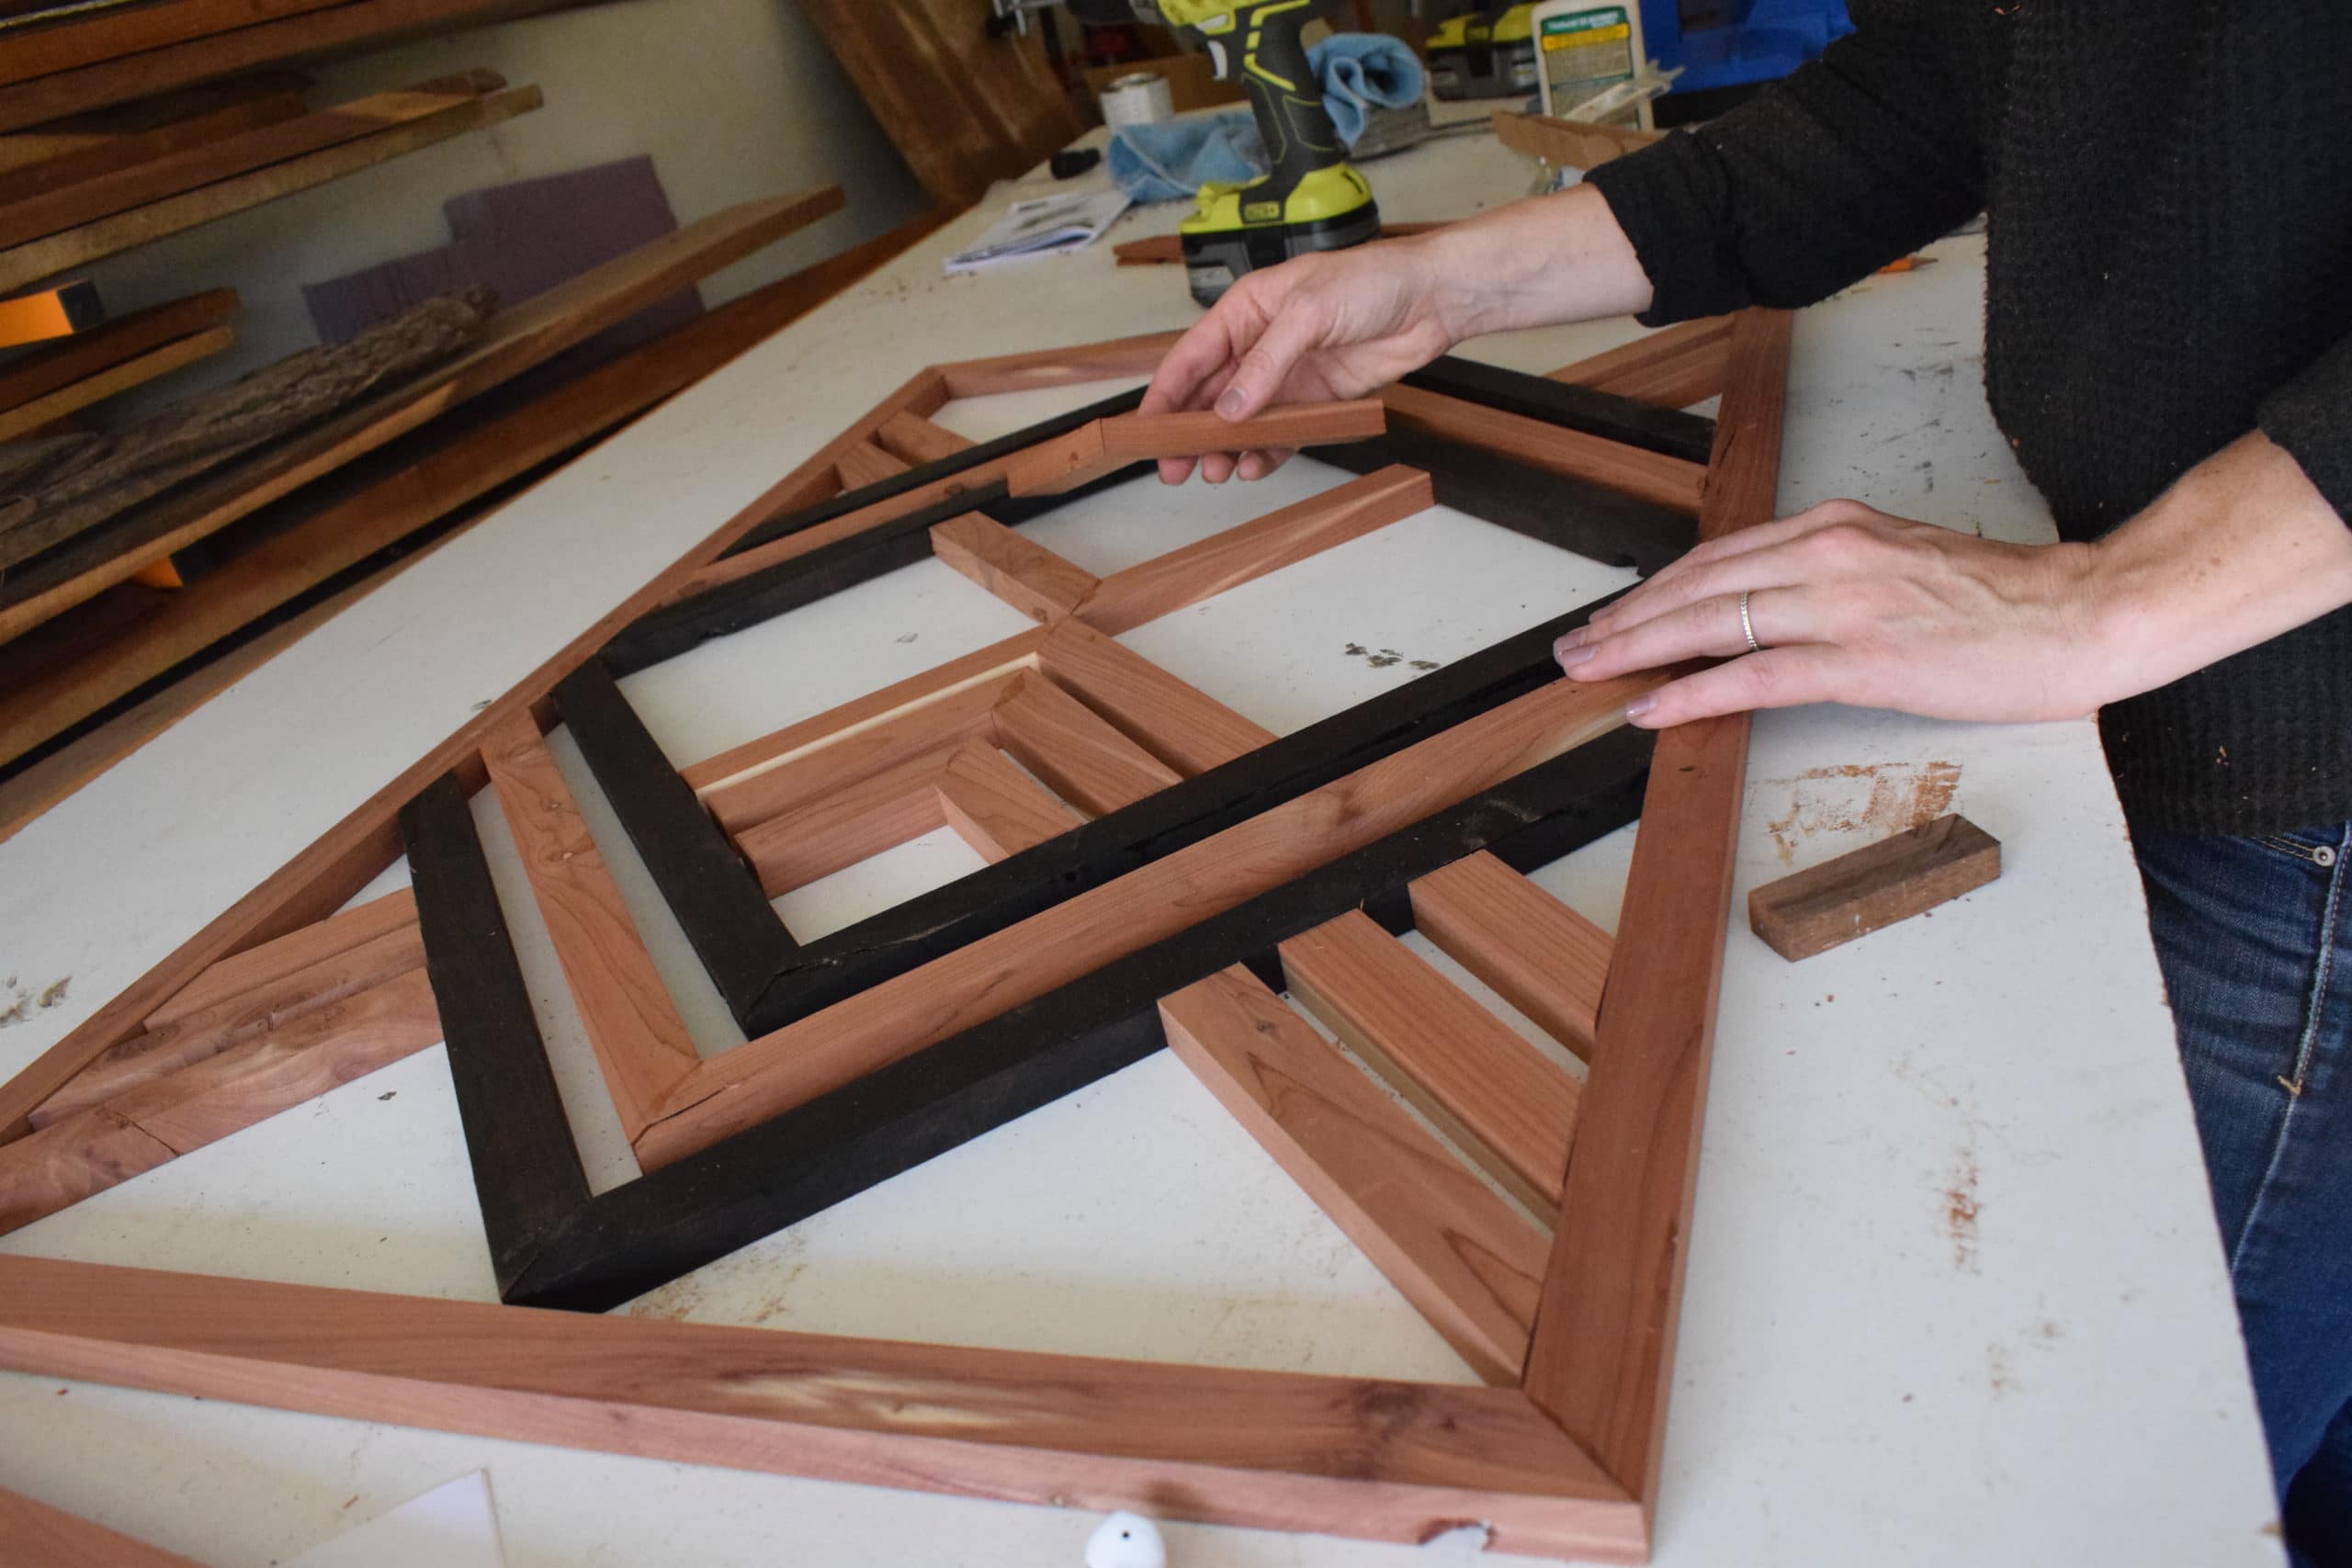
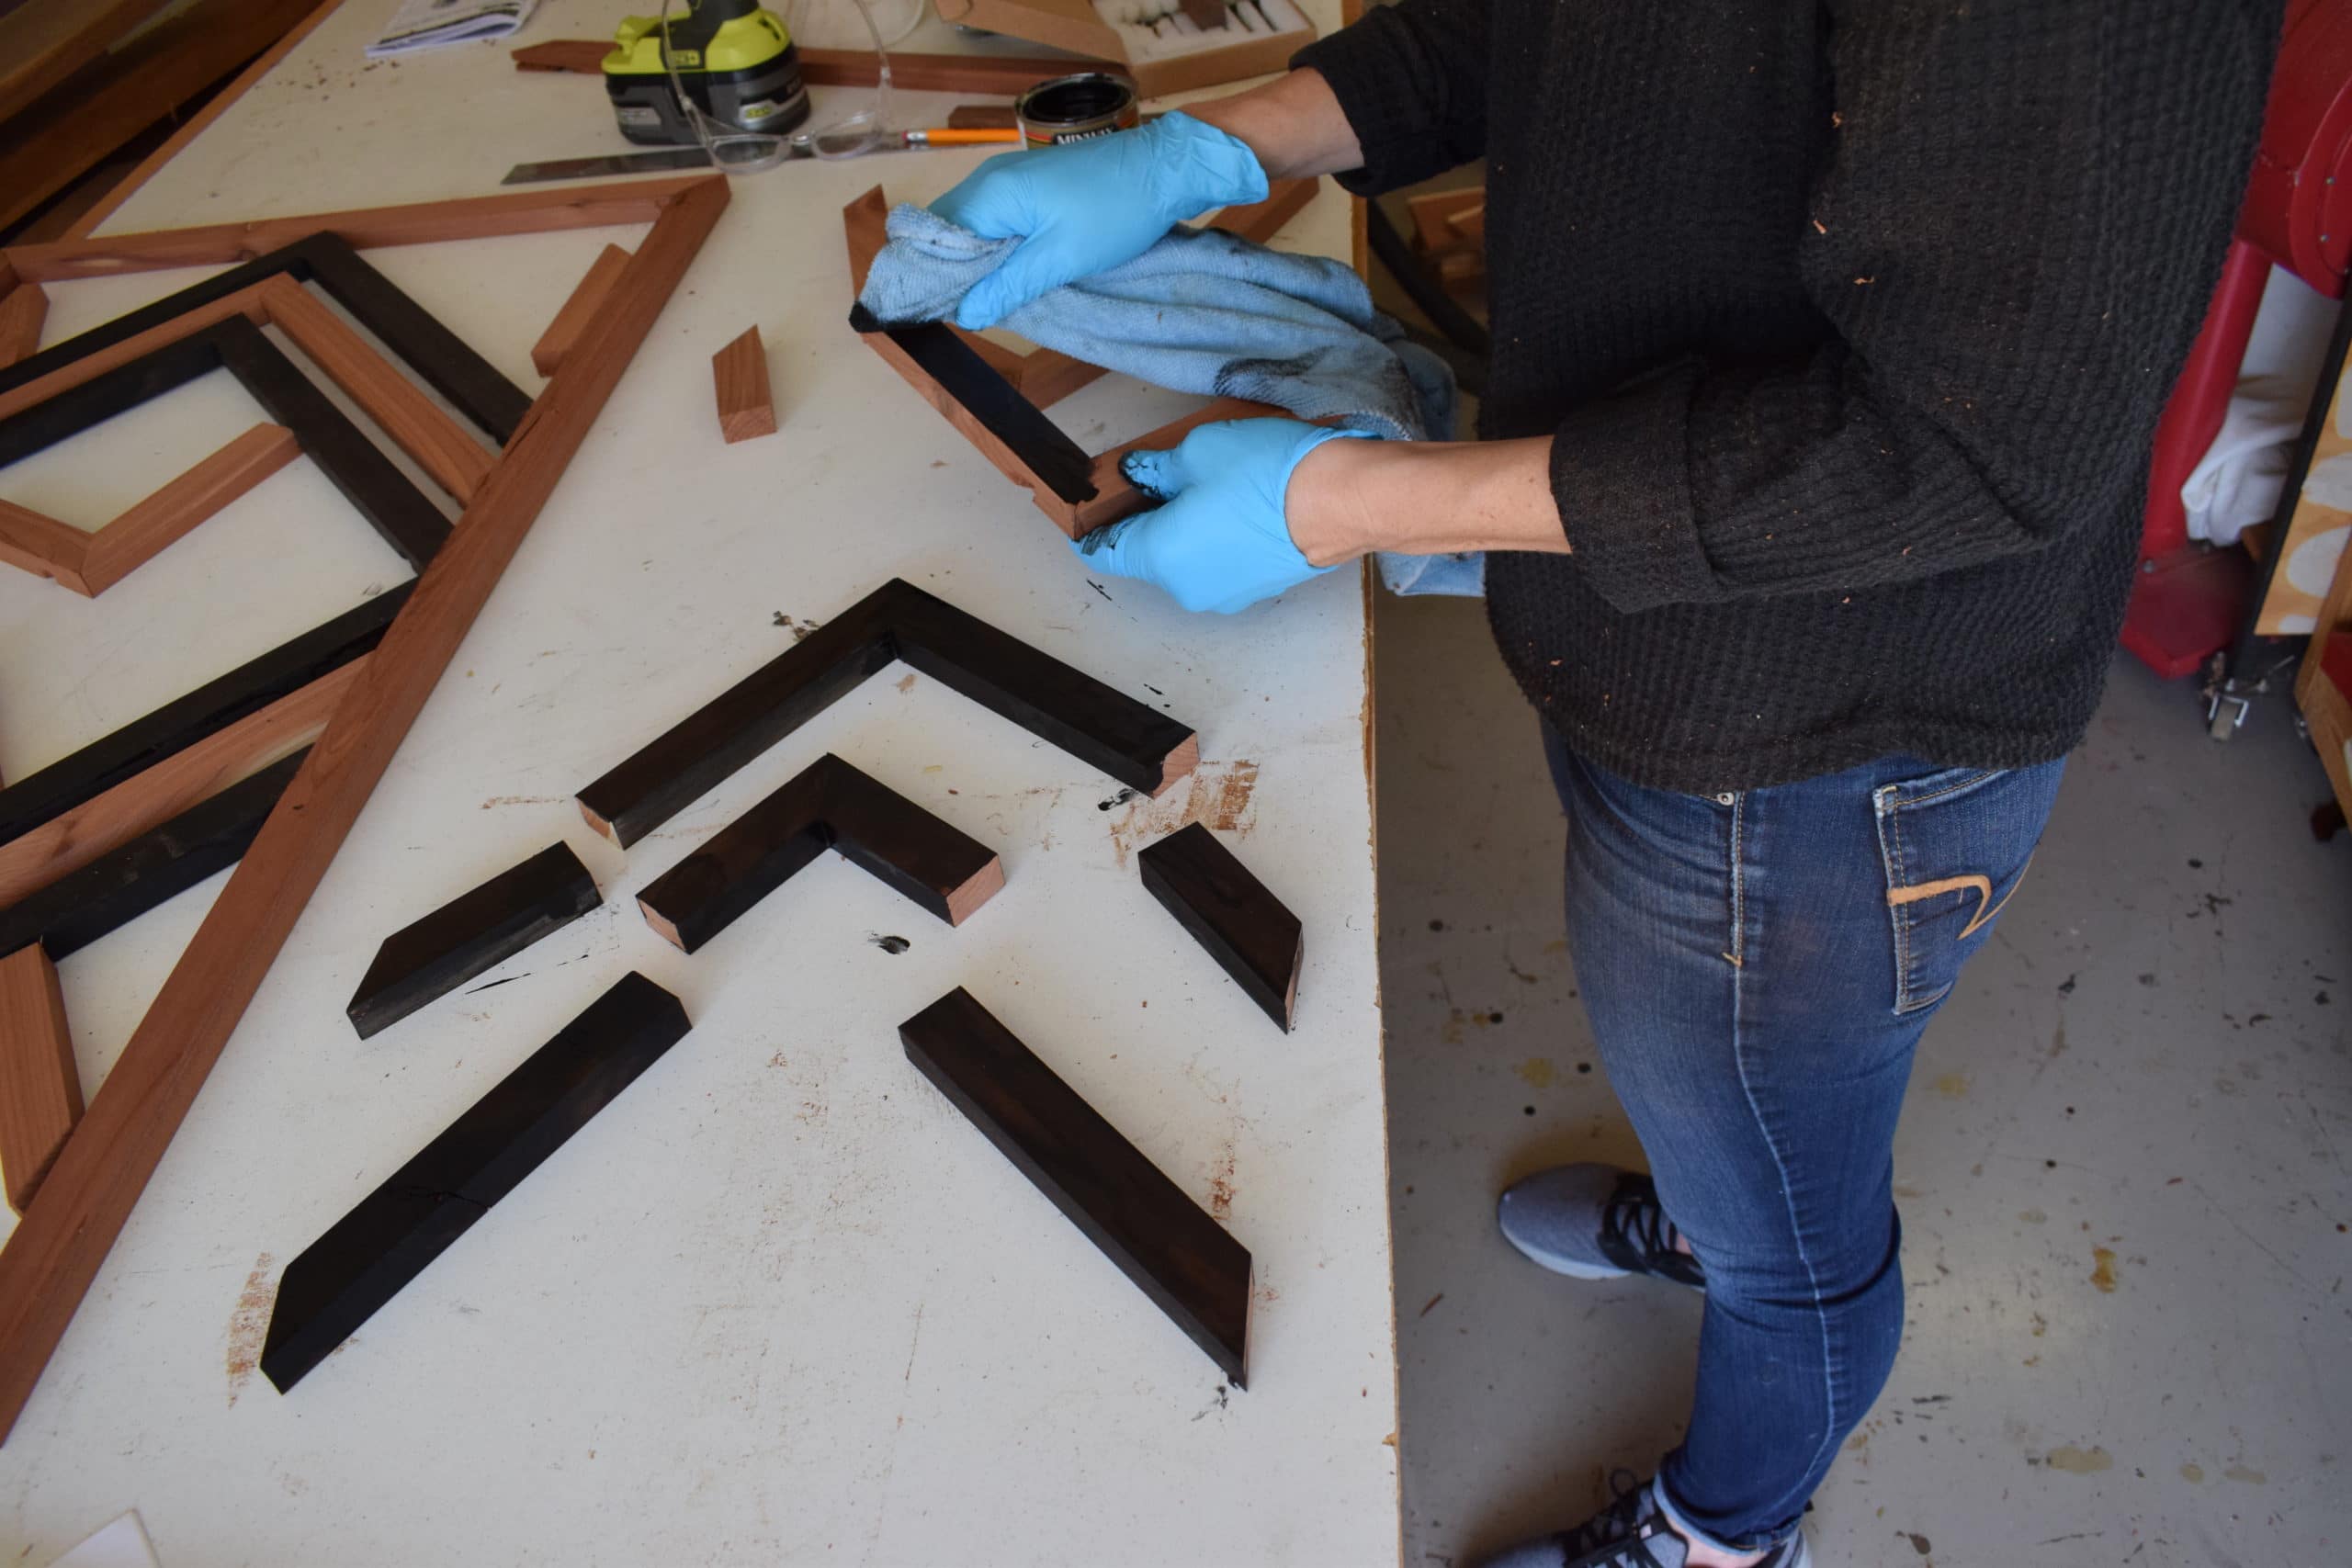
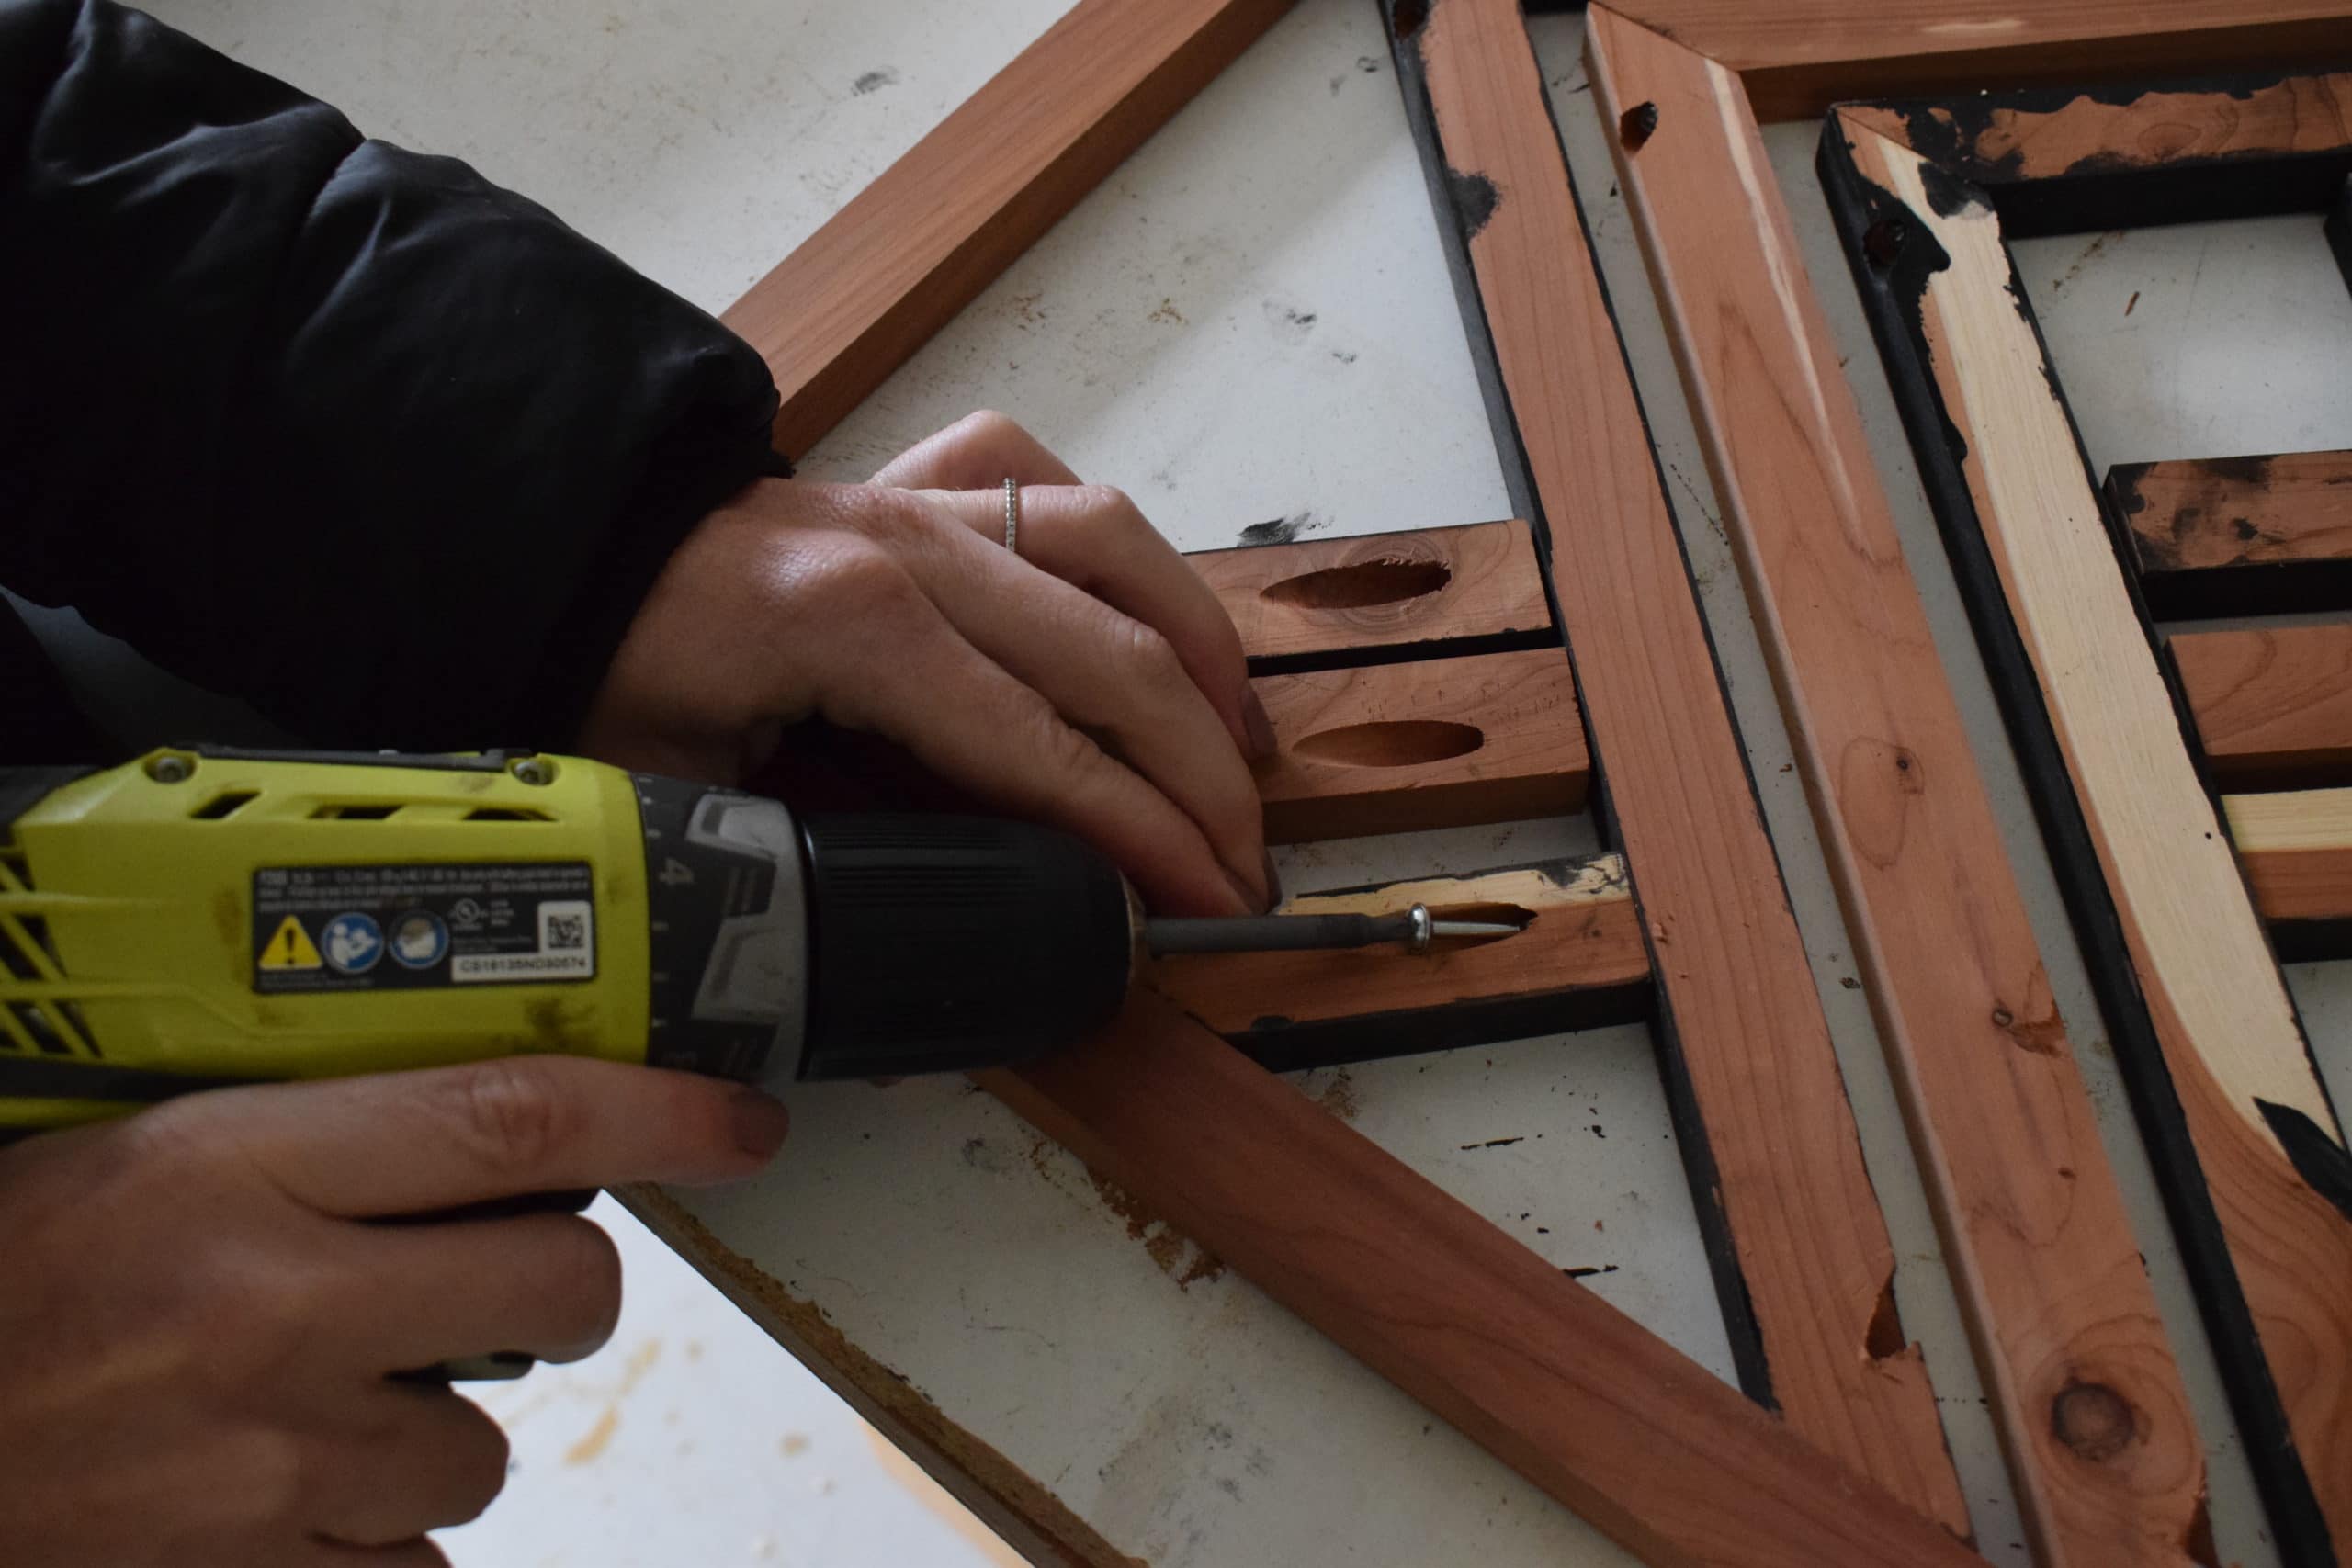
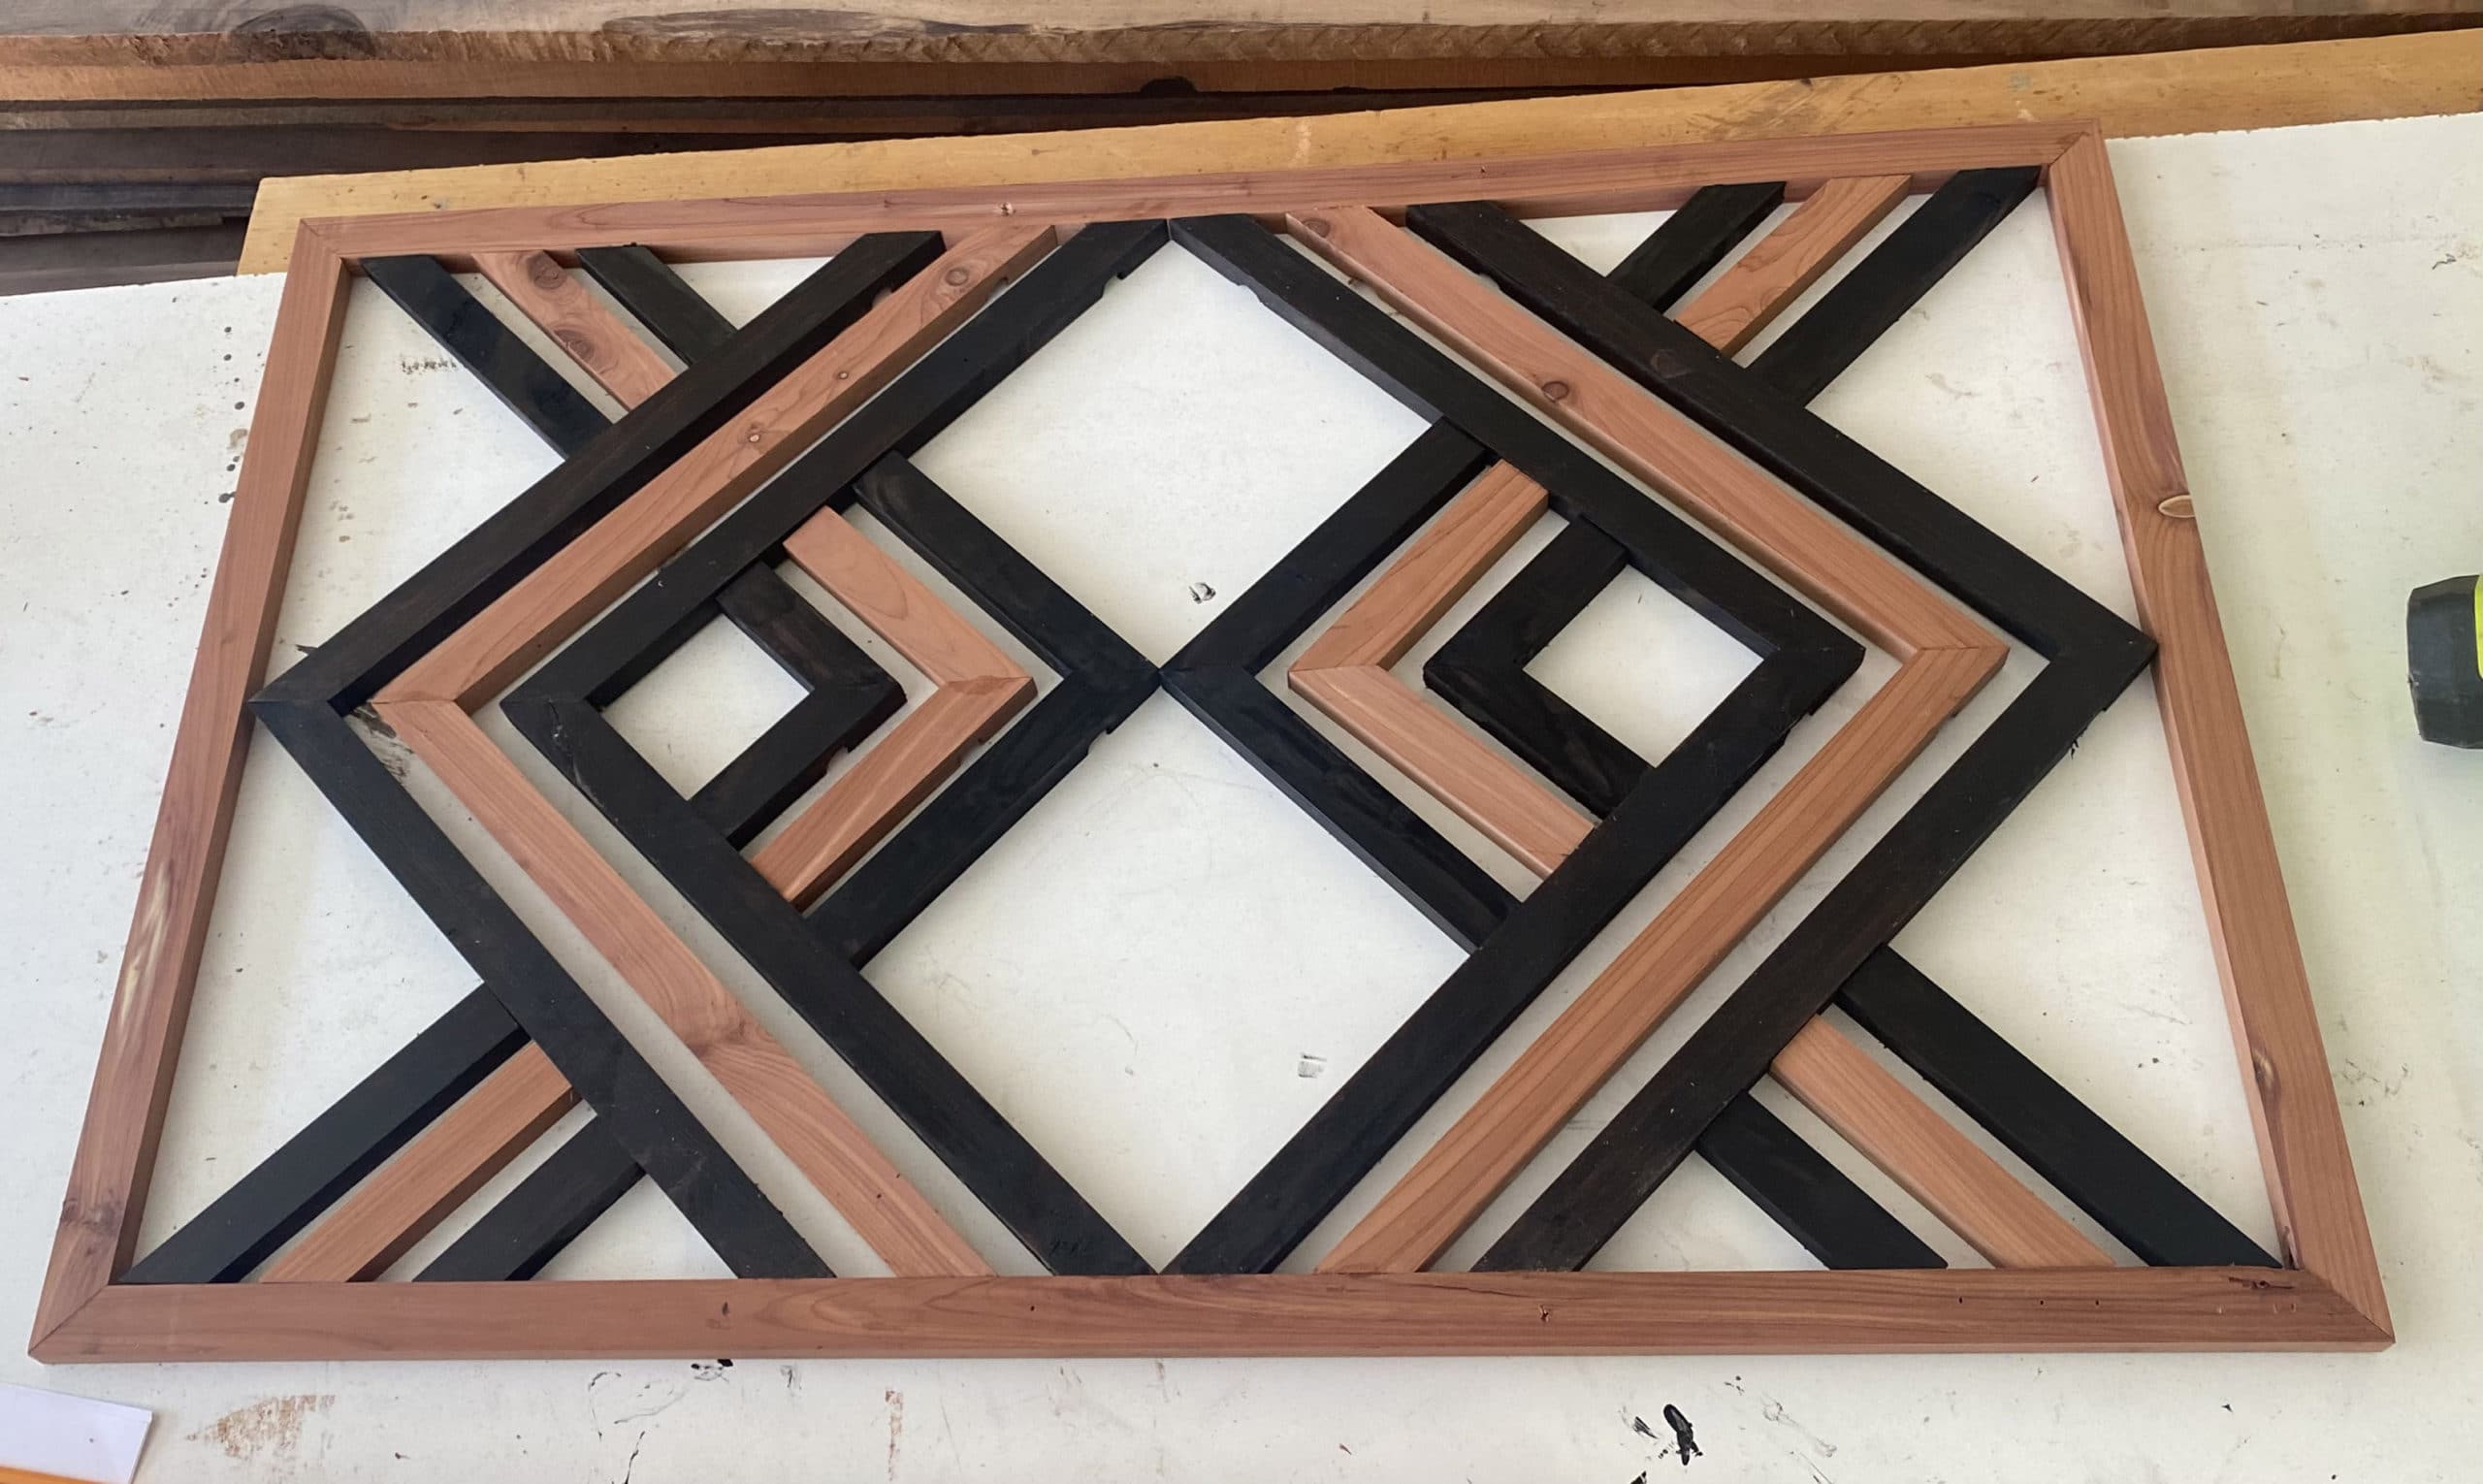
Alright, last step! Create (5) .5″ x 3.25″ x 35″ pieces. You will now add these horizontal boards to the wood door mat, using the same method of laying the door mat over the boards that are squared up and evenly spaced on the table.
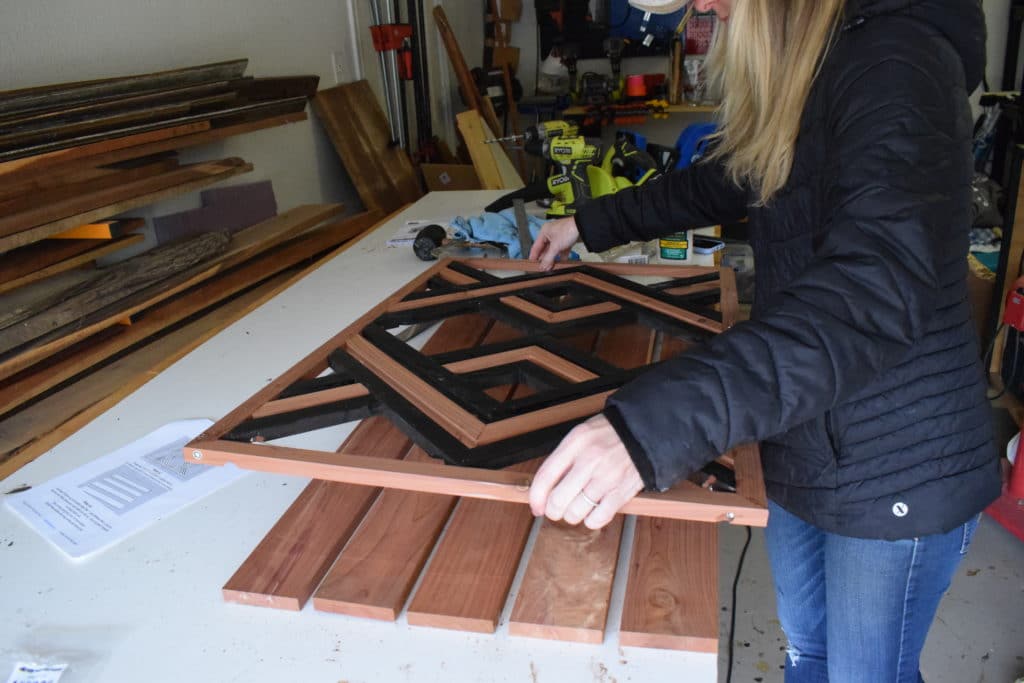
Mark where all of your cuts will be – remember that all of the cuts will either be 90 degrees or 45 degrees, so make similar cuts at the same time to cut down on time.
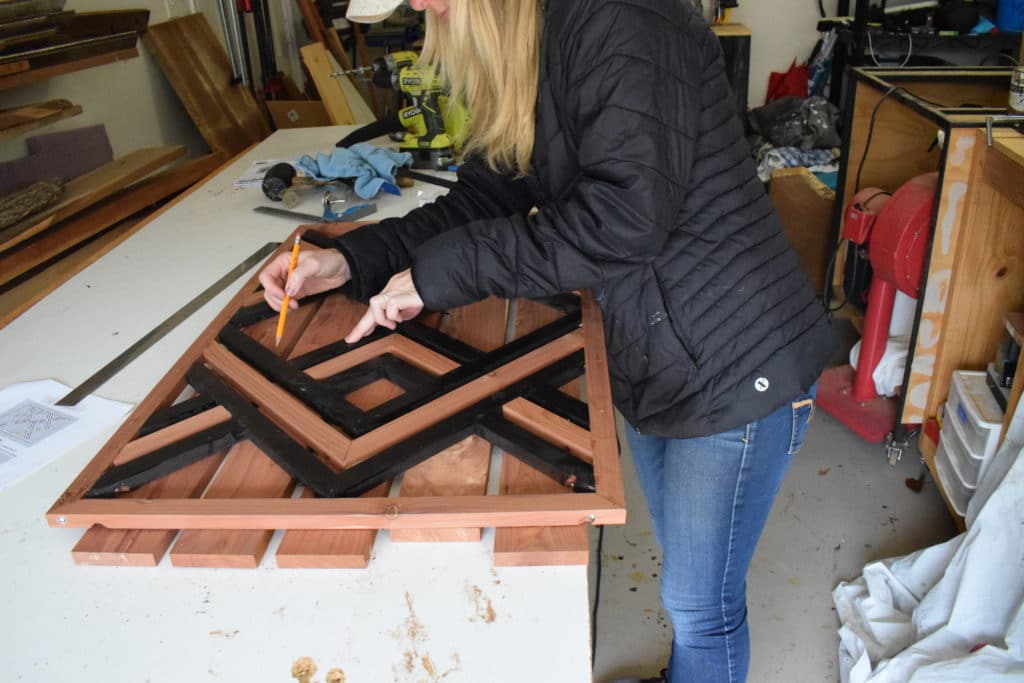
Step 4: Stain and Seal
Once you have all of pieces cut and attached to the doormat with Kreg Pocket Holes, you can stain and seal the doormat! I used this stain and this sealer.
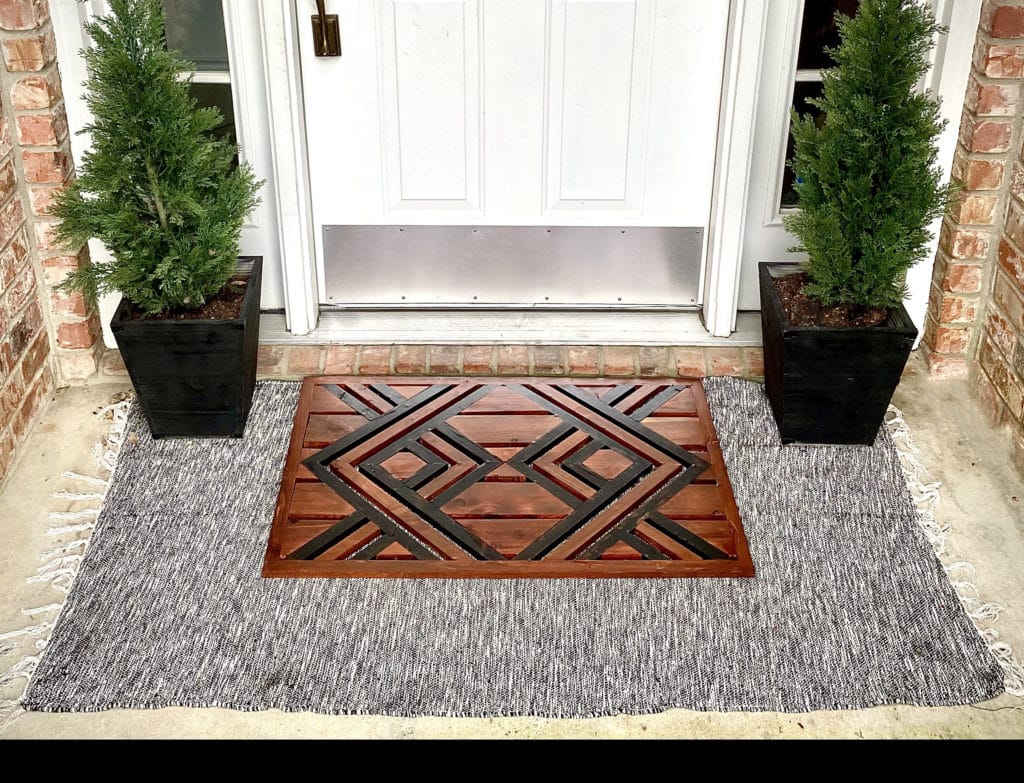
Whew! That was a lot of steps. But totally worth it, right!?
For another entryway project, check out this mudroom hall tree build!
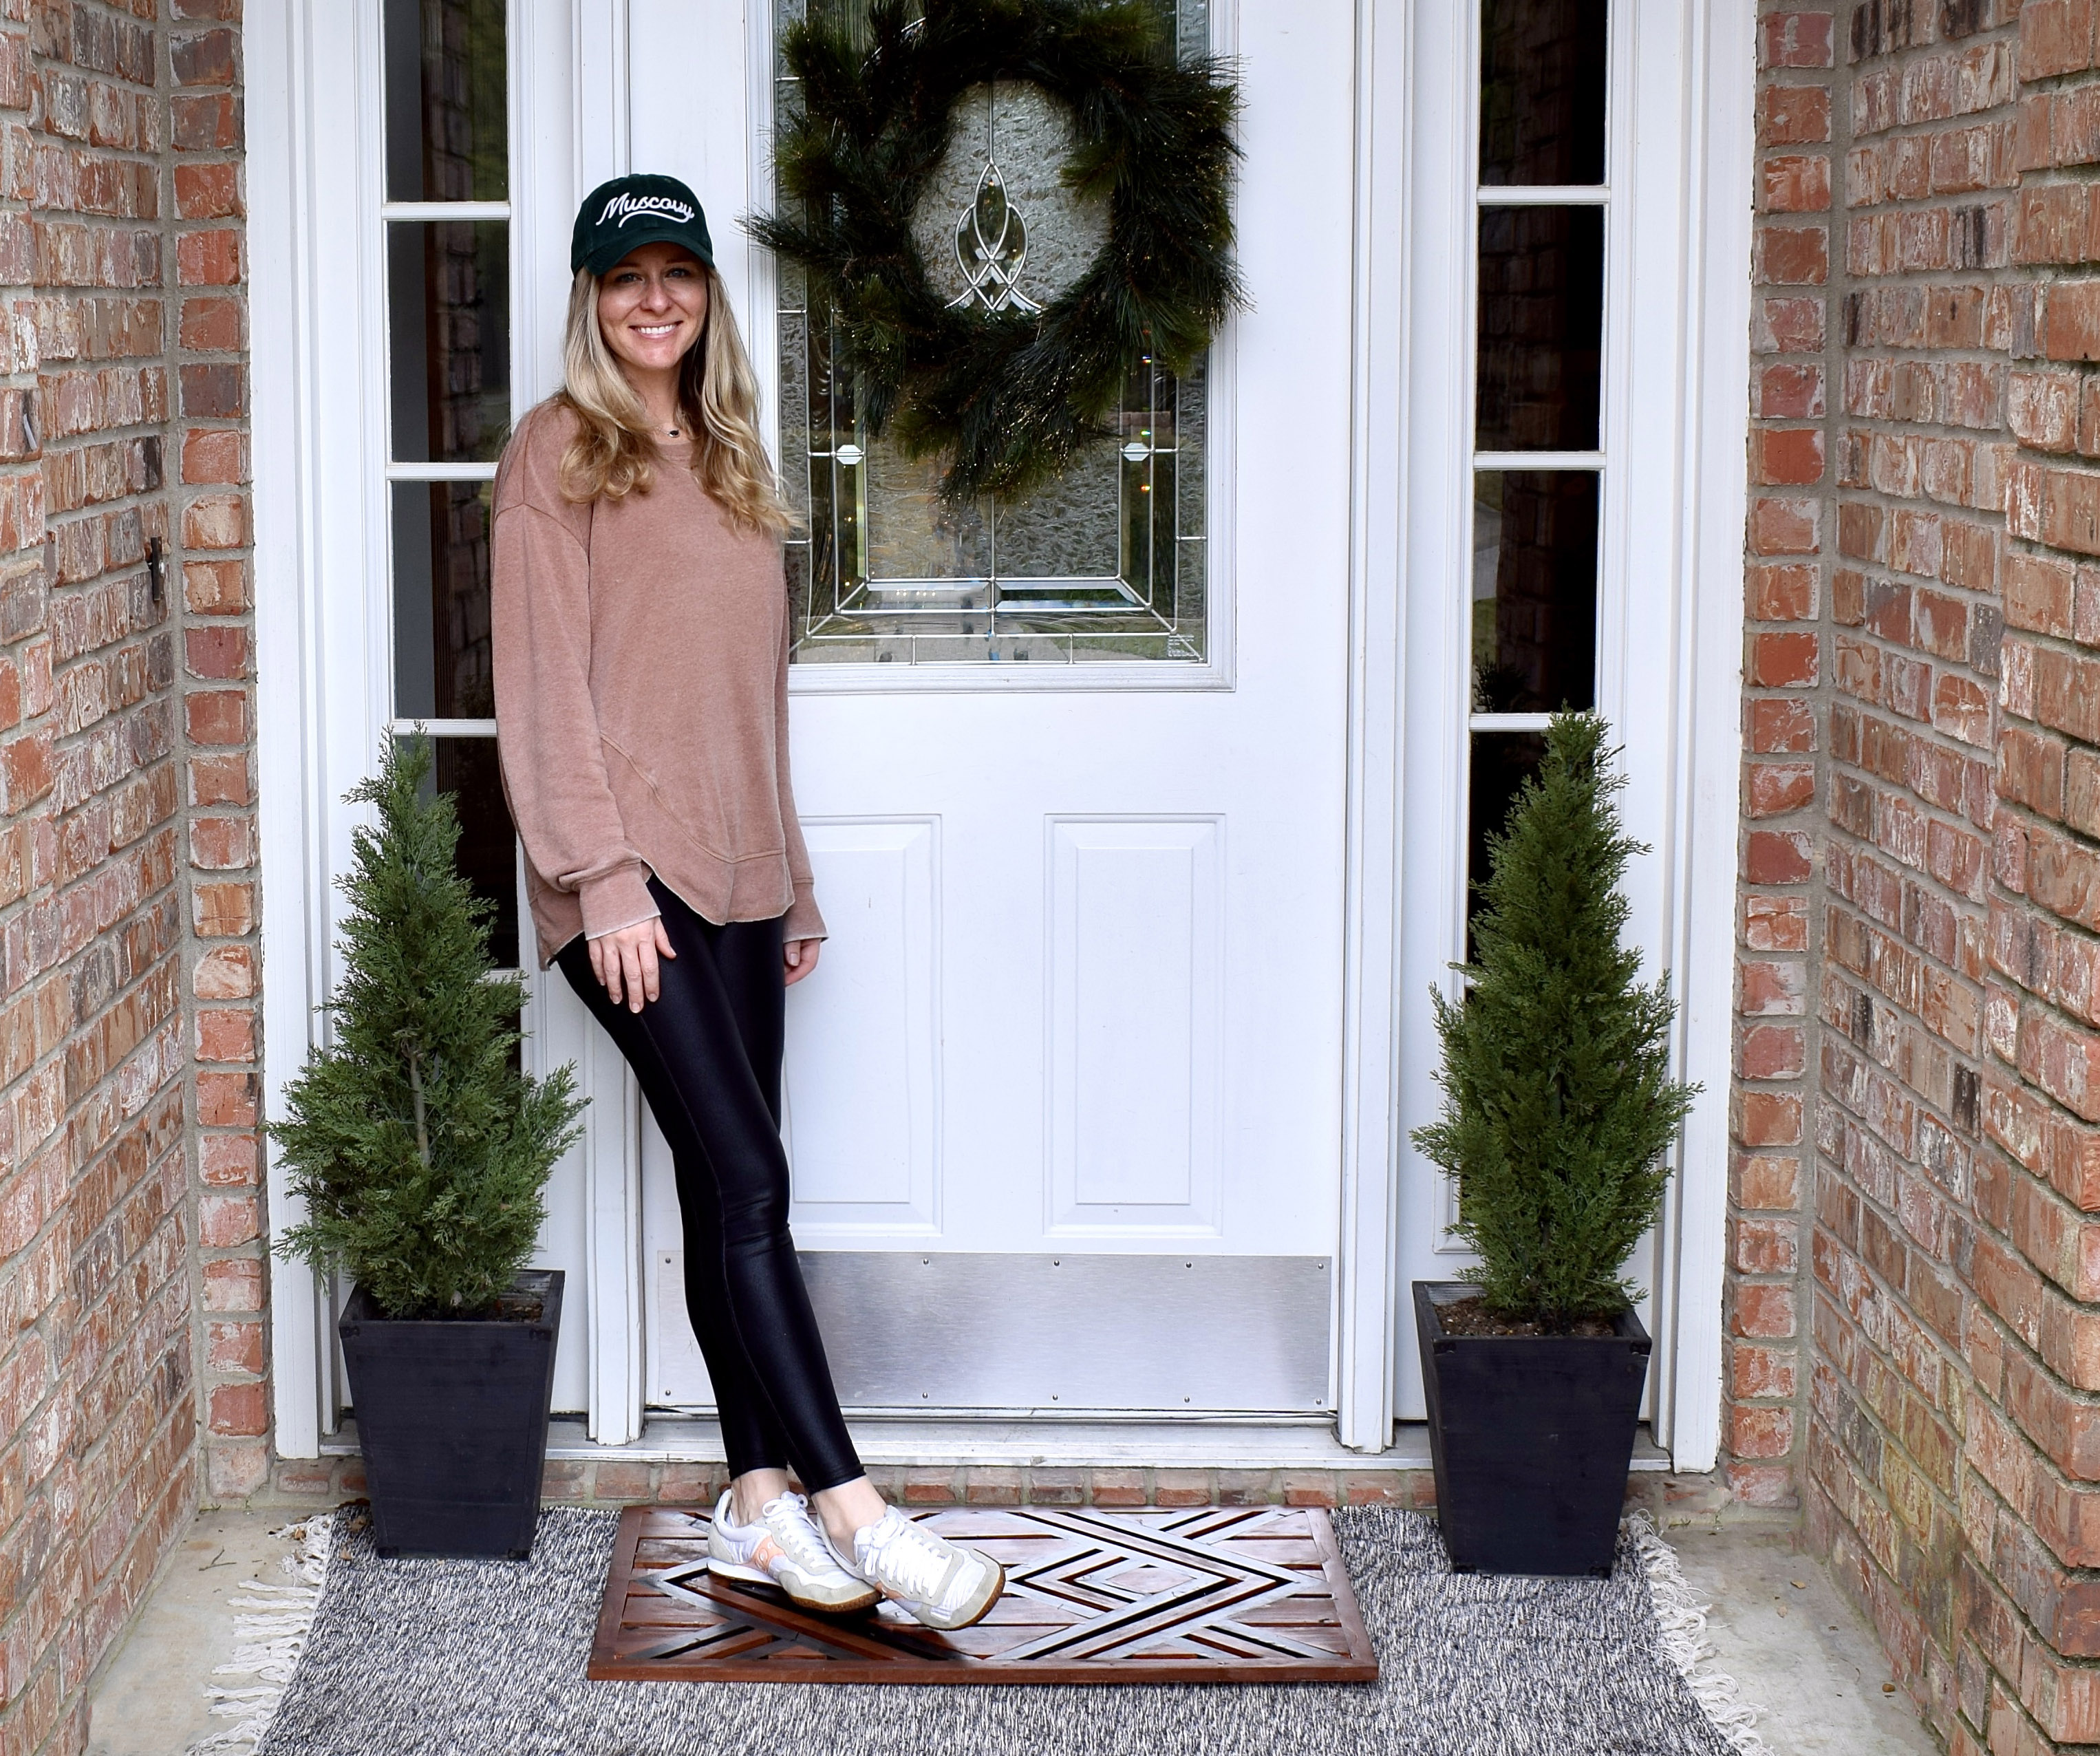
I love this fun mosiac wooden doormat and I’m sure we will get many, many years of use out of it.

I also think it’s pretty awesome that every cut and joinery was from with the Kreg Adaptive Cutting System Master Kit or the Kreg 720Pro Pocket Hole Jig. They are both a game changer for your home shop!
Check out the Web Story for this DIY Wooden Doormat!

Suzie Wible
Suzie has shared her knowledge for over 10 years about building furniture, painting techniques, how to build your dream home, and basic to advanced woodworking skills. Through this blog, readers will feel empowered to create a home and products they love too.
7 Comments
Comments are closed.