3 Simple Ways to Straighten a Long Board Without a Jointer
If you have ever come to a part in a woodworking project that requires you to create a straight and square edge of a board (also called jointing boards) but didn’t know where to start, I’ve got a few solutions for you. Before you throw away those twisted or warped boards, try your hand at straightening them using these tools, even if you don’t have a jointer.
A jointer is a great tool to have in the shop, but the downsides are that they are large and expensive. This article will explain three different methods of edge jointing wood without a jointer: by using a router, a track saw, and a table saw.
Q: What is a jointer used for?
A: A jointer is a tool used to make one edge of a board squared and perfectly perpendicular to the other edge it touches. This is especially helpful when you want to make a perfect “seam” for things like tabletops and cutting boards.
You can find an example of a tabletop where I jointed the edges in this post on how to build a side table. I also jointed the edges of a bench top for a mudroom hall tree build here and here.
Keep reading to find out 3 different methods for truing lumber when you don’t have a jointer.
Method 1: Joint the Edges of Wood with a Router
The first method I will cover is, by far, my favorite method. It uses a router, which a common tool in shops. However, if you don’t own one, you can buy a quality one for not too much money.
The router I own and highly recommend is this Bosch Router.
This method of jointing wood with a router is my preference because you can easily create the square edge on very long boards without having to actually move the boards around. The wood stays clamped and you route it while it is clamped. It also allows you to joint boards that are wider than a jointer.
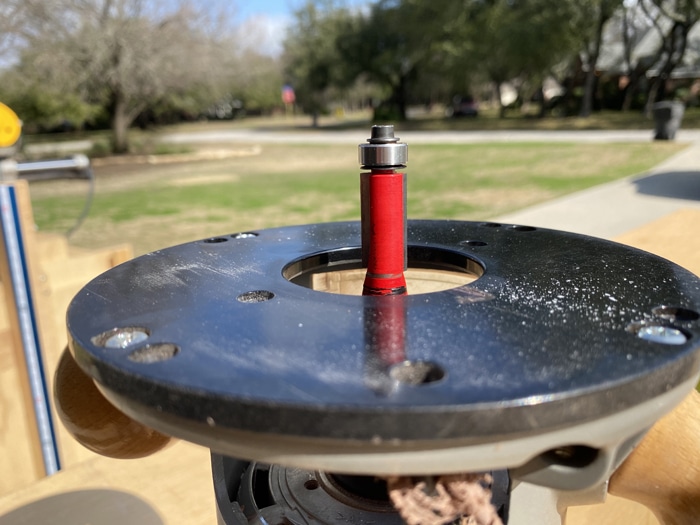
The bit needed for this method is this flush trim routing bit. The length of the bit depends on the thickness of boards you are jointing. With this method, you aren’t able to straighten the edge with anything thicker than the bit, so I recommend getting at least a 1.5″ bit. It will be long enough to create a straight edge on most of the boards you will be working with.
When making a cutting board, for example, you will want perfectly straight edges. Here is a similar tutorial for how to make a juice groove on a cutting board.
The next material needed for this method is a piece of MDF with a factory-made straight edge. It will be the straightest edge you can find at the store, but be sure to check that it’s straight before you buy it. You can do this by looking down the long edge like an arrow to check that it’s straight.
I found this piece is the closet section of Home Depot. You will want to buy an extra long piece of MDF because the board you are wanting to straighten will need to be smaller than the length of the MDF. Because of this, I bought a 9 foot long piece of MDF – so I can straighten the edge of any board smaller than 9 feet.
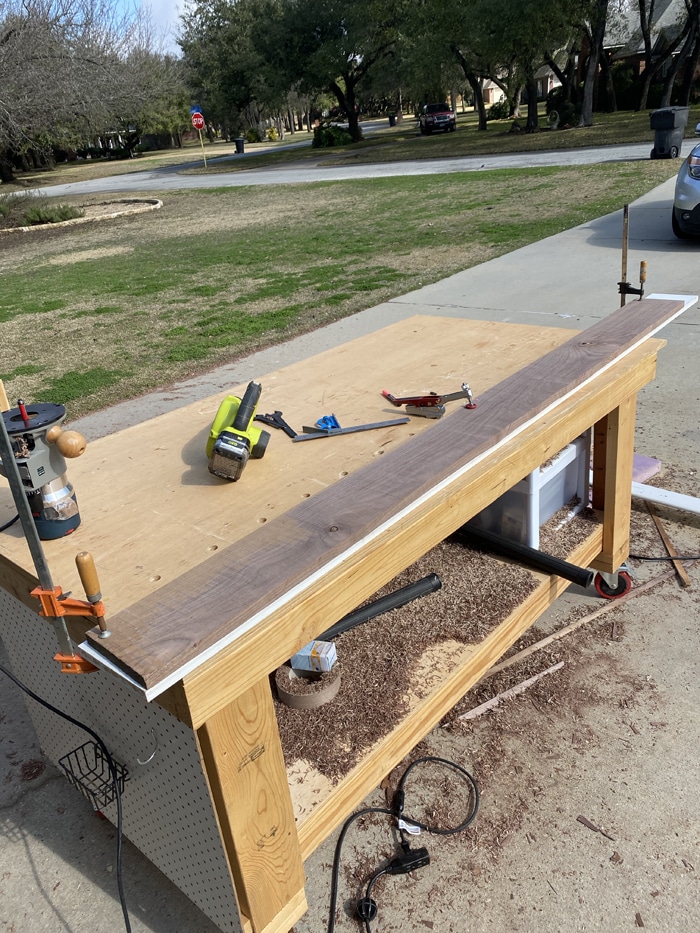
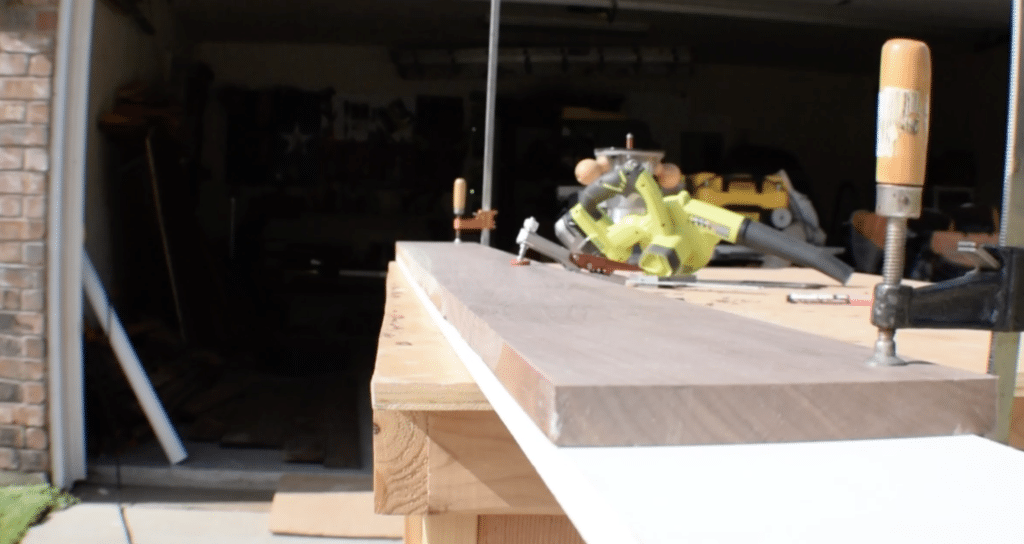
Clamp your stock over the piece of MDF.
Set your wood with a slight overhang over the MDF. As you run your router along the straight edge of the MDF, you will trim off the excess, creating a perfectly square and true edge on your board.
One note about this method: the edge you create will be square to the top surface that the MDF sits on. So, if the top is not flat, your edge might not be either. Because of this, I recommend running the boards through a surface planer first, before you route the edges. I have used it for years and for countless projects and I highly recommend it!
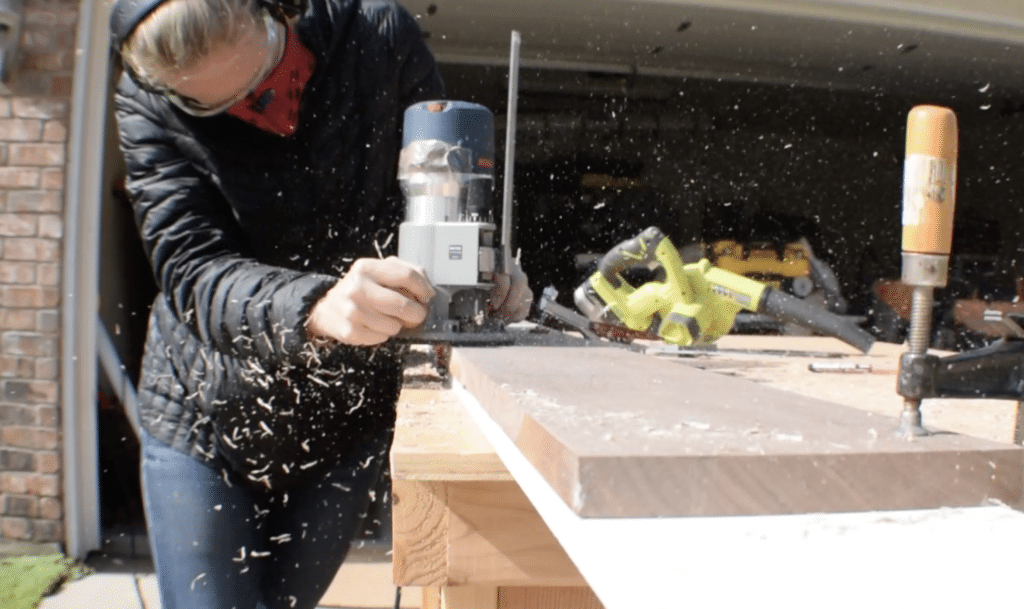
I really love this method because it uses a tool that a lot of people have on hand. It’s also easily done, given that you don’t have to maneuver the large boards around while cutting. The only thing you have to move is your router! You can read more about this method here.
I used this method to straighten the edges of the boards on top of a DIY rustic coffee table build.
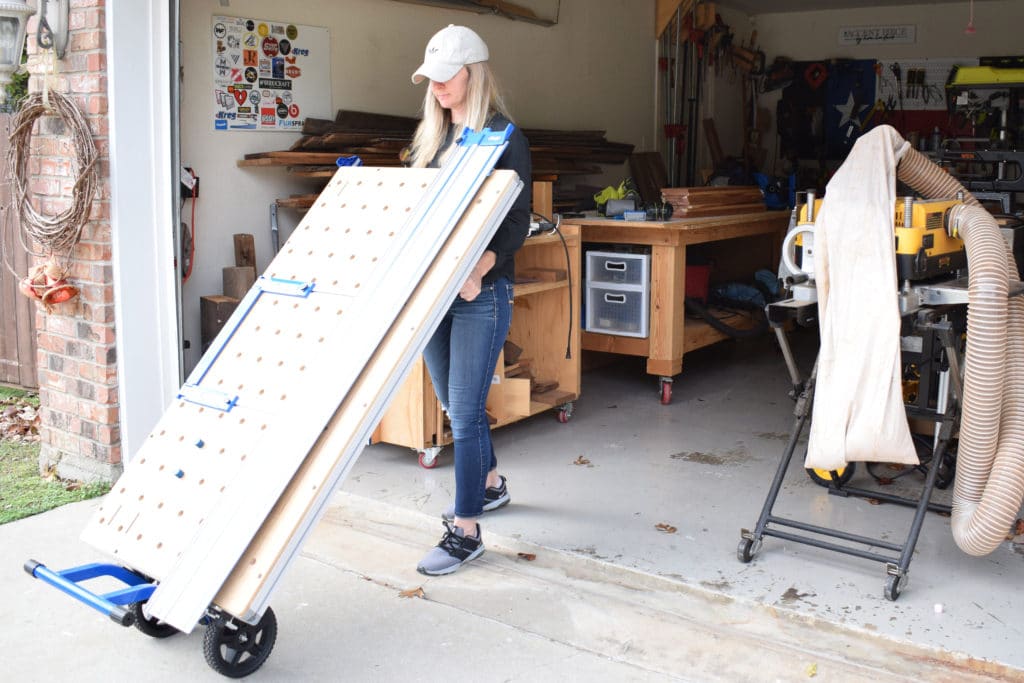
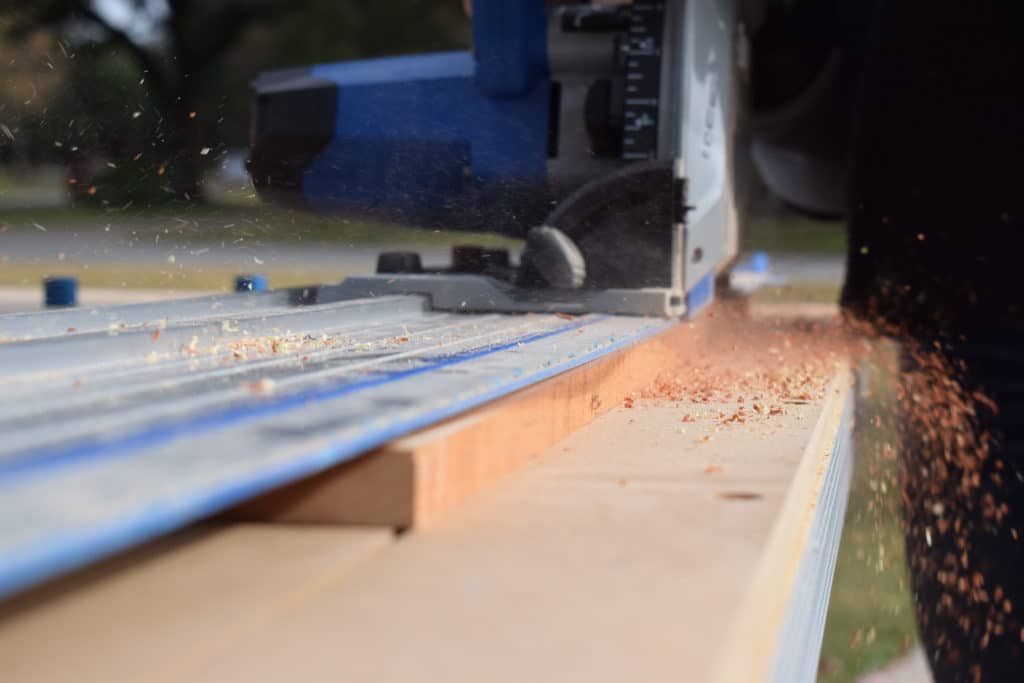
Method 2: Use a Track Saw to Edge Joint
Track saws are great for making straight cuts, and as a result: squared up edge on long boards. They are safe to use, especially compared to a table saw because track saws usually utilize plunge circle saws. So, the blade is facing down and has many safety features, instead of the blade spinning straight at you like a table saw. The track saw I use and recommend is the one from Kreg. It is actually part of a whole system called the Adaptive Cutting System.
I have tried to make perfectly straight cuts with just a circle saw and a straight edge guide, and I never got a result I was happy with. It was always mostly straight, but left much to be desired for my perfectionism 🙂
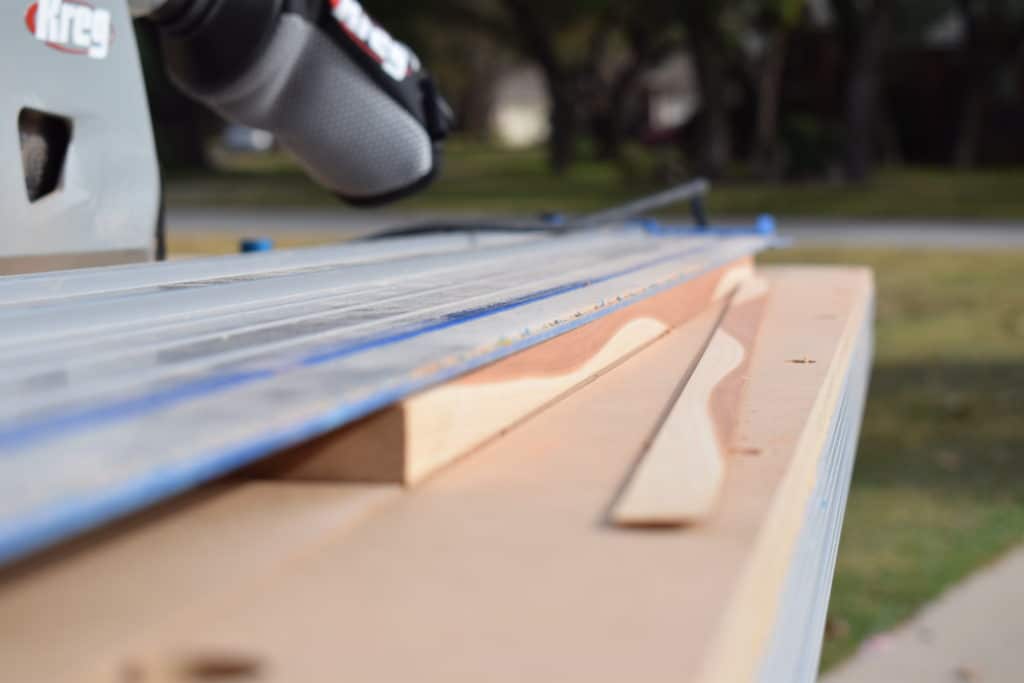
This is truly a great method because you can very simply and easily make straight, accurate, and safe cuts. You don’t have to mess with clamping and unclamping like the router method mentioned above.
The only downside to this system is the limitation on the length of boards. The max length this system can handle is 62 inches.
However, a great feature of this track saw is that you can remove the track from the table system and just use it as a track saw without the limitations of the table size. You can purchase additional tracks, which would allow you make much longer cuts if your stock calls for it. Or, you can purchase just the track and saw.
This method also allows you to joint boards that are wider than a jointer.
I recently used this system to make a wooden doormat and it’s truly amazing.
The system is absolutely worth the money in my opinion, given that you could essentially replace your miter saw, circle saw, table saw and jointer with it. Jointing boards with this track saw is one of the many benefits of owning this system.
Method 3: Create a Jig for your Table Saw to Joint Edges
This method is worth mentioning because you might only have a table saw in your shop. First, let’s talk about the negatives of this method. This is my least favorite of these 3 options for a few reasons.
The first is the limitations on length of boards you can straighten. You can only joint boards that are as long as your jig, maybe just slightly longer.
The second is having to maneuver the jig and board through your saw can be cumbersome and as a result, dangerous. The vast majority of woodworking injuries happen on a table saw, so it is important that you only make cuts are comfortable with and feel safe doing.
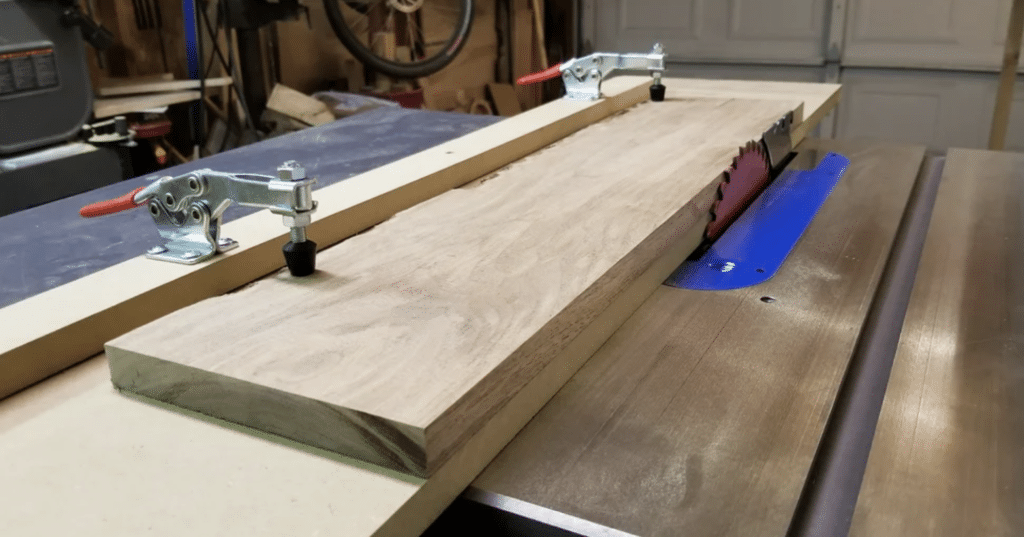
But, it can still be a great option for a few reasons. The first, like I mentioned, is that you might only have a table saw available to you. The second benefit: it will be very accurate. I rip all of my boards for my cutting boards on my table saw and always have great results. The third benefit is that you can joint boards that are thicker. The router method mentioned above only allows a maximum of 1.5 inch thickness, but the table saw can most likely handle thicker boards. Of course, this depends on your table saw.
I use a Dewalt table saw. I love it because it is mobile, lightweight but heavy duty, accurate, and easy to use.
So, there you go! There are ideas for 3 tools you can use to straighten boards instead of using a jointer. I love that all 3 options use tools you most likely have in your shop. You can create just as accurate, square, and true edges as using an actual jointer. Let me know if you use any of these methods, I would love to hear about it!
If you found this article helpful, be sure to check out this article as well: Best Wood to Use for a Kitchen Dining Table.

Suzie Wible
Suzie has shared her knowledge for over 10 years about building furniture, painting techniques, how to build your dream home, and basic to advanced woodworking skills. Through this blog, readers will feel empowered to create a home and products they love too.
2 Comments
Comments are closed.