Free Checklist for New Home Construction Steps
There are a lot of steps in building new construction homes. The beginning of a big project like building a new custom home can be somewhat daunting when thinking through all of the things that need to be done. Additionally, the steps in new home construction need to be done in a specific order.
In order to simplify this process for you, I have outlined a step-by-step checklist when building a new home. I will be providing additional details about specific steps and why things need to be done in a specific order. I will also provide a free printable PDF if you would like to download it and keep it.
Checklist for New Home Building Construction
Here is the basic checklist for the timeline for building a new home. I will go into greater detail below the list for most steps and explain more about each step.
This list is exhaustive to the best of my knowledge. There might be some items that pertain to different parts of the country, so consult with your home builder for an official step by step process.
| Checklist for New Home Construction |
|---|
| Find and Purchase Land |
| Hire a Home Builder |
| Develop a Floor Plan and Site Plan |
| Acquire HOA Approvals |
| Hire an Engineer for an Engineered Slab |
| Develop Budget |
| Bid Out |
| Secure Financing with the Bank for the Construction Loan |
| Hire an Engineer for a Septic Drawing |
| Install Water Meter |
| Set up Temporary Power |
| Drop Temporary Restroom Facilities |
| Order Windows |
| Site Work/Clear Lot |
| Pad Work |
| Build Forms for Slab |
| Plumber Rough In |
| Electric Rough In |
| Slab Engineer Inspects Pad |
| Pour Slab Concrete |
| Order Exterior Doors |
| Order Trusses |
| Order Brick |
| Order Fireplace Inserts |
| Order Propane Tank |
| Purchase Appliances |
| Framing |
| Install Windows and Construction Doors |
| Install Roof Systems |
| Meet with Cabinet Maker |
| Mason |
| Paint Exterior |
| HVAC Rough In |
| Insulation |
| Sheetrock |
| Tape, float, & texture |
| Install Interior Trim and Doors |
| Install Garage Doors |
| Install Countertops |
| Tile Work |
| Septic Install |
| Install Cabinets (check out this guide to upper kitchen cabinet dimensions) |
| Landscape Plan |
| Pour Driveway, Walkway, and Patios |
| Install Landscape and Irrigation |
| Interior Painting |
| Install Lock Out and Cabinet Hardware |
| Kitchen Appliances Install |
| Electric Final |
| Plumbing Final |
| HVAC Final |
| Install Flooring |
| Mirror and Glass Install |
| Install Towel Racks, Toilet Paper Holders etc. |
| Final Clean of Interior and Construction Site |
| Final Walkthrough |
| Final Home Inspection |
Details About the New Home Build Checklist Items
I will cover specific details about most steps. There are certain steps that don’t need an explanation (i.e. “Purchase Appliances”), however, some steps might need further clarification. Keep reading to find tips about each step in the new home construction process.
Find and Purchase Land
The first step to building your own home is to complete the land purchase. The easiest way to go about this is to talk to a real estate agent and find a lot or land for sale that is being developed and will be in an established neighborhood. Things like water, electricity, roads, internet, sewer lines, gas lines, etc, will be installed by a developer, and therefore, the responsibility of that is not on the homeowner.
If you choose to build on your own land that isn’t part of an existing neighborhood, you will have to build these things on your own, which will add cost.
Develop a Floor Plan and Site Plan
Depending on the agreement you have with your home builder, the floor plan home design might be something you work with them on. If not, the process to hire an architect is very similar to that of hiring a custom home builder.
Use references and make sure that the architect is a good communicator with a decent turnaround time. Just by the nature of building a custom home, there are typically many changes to the first round rough draft of the floor plan. So, you and the architect will communicate often and go back and forth many times with changes.
During this stage, be sure to check out this post on Layout Designs for the Master Bedroom, Bathroom, and Closet and this post on bedroom closet dimensions.
One thing to ask when hiring an architect is the cost to make changes. Oftentimes, architects charge extra per change to the plan, so this is something you should take into account when budgeting for house plans.
The architect will also provide a site plan. This plan shows where on the lot the house will sit. Be sure to check with your HOA, required building permit, or local building codes for specifications on how far the house needs to sit off the roads and easements.
Local architects will typically charge a specific dollar amount per square foot.
Hire a Home Builder
The next step is to hire a home builder. This step is one of the most important things in the process. Be sure to find a home builder that has plenty of references. You will be working very closely with the general contractor throughout a new home building process, so it is always a good idea to make sure that they are professional, easy to get along with, and an effective communicator and project manager.
Call the provided references and don’t be afraid to shop around! Choosing a builder and construction manager is a very important step in the process and should be considered very carefully.
Install Water Meter
This was an added expense that I wasn’t expecting, so I wanted to be sure to point it out to you. Our water meter cost $4,000, although the cost of this will vary for whichever area you live in. You will contact whatever water supply company is in your area. Construction can’t begin without water, so be sure to schedule this early.
Order Windows
At the time of this article, windows have been the #1 thing I constantly hear about slowing down the home building process. Window manufacturers are months away from having finished windows. We ended up ordering our windows well before we even closed on our loan because the wait was 6 months out.
I’m so glad we did because (even with ordering very early in the process) we were still waiting on our windows. Our construction timeline was slowed because of this wait. Any delays end up costing money, because the home buyers have to pay the interest to mortgage lenders on new construction loans during the process.
There are quite a few things that can’t be done until windows are installed. For example, once the windows are in, the mason can install brick or stone. Once the brick is installed, it can be painted.
Then, the roof systems can be installed. We are doing the roof after brick because we will be painting our brick. The roofers like to wait until after painting the exterior is done because of overspray. If the painters accidentally get paint on the roof, the roofers most likely won’t fix that problem since it wasn’t their fault. Hence, why the steps are: windows, brick, paint, and then roofing.
For more information about how long roofing takes, check out that post.
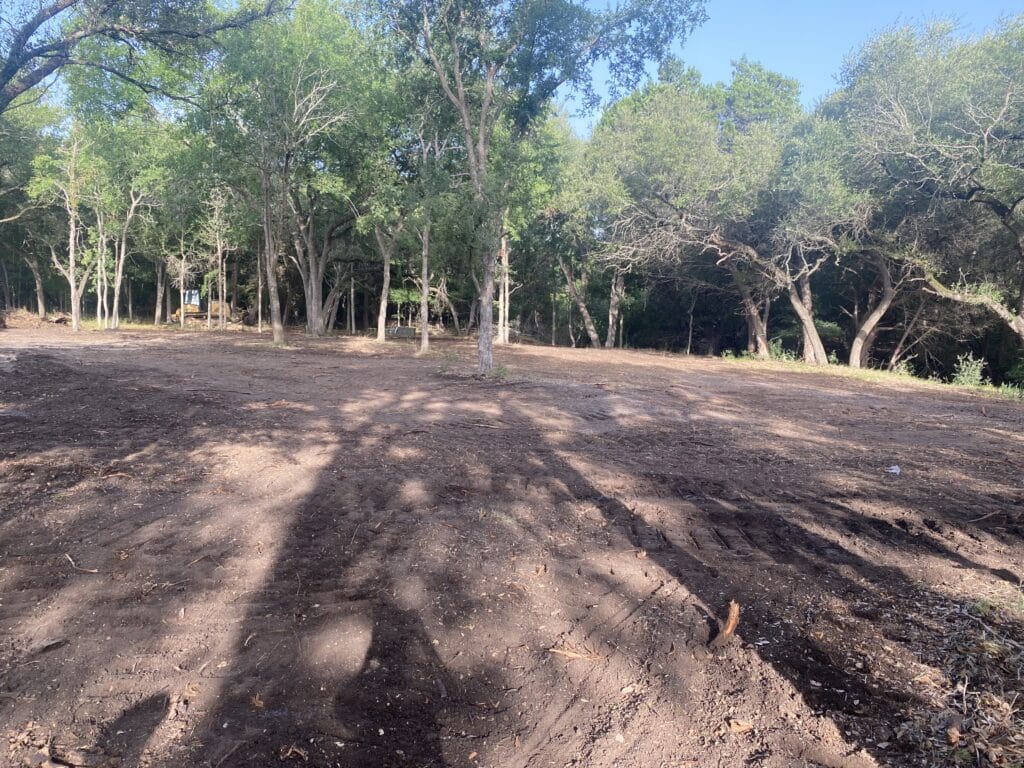
Site Work/Clear Lot
Site preparation includes preparing the building site for the new build. If trees need to be removed, they will need to be removed with heavy equipment. Simply chainsawing the trees at the base will not work. This is because the roots will cause foundation issues in the future. The roots need to be completely removed.
The site will also need to be leveled. An experienced person needs to do this because they will take water run off into account.
I also want to note that this step will depend on your type of foundation. I am covering the steps for a slab foundation with no basement.
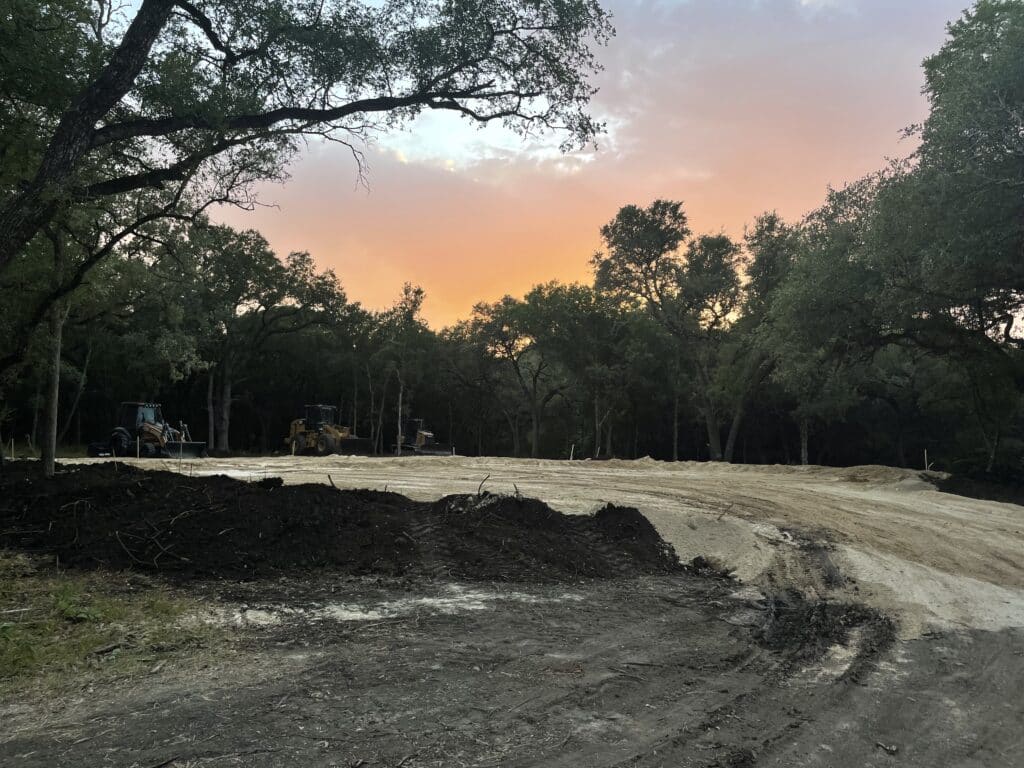
Pad Work
The construction site will be leveled and graded. Fine dirt will be added to the homesite and will be flattened. If you would like to build up the house higher in this stage, be sure to talk to the subcontractor about that now. It is much more cost-effective to build up the dirt pad, rather than the concrete for the slab foundation.
Our new home is near a creek and technically out of a flood plane, however, we did build up the pad slightly to guard against potential future flooding a little more.
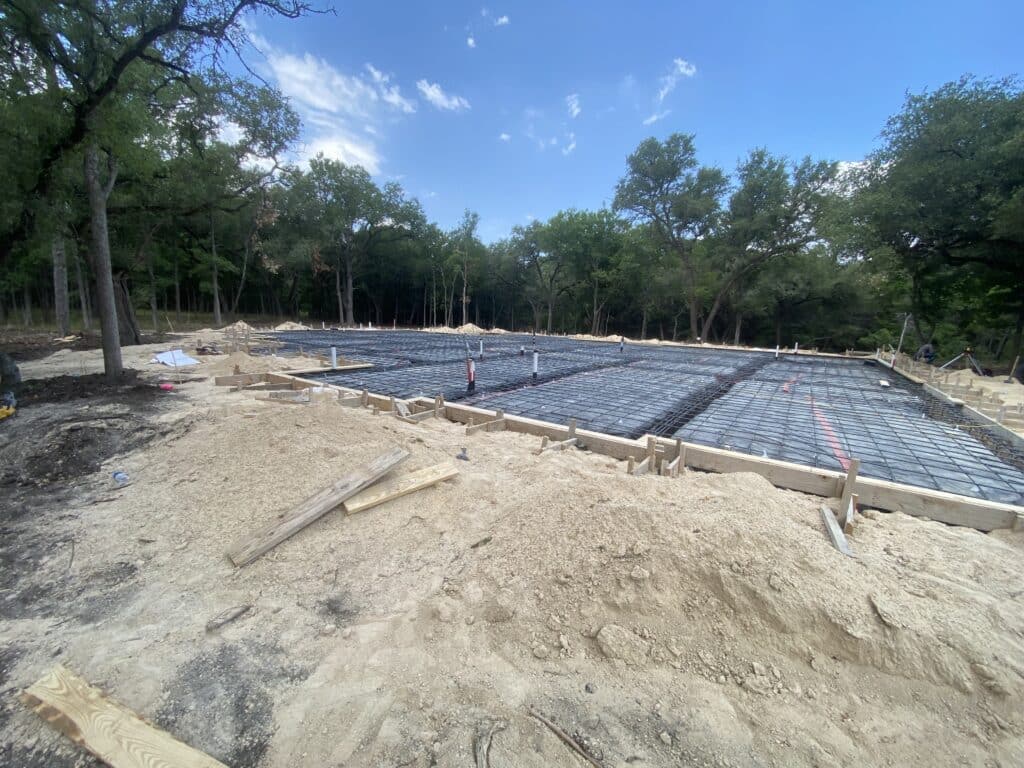
Build Forms for Slab
Once the site work and pad work is done, the slab pour can be prepared. The concrete construction crew will use the provided plans and build foundation walls with wood that outline the future concrete slab. These wooden forms will hold the concrete while it cured.
You can find out more about how long it takes concrete to cure in this post.
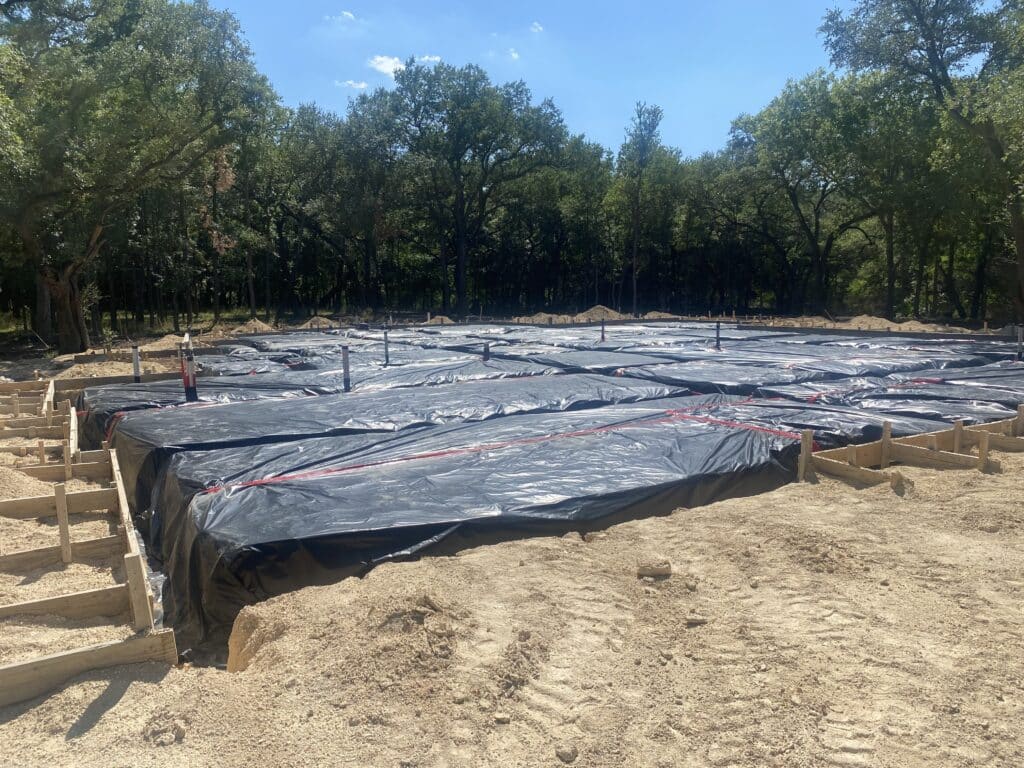
Rough Ins
Before the concrete is poured, the electrician and plumber will do their first round of rough-ins. This is when they will lay the pipes and wires for the home that will be in the foundation.
It is very important that everything concerning electricity and plumbing is thought through in this step. This is especially true if you will have a concrete foundation. Once the concrete is poured, electrical wires or pipes are very hard to add through the concrete later on.
The plumber will also be in charge of laying pipes for propane or gas.
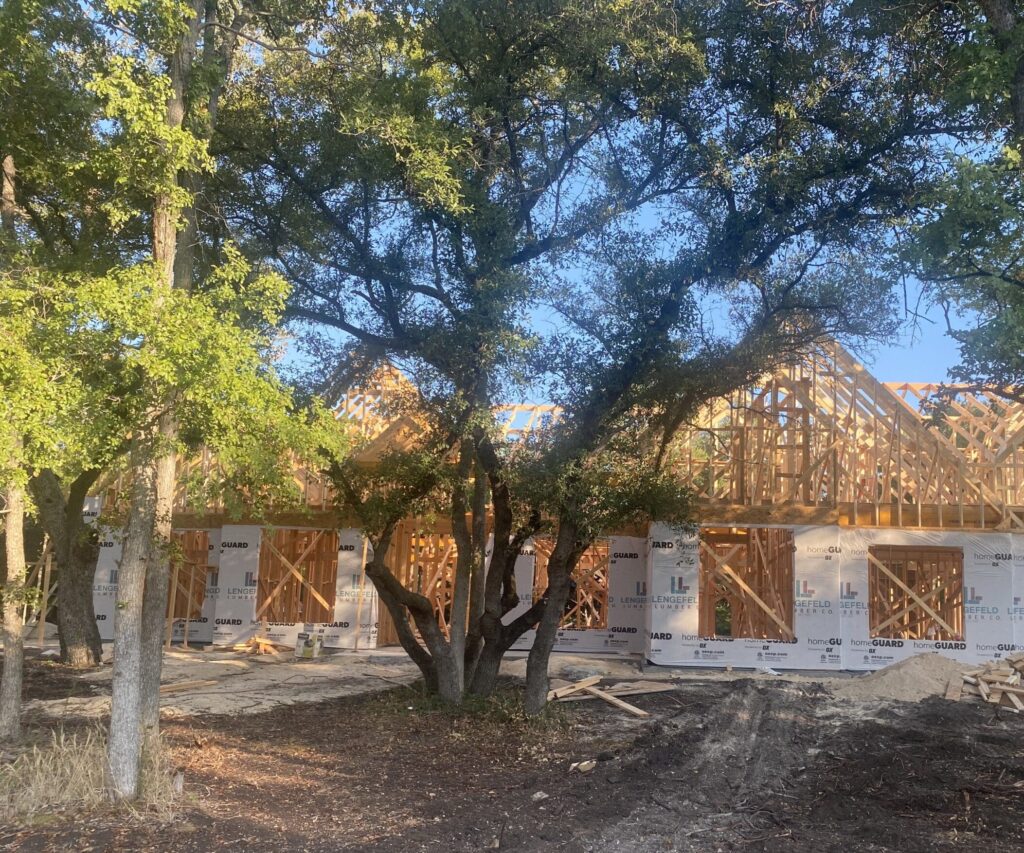
Framing
During this stage, the exterior walls and interior walls are built. The framers will follow the floor plan to also add things like roof decking, trusses, and exterior construction doors. You can find out more about the framing stage in construction in this post.
This is the stage where we installed our diy kitchen vent hood. You can also see an example of this step in this post on RTA Custom Cabinets.
This stage is such an exciting time as you can see the rooms of the house coming to life! While you’re in the stage, it would be a great time to write bible verses on the walls of your new home.
Roofing
Like I mentioned earlier, roofing will come after the mason does their work, especially if the exterior of the home will be painted. However, if there is inclement weather, the roofers can come in and install a protective barrier that will eventually be under the shingles. This will help guard the home until the roofers can finish installing the roof system.
Once the roof has been installed, there are a lot of things that can then happen. For example, the HVAC system can be installed, along with insulation, sheetrock, and tape/float/texture.
Once those above steps are completed, you can then move on to things like cabinets, interior trim for things like stair balusters, door casings, interior doors, and eventually, interior painting. Speaking of cabinets, check out this post on the average cost of custom kitchen cabinets.
Plumber and Electrician
The plumber and electrician will come out to work 3 different times. The first time is before the foundation is poured. They will be installing the electrical wiring and pipes that will run through the slab.
The next time they come out, it will be right after the framer is done. This is when they will run all the wires and pipes through the walls.
The third and last time they will come out to the homesite is to install the plumbing fixtures, light fixtures, light switches, electrical outlets, etc. They will also do small ticket items like fix any problems before move-in date.
Final Trim Work
In this stage, all of the beautiful custom finishes to the interior of the home are installed. This includes things like wood beams (if they aren’t structural), interior trim work, stair balusters, and lock-out hardware.
As our trim subcontractor put it, he’s there to “beautify the home!”
After this, the painter can paint the interior and you can choose all of the paint colors. This would also be a great time to start picking out your furniture. Check out this helpful guide on what size bar stools for a kitchen island.
Building Your Own Fully Custom Home
There are many steps to building your own model homes. The build process can feel daunting at times, however just take your time to do one step at a time.
Although you should always run everything by the custom home builder you hire, this checklist is a solid start to the process. Hopefully, this checklist will provide more clarity to the process of building your own custom home that will be enjoyed for many years to come!

Suzie Wible
Suzie has shared her knowledge for over 10 years about building furniture, painting techniques, how to build your dream home, and basic to advanced woodworking skills. Through this blog, readers will feel empowered to create a home and products they love too.