Finish for a Wooden Cutting Board: Beautiful and Durable
Over the years, I have created a number of large cutting boards. These cutting boards are large (around 18″x36″) and are made to house a huge and delicious smoked brisket. There is one product that I continually return to when I finish any cutting board.
The best finish I have found for any wooden cutting board is a product called Odie’s Oil. I have tried countless other products (like butcher block oil, board cream, natural oils, pure tung oil, coconut oil, and raw linseed oil, to name a few) and Odie’s Oil always comes out on top.
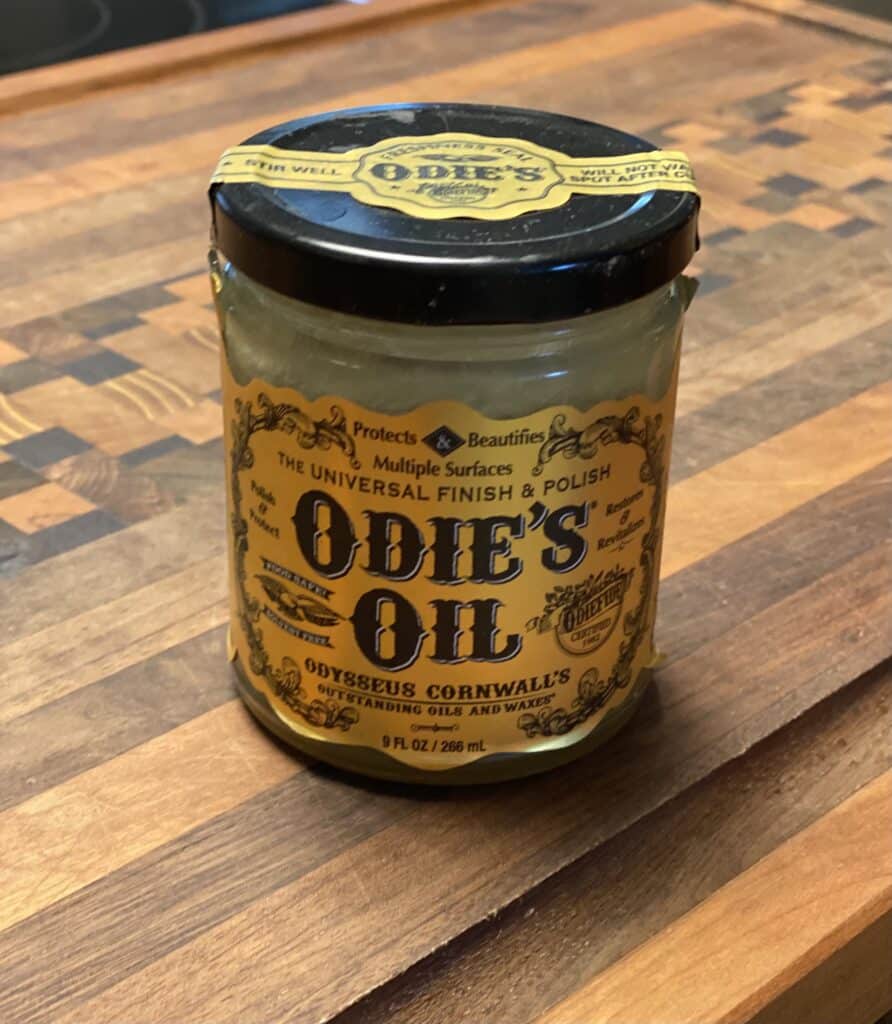
Odie’s Oil is a product I continually go back to after testing out other finishes. Because of this, it is the finish I recommend highest for finishing and sealing cutting boards.
In this article, I will cover all of the great aspects of this product and why it is the best finish for cutting boards.
There is nothing worse than creating a beautiful piece, like a cutting board, then finishing it with a sub-par sealer. It can feel very defeating having your hard work ruined by a poor finish. That’s why, when I find a great product like Odie’s Oil, I make a point to share it with my readers.
Food-Safe Cutting Board Finish
Being that food will be prepped, chopped, cut, and served on a cutting board, it is incredibly important to find a product that is food-safe. Not only is Odie’s Oil food-safe, it is solvent free, all natural, and non-toxic. And as an added bonus – it smells amazing too! Odie’s is one of the best options for food-safe finishes.
There is no need to wear gloves to guard against any chemicals when you are applying Odie’s Oil to a cutting board. After all, you will be eating off of the oil finish, so it is safe to let it touch your hands.
The only reason you might want gloves is that the finish can be a bit sticky when you are applying it to the wooden boards. However, if we are talking entirely about safety, gloves are not needed.
I personally do not wear gloves when I apply Odie’s Oil to any furniture or cutting board I make. Simply washing your hands with soap and water will quickly remove the oil from your hands.
Versatile
Odie’s Oil is the best and most versatile finish for a wood-cutting board that I have found (and I’ve sampled a ton!). But one of the great things about this product is how versatile it is. It can be used on many different surfaces besides wood.
This sealer is called ‘universal’ for a reason. It can be used on leather, concrete, and steel. You could even seal plastic boards if you aren’t using wooden boards! Also, it can be used on all species of wood, (all domestic and exotic woods included) and it will create an incredible finish every time.
It is one of the best finishes for any cutting board material and style, like end grain boards or typical slat boards. Also, given that this oil is safe for food contact, it would be one of the best choices for sealing wooden utensils.
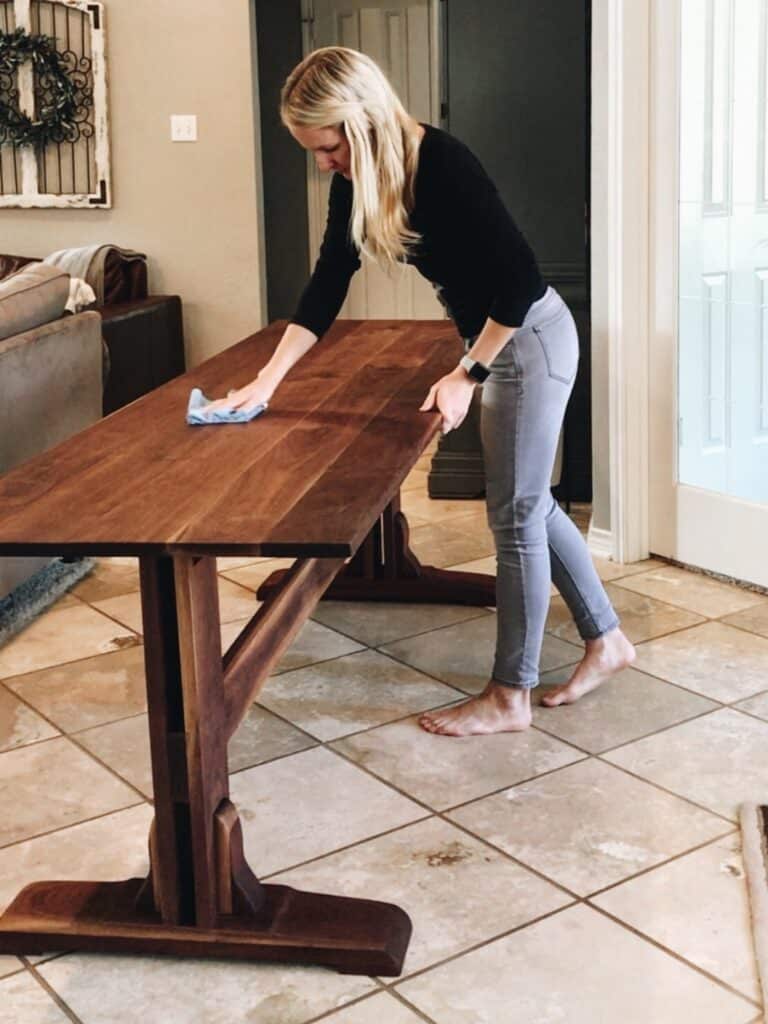
Aside from cutting boards, I have applied Odie’s Oil to outdoor dining tables, charcuterie boards, wood American flag wall art, and a wooden ash tray. The process is the same for all wood species. This finish can also be used for sealing a butcher block countertop. Given that it is food-safe and will effectively seal out the moisture, I highly recommend Odie’s Oil for butcher blocks.
This finish contains UV inhibitors, so it will help to slow all of the above surfaces from fading or yellowing from the sun. Because of this, it would be a good option for any piece that gets direct sunlight.
Safe
Odie’s Oil is safe to apply, use, eat off of, and use in everyday life. It is safe for pets and kids. It is all-natural, does not contain petroleum or poisons, and is solvent-free and non-toxic. Because of this, you could safely seal handmade wooden kid’s toys with Odie’s. It would be a great sealer for wooden spoons as well.
Because this finish doesn’t have solvents, it isn’t a drying oil. Conversely, it seals in a beautiful and rich tone for the wood pieces.
How to Apply Odie’s Oil
Applying Odie’s Oil to a cutting board is fairly simple, although it does require some elbow grease. Now that you have built a beautiful cutting board, follow these steps to create a durable and beautiful finish for your new cutting board.
If you’re just getting started and could use some help, check out this post on the best tips for creating your own cutting board! For information on adding additional features to your board, read this post on how to route a cutting board handle and how to add a juice groove to a cutting board.
The supplies you need to apply Odie’s Oil are:
- Odie’s Oil – (1) 9 oz. jar covers approximately 189 square feet
- Terry cloth towel cotton towel (like an old bath towel, avoid microfiber)
- popsicle stick or stir stick
- Soft scrub merlon pad, like Scotchbrite pads
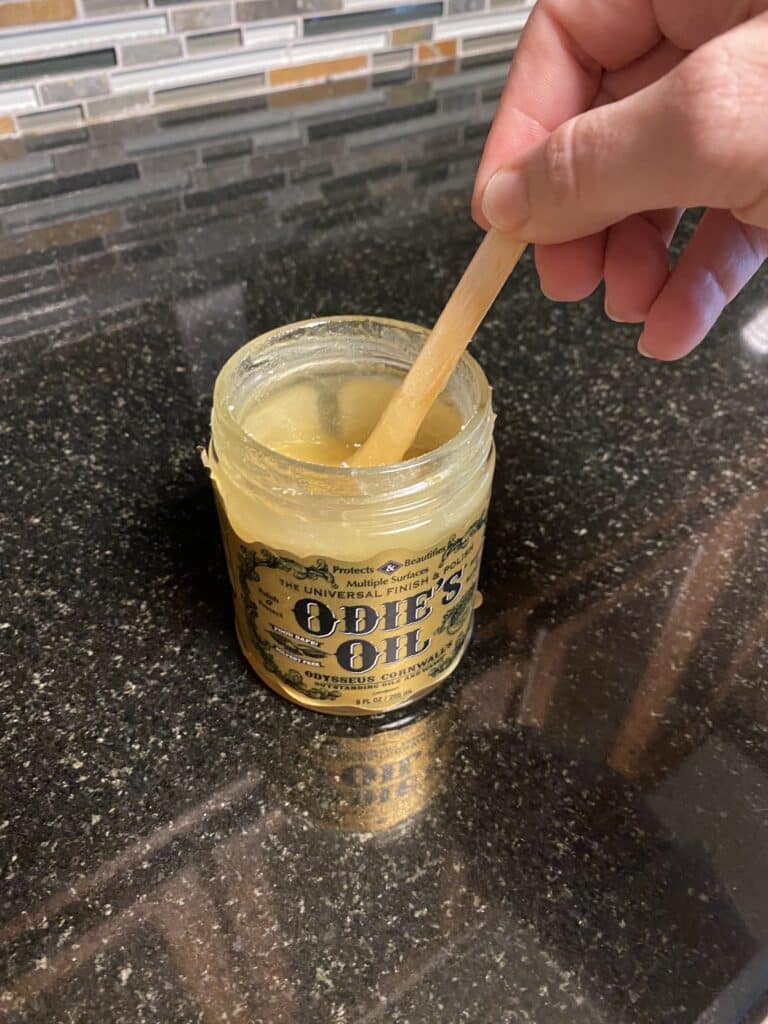
Step 1: Stir Thoroughly
Directly out of the jar, Odie’s Oil can be a bit thick. Use a popsicle stick to stir it well. As you stir, it will become thinner and easier to work with.
Step 2: Use the Pad to Apply the Oil
Apply a small amount of Odie’s Oil to the surface of your board using the popsicle or stir stick.
Avoid using too much oil on your cutting board. In step 4, you will buff off the excess oil, so if you have too much oil on the surface, that step will be difficult. Avoid over-saturating the surface of the wood cutting board.
Once you have applied some oil to the board, use the merlon or Scotch-brite pad to distribute the oil evenly over the board. By using a non-woven pad like this, the oil will be worked into the wood fibers without scratching the surface.
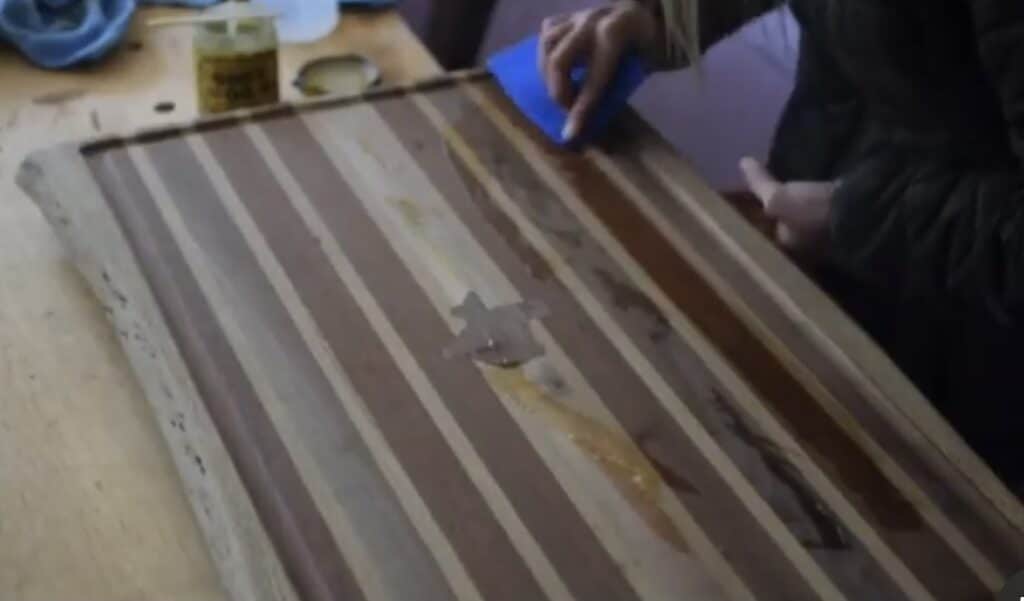
Go in a circular motion with the pad to apply the oil. This part of the process saturates the wood with the oil. This will allow the oil to bond with the wood fiber, that will then harden within the wood.
Because of this, the cutting board finish will bond to the fibers, rather than sit on top of the surface. It will make the surface much more dense.
It should be noted that just a very small amount of Odie’s Oil goes a very long way. One 9 oz jar should seal many, many wooden cutting boards. One jar will cover more square footage than one gallon of polyurethane!
Different wood species have varying densities. This will affect how much oil you need to cover the surface. For example, cherry has a very high density, so 1 jar of Odie’s oil will cover quite a bit. One jar of this sealer on high-density wood will cover around 400+ square feet.
Once you have rubbed all of the oil into the surface of the wood, there shouldn’t be much oil sitting on the surface of the cutting board. If there is, you might have applied too much oil, or you need to use the scotchbrite pad to continue applying it in a circular motion.
Step 3: Allow the Finish to Sit for 1 Hour
Once you have thoroughly covered the whole surface of the board with the pad, allow the board to absorb the oil for 1 hour.
This will allow time for the oil to harden within the surface of the wood and bond to the wood fibers.
Step 4: Buff the Oil
This step is when the beauty of the boards come to life. Odie’s Oil creates the most beautiful matte sheen on a cutting surface after you buff the excess oil off.
It is a good idea to use an old terrycloth towel for this step. Avoid using microfiber towels. Save those old bath towels and you will have the perfect towel to finish applying this oil.
I personally like to cut old terrycloth bath towels into smaller pieces so that I can easily grab them when I’m applying this finishing product to wood cutting boards.
When completing this step, start by going with the grain of the wood. As you buff the piece, the haze of the excess oil will be removed and the beautiful matte sheen below will be revealed.
If you can run your finger over the finish and it doesn’t leave a shiny streak, you have buffed it enough.
Once the towel is saturated with oil, find a cleaner side of the towel and continue buffing the cutting board. If there is too much oil on the towel, you are essentially just moving excess oil around. Instead, you should be buffing the oil off with clean parts of the towel.
You can now wipe down the cutting board down one last time. This time, it doesn’t have to be in the direction of the grain. It can be circular or whatever direction is easiest.
It should be noted that this step should be done by hand. Although it seems easier, a circular polisher would essentially defeat the purpose. That’s good news for those that want to get that arm workout in!
Additional Notes for Using Odie’s Oil Finish
Once completed, the cutting board should feel completely dry to touch. It should also have a gorgeous matte finish that will create an incredibly durable seal.
The board is now water resistant. You can test this out by putting some water droplets on the surface. You will see it bead and roll off easily.
One of the best things about this finish is that it lasts for a long time. I have yet to have to reapply the finish to a board that I have sealed with it. Even though our boards get very heavy use, the finish lasts a long time. Other finishing products can require frequent reapplication.
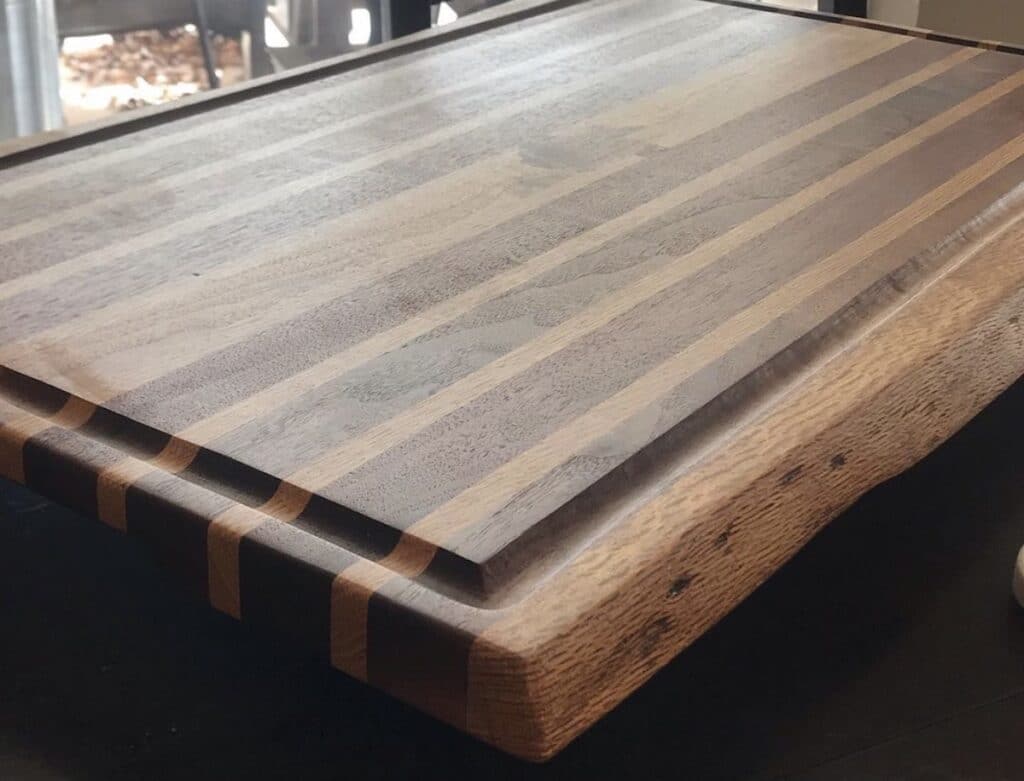
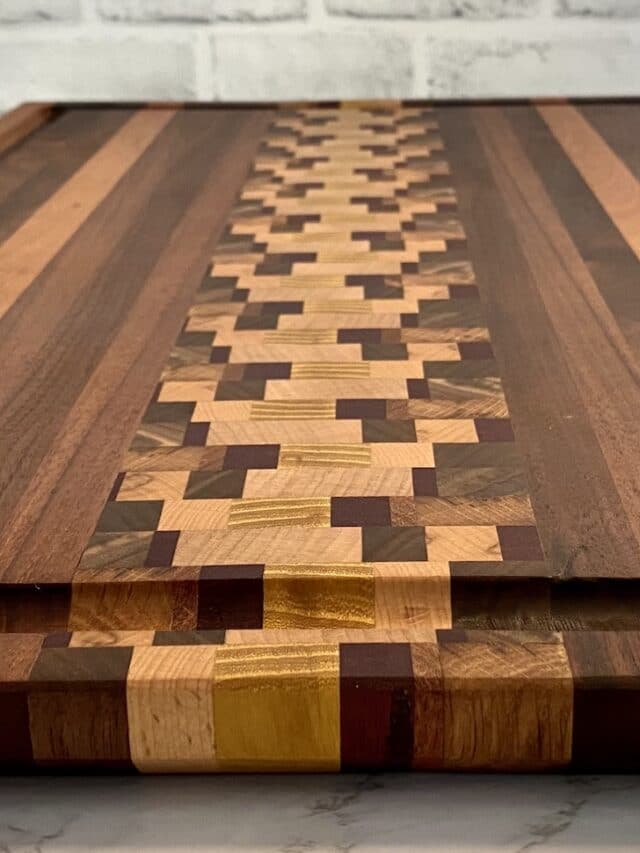
This is the process I used to seal this end-grain board.
How to Refresh a Wooden Cutting Board
If you have a cutting board that has had heavy use, knife cuts, looks dull, and needs to be resealed, this would be a great cutting board oil to use.
Start by thoroughly cleaning the board with hot water and soap.
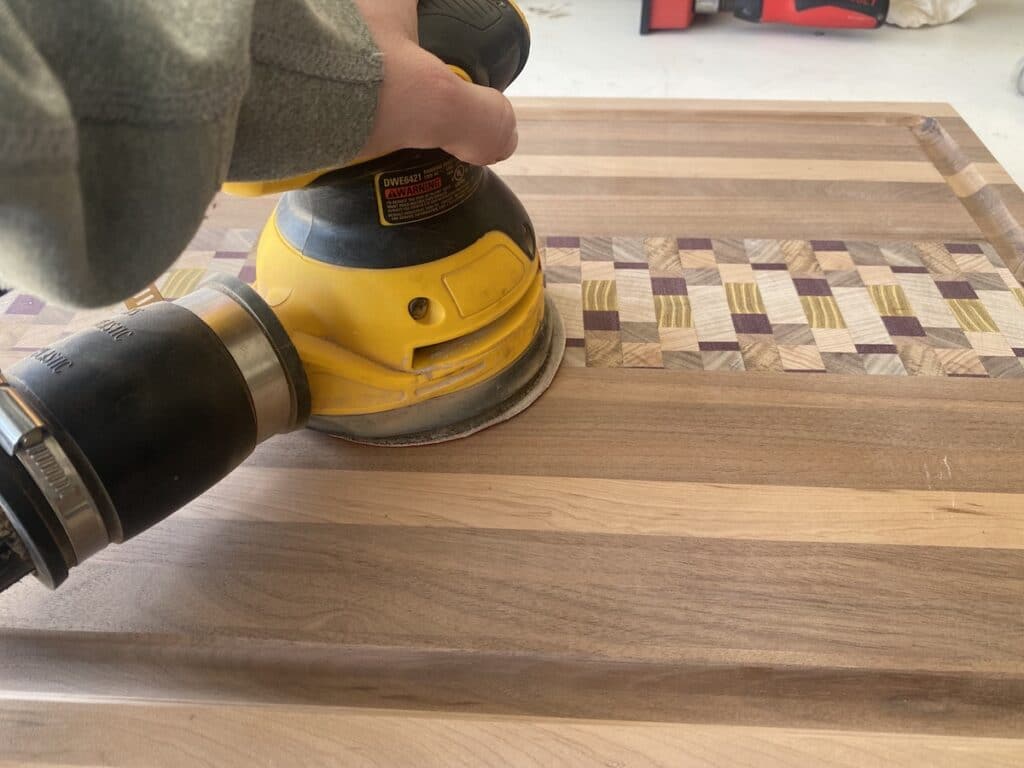
Once the board is clean and dry, sand the surface of the board with 120 grit sandpaper. Do this until all of the knife marks are sanded out. You can use an orbital sander for this. There isn’t a need to go to a higher grit sandpaper because 120 grit will result in a finish that is very smooth.
One trick to get an extra smooth board is to sand, then wet the surface, then re-sand after the wood surface is rough again. This is called “water popping”.
I don’t recommend sanding with a higher grit than 120. That could actually close the wood fibers and cause the surface to not properly absorb the oil.
Next, start with Step 1 above and complete the remaining steps.
And that’s it! I love the simplicity of this oil. There is no need to sand or strip between coats. Simply apply oil, let it sit, then buff the surface.
Odie’s Oil is the best option for those looking for a simple finishing process that continually provides the desired results!
Find the webstory for the best finish for a wooden cutting board here!
If you found this article helpful, be sure to check out the following articles:

Suzie Wible
Suzie has shared her knowledge for over 10 years about building furniture, painting techniques, how to build your dream home, and basic to advanced woodworking skills. Through this blog, readers will feel empowered to create a home and products they love too.