Best Tips and Tricks for Making Your Own DIY Cutting Board
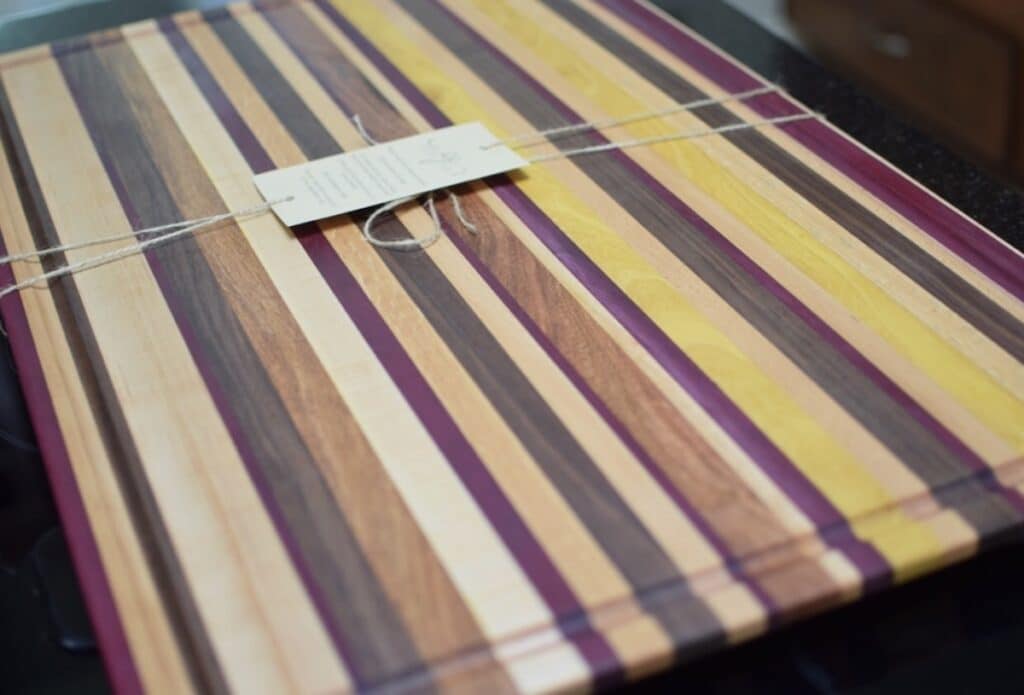
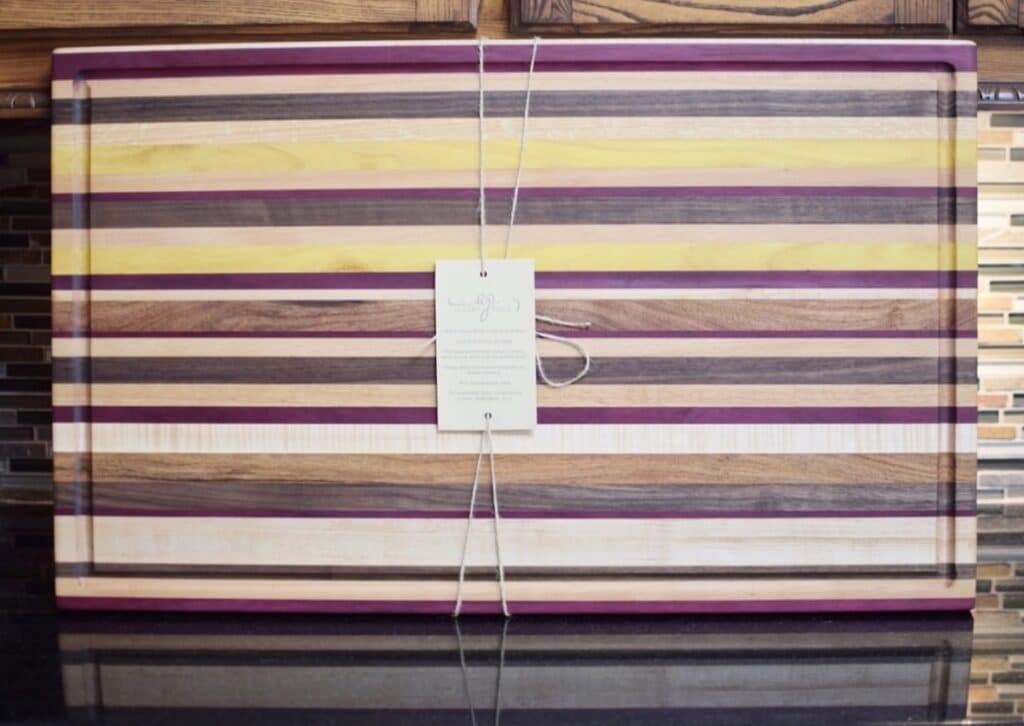
Over the past few years, I have made handfuls of cutting boards for friends. Grilling is popular with them, so every cutting board I have made has been fairly large. They are all big enough to fit at least a 15 lb brisket, so most boards I make measure around 20×30 inches.
So, I thought it was time to share all of my best tips, tricks, and best practices to creating your own DIY handmade cutting board!

Cutting boards are great options for small woodworking items that sell. If you are able to batch them out, they can be very profitable, especially during the holidays. They make great gifts for friends and family as well!
Keep reading to find instructions, techniques, and tips to make your own cutting board at home.
General Steps for Making a Simple Cutting Board
Disclaimer: This site contains product affiliate links. We may receive a commission if you make a purchase after clicking on one of these links.
To begin making your own cutting board, you will need the following tools and materials:
- Hardwood like maple, cherry, or walnut
- Planer
- Table Saw
- Clamps
- Router with Edge Guide
- Router bits: chamfer and round nose bit
- Belt Sander
- Orbital Sander and 120 & 80 grit sand paper
- Wood Glue
- Odie’s Oil and Microfiber Cloth
I have created a detailed tutorial for how to make an end grain cutting board from scrap wood, but here are the general steps:
Step 1: Rip the Boards to Create Uniform Pieces
Starting with hardwoods, rip the boards on a table saw to create wood slat strips that will make up the cutting board.
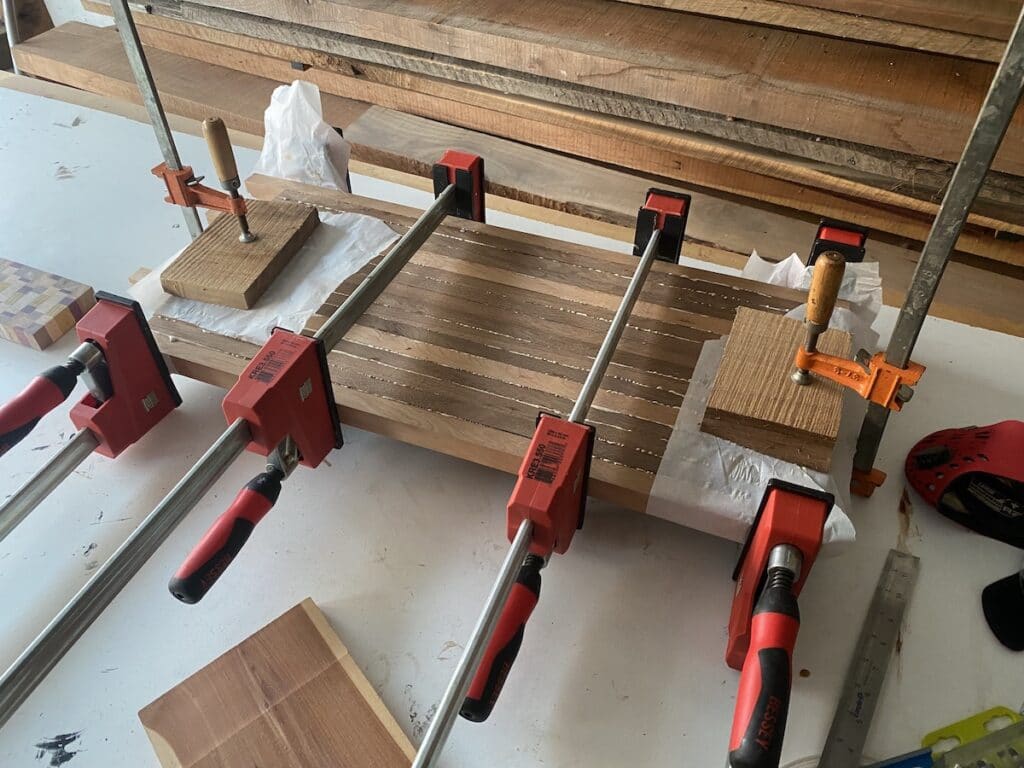
Step 2: Glue the Wood Slats Together
Using food-safe wood glue, glue all of the pieces together. Use a glue brush and make sure the entire edge of the wood slat is covered.
Clamp the slats together with parallel clamps. Allow it to completely dry before removing the cutting board from the clamps.
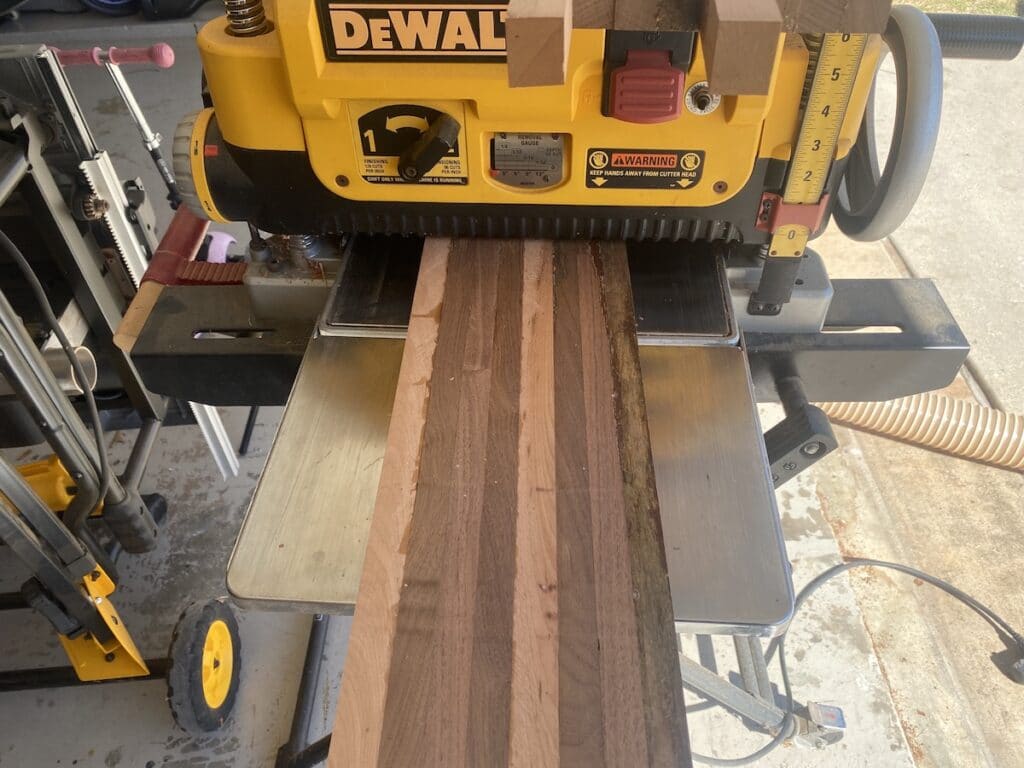
Step 3: Plane the Cutting Board
To make the cutting board with a smooth finish, run it through a planer while making shallow cuts every pass-through.
This step is very similar to how I made a DIY rustic wood American flag wall art.
Step 4: Sand and Seal
Start with sanding the cutting board with an orbital sander. Use 80-grit sandpaper, then switch to 120-grit sandpaper and sand the whole board again.
Once that is done, spray the whole board with water, then sand it again with 120-grit sandpaper. This makes the surface of the cutting board so smooth and will keep with smooth after many uses and washes.
Season the homemade cutting board with a food-grade sealer like Odie’s Oil. This can also be done on a DIY live edge charcuterie board.
Be sure to check out this post on why I believe Odie’s Oil is the best finish for cutting boards.
What is the best wood for cutting boards?
You will want to choose a hardwood for cutting boards. A few examples of wood species that work very well for cutting boards is maple, walnut, cherry, pecan, bamboo, or mesquite. Hardwoods are more dense and durable than softwoods.
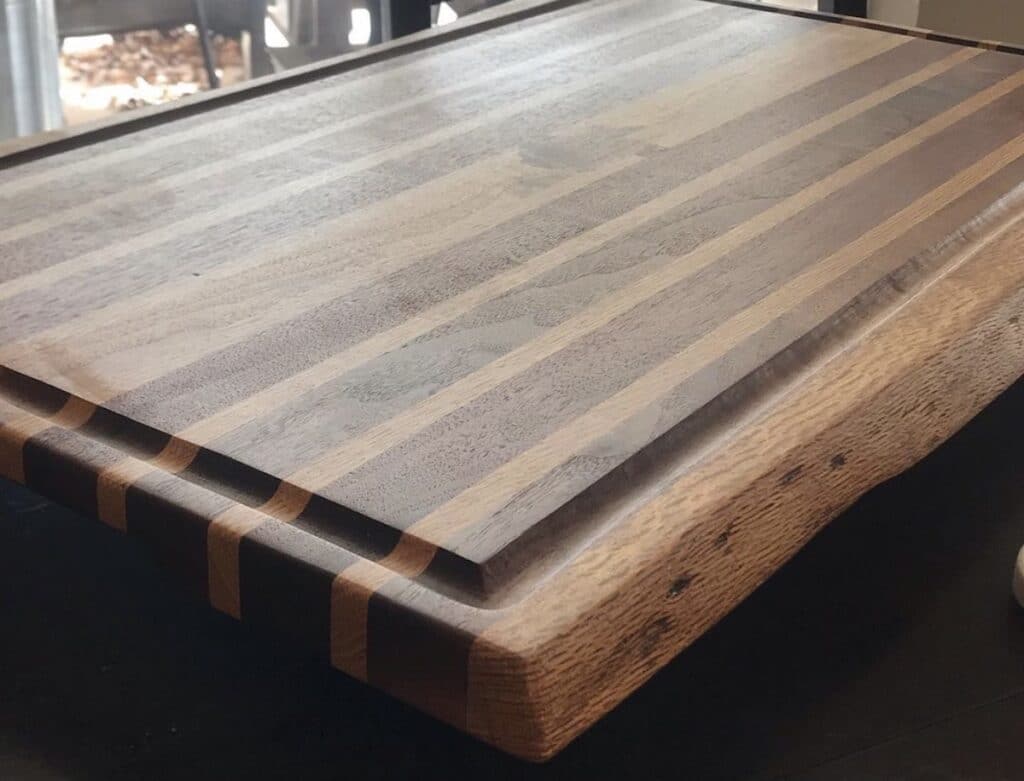
I have made a cutting board out of white oak in the past, but it was very hard to work with. Although it is a hardwood, it was rough on my tools and not very forgiving.

You can also use wood with interesting color like purple heart, osage orange, or padualk, although these species are much harder to find.
Can you make a cutting board out of any type of wood?
It is best practice to stick with hardwoods when making a cutting board. Soft woods like pine or cedar will not hold up as well as hardwoods.
In addition, the pores in soft woods are more open and will absorb the food and smells.
Oak is a hardwood, however it is open-pored as well. Therefore, it’s not the best option for a cutting board.
Wood to Not Use on a Cutting Board
Avoid using any soft woods on a cutting board. These will be much less durable than hardwoods.
Also, avoid any wood with open pores, like oak, pine, or ash.
How to Make a DIY Cutting Board Food Safe
Step 1: Sand the Cutting Board
First, start with sanding your board. Begin with 80-grit sandpaper and sand the whole board. Then, switch to 120-grit sandpaper and sand the whole board again.
Once that is done, spray the whole board with water and allow it to fully dry. This is called “water popping” the board. It will make the surface rough again.
Once that is dry, sand it again with 120-grit sandpaper. This makes the surface of the cutting board very smooth and will keep it smooth after many uses and washes.
If your cutting board has any imperfections or slight gaps between the boards, you can make a homemade wood filler. I outlined how to do that in this post on how to hide screw heads in wood.
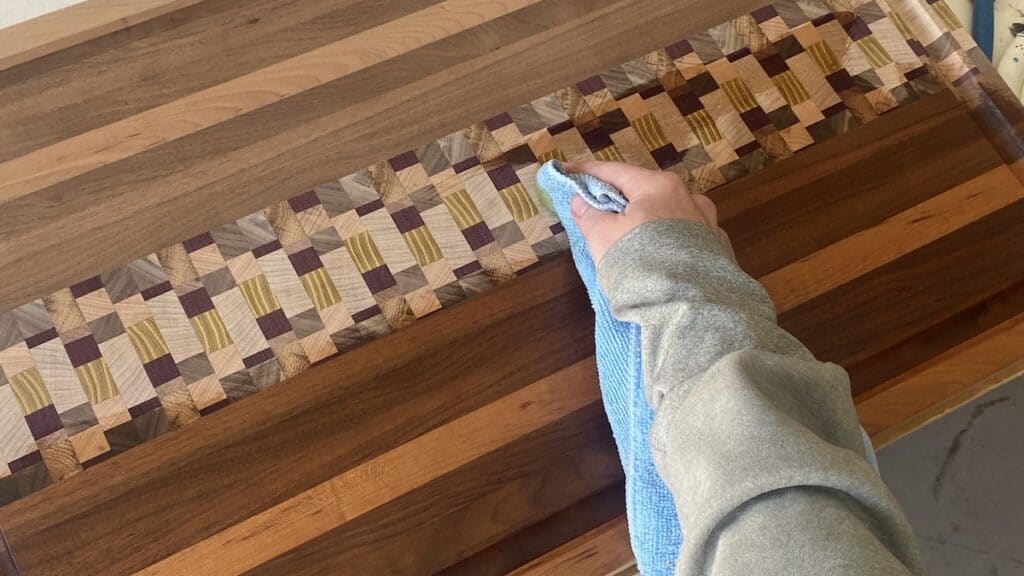
Step 2: Seal the Cutting Board to Make it Food Safe
You can now treat the cutting board with a food-safe sealer. My favorite way to treat the surface of the board is with Odie’s Oil .
I have used Odie’s Oil on every cutting board I have made. It is food safe and creates the best protection I have found in a cutting board sealer.
It is important to note that if you sand too much, the sealer won’t be able to absorb into the wood. So because of that, I recommend that you don’t go higher than 120-grit sandpaper.
How to Clean a Cutting Board
If the cutting board begins to absorb odors that won’t wash out with soap and water, try this method. Slice a lemon in half, sprinkle salt on it, then scrub the board.
Lemons have natural antibacterial properties and they smell great. Repeat this process a few times as necessary to make a wood cutting board smell better.
Add-ons for a DIY Cutting Board
When you make a handmade cutting board, there are a few things that you can add that will take the end product up a few notches.
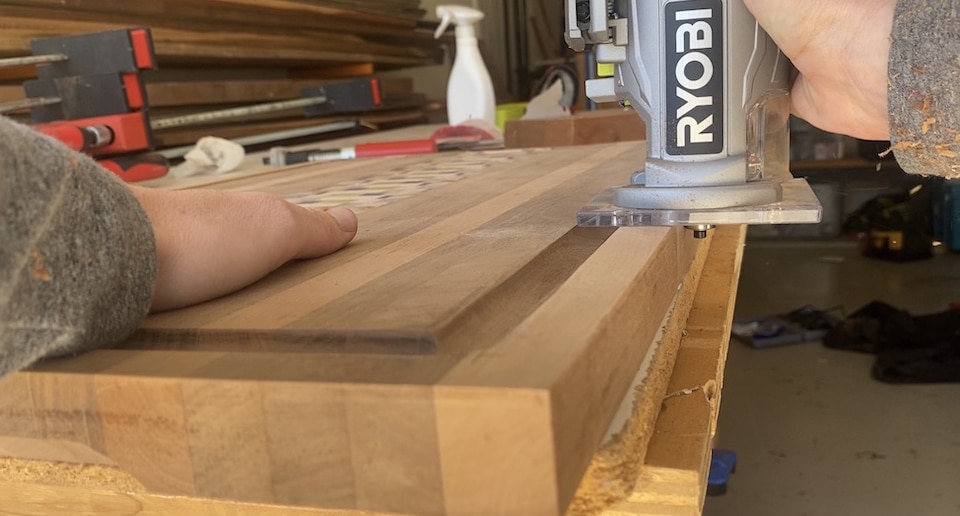
Route a Juice Groove on the Cutting Board
I have outlined how to make a juice groove on a cutting board. The method I use doesn’t require a CNC or complex jig, it only requires a router and an edge guide! I love the simplicity of it.
If you’re just getting started, I recommend this budget wood router for things like this.
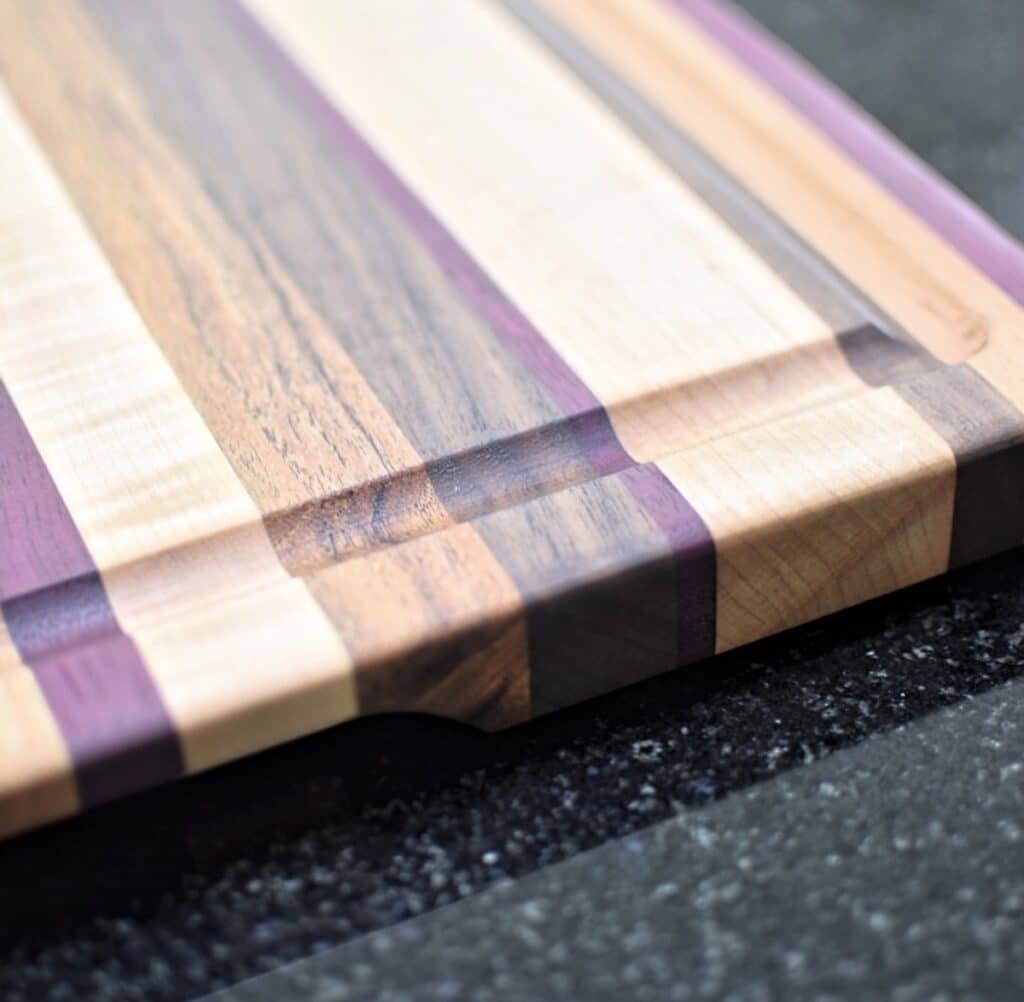
Soften the Edges by Routing
It’s always a good idea to route the edges of a cutting board by running over the edges with a router. For a crisp line, you can use a chamfer bit, or for a softer, more rounded edge, use a round over bit.
Cutting Board Feet
Adding small rubber feet to the bottom is very helpful in keeping the board from sliding around. They will also guard against scuffing up the bottom of the board or the countertop.
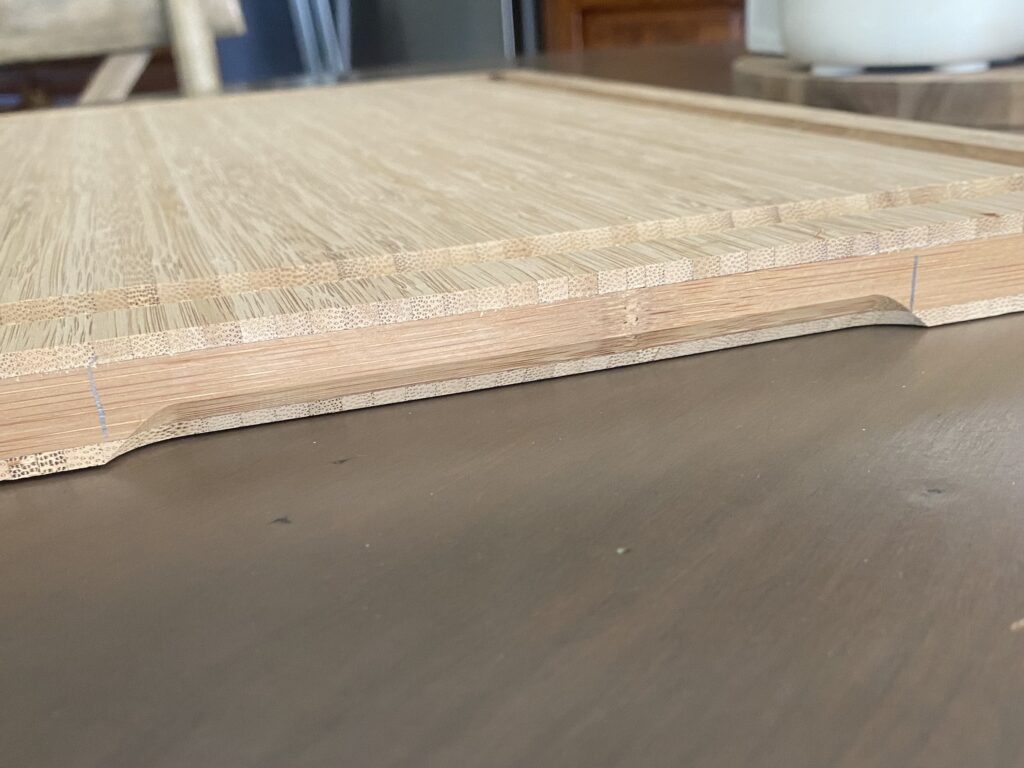
Handles or Finger Grooves
Handles are especially helpful when making a large board, as this size of boards can be hard to pick up. Finger groove handles make the board much more functional.
You can find a detailed tutorial for how to route finger groove handles in this post.
Add an Inlay to the Cutting Board
My favorite way to add an inlay to a cutting board is to use a Slab Stitcher kit. I have a created detailed tutorial on how to use Slab Stitcher.
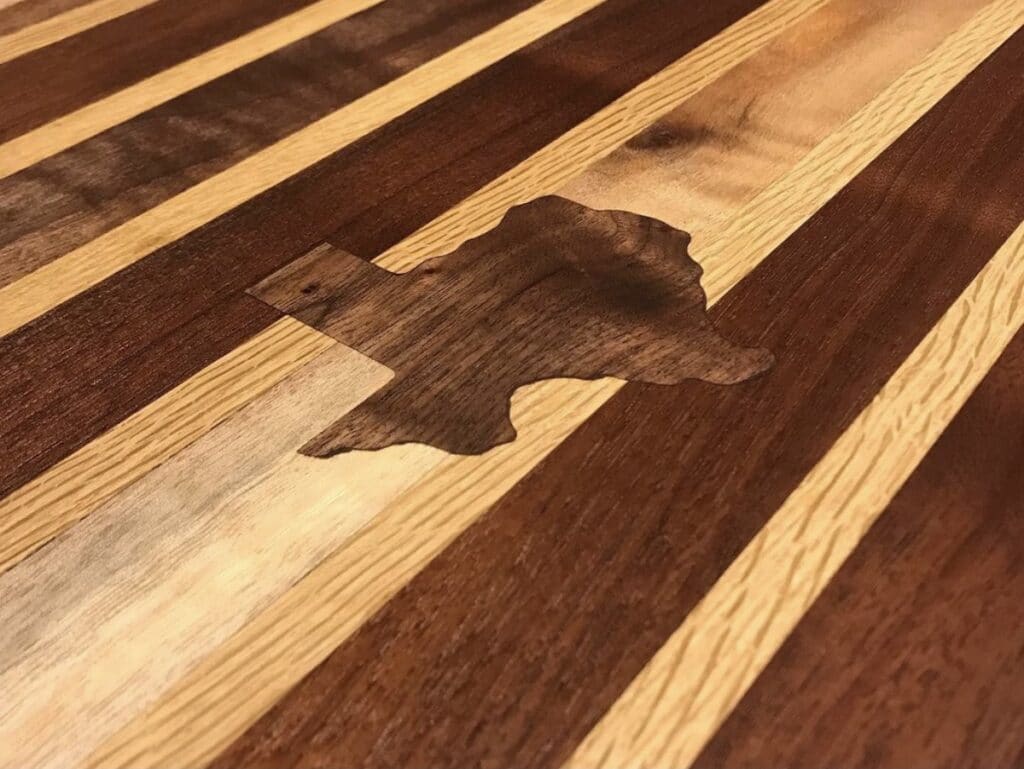
The kit is a great way to add inlays like a Texas and other states, or stars.
And that’s it: all of my best tips and tricks for making your own cutting board at home! As always, let me know if you have any questions and I’ll do my best to answer them!
If you found this article helpful, be sure to check out the following articles:

Suzie Wible
Suzie has shared her knowledge for over 10 years about building furniture, painting techniques, how to build your dream home, and basic to advanced woodworking skills. Through this blog, readers will feel empowered to create a home and products they love too.