Easy DIY Blackout Windows on Budget
There are occasional times that a person might need to completely blackout a window to create complete darkness. Some people might have shift work, want to blackout a baby nursery or home theaters, or in some cases, people are attempting to hide messy garages or attics from the outside.
In my particular case, I needed to blackout the smaller upper window in the picture below. The reason that these windows needed to be blacked out is that they are purely decorative. If you could see through the windows, you would see the trusses over the garage and attic space in others.
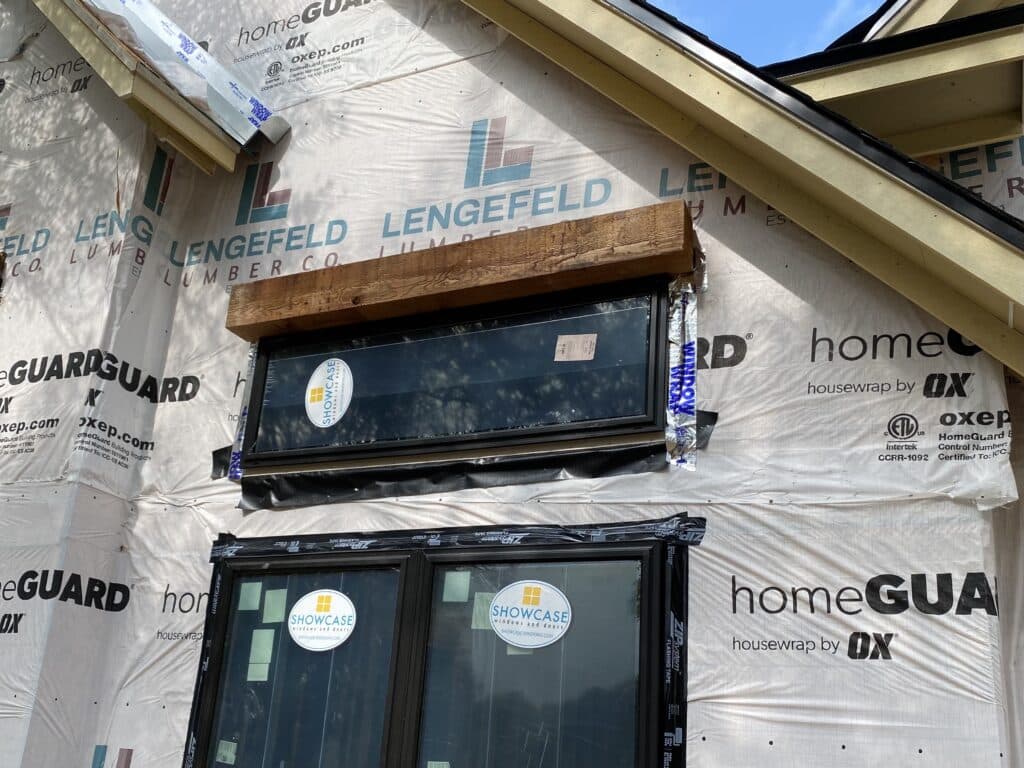
So, we needed to find a solution for these windows. We needed something that would adhere to the windows and not allow anyone from the outside world to see inside.
We found a great product that sticks to the interior of the window and makes the room pitch black. It is a film that is removable, does not contain adhesives, is a cheap way to thoroughly blackout rooms, and can be cut to size.
It is a great solution and a great way to achieve privacy and achieve a room that is completely dark. The product is a black plastic film that blocks all sunlight from coming in and also blocks anyone from seeing in.
I will cover all of the specifics of one of the best ways to DIY blackout windows on a budget in this article.
How to Attach Blackout Material to a Window
Disclaimer: This site contains product affiliate links. We may receive a commission if you make a purchase after clicking on one of these links.
There are minimal tools needed to attach this blackout material to windows. Of course, the main product you will need is the window film. This is the film that I used.
There are also options for transparency that best suits your needs. Like I mentioned earlier, I wanted to completely black the window out, but you can also purchase a semi-transparent film that lets some natural light in. This is more of a window tint option, rather than a window blackout solution.
Another option is a one-way privacy film. This reflects the outside during the daytime, although it doesn’t create much privacy at night.
Aside from the window film itself, you will need:
- spray bottle with soapy water in it (I used Dawn soap)
- a squeegee or firm plastic
- utility knife
- window cleaner
- scissors
- microfiber cloth
Step 1: Clean the Glass
You will begin by thoroughly cleaning the interior of the window glass. Use a glass cleaner and a microfiber cloth to wipe down the window. Allow the glass to dry completely. Make sure any caulk, paint, dust, or debris is removed from the glass.
Step 2: Cut the Blackout Film to Size
Next, measure the dimensions of the glass you will be covering. Add 1 inch to both the height and the width of your windows. Cut the window film to size with scissors.
Step 3: Apply the Blackout Film to the Glass
The window film comes with a backing liner that covers the surface that touches the glass. Remove this.
Fill a spray bottle with water and a small amount of soap that has degreasing detergents, like Dawn dish soap. Thoroughly spray the glass with the water and soap mixture. Place the film on the wet glass and adjust it so that all of the glass is covered.
Using the squeegee or hard plastic, remove any air bubbles that might have occurred. Start from the middle and work your way outward.
Step 4: Trim the Excess Blackout Film
Using a sharp utility knife, cut the film around the perimeter of the film, but inside the window frame. Leave 1/16″ around the edges of the film. Make sure that this knife is very sharp, as a dull knife can tear the film instead of producing a clean cut.
To create straight lines when cutting, you can run the knife along a long metal ruler or another firm straight edge.
Remove the excess cut-offs and squeegee any other spots that might need it, like spots with air bubbles.
Once this film is applied, it will make the room dark and create the privacy desired. The film will stick to the window because of the static cling.
Reusable Blackout Window Film
One of the great benefits of this product is that it does not use adhesives to attach to the window, it uses static cling instead. So, it can be slightly adjusted as needed. The film can easily be removed with no residual residue.
You can also easily remove the film, roll it up, and put it aside until you need it again. Since it will be cut to size, you can easily reapply the film to the same window. There is no glue or adhesion, so it’s very easy to remove and reapply. Simply start again with step 3 above.
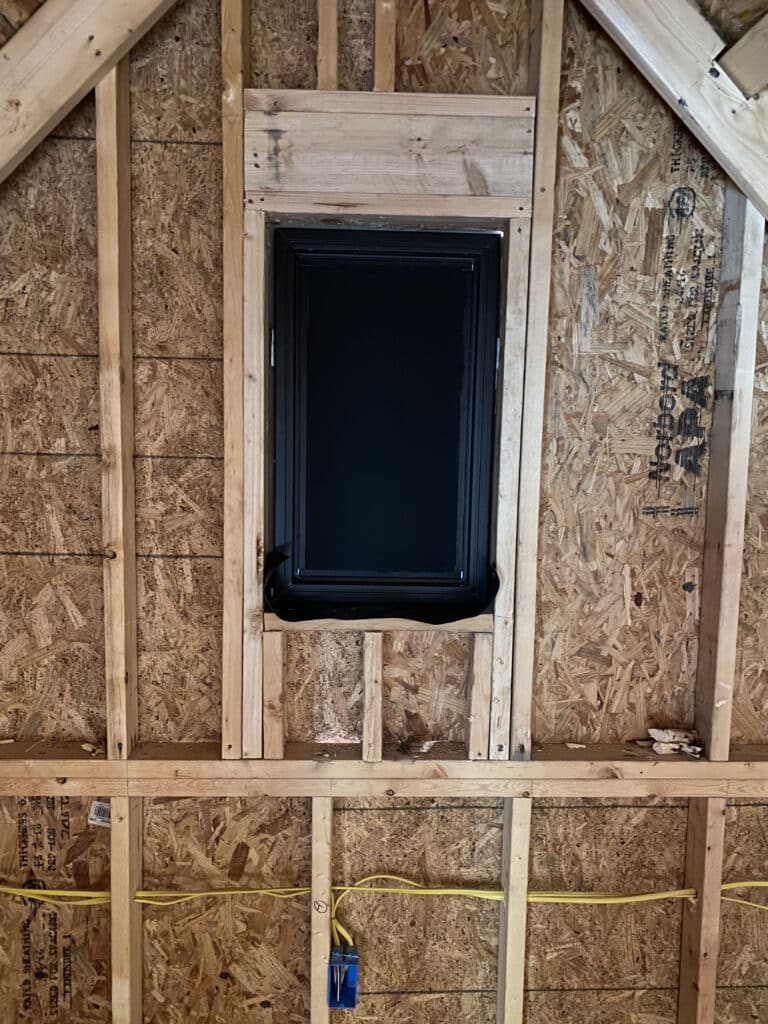
The picture below is from our attic. We will finish this space out later to make it a living space, but for now, we wanted to block anyone from seeing inside our messy attic. When we finish the space out, we can easily remove the film without having a large cleanup job due to adhesives. The blackout panels simply peel off and the window is ready to be used like normal – with virtually no cleanup!
Completely Light Blocking
This blackout film stops virtually all light from passing through. It will stop light from passing through both ways (in and out). This two-way privacy would be very beneficial for those needing a window blackout solution that creates a very dark room. Examples of this would be night shift workers, for baby nurseries for nap time, or media rooms in the home.
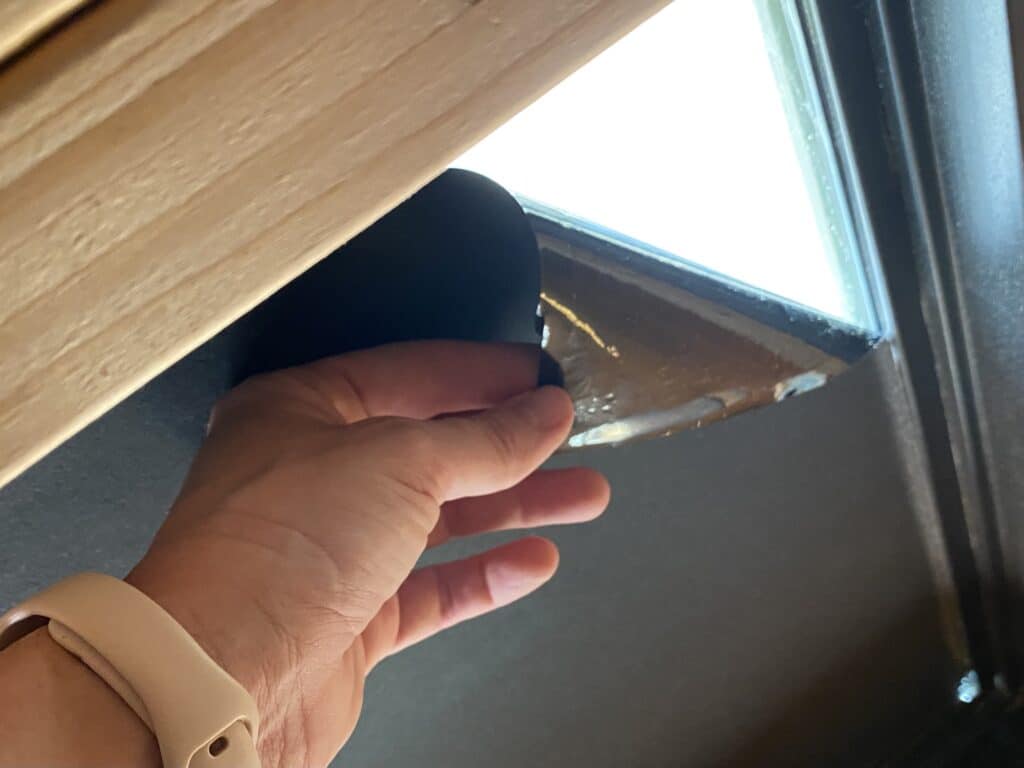
From the outside, it creates somewhat of a reflection on the glass. So the outside is reflected back out, not allowing anyone to see inside.
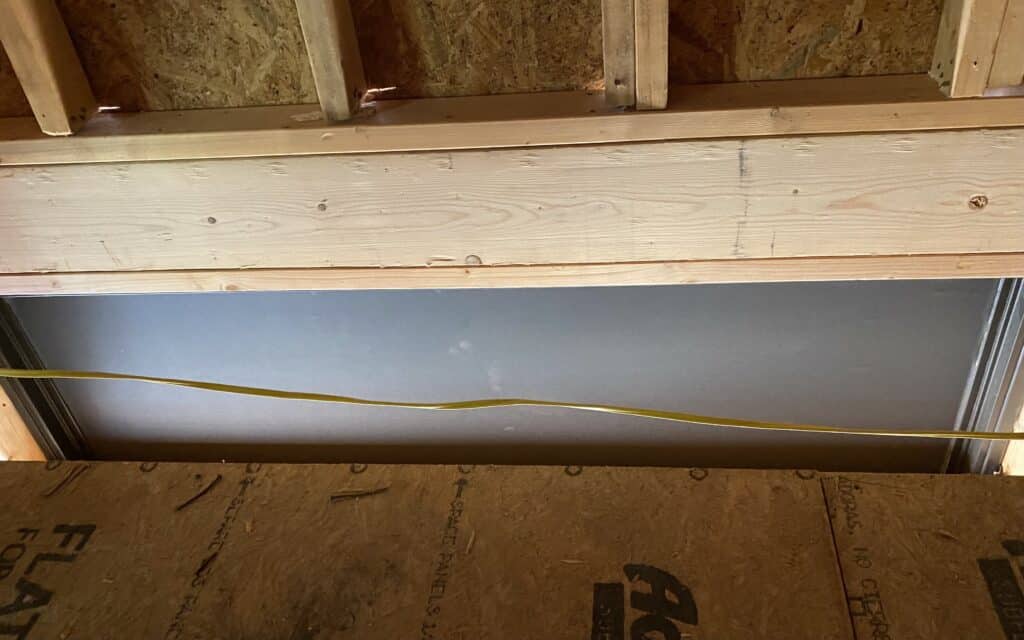
As you can see in the picture below, someone standing outside would see our trusses since these windows are purely decorative. So, the film blocks anyone from seeing these.
Heat Control Window Film
Another great benefit to this privacy blackout film is that it blocks UV rays, so it will help reflect heat from the outside. Blocking the sun’s rays like this could cut down on energy bills. It will also help home furnishing from fading from exposure to sunlight.
Other Options to DIY Blackout a Room
If a blackout window film is not the best option for you for whatever reason, look into purchasing blackout blinds or hanging blackout fabric to cover the window.
Something like blackout shades would work well as well, although will not be as cost-effective as the blackout film covered in this article. By going with one of these suggested window treatments, you can easily open the blinds or curtains to let light in when you desire more natural sunlight. The blackout film is more of a permanent solution.
If you’re looking for something that is more light filtering, rather than 100% light blocking, check out other options of window films like these.
Although this DIY method won’t create a total blackout room like the film will, it could be a great option for those looking to DIY blackout curtains or shades.
If you like the look of white curtains from the inside, there is also an effective solution that has a blackout liner on white blackout curtains. So, it is white from the inside and a darker color from the outside. We did this in our son’s room and it has worked really well.
If you’re looking for another curtain project, check out these no sew tie-up curtains. For more projects for bedrooms, check out this end-of-bed bench and wood slat headboard.
How to Blackout a Windows Cheaply
One of the best features about this product is the price point. It is a very affordable way to cover multiple large windows with this blackout window film. You can save a lot of money by going this route, as purchasing your own blackout curtains that are custom will be very expensive.
You have the option to purchase many different sizes of blackout window film in order to fit whatever size your windows are. You will cut the size perfectly and can piece parts together to cover whole windows. The additional material from the cut offs from previous windows can be pieced together to cover a whole window.
The price per roll of blackout film range from around $10 to $90 per roll, depending on the size you order.
These window films are an easy solution for blocking light from windows without curtains. Being that they are reusable, removable, and non-adhesive, they are a great option for those wanting a budget friendly way to DIY blackout a window.

Suzie Wible
Suzie has shared her knowledge for over 10 years about building furniture, painting techniques, how to build your dream home, and basic to advanced woodworking skills. Through this blog, readers will feel empowered to create a home and products they love too.