Simple Way to Make Wood Look Like Black Metal
During a recent project, I needed to figure out a way to make wooden dowels look like black wrought iron metal. This was for a project where I made a round side table. I figured out a pretty simple and easy process to create a faux metal look. So, I’m going to share all the details for how I achieved this by painting the wood to look like metal!
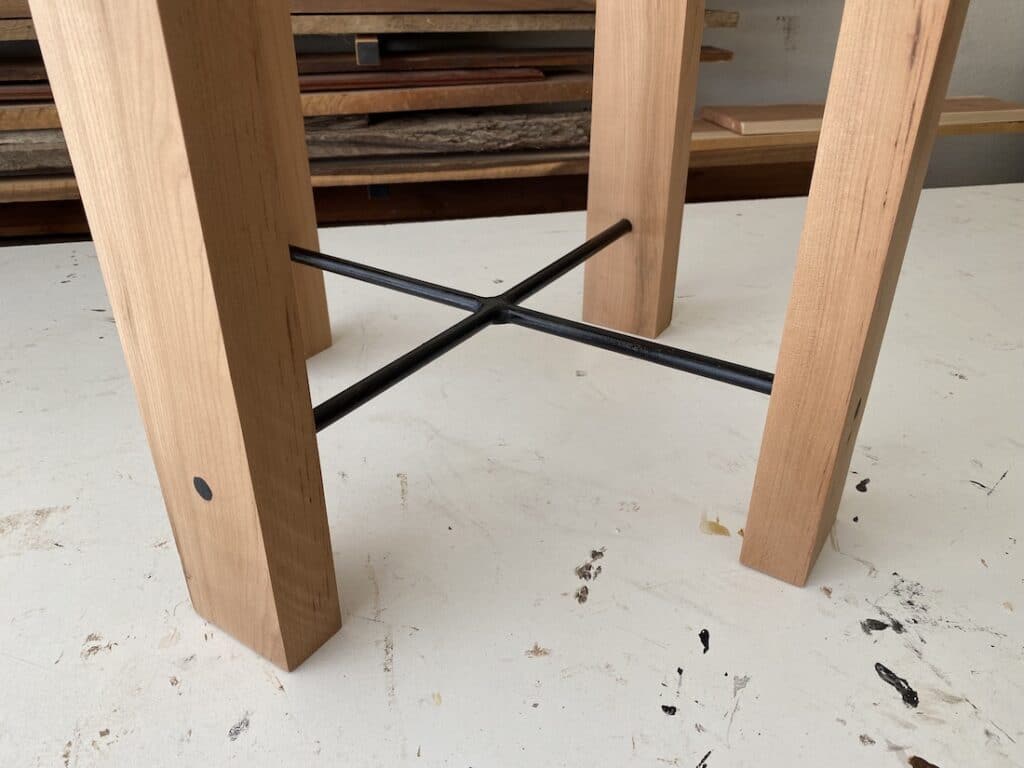
I did this faux finish on a furniture build project where I made a knockoff version of the McGee and Co’s Cora Side Table. Their table is made with white oak and black raw brass for the crossbars. In order to save money for this furniture dupe, I used wood dowels to create the look of black metal for the crossbars.
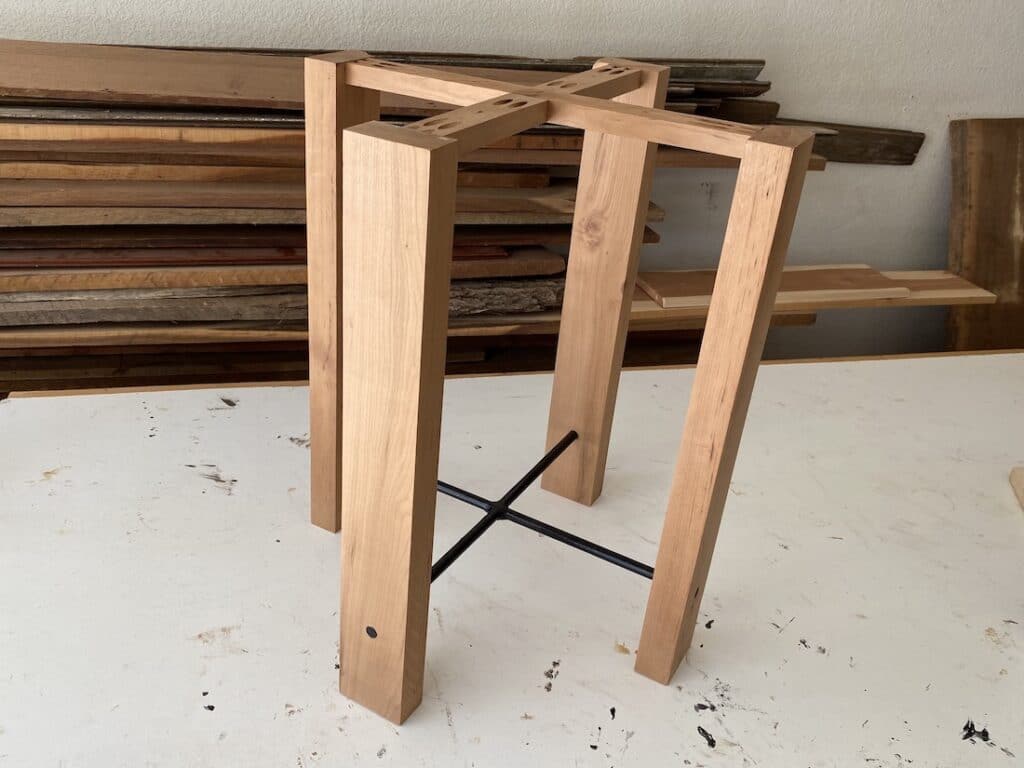
I already had the wood for the DIY round table on hand, so this table cost me around $3 in materials! This was because all I had to buy was the wood dowel. Not too bad, considering the price tag for the inspiration piece is over $1,000!
This faux metal look be replicated for so many different projects. You can do this on stair railings, on the legs of a table, or any kind of “metal” accents you want to add to your builds. There are many different ways to make wood look like steel, chrome, or wrought iron, and I will focus on the black metal wrought iron for this tutorial.
Alright, let’s dive into how to make wood look like metal!
Gather Supplies
Disclaimer: This site contains product affiliate links. We may receive a commission if you make a purchase after clicking on one of these links.
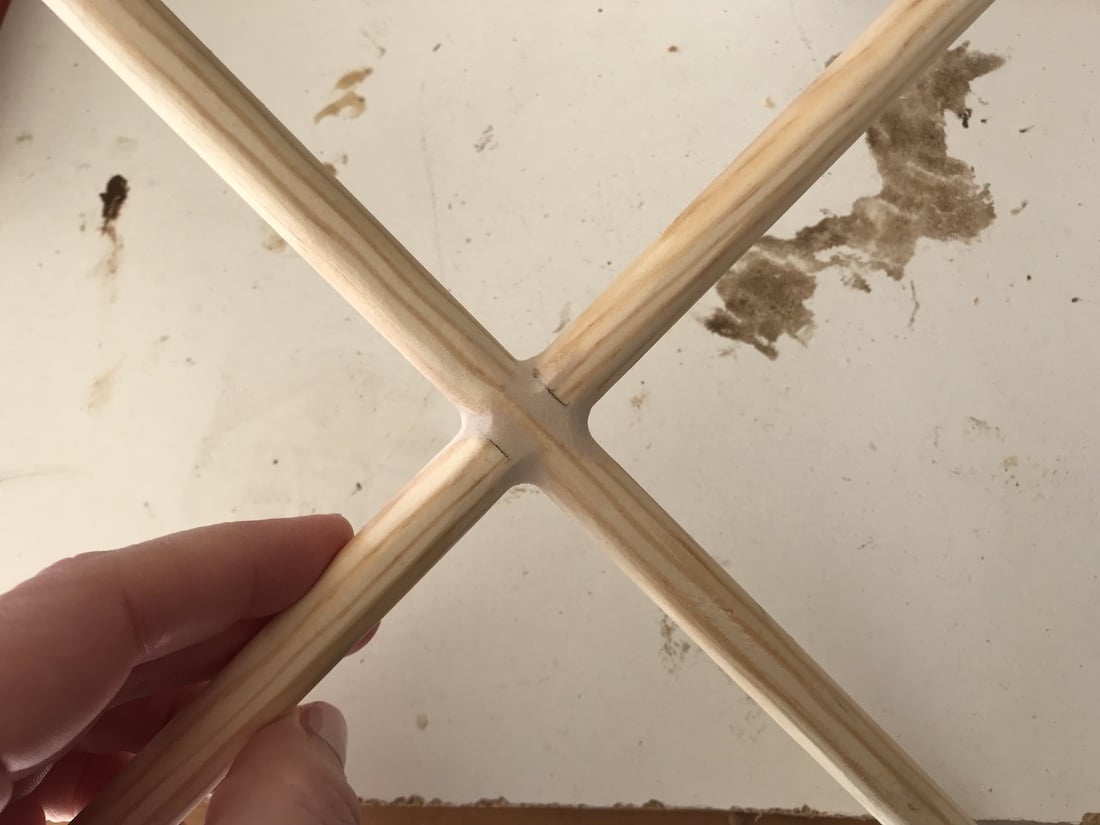
- wood (I used 1/2″ dowel rods for this project)
- primer
- sander
- faux metal spray paint
- black stain
- paint brush
- paper towels
- Crystal Clear finish spray
Step 1: Prepare the Surface of the Wood
The first step in making a metallic finish on wood is to prepare the surface. This is very important because wood grain showing through will be a dead giveaway that it is actually wood.
Give the wood a good sanding. Use 120 grit sandpaper. If your surface is especially rough to start with, use 80 grit, then use 120 grit.
Once that is done, I recommend spraying the surface with water. This process is called “water popping”. I do this on every cutting board I make.
When you spray the water, the surface will become rough again after it dries. Sand it one more time with 120 grit sand paper. The surface will now be extra smooth!
Once the wood is sanded, wipe it down with a mircofiber cloth in order to remove any dust. You can now apply the primer.
My favorite primer for something like this is actually automotive primer. This particular product is great because it is made specifically to fill scratches. So, it does a great job in filling the wood grain and small grooves better than regular primer. It gives the wood a super smooth finish that will help greatly in getting the black metal look.
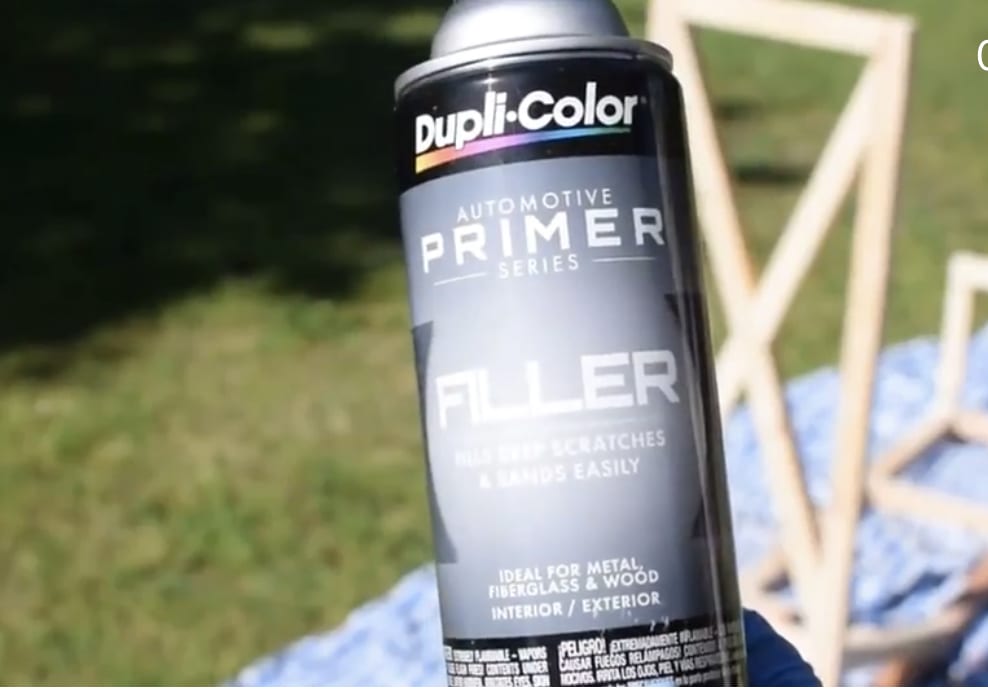
Apply multiple light coats. Allow the primer to completely dry between each coat. Repeat until the surface is completely covered.
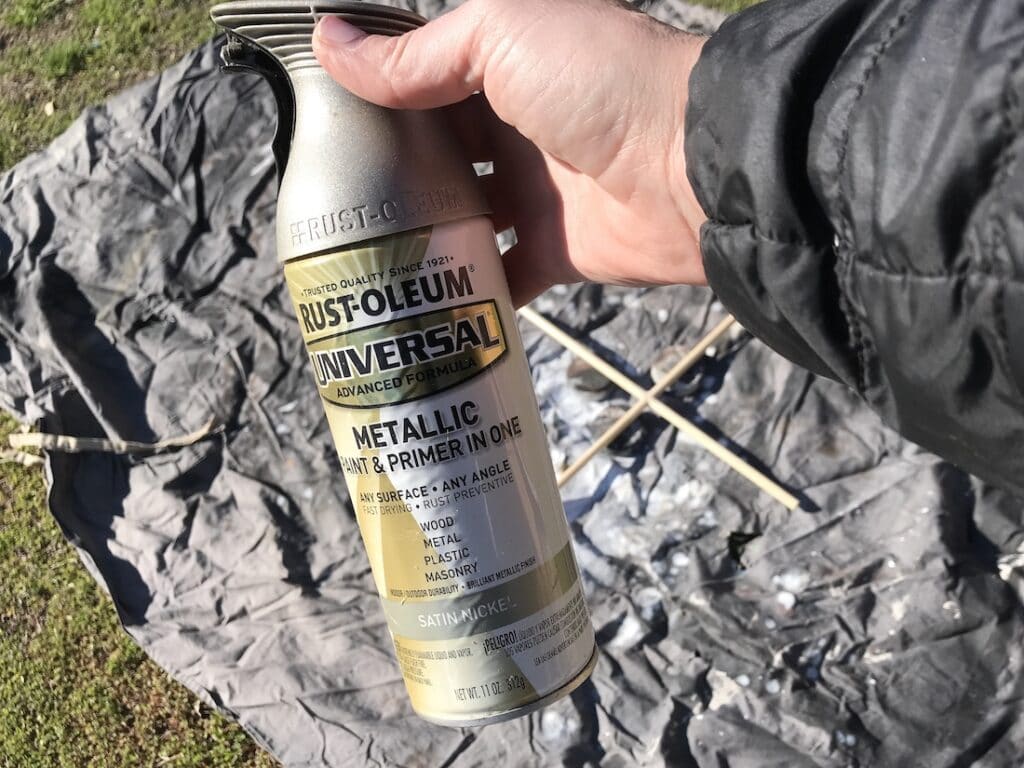
Step 2: Apply the Base Faux Metal Coat
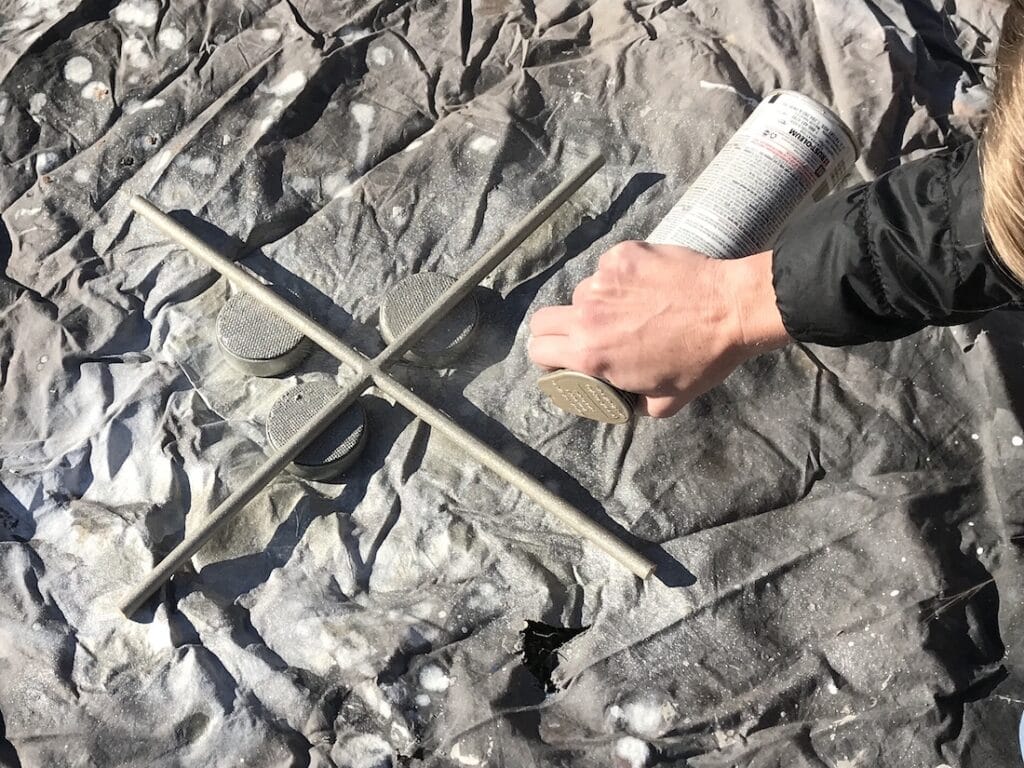
Once the surface is sanded and primed, you can now spray the faux metal finish. There are a ton of different options for metal finishes, and for this project, I chose a satin nickel finish.
It is important to spray in even strokes, about 6 inches away from your piece. Make multiple light passes. By doing light coats, you will be less likely to have drips.
However, if you do end up having drips, sand them, then apply another coat of spray paint.
Allow the paint to completely dry between the coats. Apply as many coats as needed to fully cover the piece.
Step 3: Apply the Dry Brush Finish
This step is where the magic is done to create a believable metal finish! This step will use a dry brush finish, which is similar to a finish I did on a dresser makeover.
To start, dip your paint brush into the black stain.
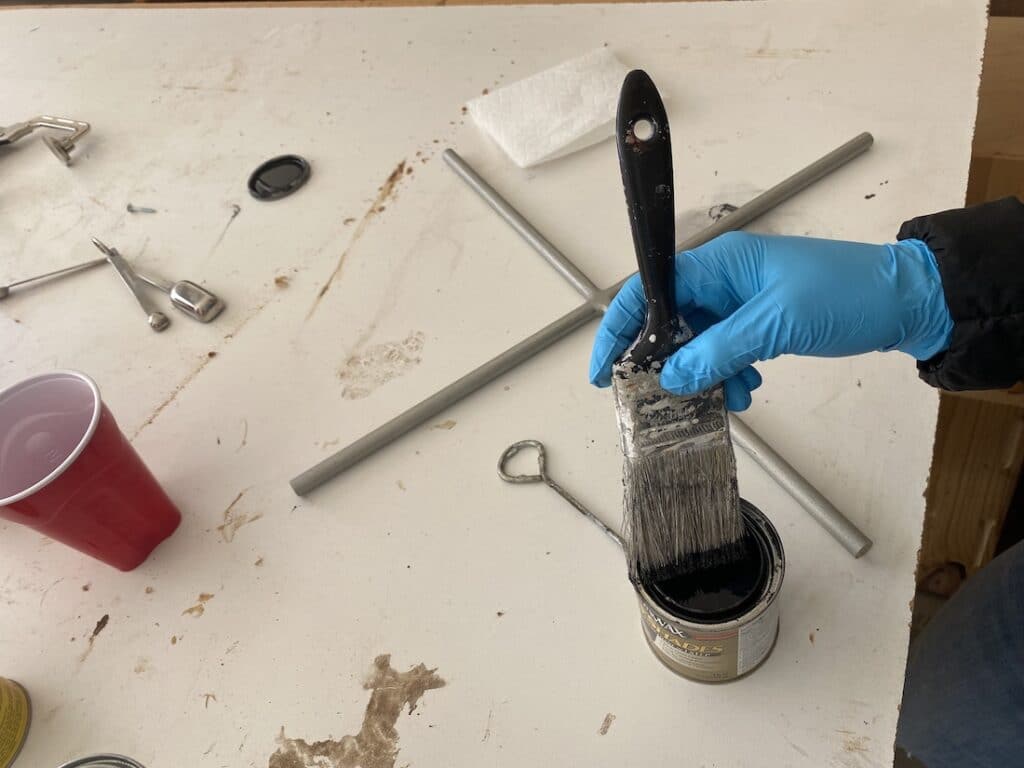
With a paper towel close by, wipe off most of the stain from the brush. You won’t be able to remove all of the stain, but you don’t want to. You will want a light coat of stain on your paint brush.

Then, lightly brush over the wood piece with the remaining stain on the paint brush.
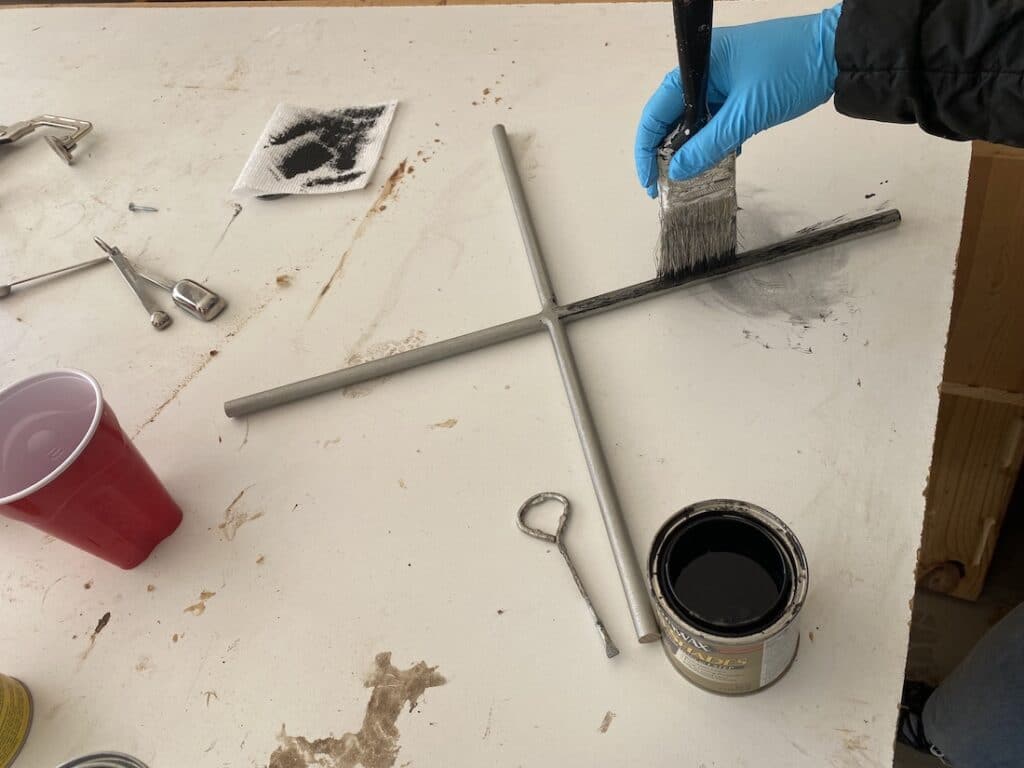
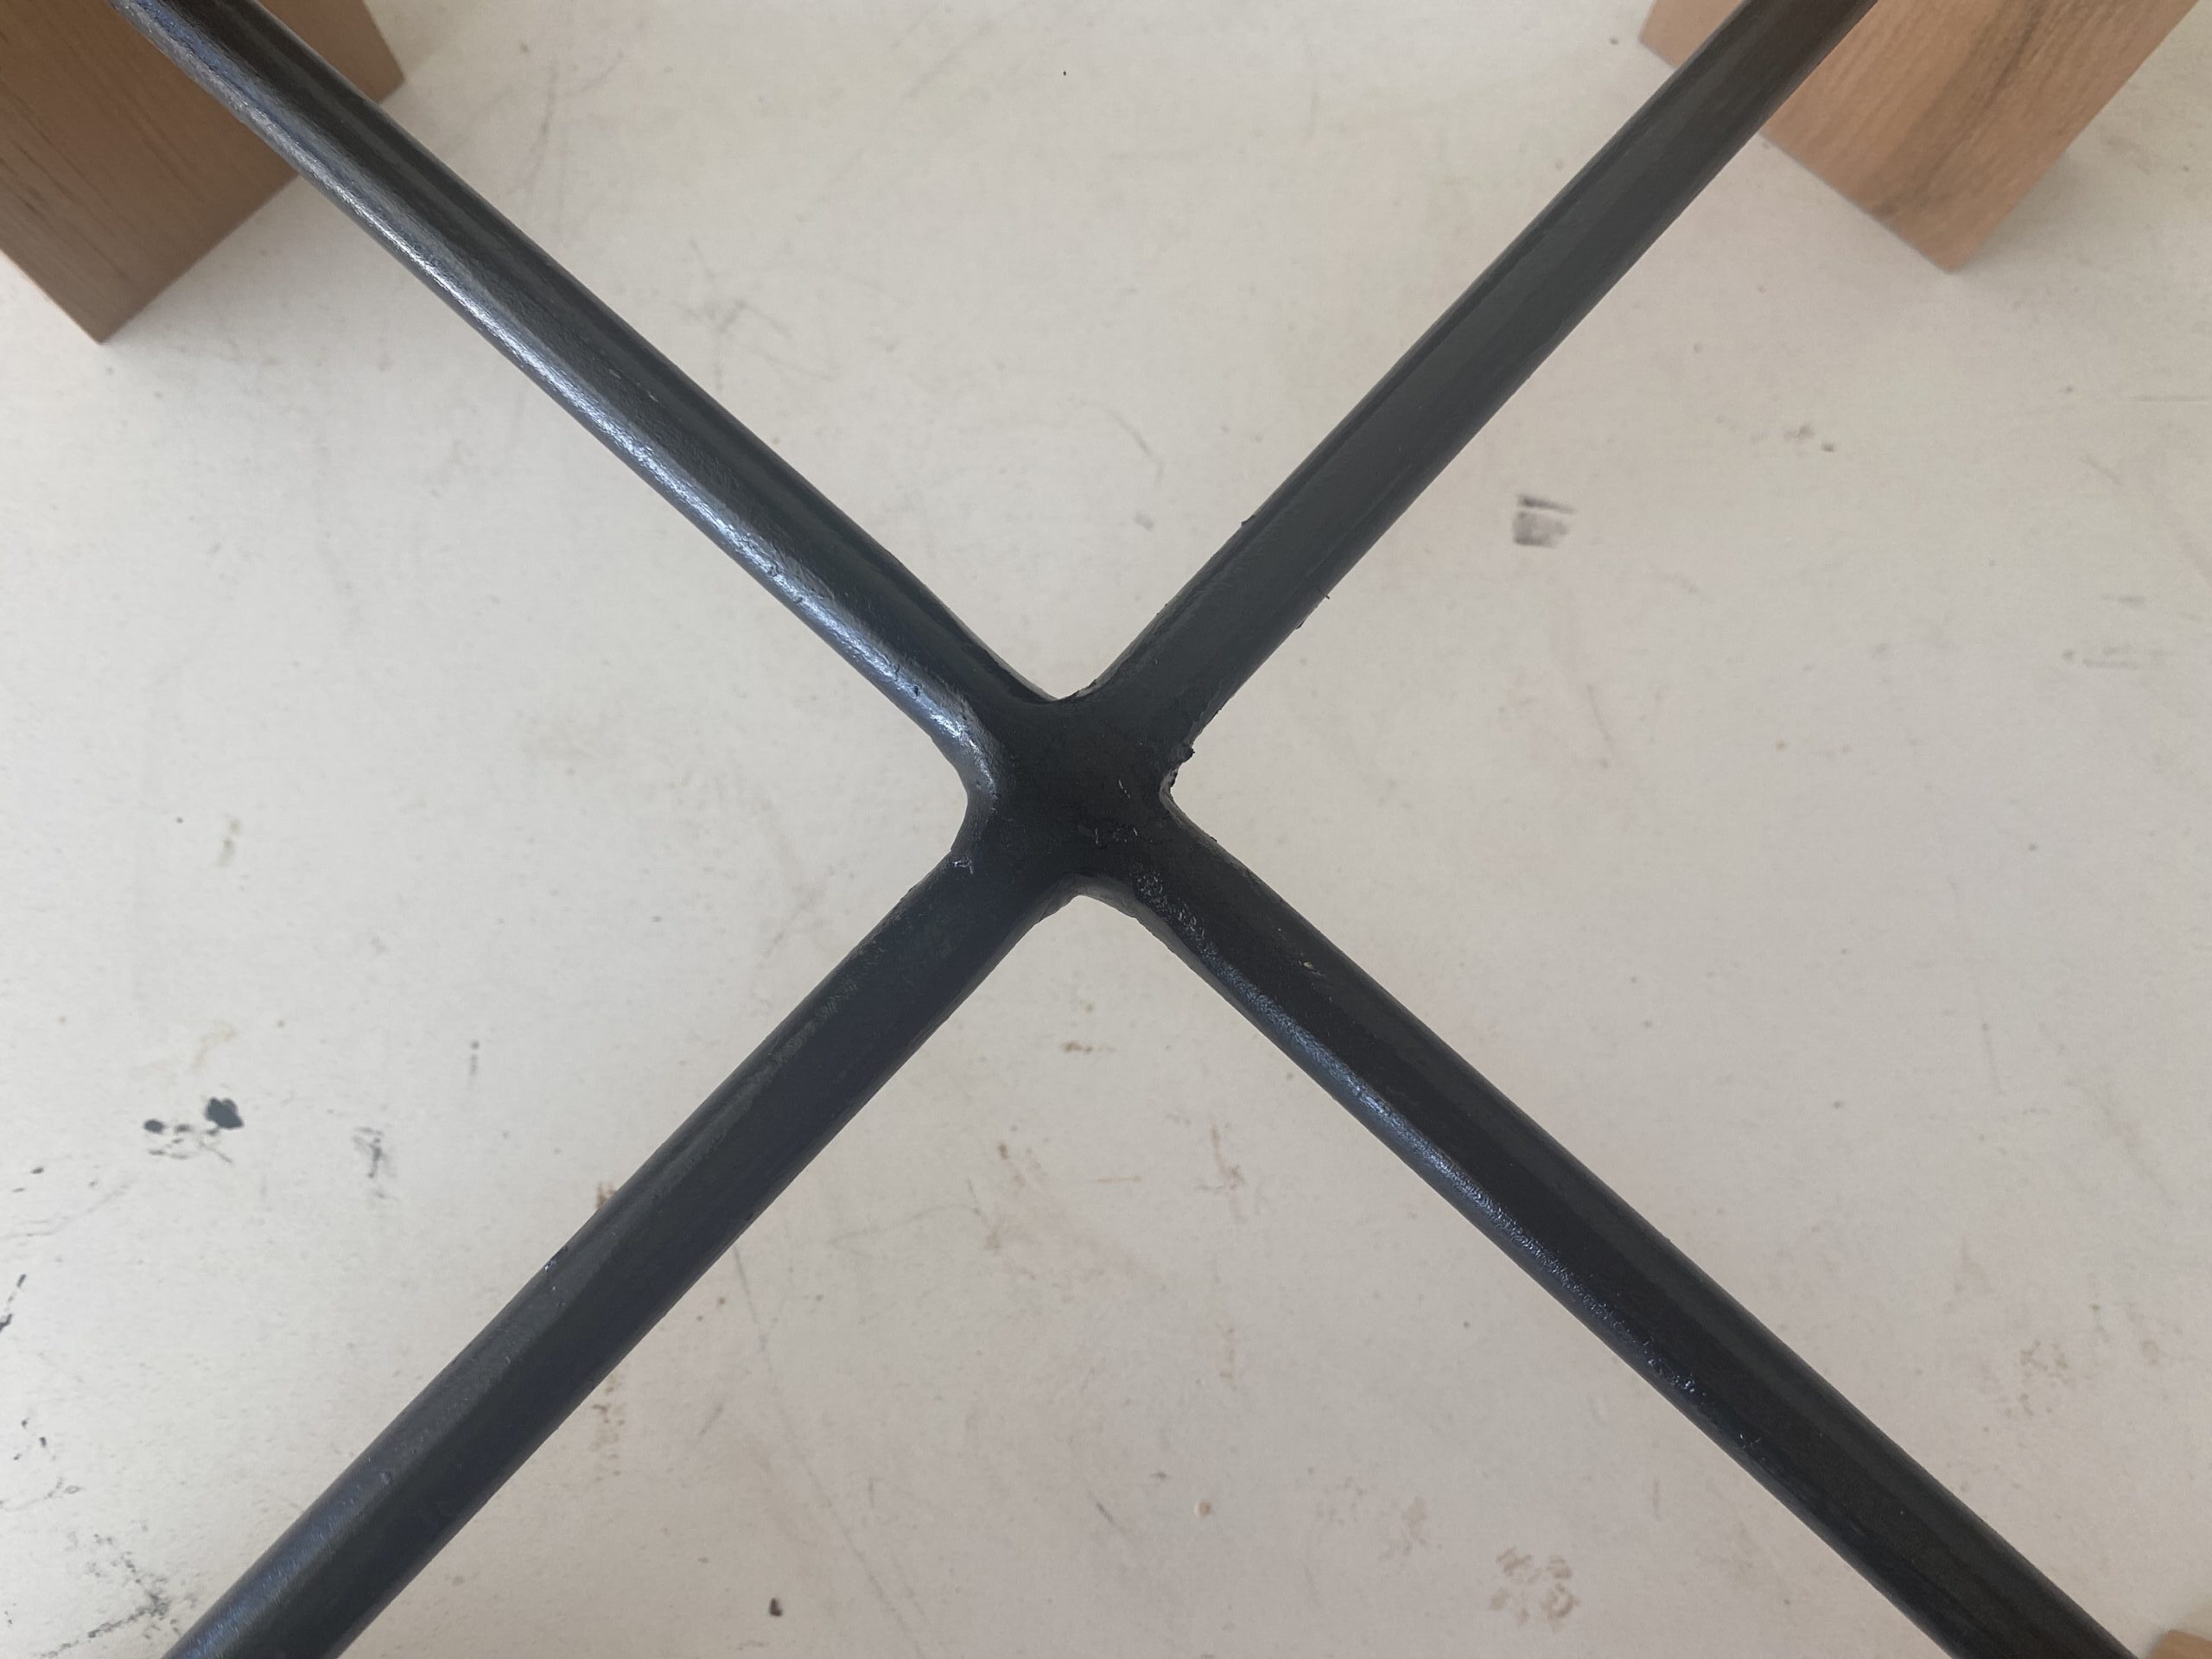
Apply as many coats as needed to darken the piece to your preference. This is after one coat.
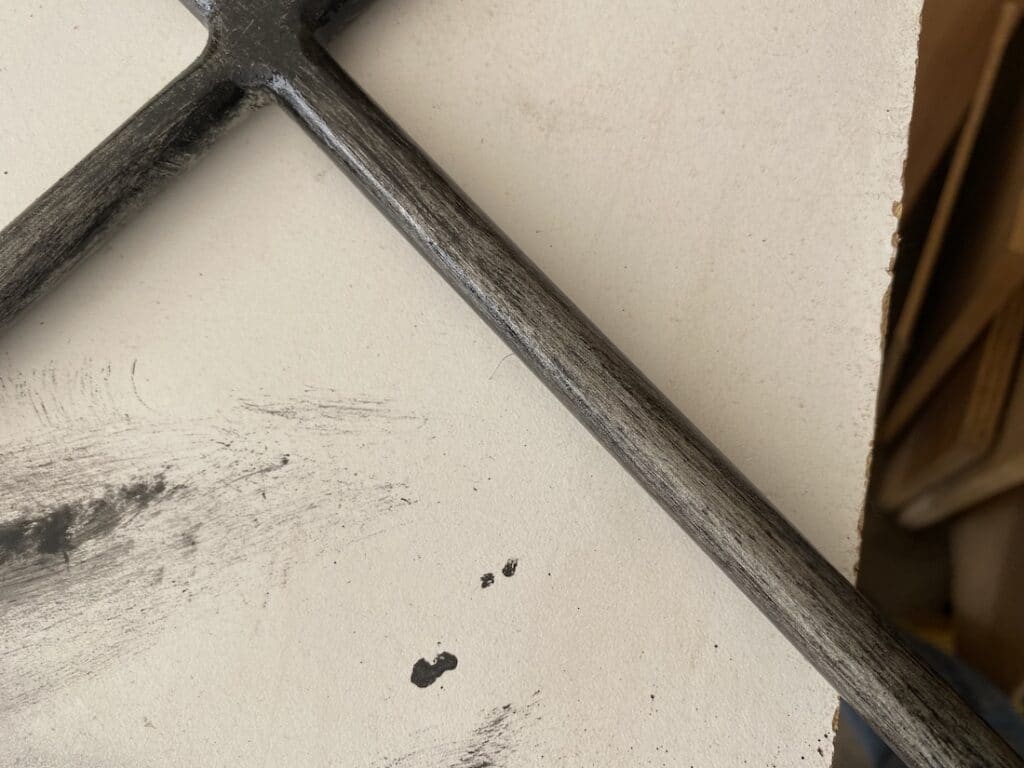
I really like the look of this so far. However, since I was duplicating the look of a specific table with dark black metal rods, I did 3 coats. Here, you can see how dark I went when it was finished. It’s hard to tell from this picture, but you can still see some of the metallic spray paint showing through.
If you’re interested in another faux finish, check out this post on how to make an aged faux stone pottery finish on a lamp!
Step 4: Apply the Finish
In order to sell the look of metal on wood, you need to have the correct sheen on the “metal”. The product that I have found that mimics this metal look best is this Crystal Clear Acrylic Coating made by Krylon.
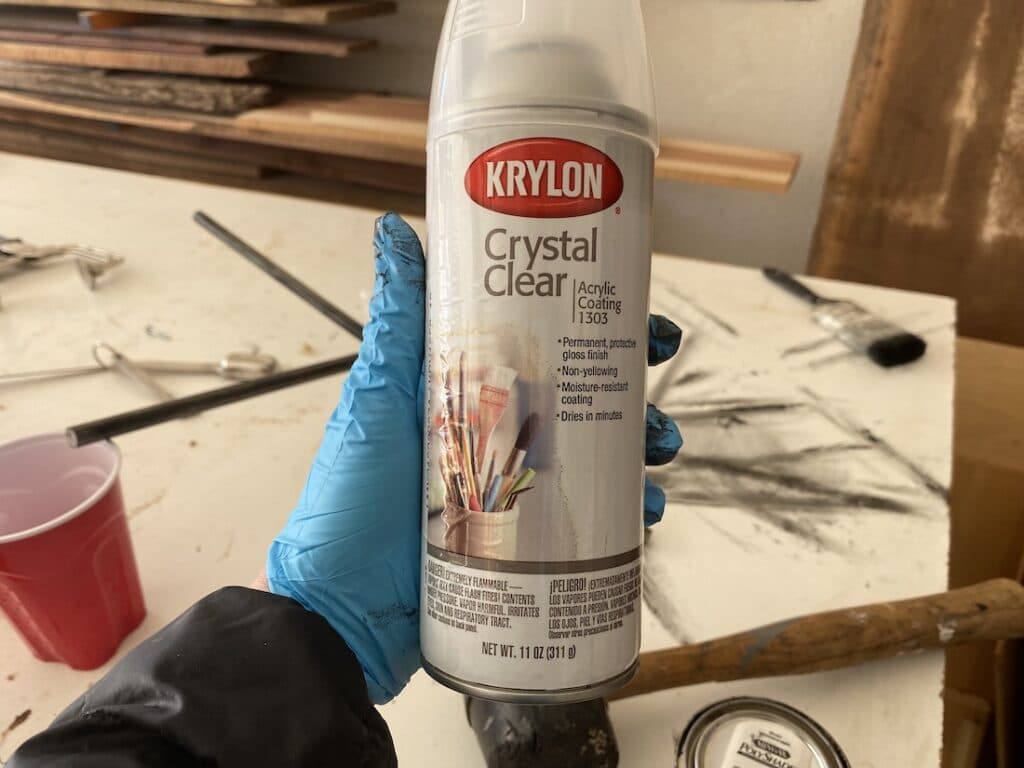
This is also an important step in order to protect the finish so it doesn’t chip. Apply a couple thin coats, letting it dry completely between each coat.
And that’s it! A super simple process to create a black metal look on wood. As always, let me know if you have any questions and I’ll do my best to answer them!
Check out the web story for how to make wood look like black metal here!

Suzie Wible
Suzie has shared her knowledge for over 10 years about building furniture, painting techniques, how to build your dream home, and basic to advanced woodworking skills. Through this blog, readers will feel empowered to create a home and products they love too.