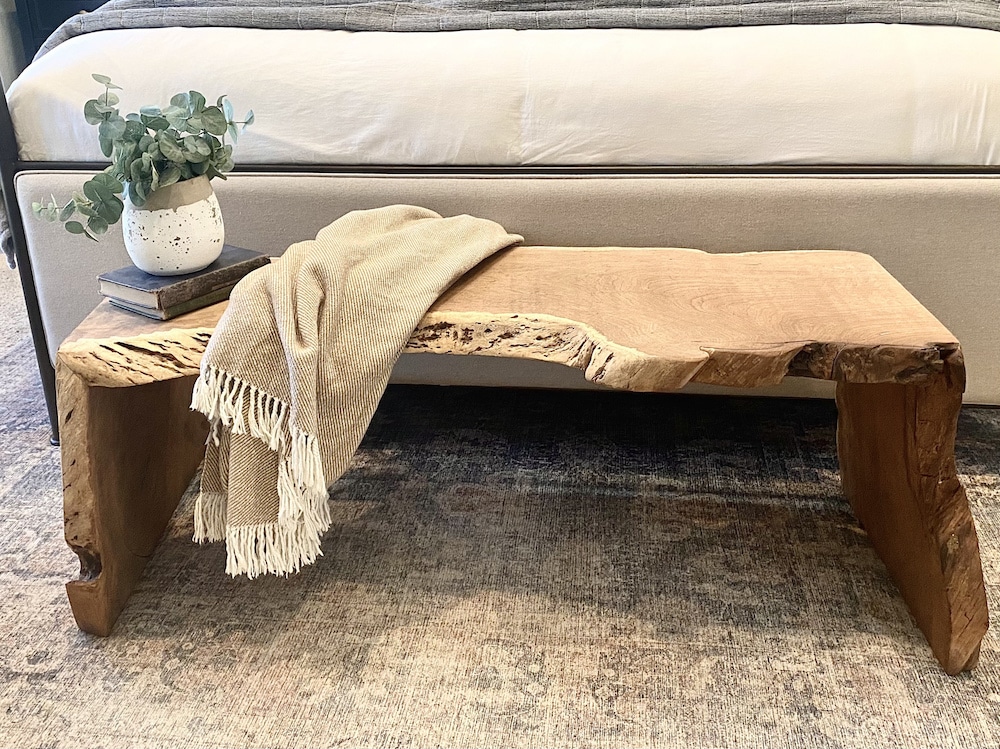
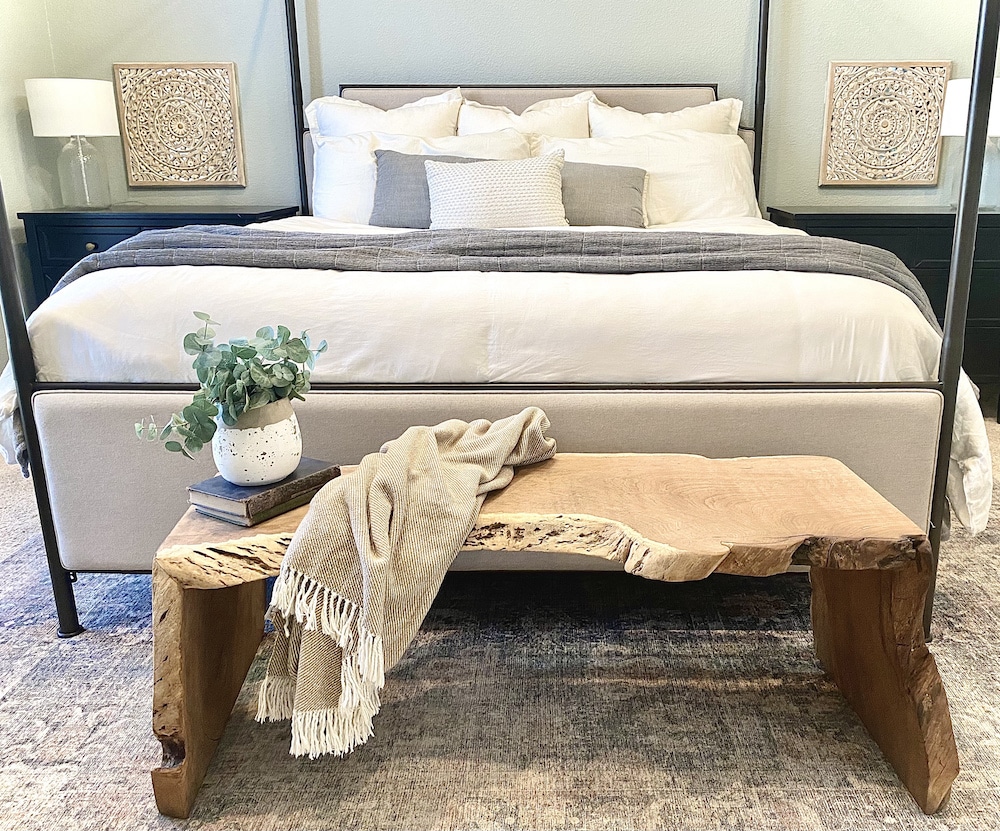
How to Make a Live Edge Waterfall Bench in 6 Steps
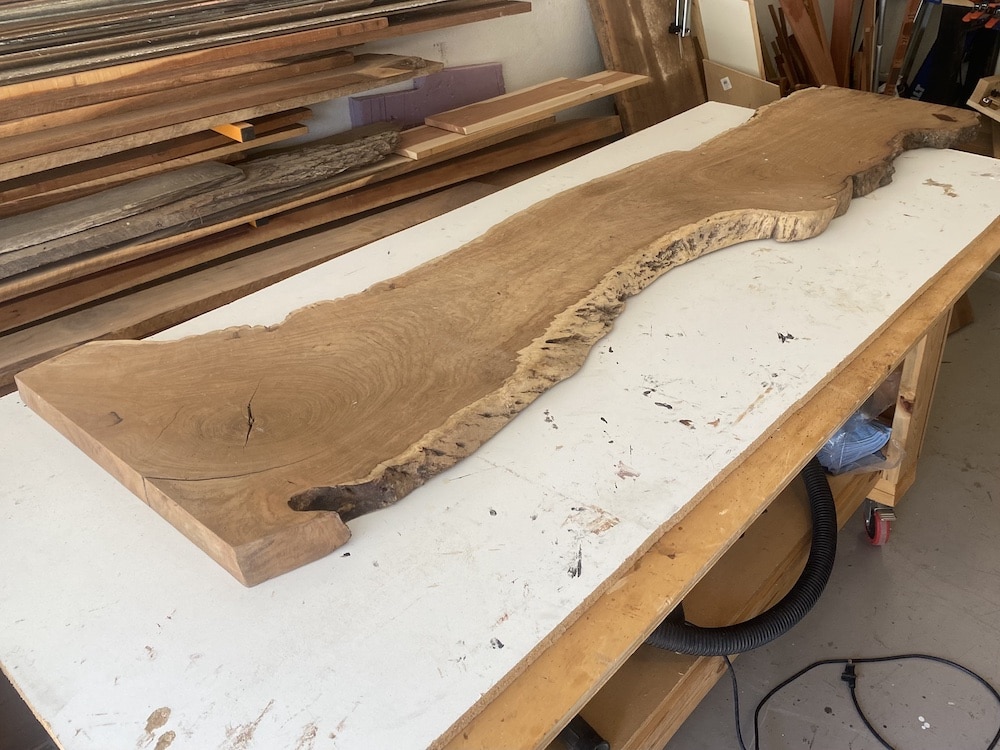
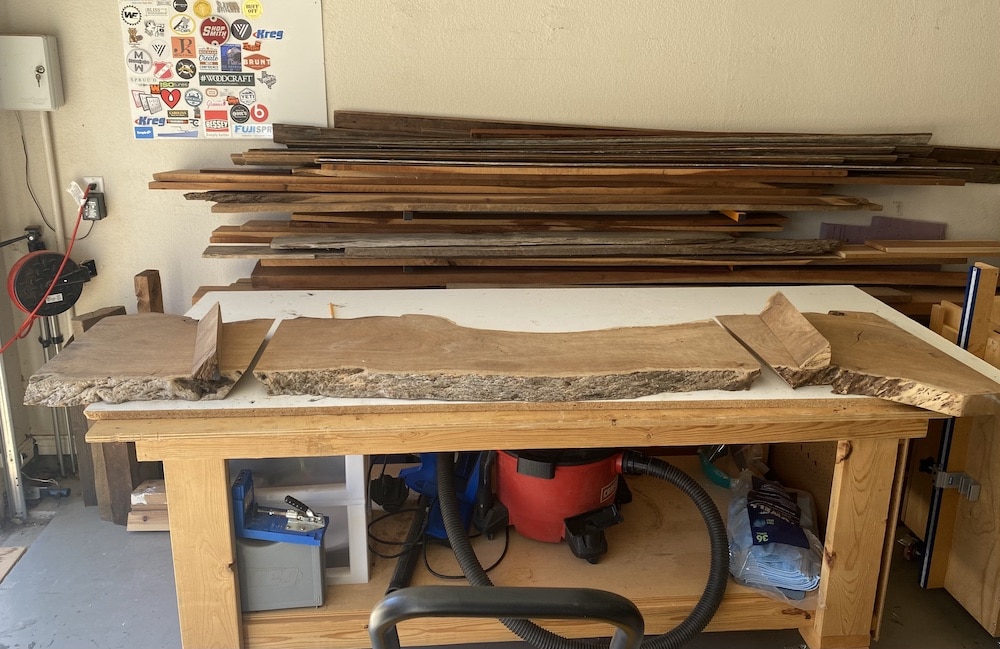
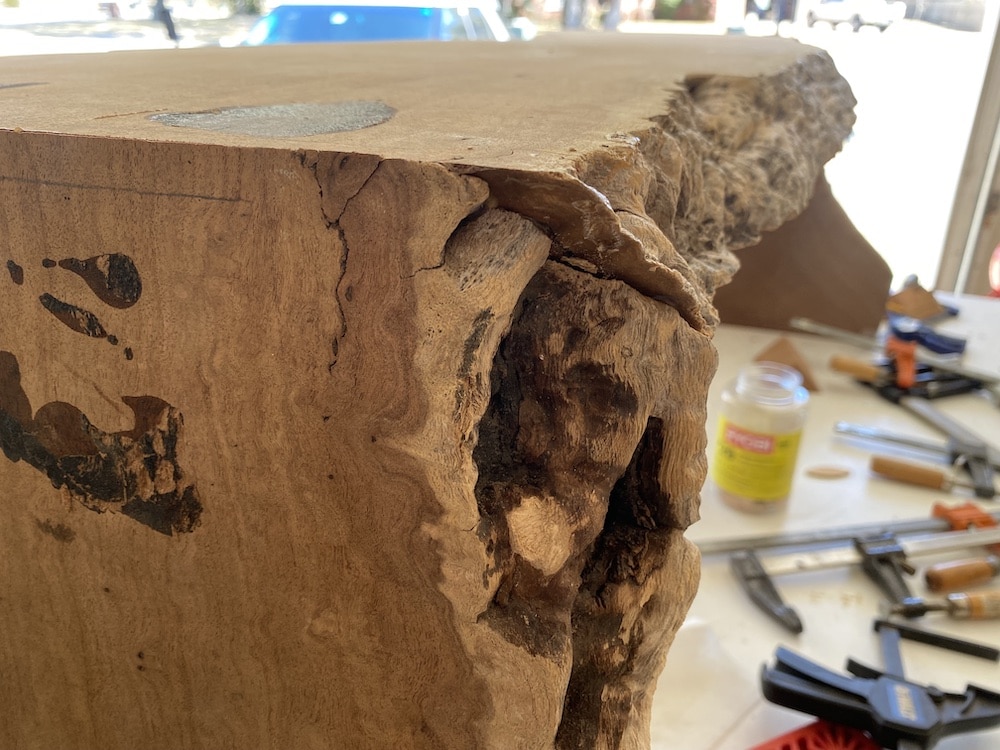
I was recently given this 7 ft long double live edge mesquite slab from a friend. She rescued it out of a trash pile (!!!) and was so kind in giving it to me. I knew I wanted to build a live edge waterfall bench out of it.
Given that it’s so wide, there was ample space to create a mitered waterfall edge on both ends of the bench. A mitered edge joint is actually pretty simple to create. This style of waterfall furniture would make a great coffee table as well. In this post, I will cover how to cut a waterfall edge joint, how to clamp a waterfall joint, and some tips and tricks for getting a tight miter on a waterfall edge.
A live edge slab creates such a unique piece of furniture. I will also cover some tips to creating a clean corner on the edge joint when you create a waterfall feature in a live edge slab. This same process can be used for cleaner lines, like when you are creating a waterfall on pieces that aren’t live edge.
Q: What is a waterfall edge joint in furniture?
A: A waterfall edge joint in furniture is a continual flow in the wood grain down a mitered edge and 90 degree angle.
Material Needed to Create a Live Edge Waterfall Edge Bench
Disclaimer: This site contains product affiliate links. We may receive a commission if you make a purchase after clicking on one of these links.
- Live Edge Slab
- Track Saw and Track
- Wood Glue & Glue Brush
- Biscuit Joiner
- Ruler
- Clamps
- Miter Saw
- Sander
- CA Glue
This 7 foot mesquite slab is HEAVY. Mesquite is very high in surface hardness and density, even compared to other hardwoods.
So for that reason, it’s important that if you are working with a species like mesquite to have very sharp blades on your tools. Make multiple shallow passes when you are cutting. Even though this takes longer, it is safer and your saw blades will last longer.
Step 1: Measure the Legs of the Bench
Standard bench height is around 18-20 inches. Since I wanted to save as much sitting room as possible, I marked the cut for the legs at 18.5″.
This allows me 1/2″ of room to work with when I’m making my cuts and I will still have an 18″ tall bench.
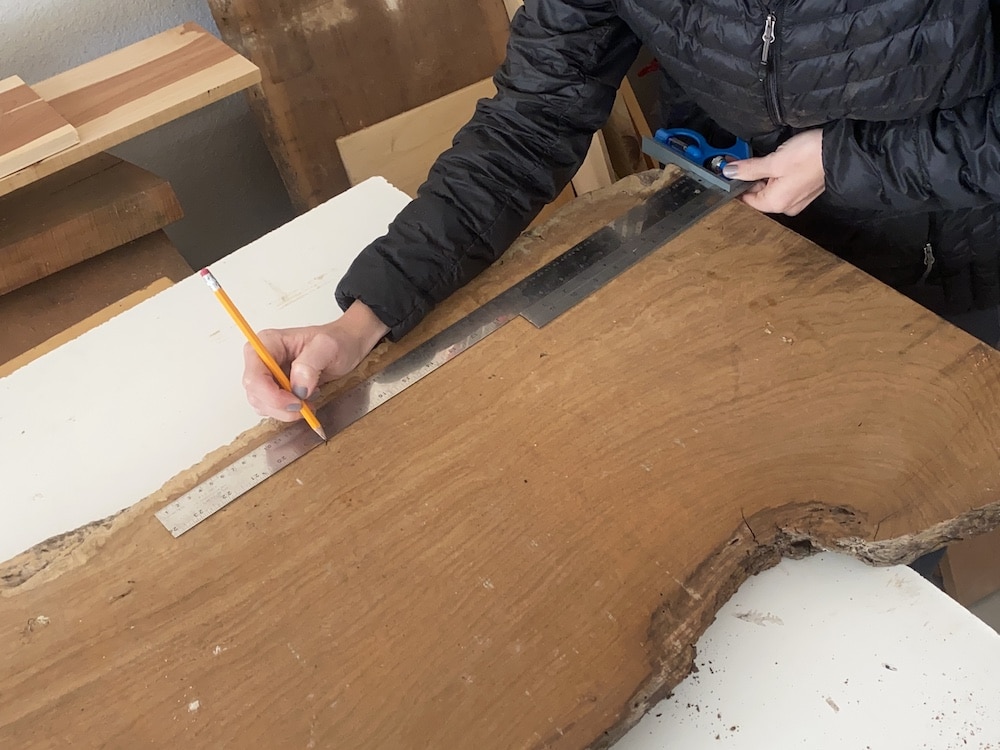
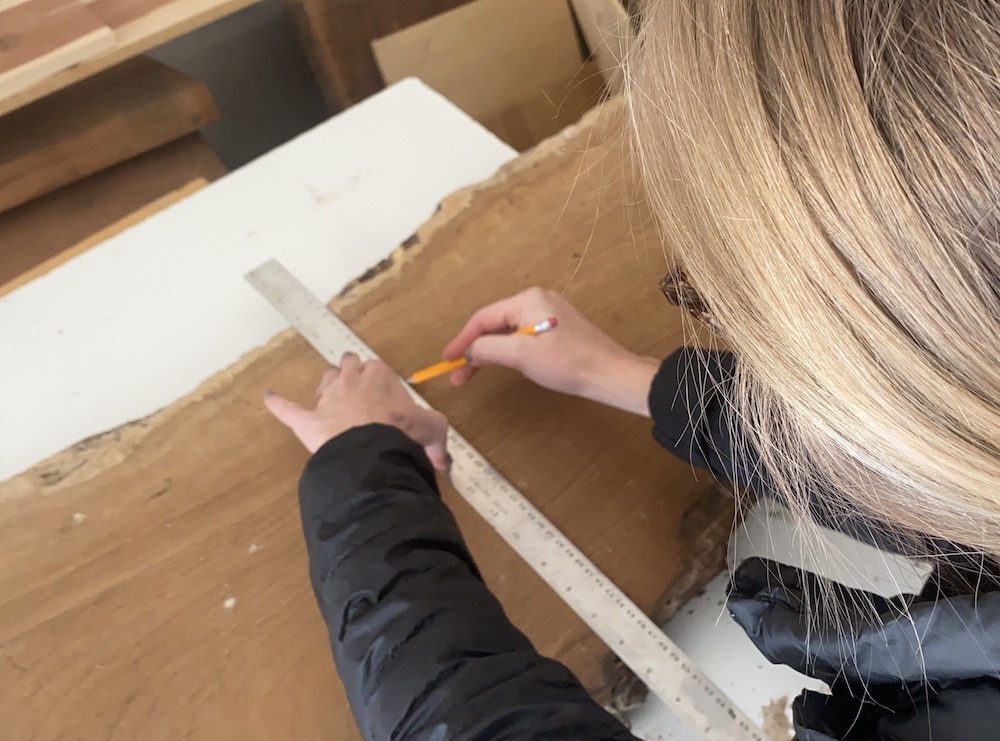
Draw a straight line across the live edge slab at your desired bench height. This will be where you make your first cut.
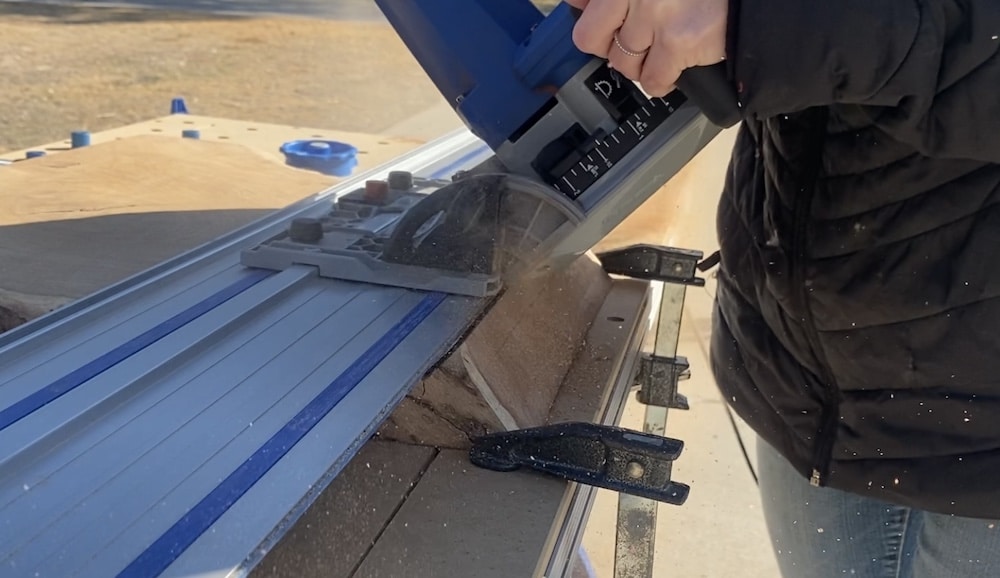
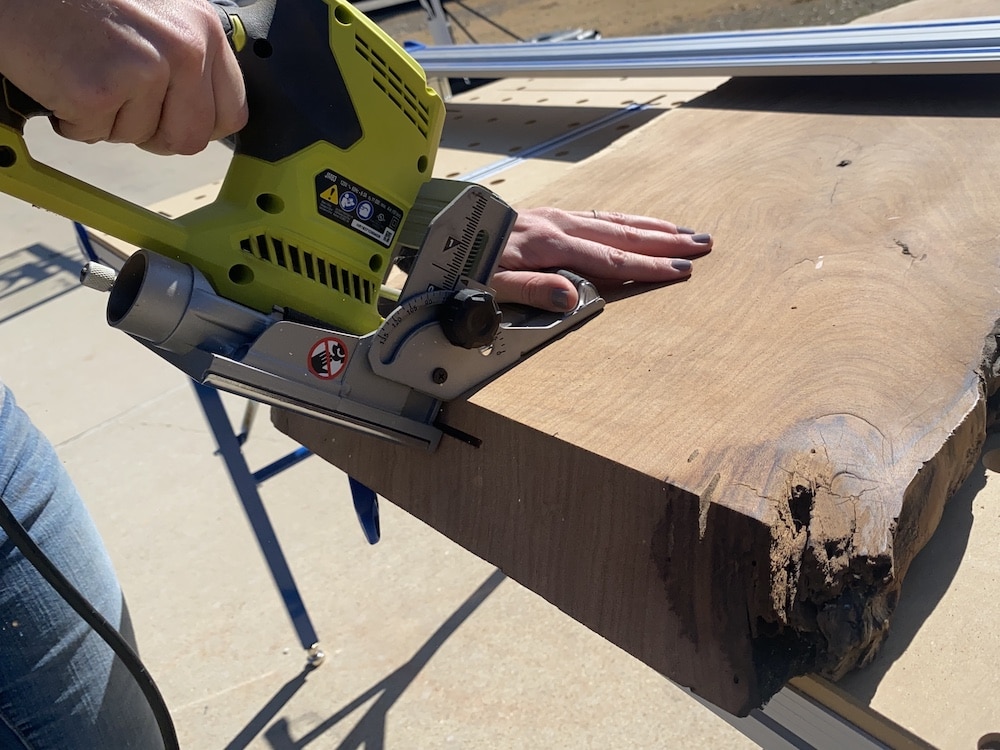
Step 2: Cut the Miters
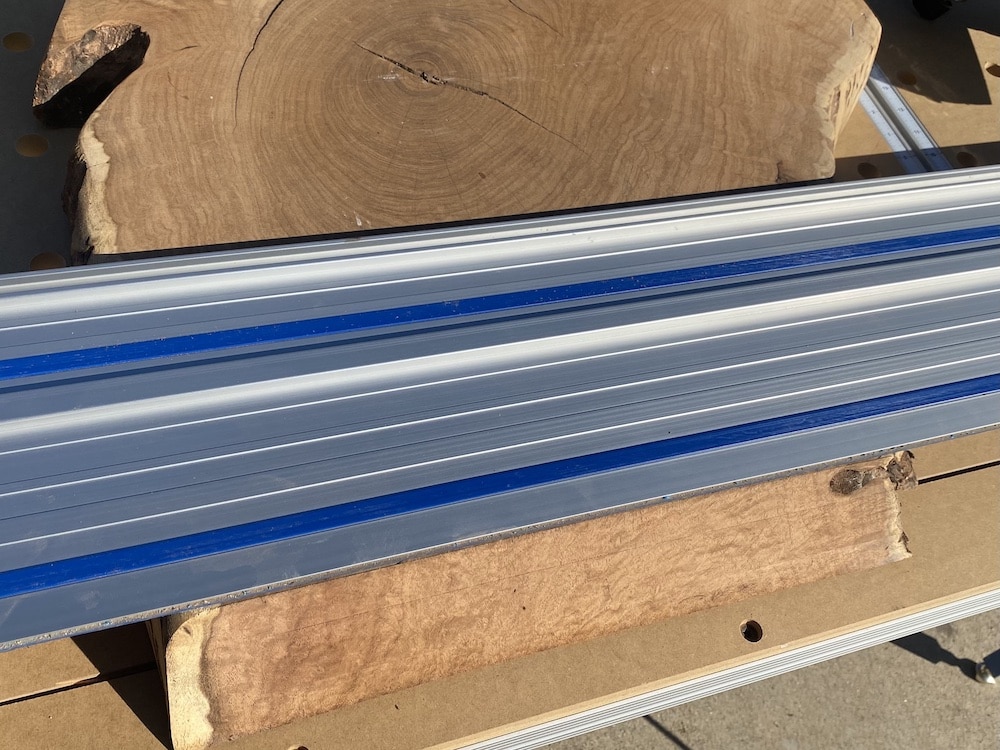
The track saw system I am using is the Adaptive Cutting System. In my opinion, a track saw and track works best for this type of cut. It is the most stable, and it allows you to quickly and easily make multiple shallow passes.
Tip: For a more detailed tutorial of this step, check out how to Cut a Wood Waterfall Edge Corner Joint.
Learn how to use the Kreg Adaptive Cutting System in this tutorial for how to make an outdoor wooden doormat. You can find a complete review on the Adaptive Cutting System Master kit here!

Tip: If your slab isn’t perfectly flat, you can use a router slab flattening sled to surface it.
Align your slab so that the line you just drew is flush with the track.
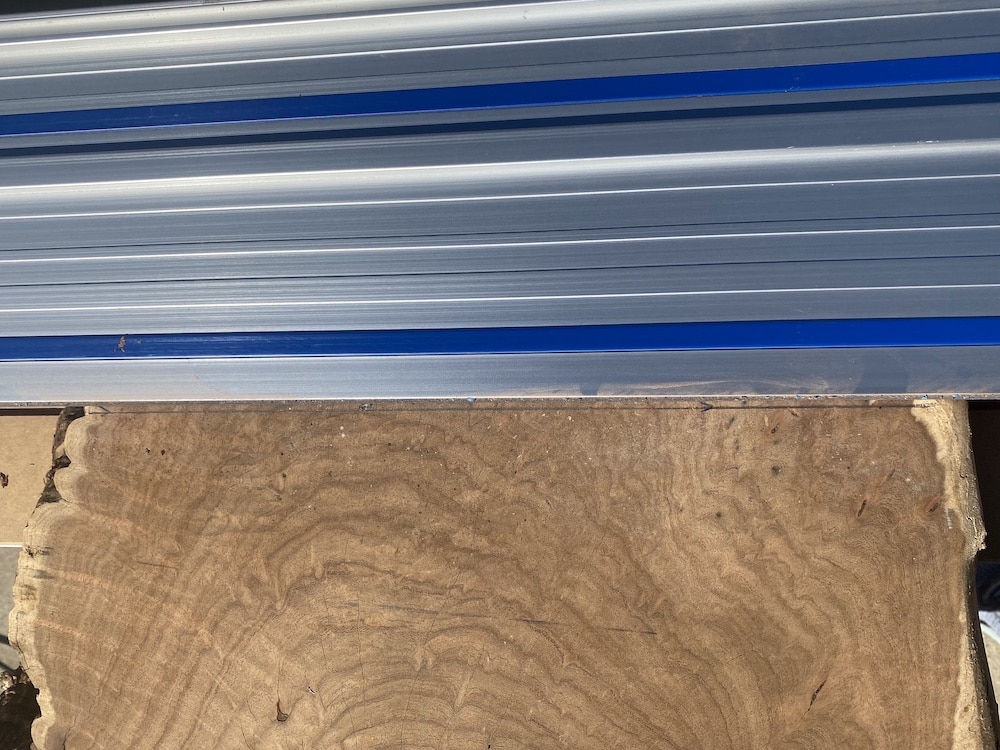
It is very important to clamp your slab down before you make the cuts. Not only is a safer, but since you will be making multiple shallow passes, the end result will be much cleaner if the slab never shifts.
If you have dog holes in your workbench, these my favorite clamps.
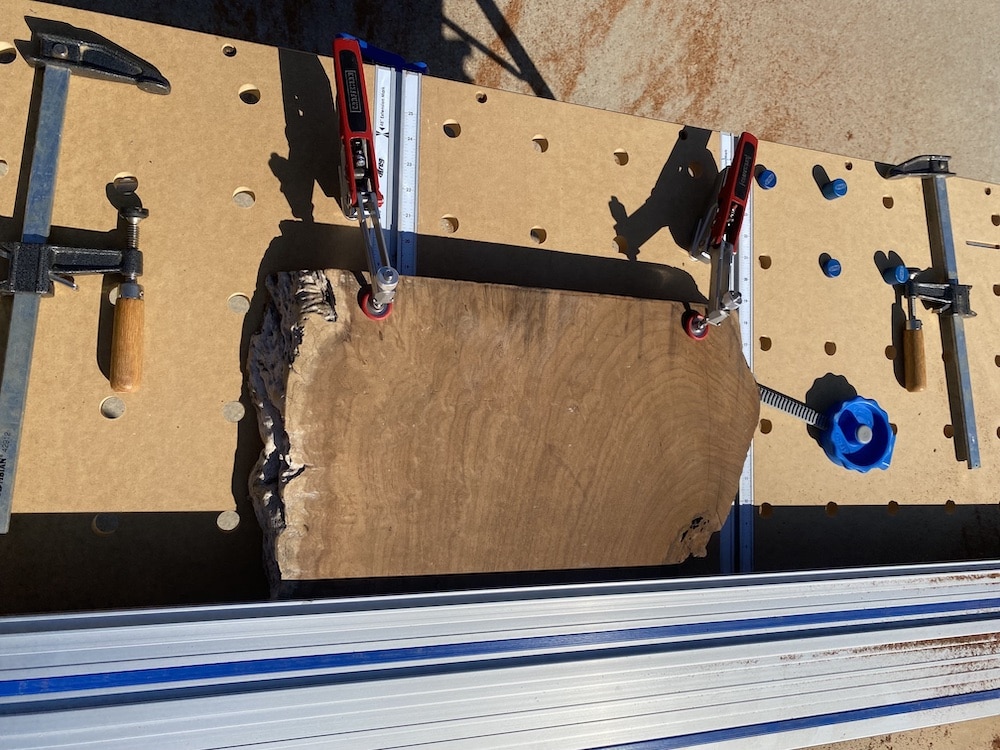
Now that everything is clamped well and your slab is lined up with the track saw, cut the wood at a 45 degree angle.
This is how it will look when you are done cutting the first miter of a waterfall edge joint.
Related: For a similar project idea, check out this live edge concrete and wood dining table, this DIY mudroom hall tree build, and this upholstered sitting bench.
Take the leg you just cut and put it back to the track. Angle it as shown.
Line it up to where the blade will hit right at the original cut line, although it will cut at an alternate 45 degree angle.
Clamp your piece well again. Cut another 45 degree angle, in an opposite direction of your first cut.
Remember to make multiple shallow passes.
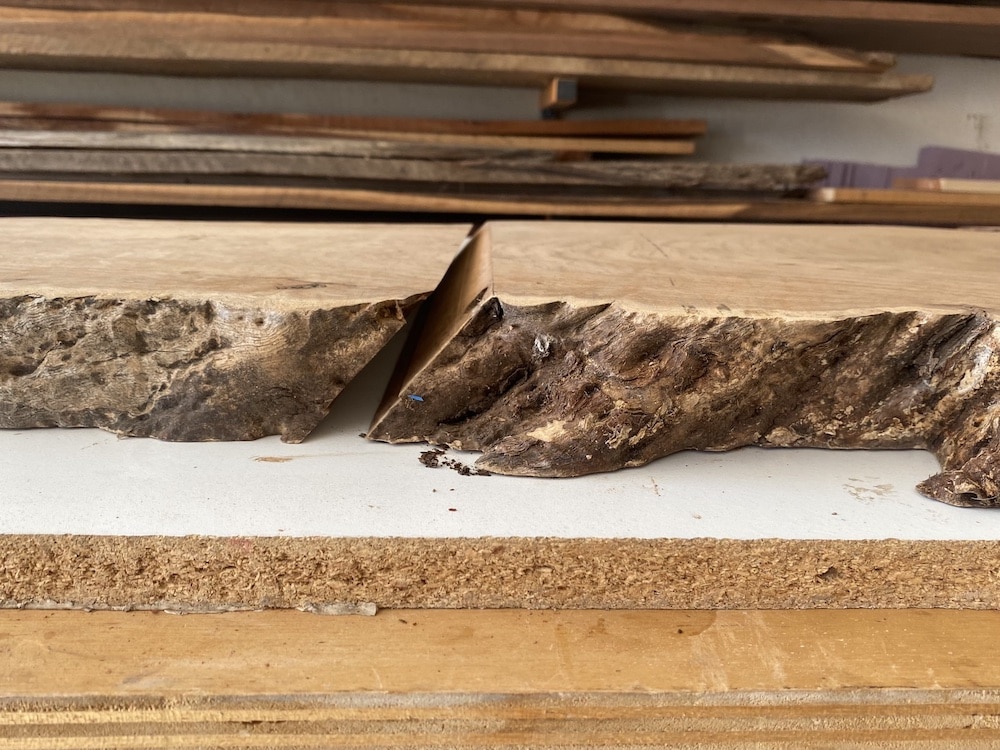
When the slabs are flipped upside down, this is how your joining angles will look.
Important: Save the off-cut from the mitered angles. You will use these later!
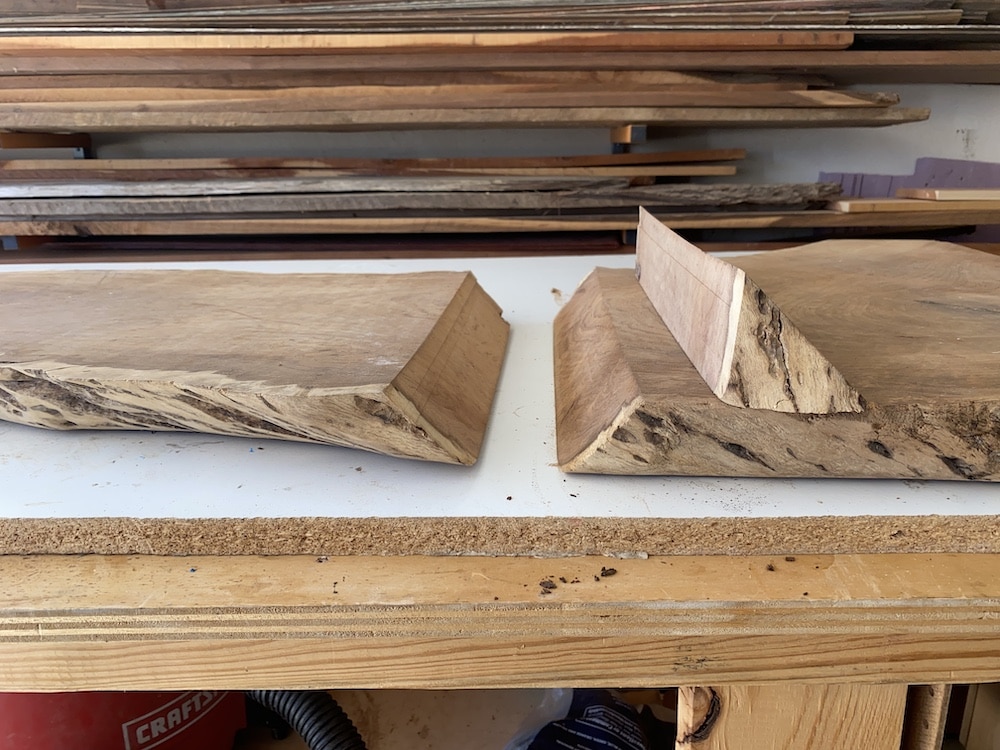
You can now do a dry fit to see how the miters align to create a 90 degree angled leg.
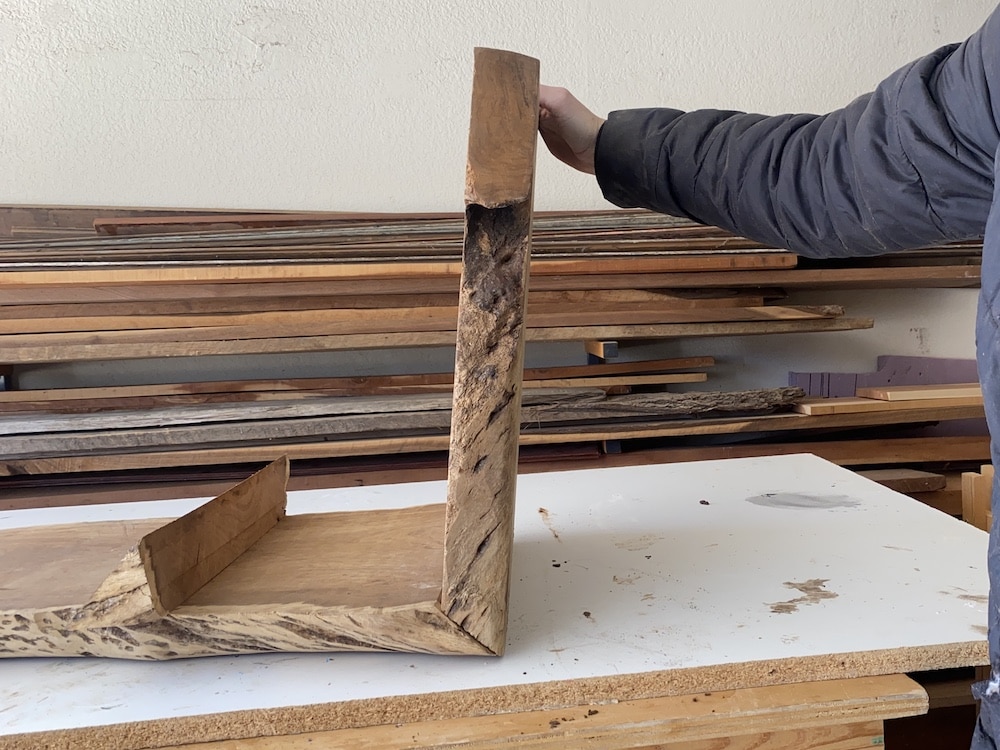
When flipped back over, this is what your angles will look like.
Repeat the previous steps for the other side.
Remember to keep both of the angled off cuts!
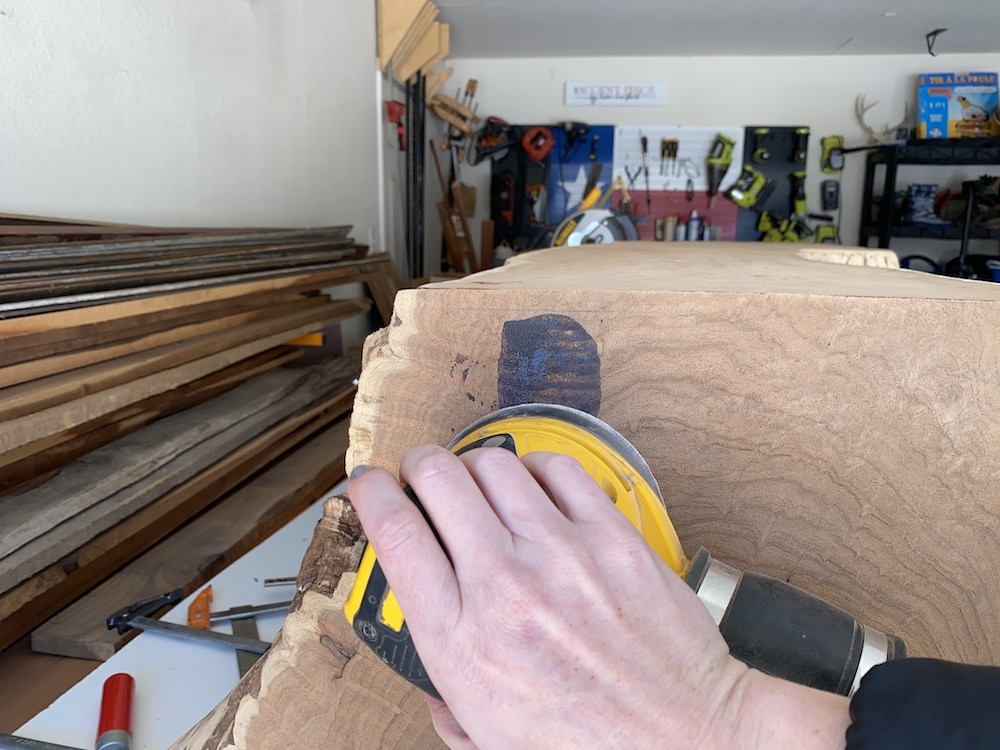
Step 3: Sand
I find it’s easiest to sand the piece before it’s assembled.
Related: If you have a smaller live edge piece, you can make a live edge charcuterie board!
I started with an 80 grit sandpaper and sanded all of the surfaces. Then, I moved to a 120 grit sandpaper to make it extra smooth.
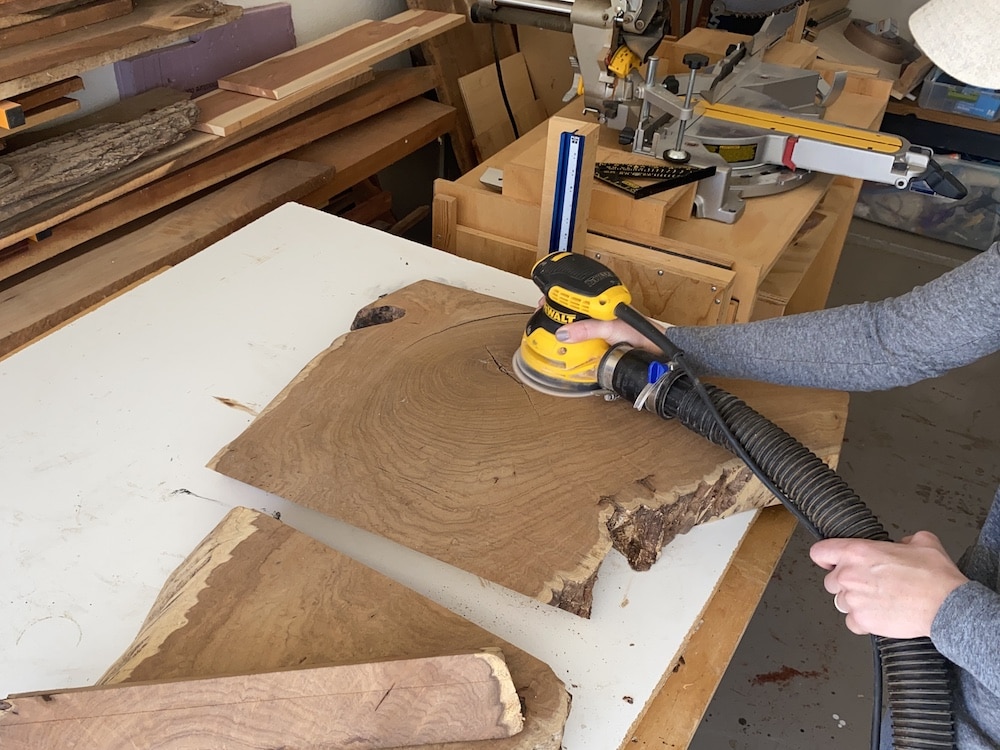
In order to clean up the live edge, I found this drill brush attached to my drill to be very helpful in getting in all of the nooks and crannies of the live edge.

Step 4: Drill Biscuit Holes
Lay out all of the biscuits you will use. Mark on both boards where your biscuits will be added.
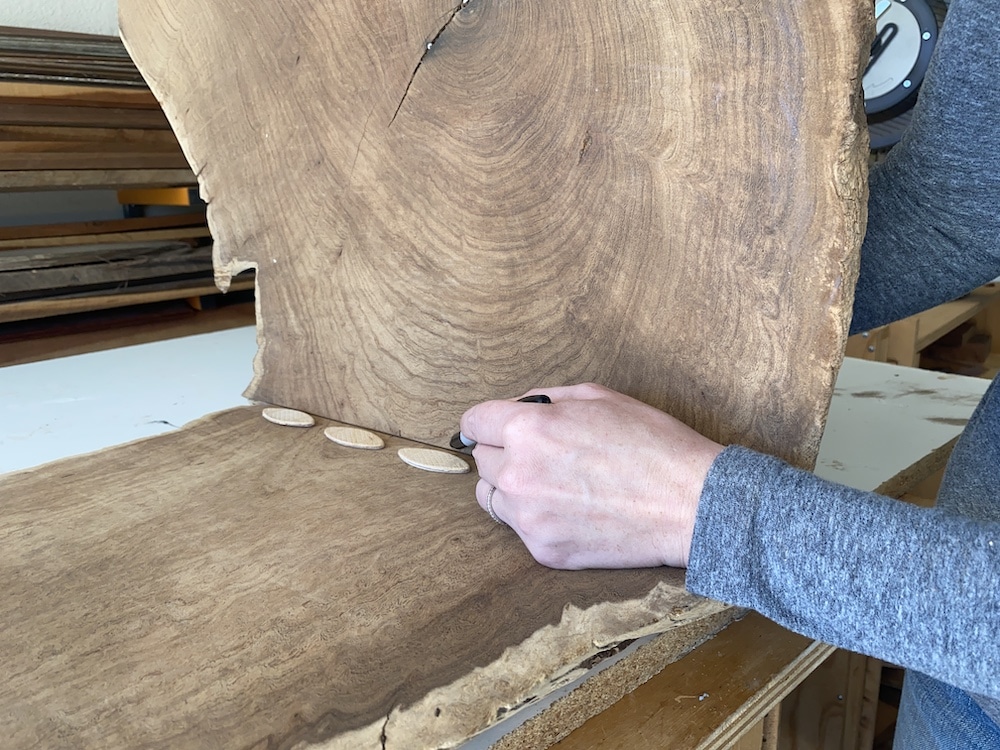
A stronger joint would be to use a domino joiner. I don’t have one, so biscuit joinery will just have to do. (Spoiler: The edge joint is plenty strong with just biscuit joinery. A domino would be nice, but is not absolutely needed for this.)
Drill the holes for the biscuits in all 4 edges.
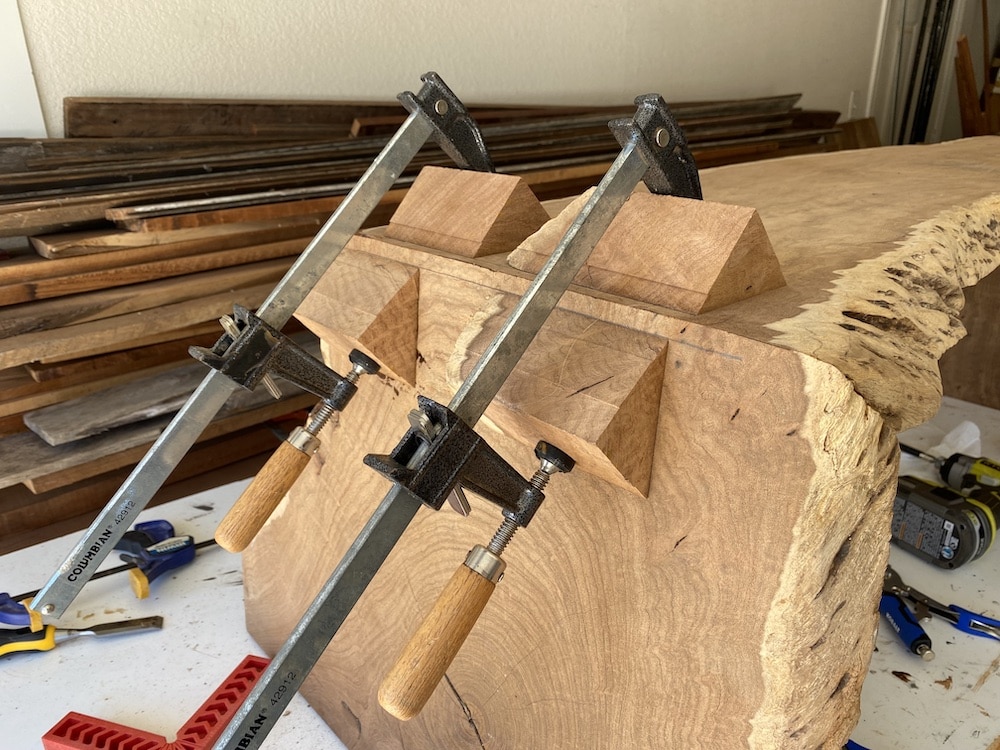
Step 5: Make the Cauls for Clamping
Q: How do you clamp a waterfall edge table or bench?
A: Due to the nature of 90 degree angles, it can be difficult to correctly clamp a waterfall edge. You can make cauls from the off-cuts to correctly clamp this angle. The cauls will apply the correct placement of pressure when clamped.
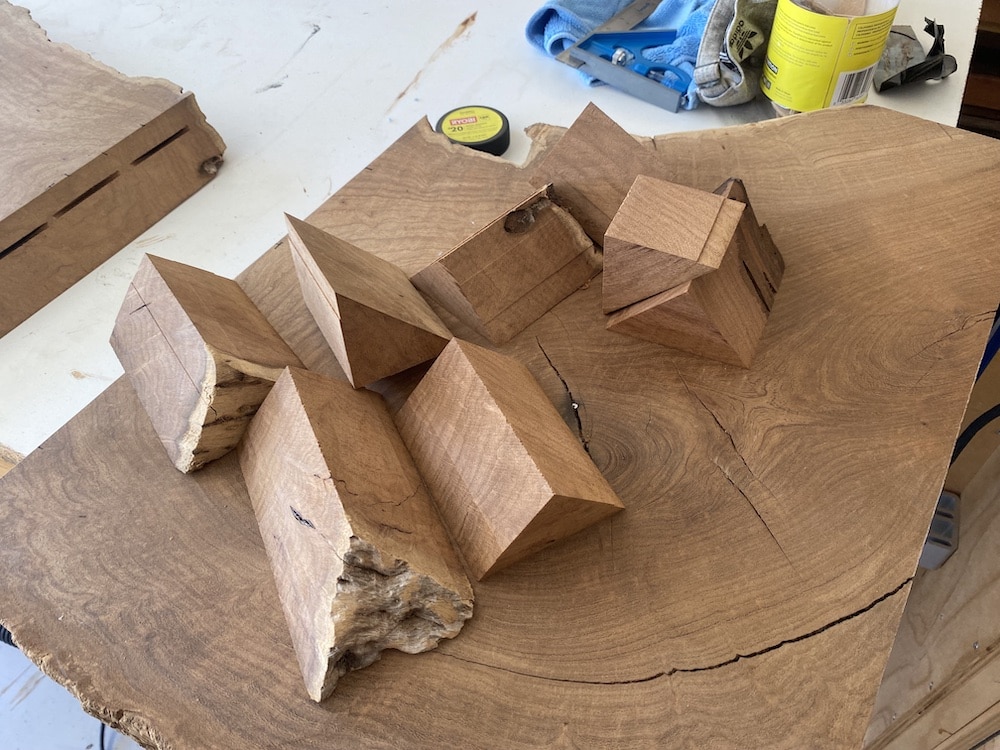
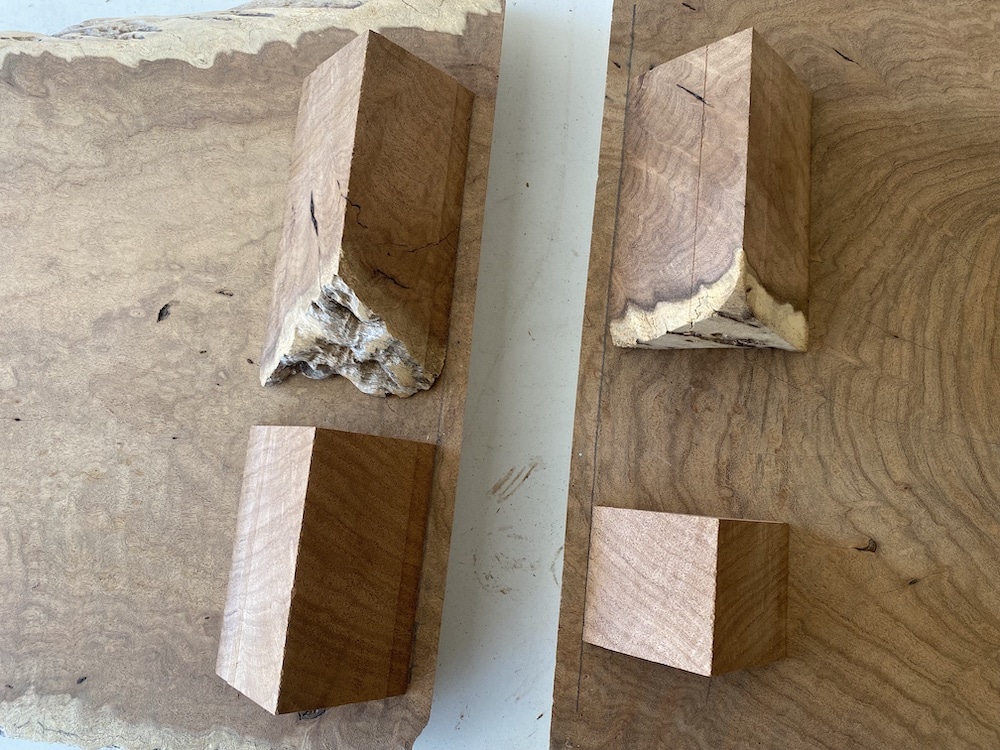
This is when those off-cuts are going to be put to use.
The 45 degree angles are exactly what is needed to clamp a waterfall miter joint. Start by cutting each off-cut into 4 parts.
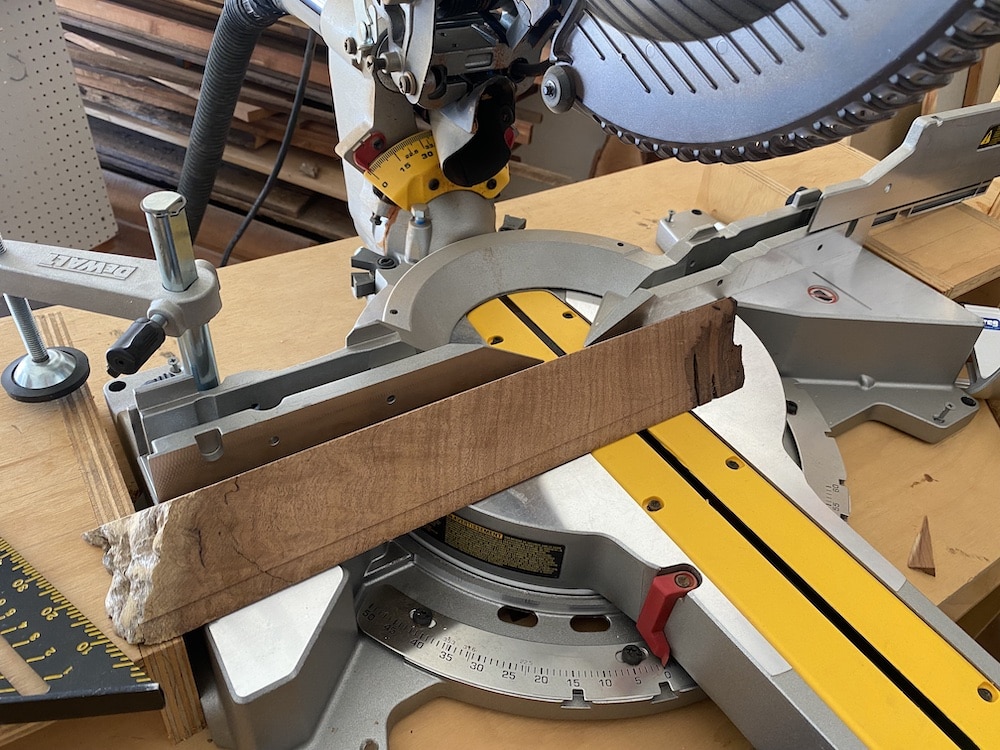
For miter saw tips, check out this guide on how to use a miter saw.
You will have (8) 45 degree scraps that you will reuse into cauls.
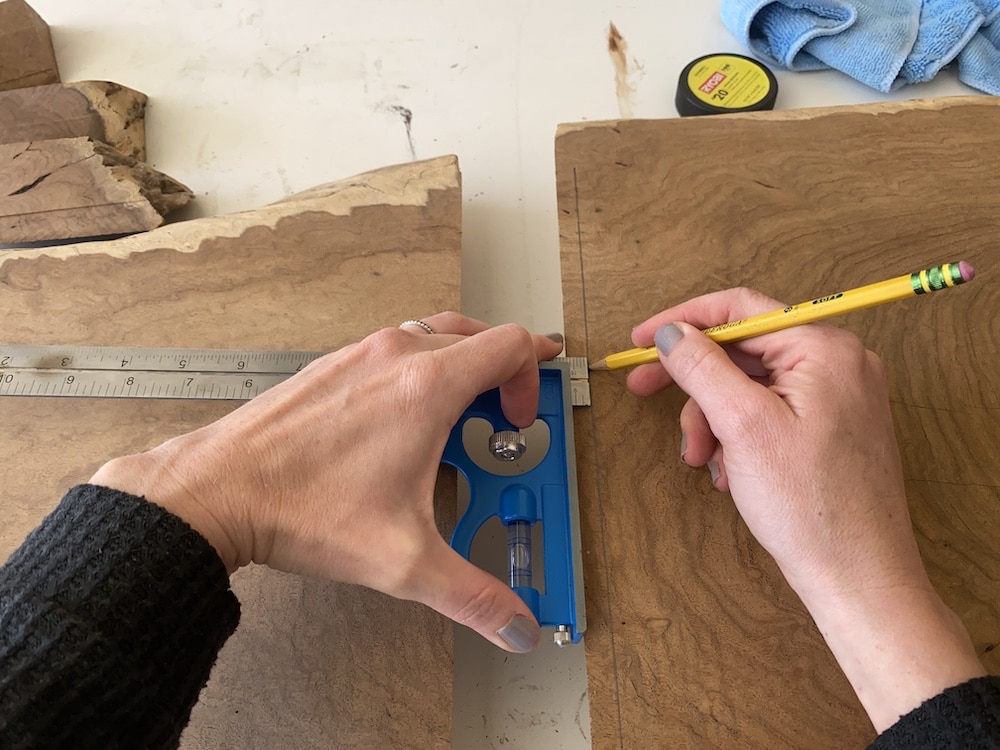
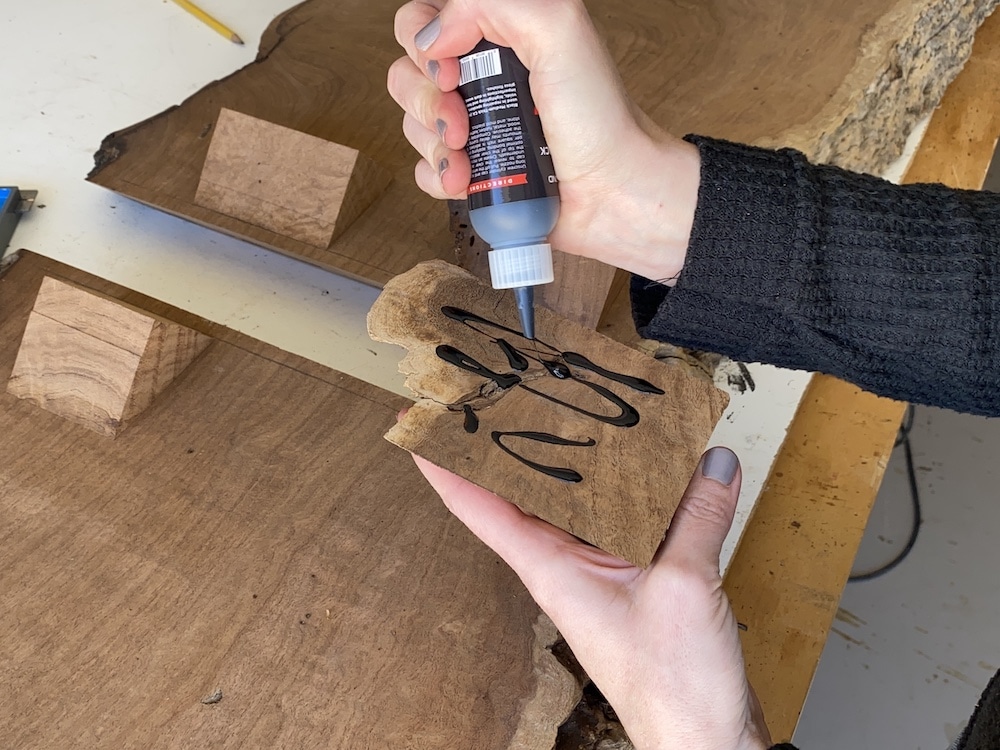
Using a combination square, mark a line along the edge of your miter. You will glue the cauls along this line.
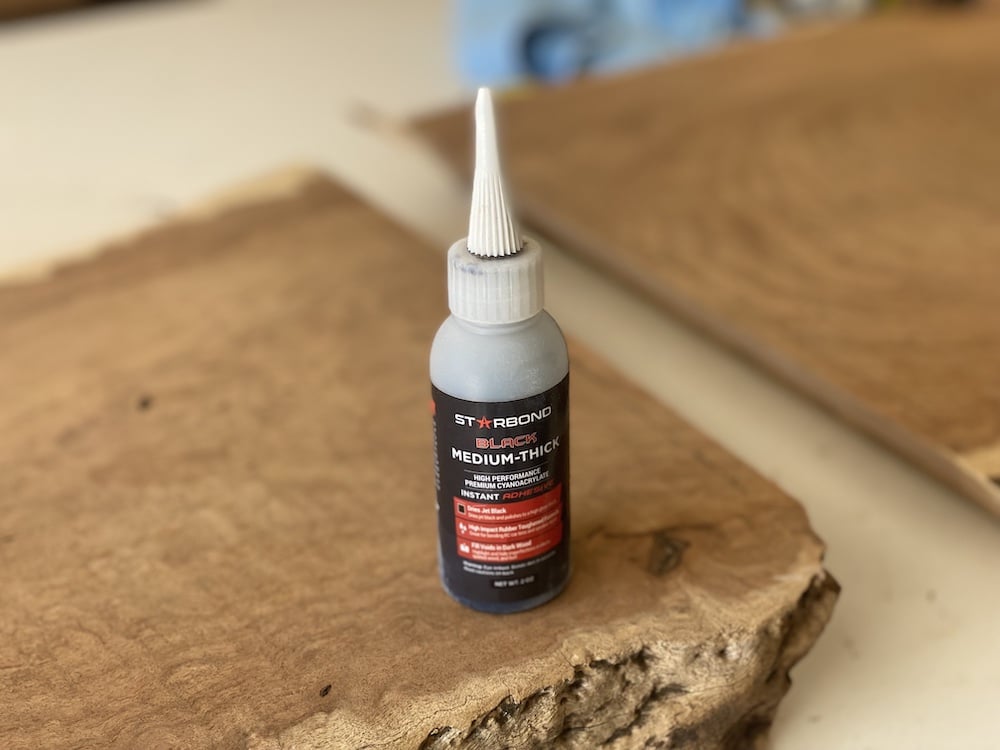
To attach the cauls, use this CA glue. This type of glue is perfect because it is quick drying and you can easily knock the cauls off of the board with a hammer when you are done clamping.
Do not use wood glue to attach the cauls. Wood glue is much stronger than CA Glue and you will have a hard time removing them.
Glue the cauls along the straight edge you drew, 2 on each side, opposite of another caul.
Repeat those steps for both mitered edges. These provide the correct angles for the clamps to attach to (more on that later).
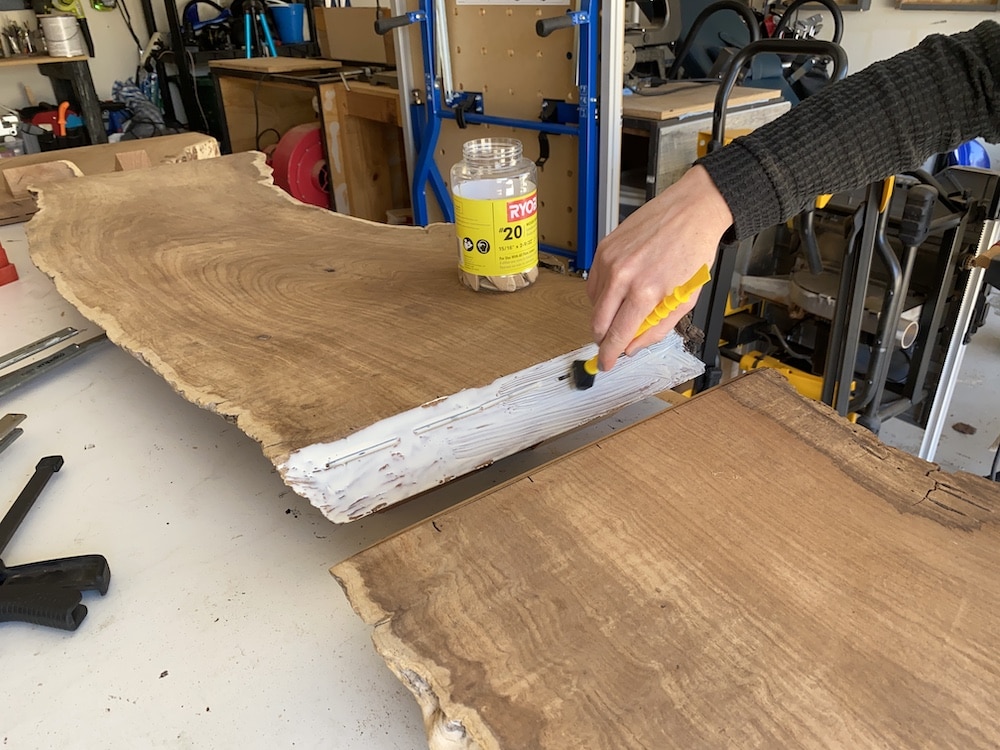
Step 6: Add Glue, Biscuits, and Clamps
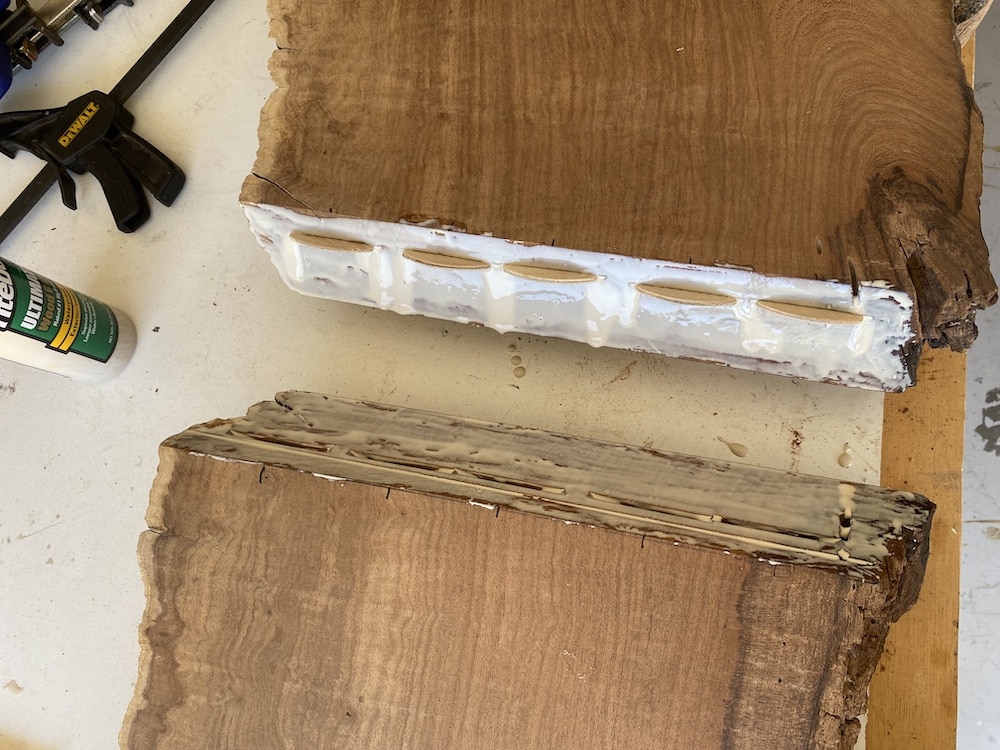
Use a glue brush and apply a thin coat of glue on both sides of the waterfall joint.
Add the biscuits to one side of the miter.
Work the two mitered edges together until they are fully flush in a 90 degree angle.
The cauls that were glued on to the slabs provide the correct angles to reinforce the waterfall joint.
Once the glue has fully dried, you can remove the clamps. The cauls can easily be knocked off with a hammer.
This will leave marks on the board because of the CA glue, but they sand out quickly.
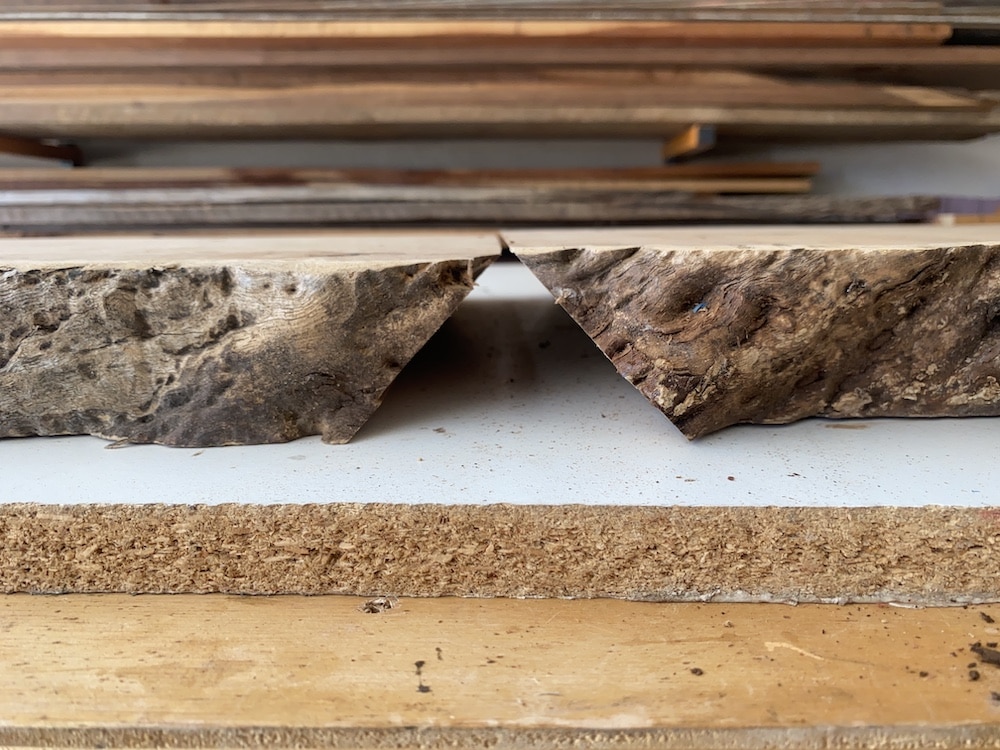
If your miters aren’t perfect, you can easily fix them by filling and sanding.
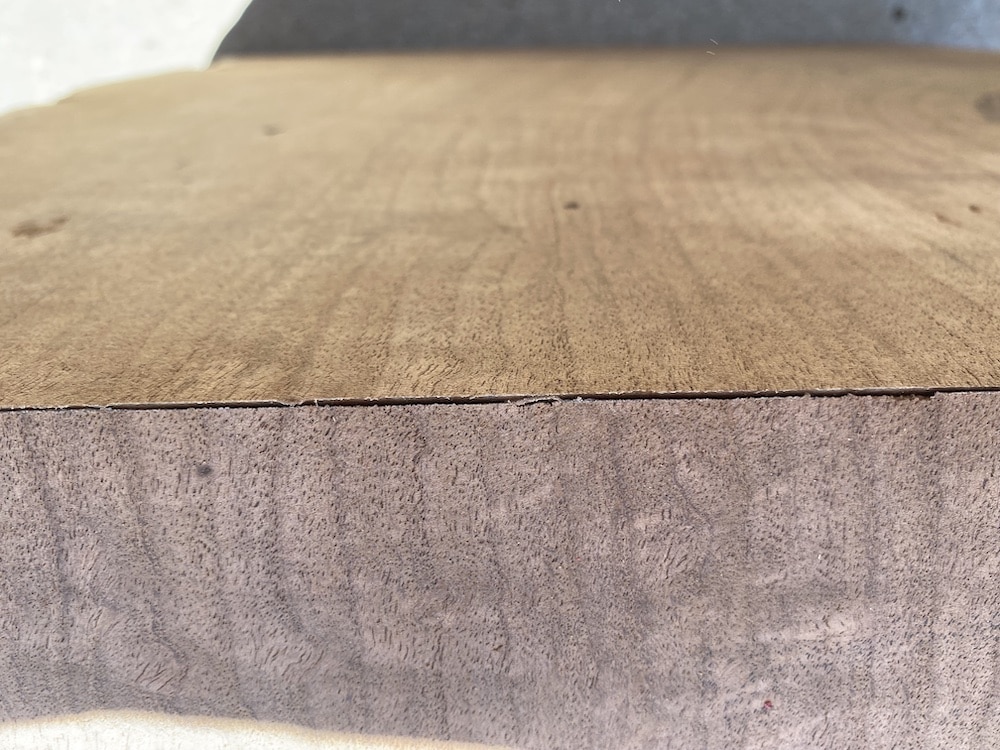
To fix seams like this, mix up wood glue and sawdust. Rub it into the seams and allow it to fully dry. Sand until smooth and the small gap in the seam disappears!
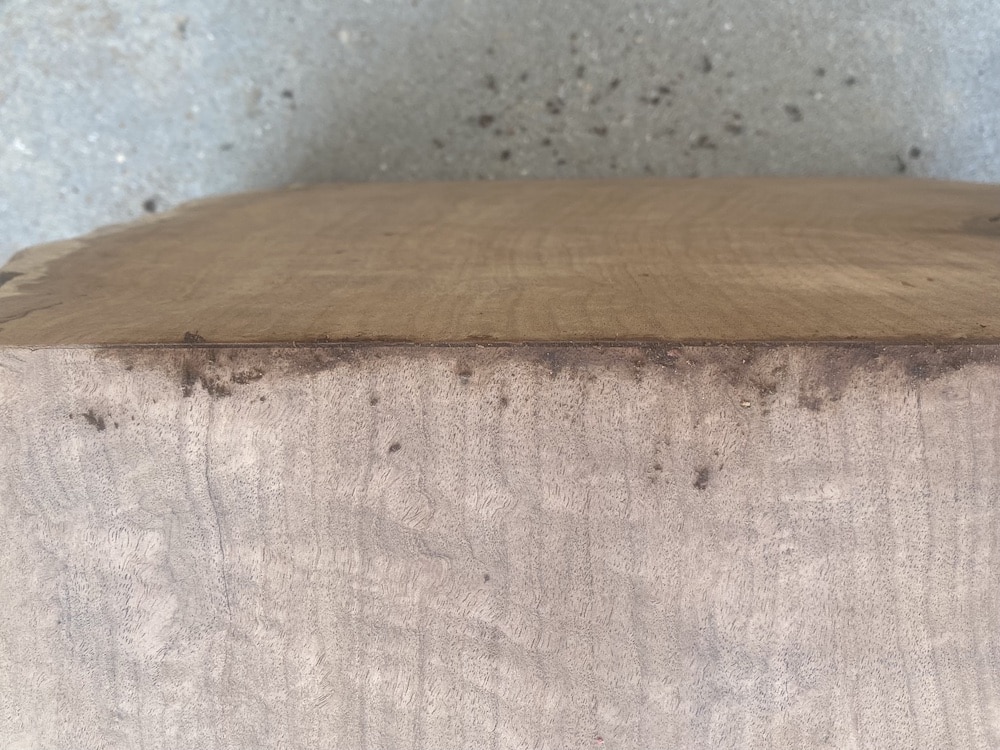

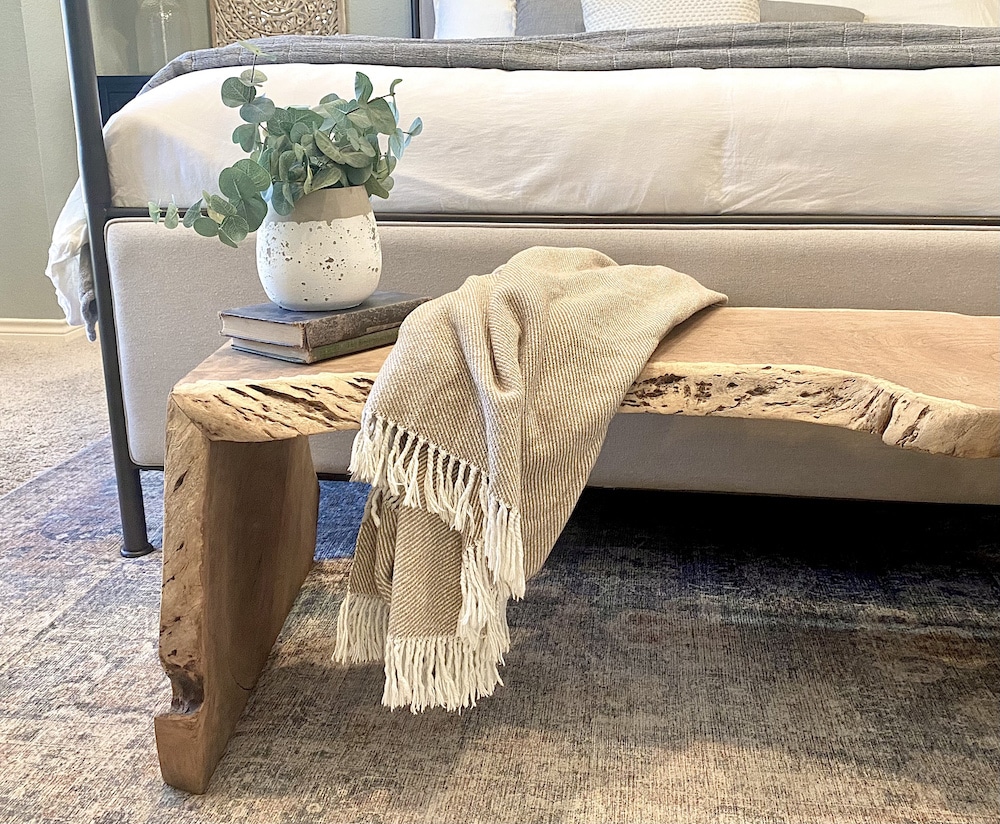
Like I mentioned earler, miters on a live edge will create corners that aren’t perfectly flush, just by the nature of live edges.
For a similar rustic project, check out this rustic square coffee table build!
You can fix this by sanding the edges until they are flush with each other.

And that’s it! I’m still deciding if I want to seal it, but I like the unfinished look for now.
As always, let me know if you make this or if you have any questions! Happy building!
Find the web story for how to build a live edge waterfall edge bench here!

Suzie Wible
Suzie has shared her knowledge for over 10 years about building furniture, painting techniques, how to build your dream home, and basic to advanced woodworking skills. Through this blog, readers will feel empowered to create a home and products they love too.
Beautiful work, Suzie, and using the cauls for clamping is going to be handy for other projects. Thanks!
Thanks, David! It’s always nice to be able to reuse those scraps. So glad you got some tips out of it!
Hi Susie, I just bumped into your site of DIY /Wood working,& building of all things of wood. I must say you have just brighten my day!
I too love doing all types of wood work & DIY projects plus I’m also a artist of many mediums.
But back to you I amcant wait to watch more of your work.
My ex-husband kept or destroyed all of my tools and I mean all! So I haven’t been able to rebuild my tools to work with as of yet but hopefully I will one day.In the mean time I will just keep watching you for inspiration.Sincery Rhonda
I’m so sorry to hear that! I hope you can find a way to get back into it soon. Glad you’re here!