How to Make a Router Flattening Sled
I just finished this DIY Wood Slab Flattening Router Jig (with printable PDF plans!) and I’m so excited about the projects that I can complete now that this is done. This Router Sled is adjustable height, so you can plane many different wood thicknesses. I made this router flattening jig to fit my workbench, so you can adjust the dimensions as necessary to fit your space.
Download the free, printable PDF plans for the router sled jig below:
Disclaimer: This site contains product affiliate links. We may receive a commission if you make a purchase after clicking on one of these links.
You will need:
(1) 3’ x 2’ x ¾” plywood
(4) 3″ bolt
(8) washers
(4) nuts
(4) Low Profile Casters
Fixed Base Router
1.5” bottom cleaning router bit
Drill bit large enough for the bolts to fit through (Find a Beginner’s Guide to Using a Drill here)
1.5” wood screws
Wood glue
Drill
Jigsaw
Circle saw or table saw
Tape measure
The plans for this sled are made to fit my router. My router has a 6″ base plate, so be sure to adjust the plans according to your router. My router can be found here.
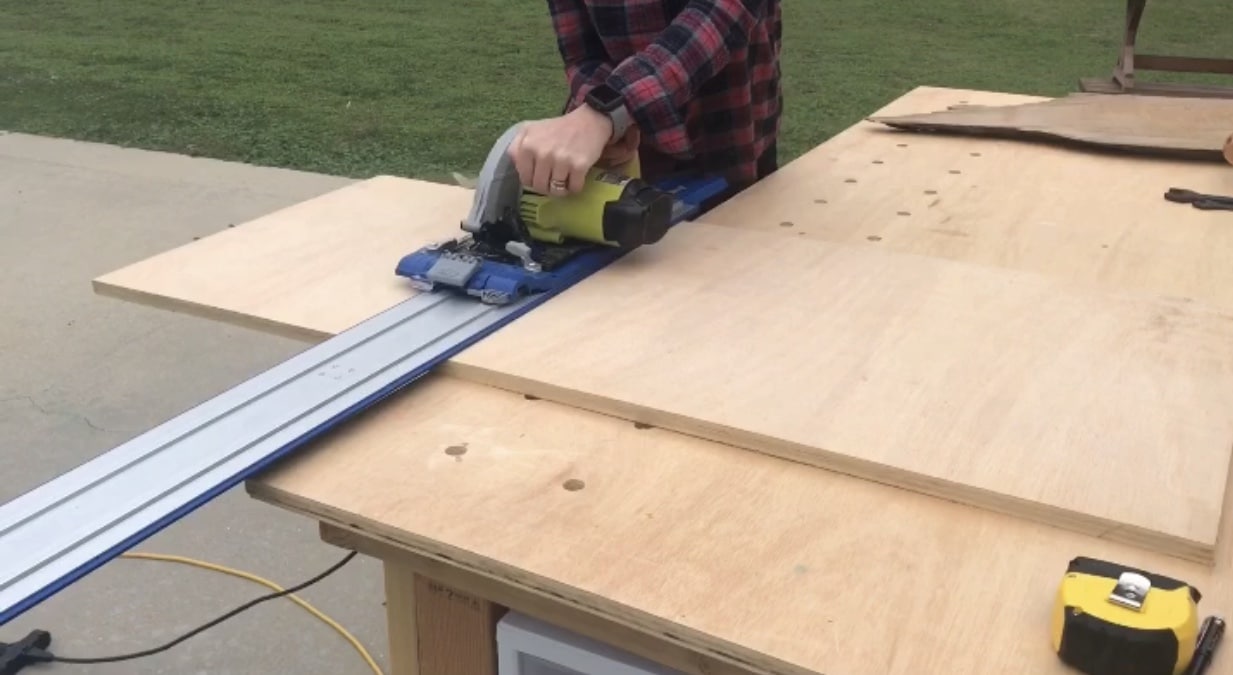
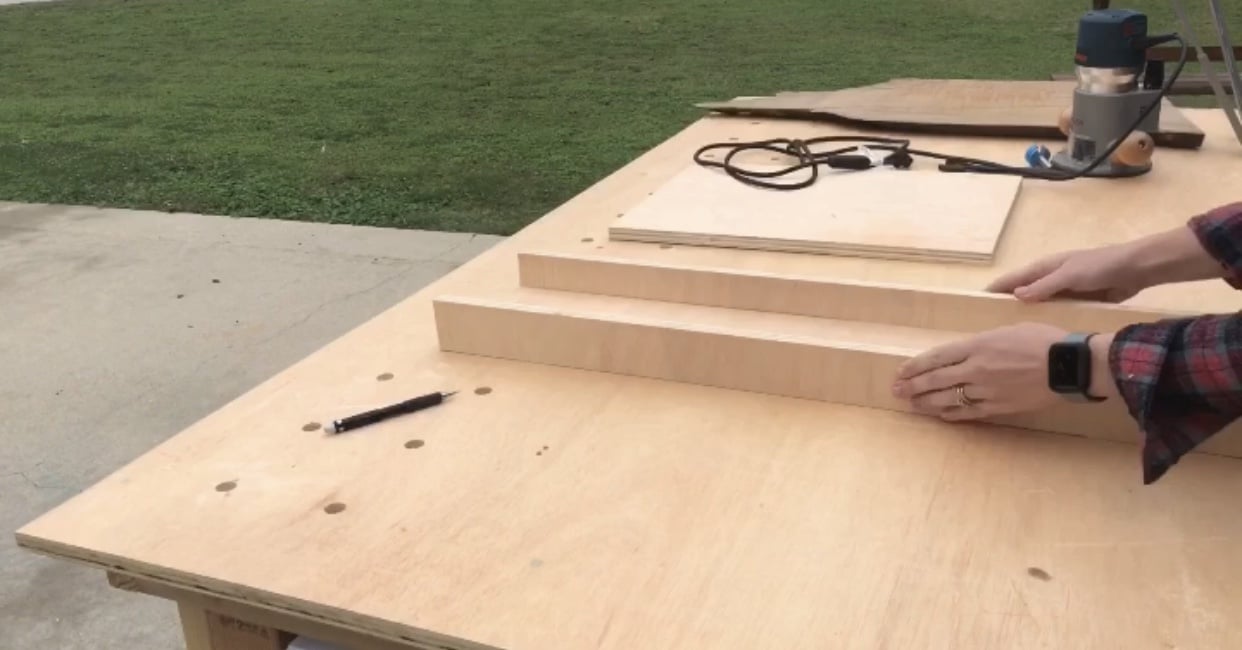
To start making the router slab flattening mill, cut the plywood pieces to size. I used my circle saw and track, but you can use a table saw as well.
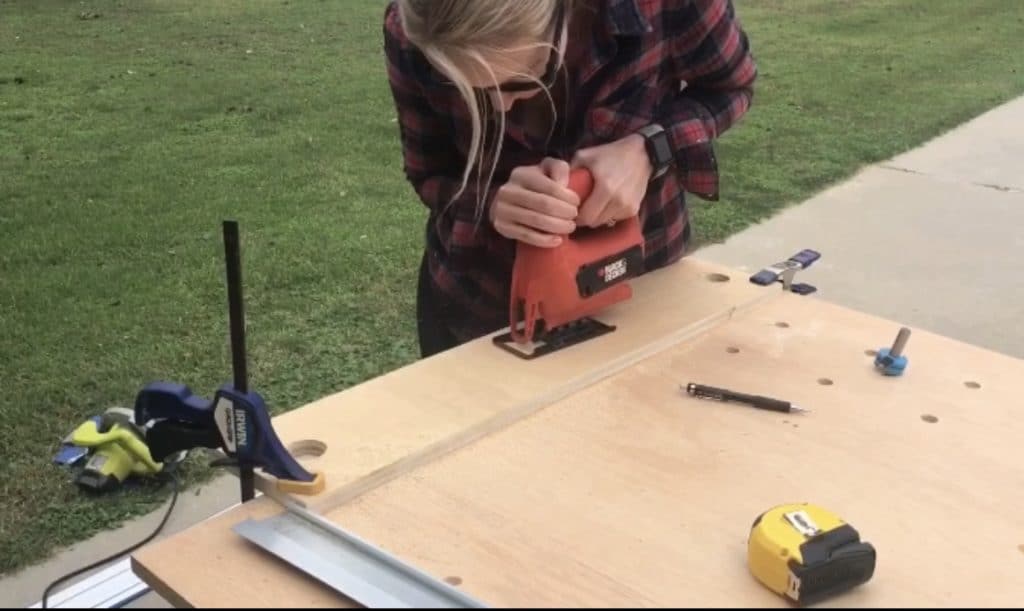
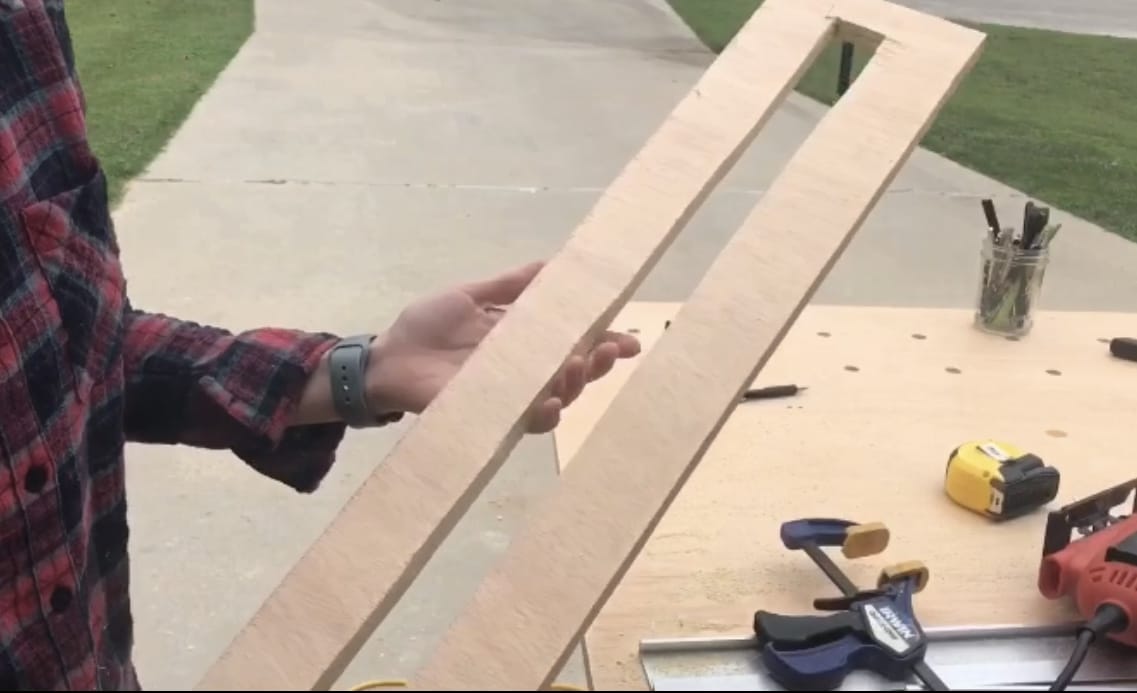
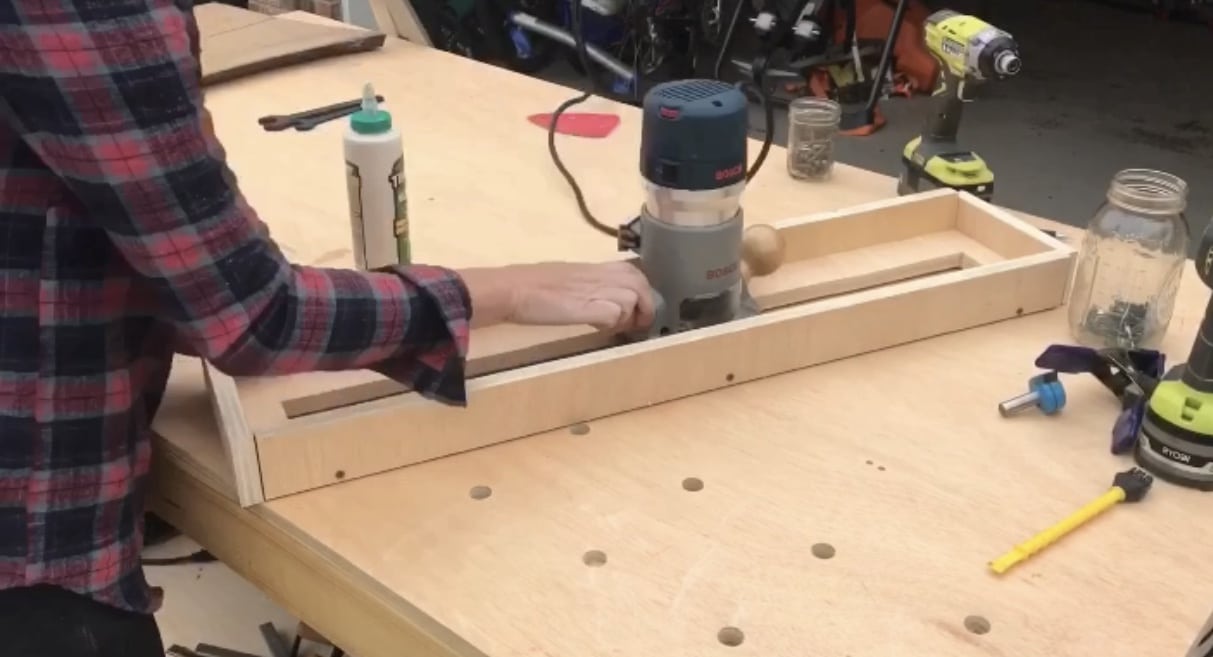
Now you will cut the center out of the 33″ x 6 1/4″ piece of plywood. The width of this should be the width of the base plate on your router, plus 1/4″.
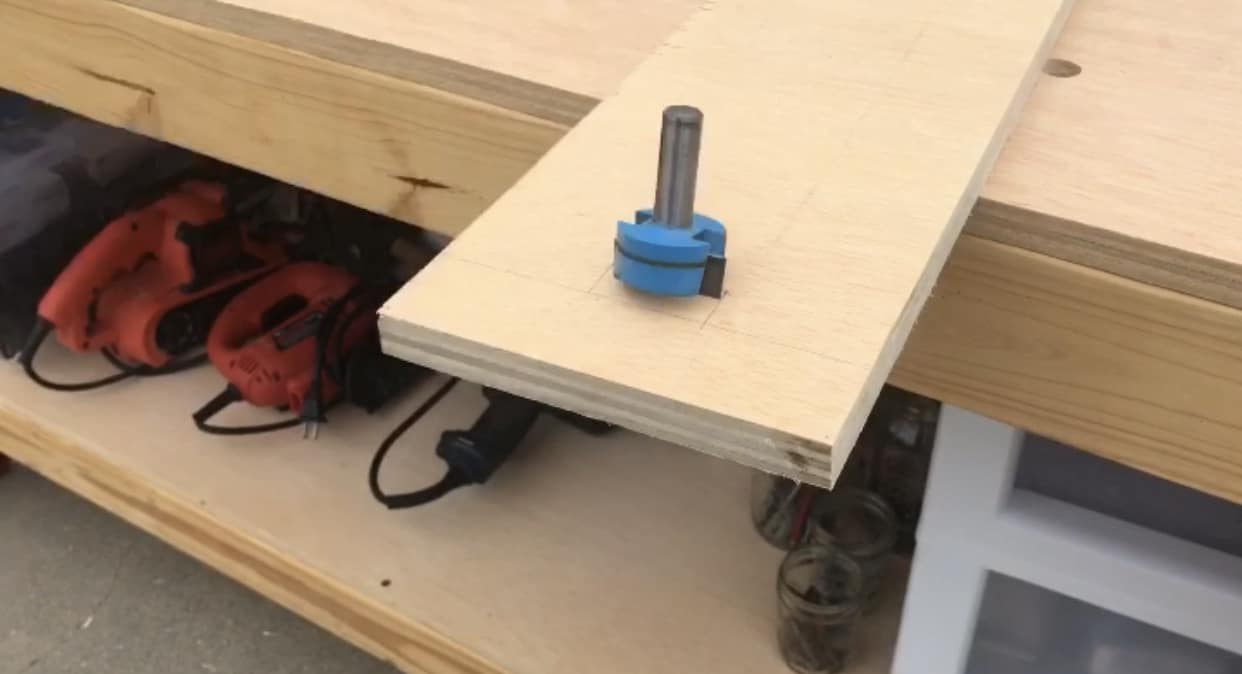
The center cut out should be wide enough for your bit to fit through. This is the bit I used.
Question: What type of router bit is best for flattening slabs?
A: You will want to use a 1/2″ bottom cleaning bit to plane your wood using a router and this DIY sled. This is a great option for this slab flattening mill.
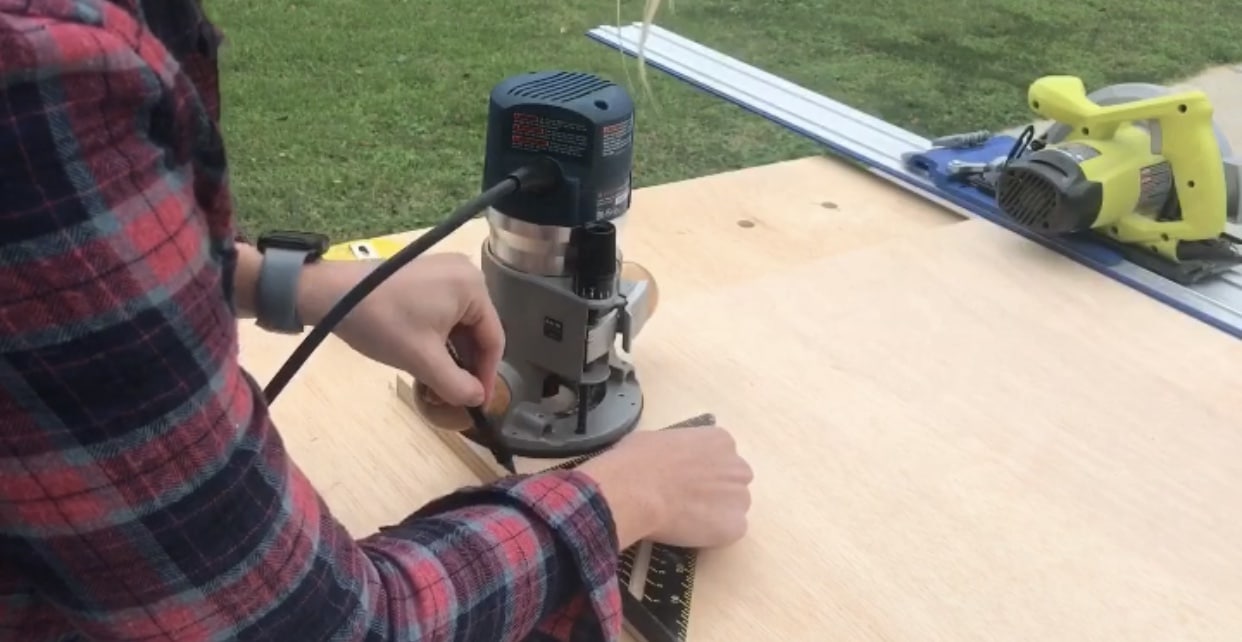
I found it easiest to drill holes in either end and use a jigsaw to cut out the middle.
Once your pieces are cut, you can assemble them using wood glue and screws.
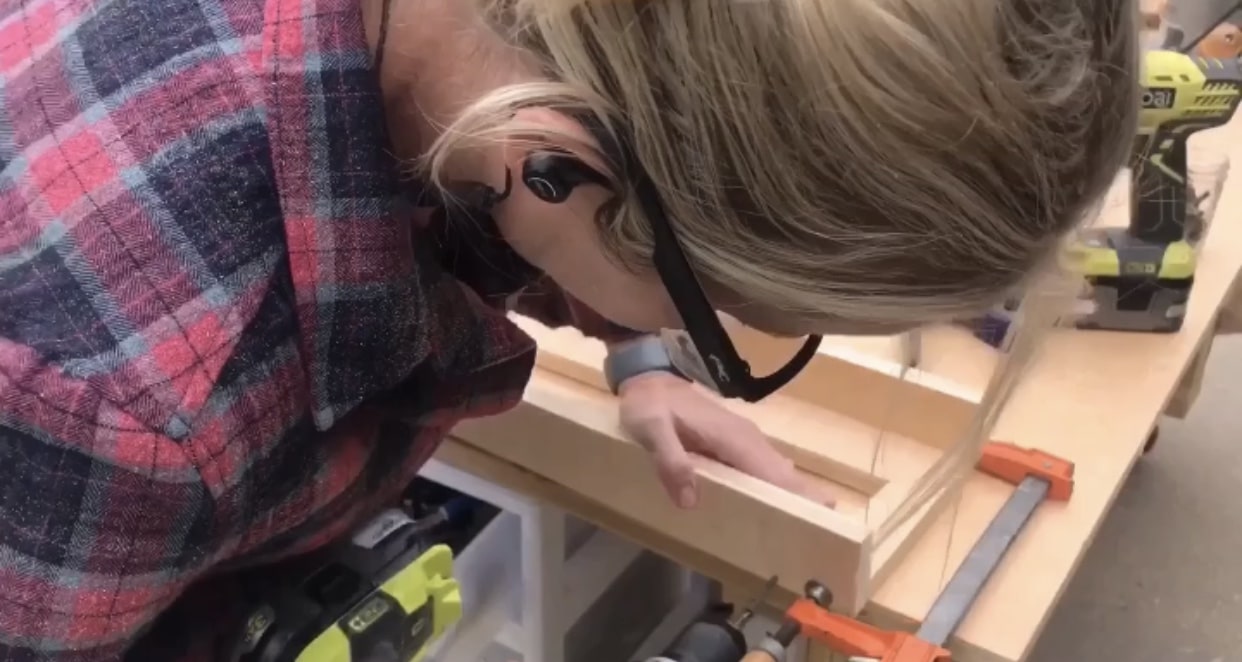
The router should now be able to slide freely through the flattening sled.
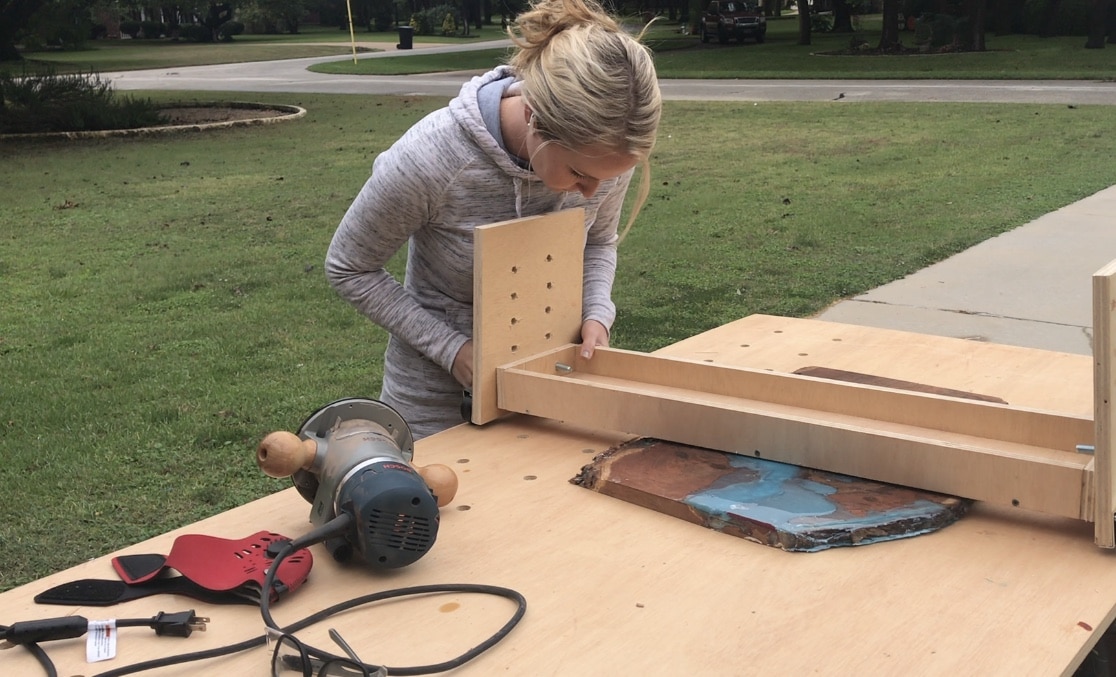
To be able to slide the sled over the wood slabs to plane it, you can now attach the casters to the ends.
RELATED: Ever wonder how to create straight edges on long boards? Check out How to Joint Boards without a Jointer here.

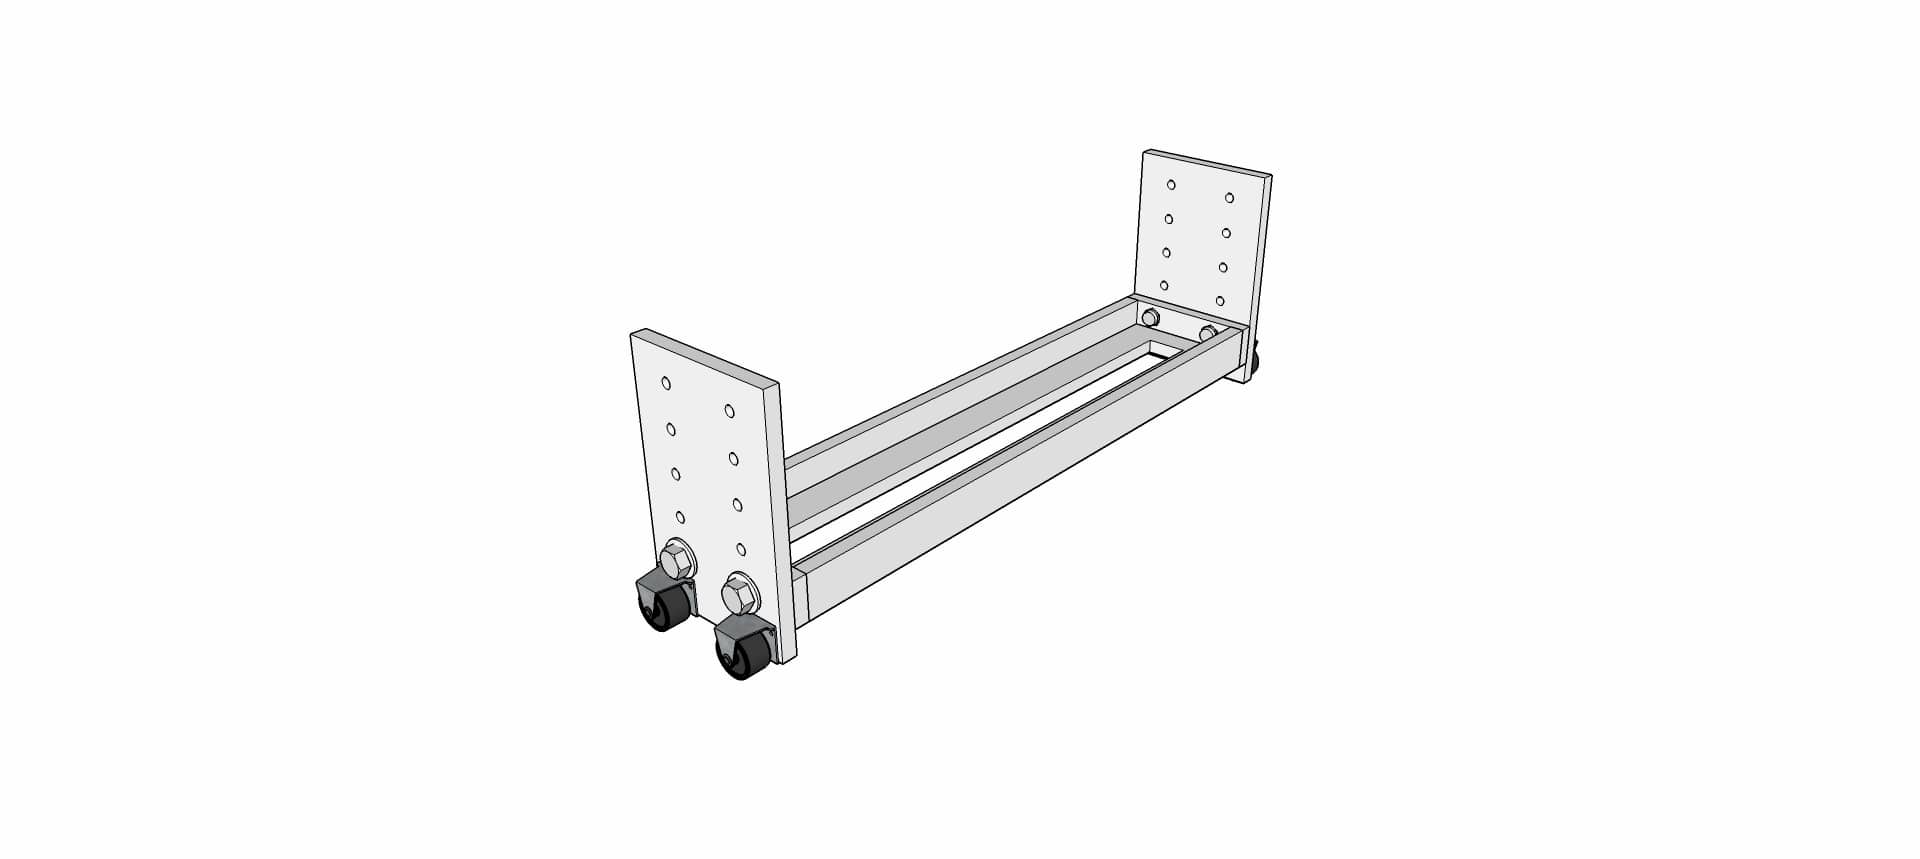
Now, assemble the whole jig using the bolts, washers, and nuts.

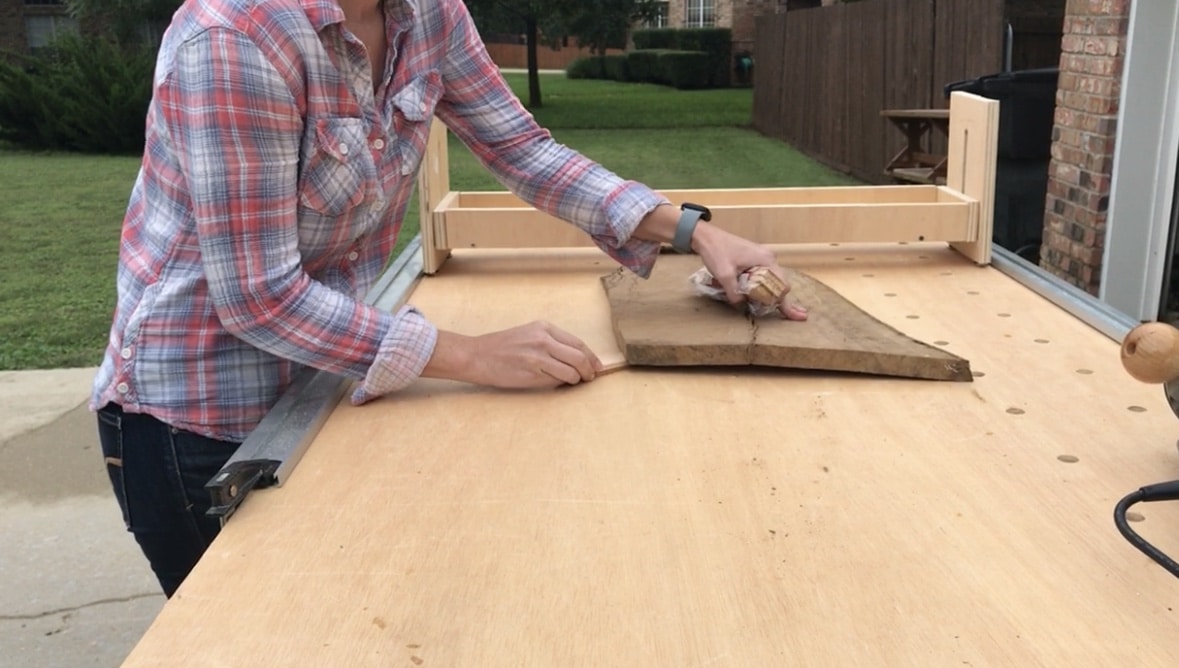
For the best finish when you’re planing using the router, shim your slab so that it won’t move while you plane it. I have found that it’s best to shim evenly around the whole piece, rather than shim one side. This will cut down on the amount of your slab that has to be planed off.
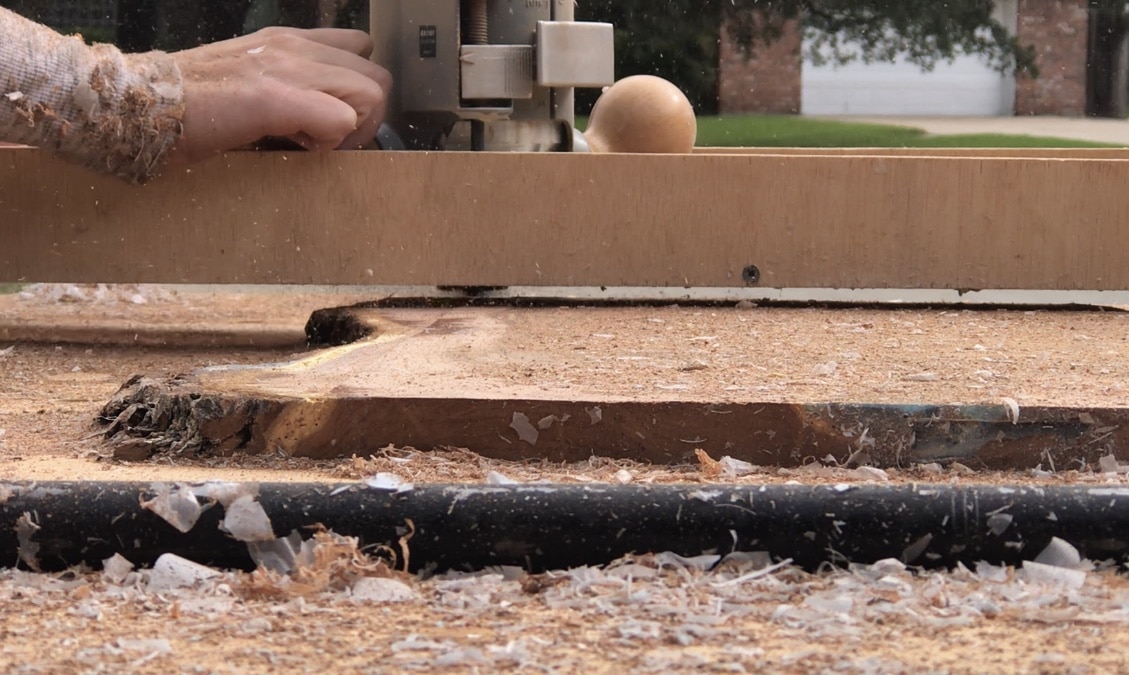
For the best finish, plane with the grain. The casters should make this much easier. It makes a huge difference planing with the grain vs. against the grain.
You should also clamp straight edges to your workbench so the sled won’t accidentally slide off and gouge out your slab.
For a couple more router tutorials, check out how to cut a juice groove on a cutting board and how to route finger groove handles in a cutting board, how to build a round side table, and how to cut a perfect circle in wood!
Be sure to wear protective eyewear and a mask because of all the dust.

This creates A TON of sawdust. It’s very important to consistently clean your work area. If the router rolls over sawdust, it won’t plane it perfectly flat.
Now that you have a perfectly flat slab, I recommend trying your hand at creating a wood waterfall edge corner joint!
That’s it! Let me know if you make this – I would love to see what pieces you create!
Find the web story for how to make a router slab flattening sled jig here!

Suzie Wible
Suzie has shared her knowledge for over 10 years about building furniture, painting techniques, how to build your dream home, and basic to advanced woodworking skills. Through this blog, readers will feel empowered to create a home and products they love too.
Awesome!! Thank you for sharing our plans and information with all of us!!
you’re very welcome!
Nice work! Looks like a handy tool to have around. Thanks for the plans and for sharing! Keep up the great work!
Thanks, Grant!
Thank you! Our old farm has piles of twisted weathered old fenceboards that will benefit from your sled. I’m hopeful it also will help me with an intimidating project I’ve been putting off: a couple of 1-1/2 foot tall, fat-as-a-hog cottonwood stumps my husband wants turned into places to sit around our farm. I do *small* woodworking projects, benches and such, hence my procrastination on this task. The stumps are a couple feet across in some places. I’m having a hard time conceiving how to alter your plans to straddle them. The chainsaw cuts are not level, top or bottom.
Have you tried checking out the chainsaw mills that granberg makes? That might work perfectly!
One possible approach:
Modify her plan so that the sled will reach across the largest stump with room to spare.
Chainsaw the bottom of the stump so that it is “reasonably” flat.
Move the stump to its final resting place.
Build a framework that will fit around the stump, with the sled verticals fitting down over the frame rails. Ensure that the rails are level.
The top of the framework should be BELOW your ultimate flattened point.
Adjust the position of the sled verticals so that you start out with the sled just above the high point of the stump, and finish with it just above the stump’s low point after flattening.
Clamp the sled to the framework rails above the stump’s high point (bypassing the casters).
Make multiple passes with the router, removing small amounts at a time.
Adjust the verticals, move and reclamp the sled as you progress.
If you can move them, take them to your local sawmill, let them do the easy work😁
Great job, Suzie! I have added this to my list of jigs to build for my shop. Thank you for sharing the plans!
Great! Can’t wait to see how it works out!
“gouge” out your slab…not gauge.
Changed 🙂
How do you keep the work from moving? Double sided tape?
I have done that, Also hot glue works and I have used wooden blocks screwed to the table.
Agreed – you can apply tape and hot glue it down!
bonjour,
très beau travail
dès que j’en ai l’occasion et après la traduction des mesures en mètre je me lance
cordialement papydo