Plans for Mudroom Bench DIY: Shoe Storage Drawers
Today’s build is a storage bench for a mudroom or laundry room that has a drawer to hide those dirty shoes. If you have a smaller area and you’re looking for a storage space for things like shoes or backpacks, this bench is a great solution!
Although this bench will eventually be part of a larger hall tree build, I thought I would provide a more detailed step-by-step tutorial and plans to build just the bench portion. This would make an excellent solution for toy storage, shoe storage, or end of bed bench! It has a large seating area, so it would also make a great entryway bench.
I have provided free PDF woodworking plans below for you to build your own mudroom storage bench.
This is a great DIY project for small spaces like a laundry room, mudroom, or any drop zone because of the drawer. This build will take your mudroom space up a notch with functionality, organization, and beauty! You could also easily throw in some drawer organizers or storage baskets to keep everything extra neat and tidy.
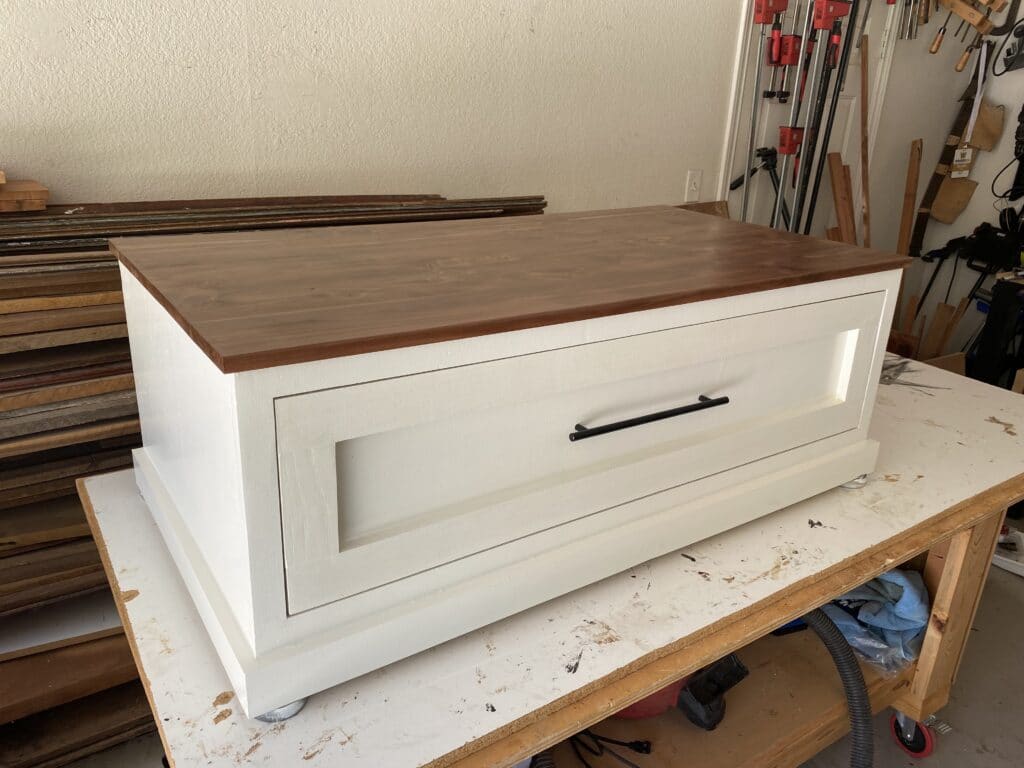
One thing I learned when building this storage bench: drawers aren’t as hard as they seem especially with the help of Milescraft’s DrawerJig. The jig made all the drawers and drawer slides super simple to build and install. Keep reading to find out how!
Download the free Mudroom Bench Plan below:
Tools Needed
Disclaimer: This site contains product affiliate links. We may receive a commission if you make a purchase after clicking on one of these links.
- Milescraft DrawerJig
- Face Clamps
- Table Saw
- Circular Saw
- Miter Saw
- Pocket hole system
- Power Drill
- Orbital Sander
- combination square
- clamps
- nail gun
Materials Needed to Make this DIY Shoe Storage Bench
- 4’x8’ Paintable ¾” plywood
- 1×3, 9ft long boards (I used oak for added stability)
- 2’x4’ Paintable ¾” plywood
- Pocket Hole Screws
- Wood Filler
- Stain
- Paint
- Paint Primer
- Paint Roller
- Paint brush
- Drawer Pulls
- Drawer Slides
- Playing Cards
- Polyurethane Finish
- Wood glue
Step 1: Break Down Plywood and Build the Cabinet Box
This first thing to do in this build is to break down the plywood sheet according to the plans in order to build the cabinet box. I purchased this plywood at Home Depot, although any big box store will have them.
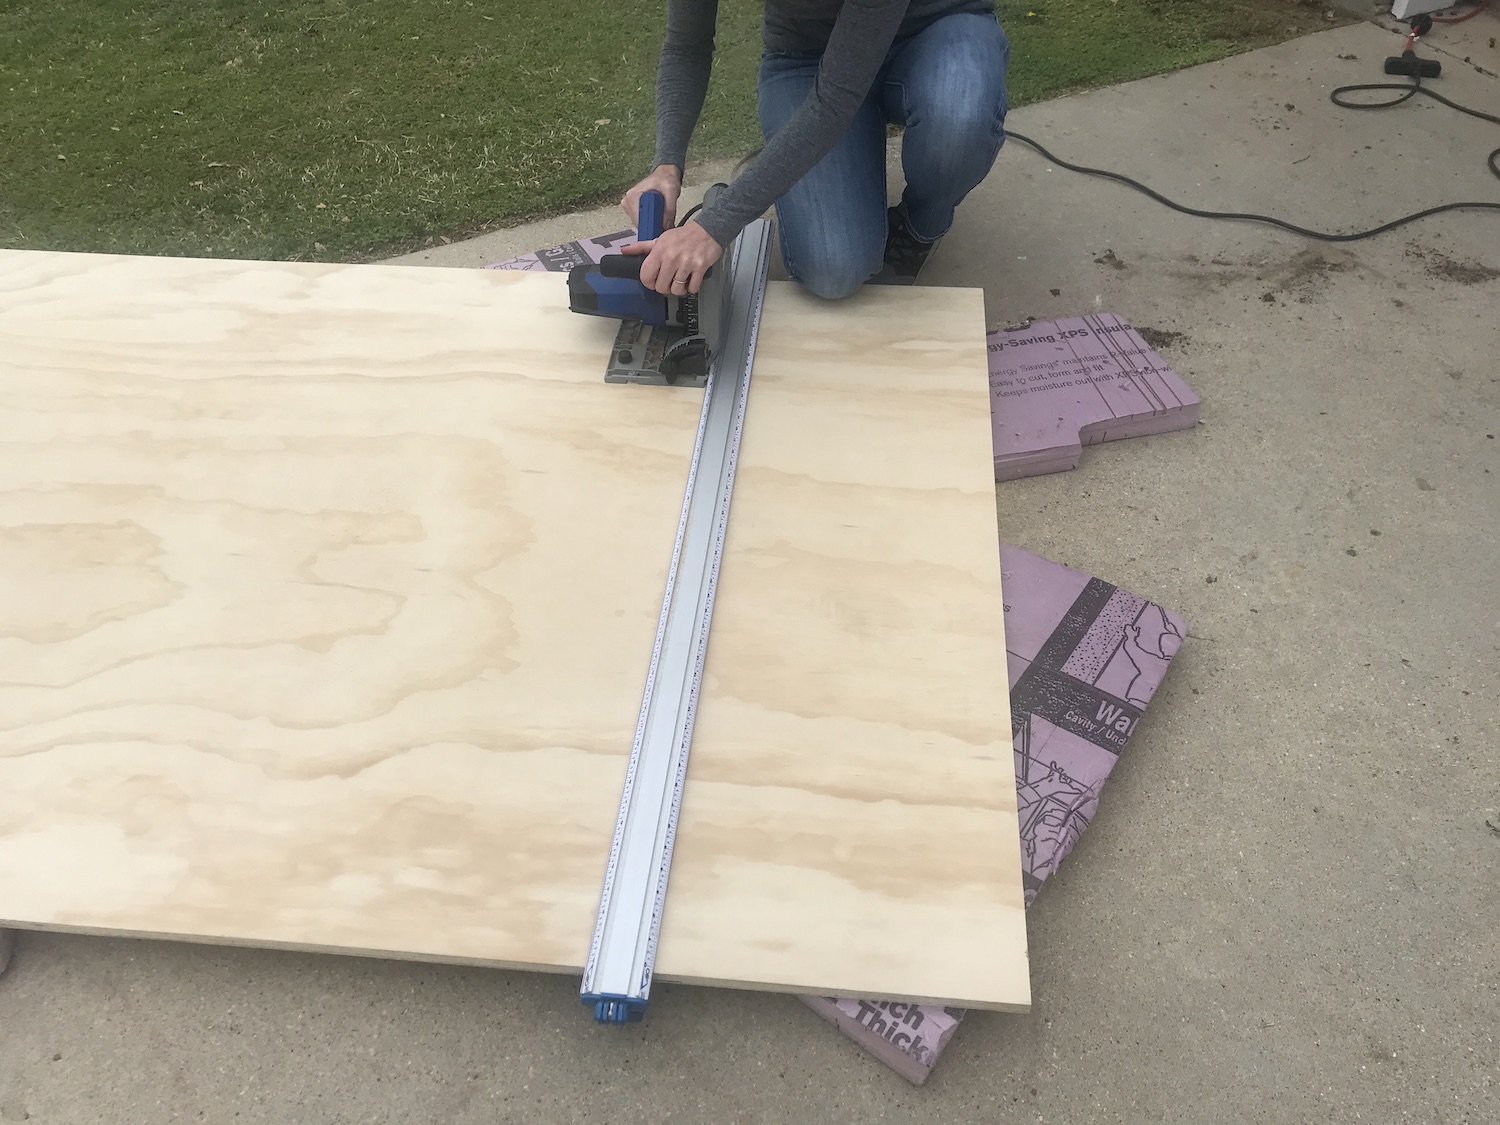
I used a combination of my circular saw and edge guide to do this, along with my table to saw to cut the smaller pieces.
I have found it is easiest when breaking plywood down to smaller pieces to do this: buy foam insulation and lay the plywood over it. The blades of the circular saw go right through it and the foam provides great support for the large plywood piece.


Assemble the pieces with wood glue and pocket screws. When drilling pocket holes, make sure to place the pocket holes on the inside so they will be hidden. Also, make sure you are square as you go, as this is very important when installing drawers!
You will frame out the front, so the braces for the base don’t have to be perfectly lined up. Just eyeball them to space them out.
Step 2: Make the Face Frame for the Cabinet Box
The face frame for the cabinet box will be 1.5″ on the top and sides and 4″ on the bottom. Assemble with a drill, wood glue and pocket screws.
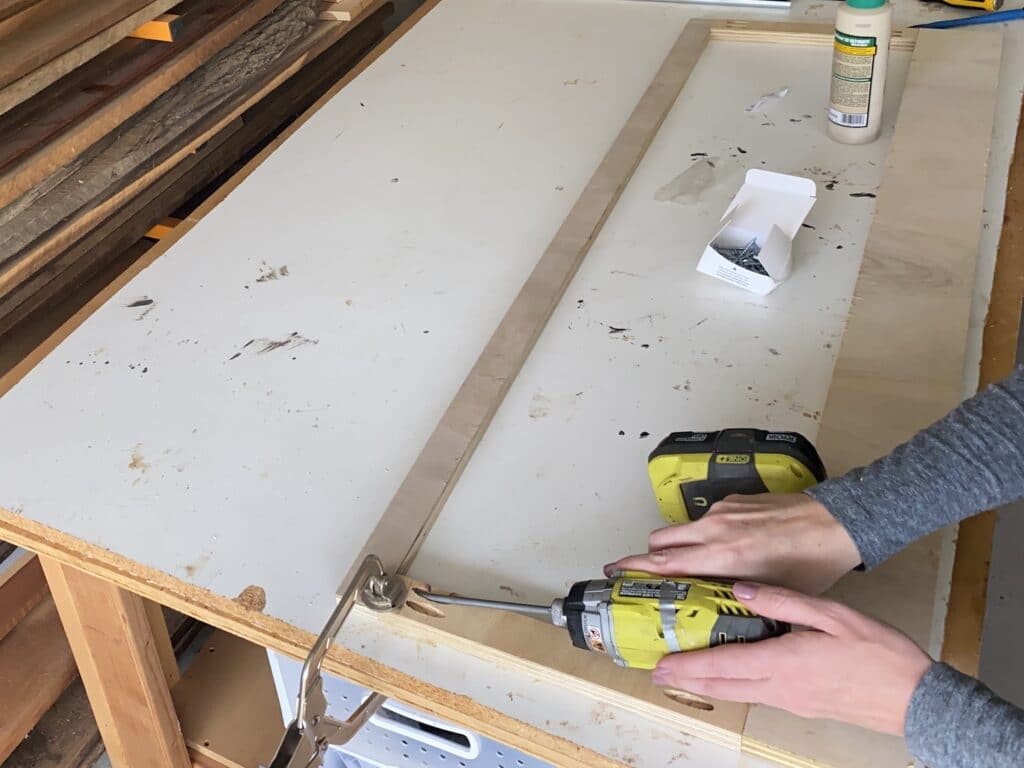
Once the face frame for the cabinet box is made, you can install it on the cabinet box you previously made. Use wood glue and brad nails to attach it.
Since this will be painted later, you can fill the nail holes and sand it down in order to cover them up.
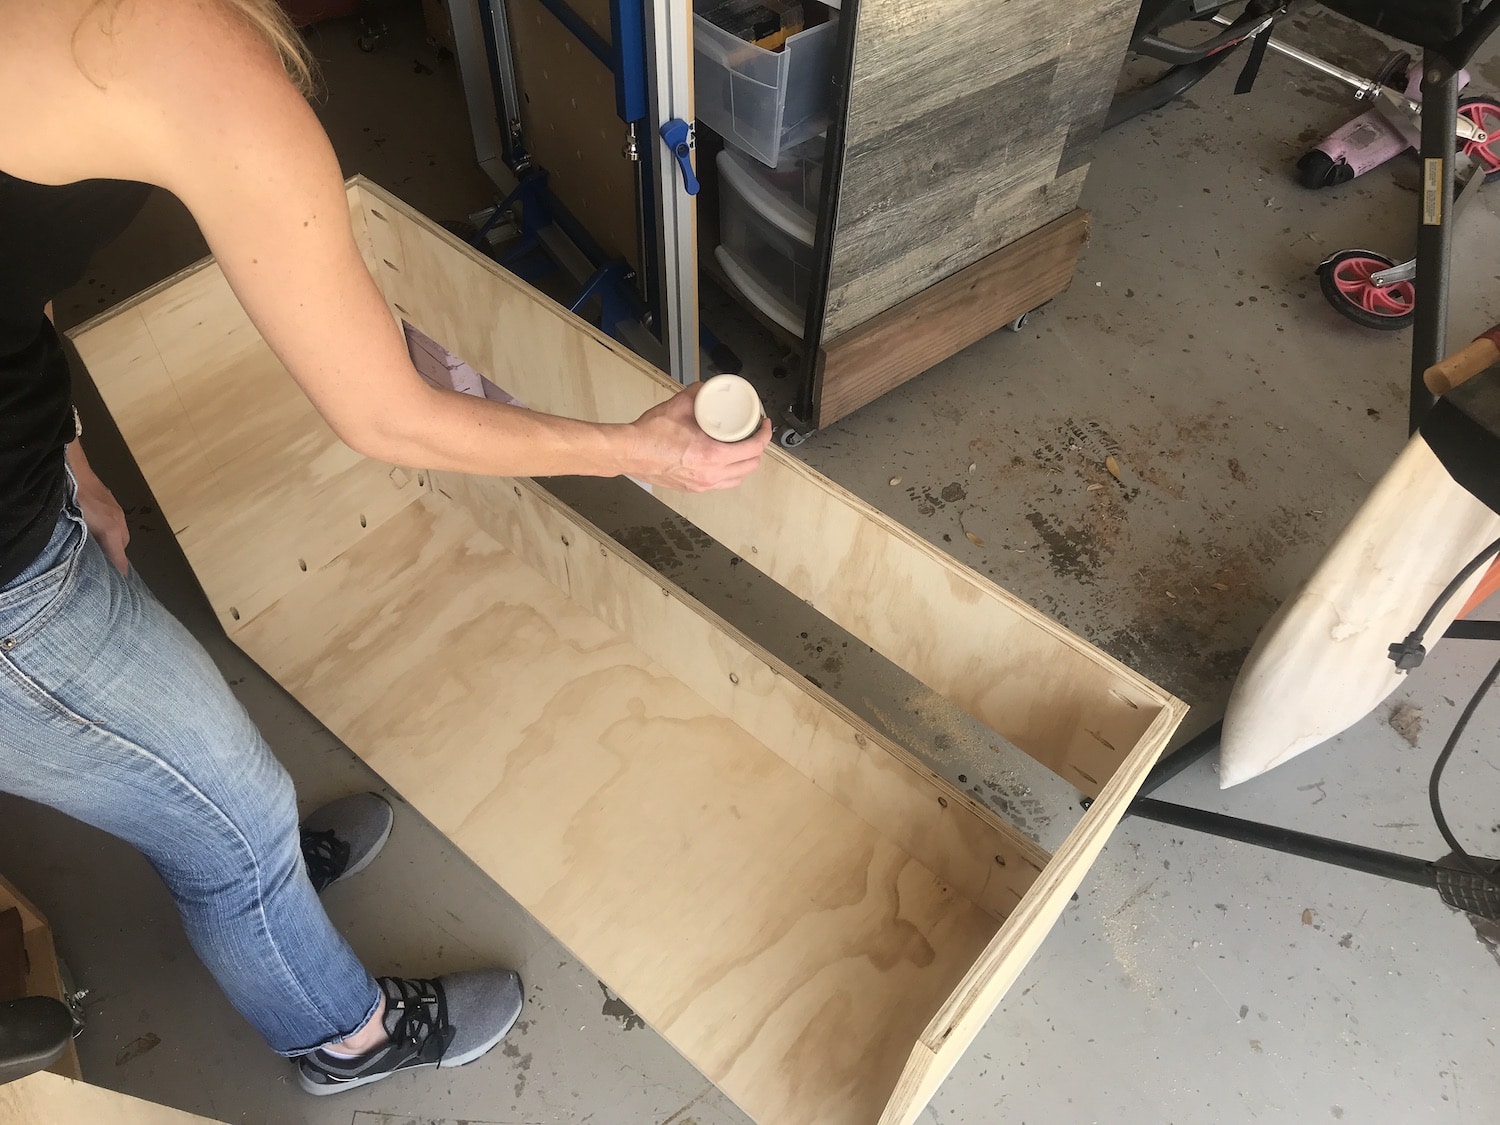
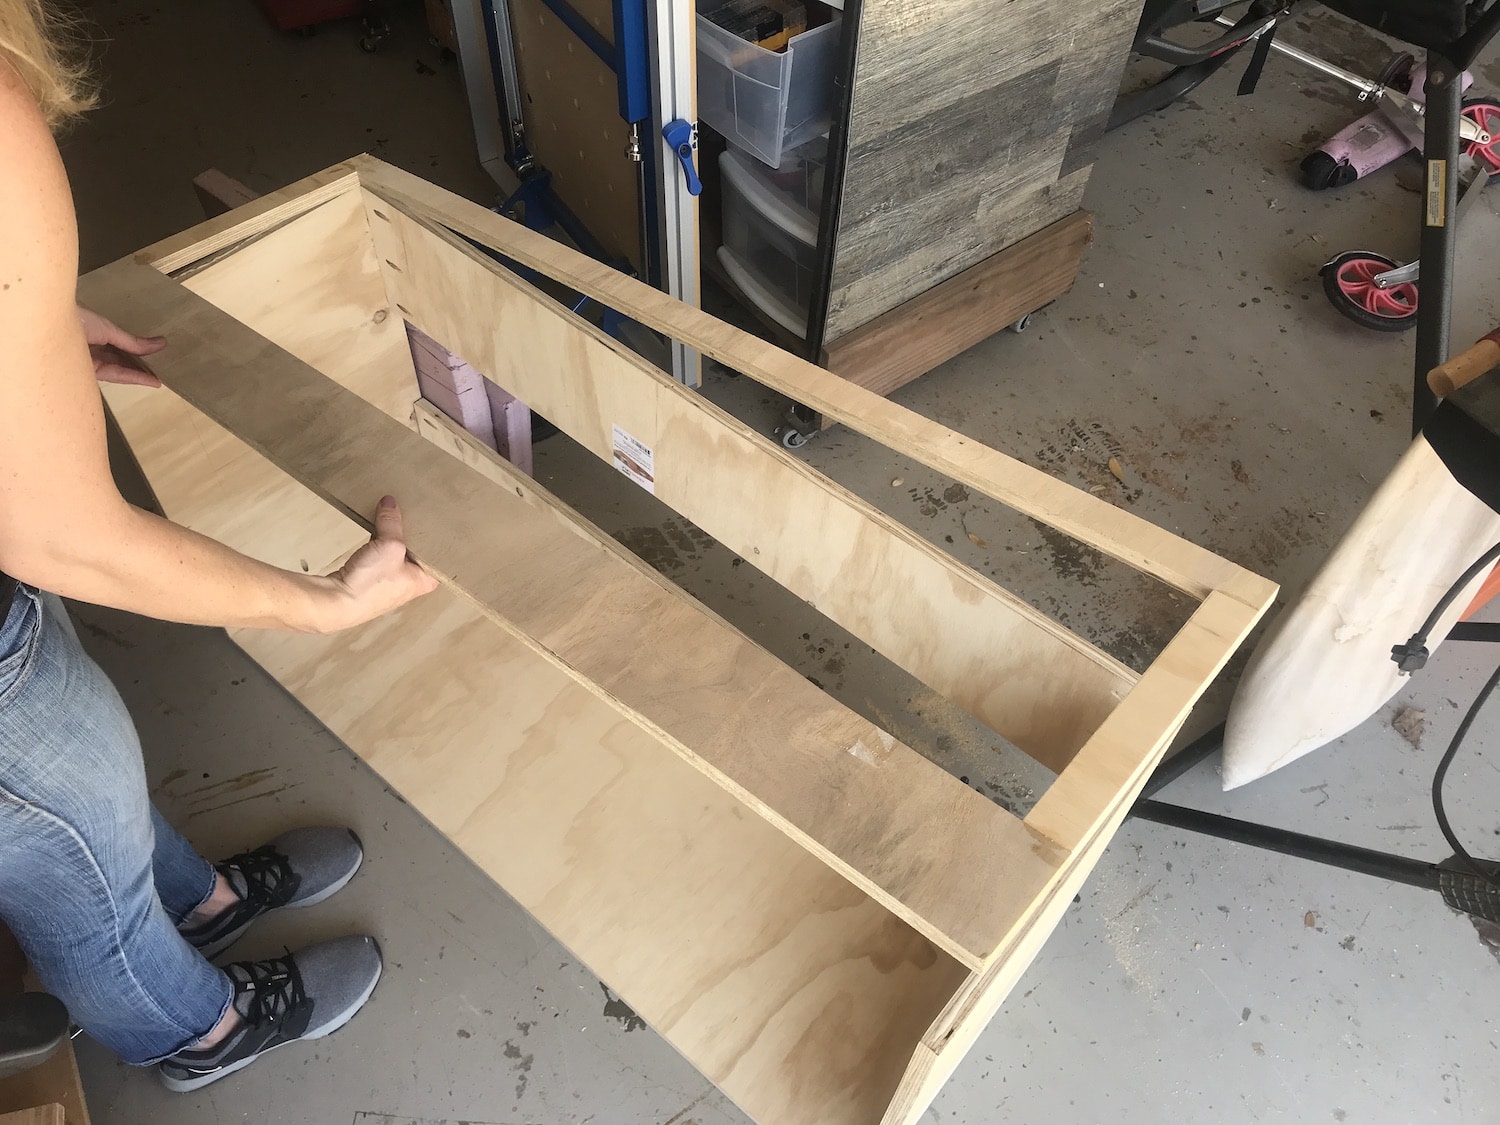
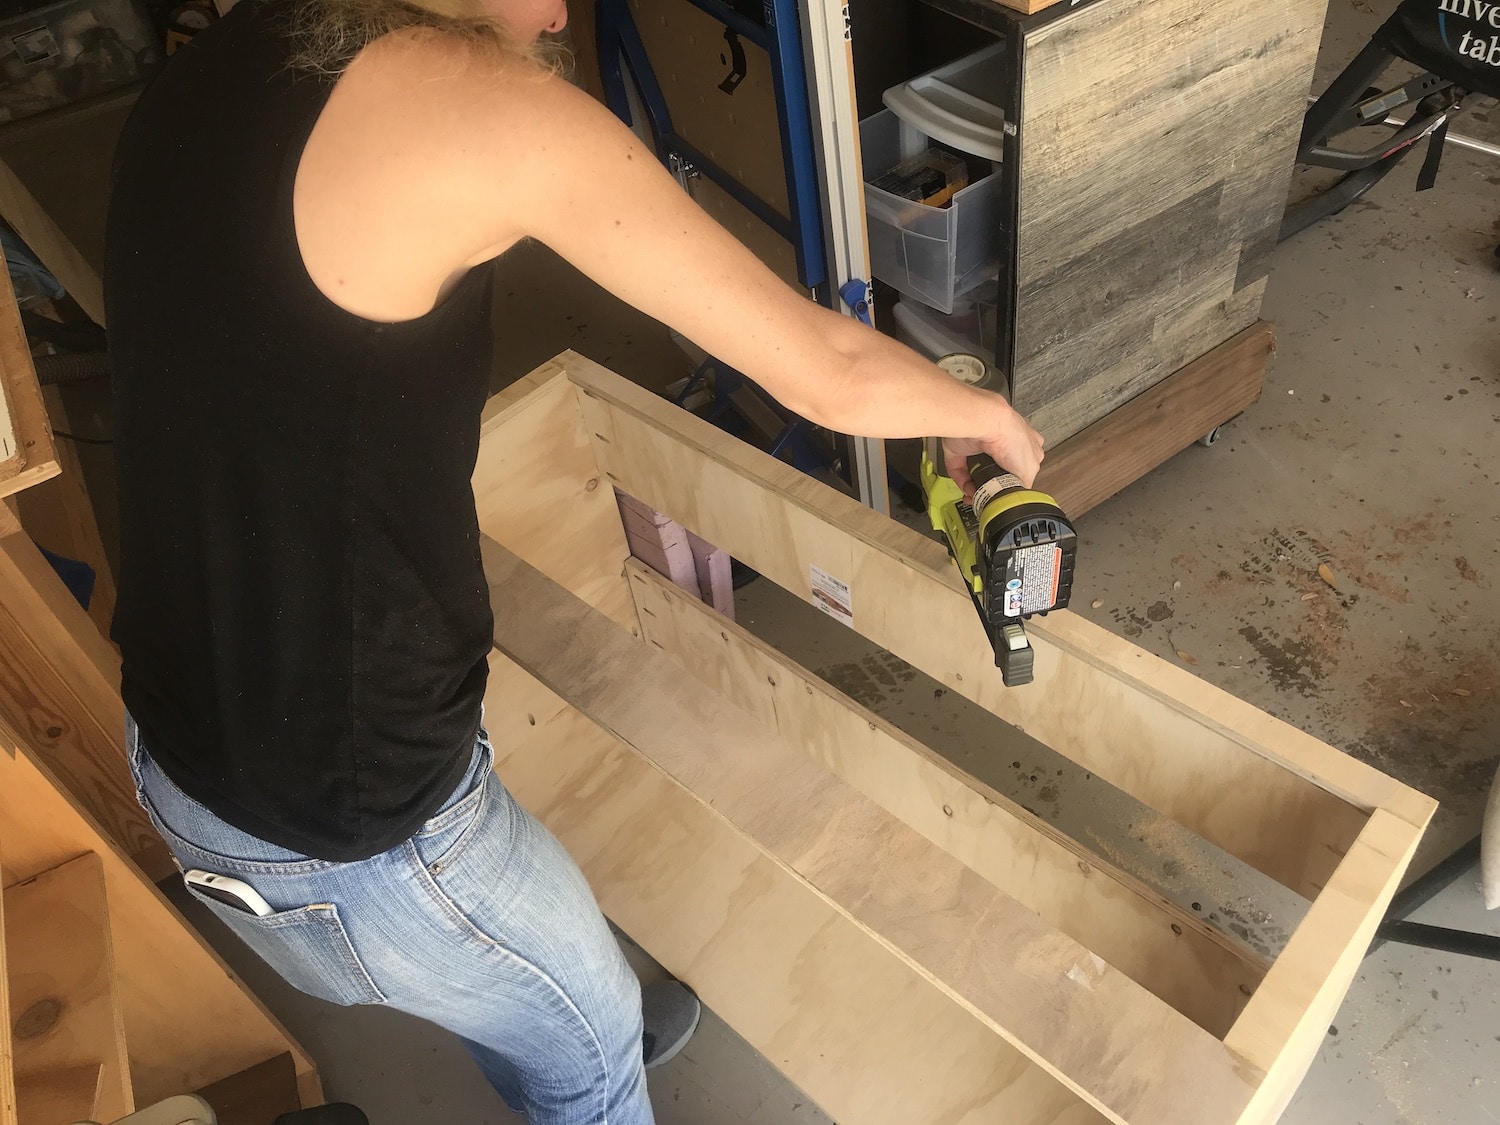
The cabinet box with the face frame is now done and you can move on to building the drawer!
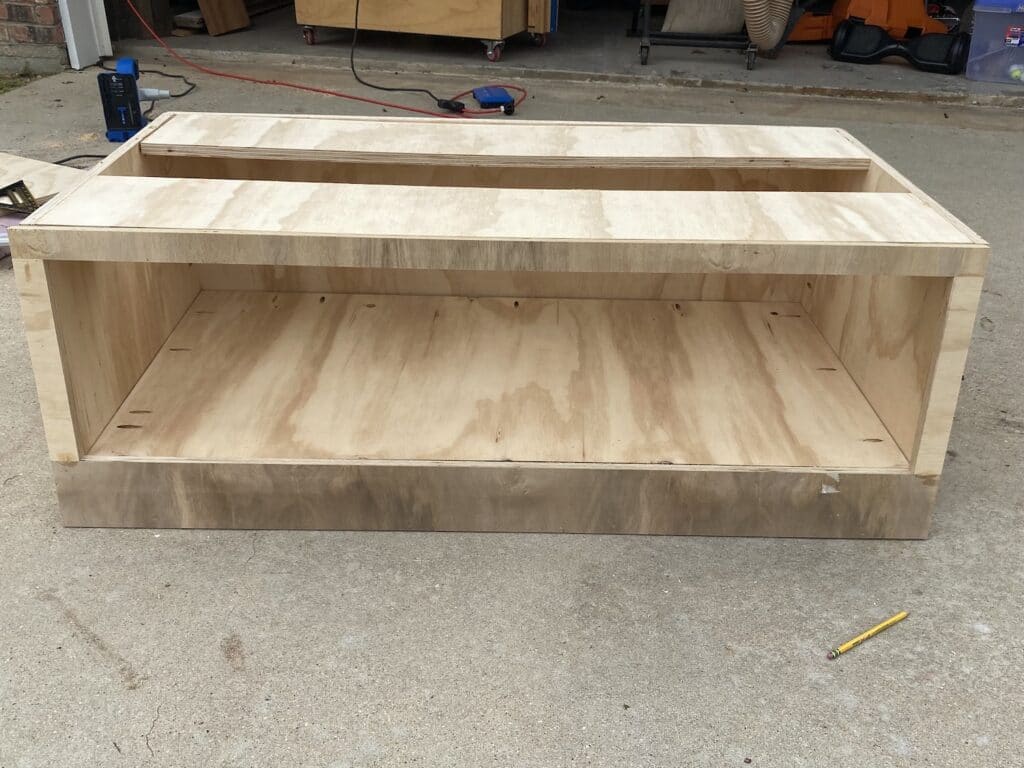
Step 3: Build the Drawer
Break down the sheets of plywood according to the plans. I sound like a broken record, but use a square when cutting and when joining the pieces with wood glue and pocket holes! The drawer will not open smoothly if it is off square. You’ll thank yourself later for taking extra time to get this right.
I started building the drawer by joining the sides to the front and back of the drawer.
This is a large drawer, so if you’re wanting to build some drawer dividers, now would be a great time to do that. I didn’t, since I wanted just one big drawer to throw shoes in. So, the plans don’t include drawer dividers.
But, you could easily make dividers of your own. Just cut them to size after you build the drawer.

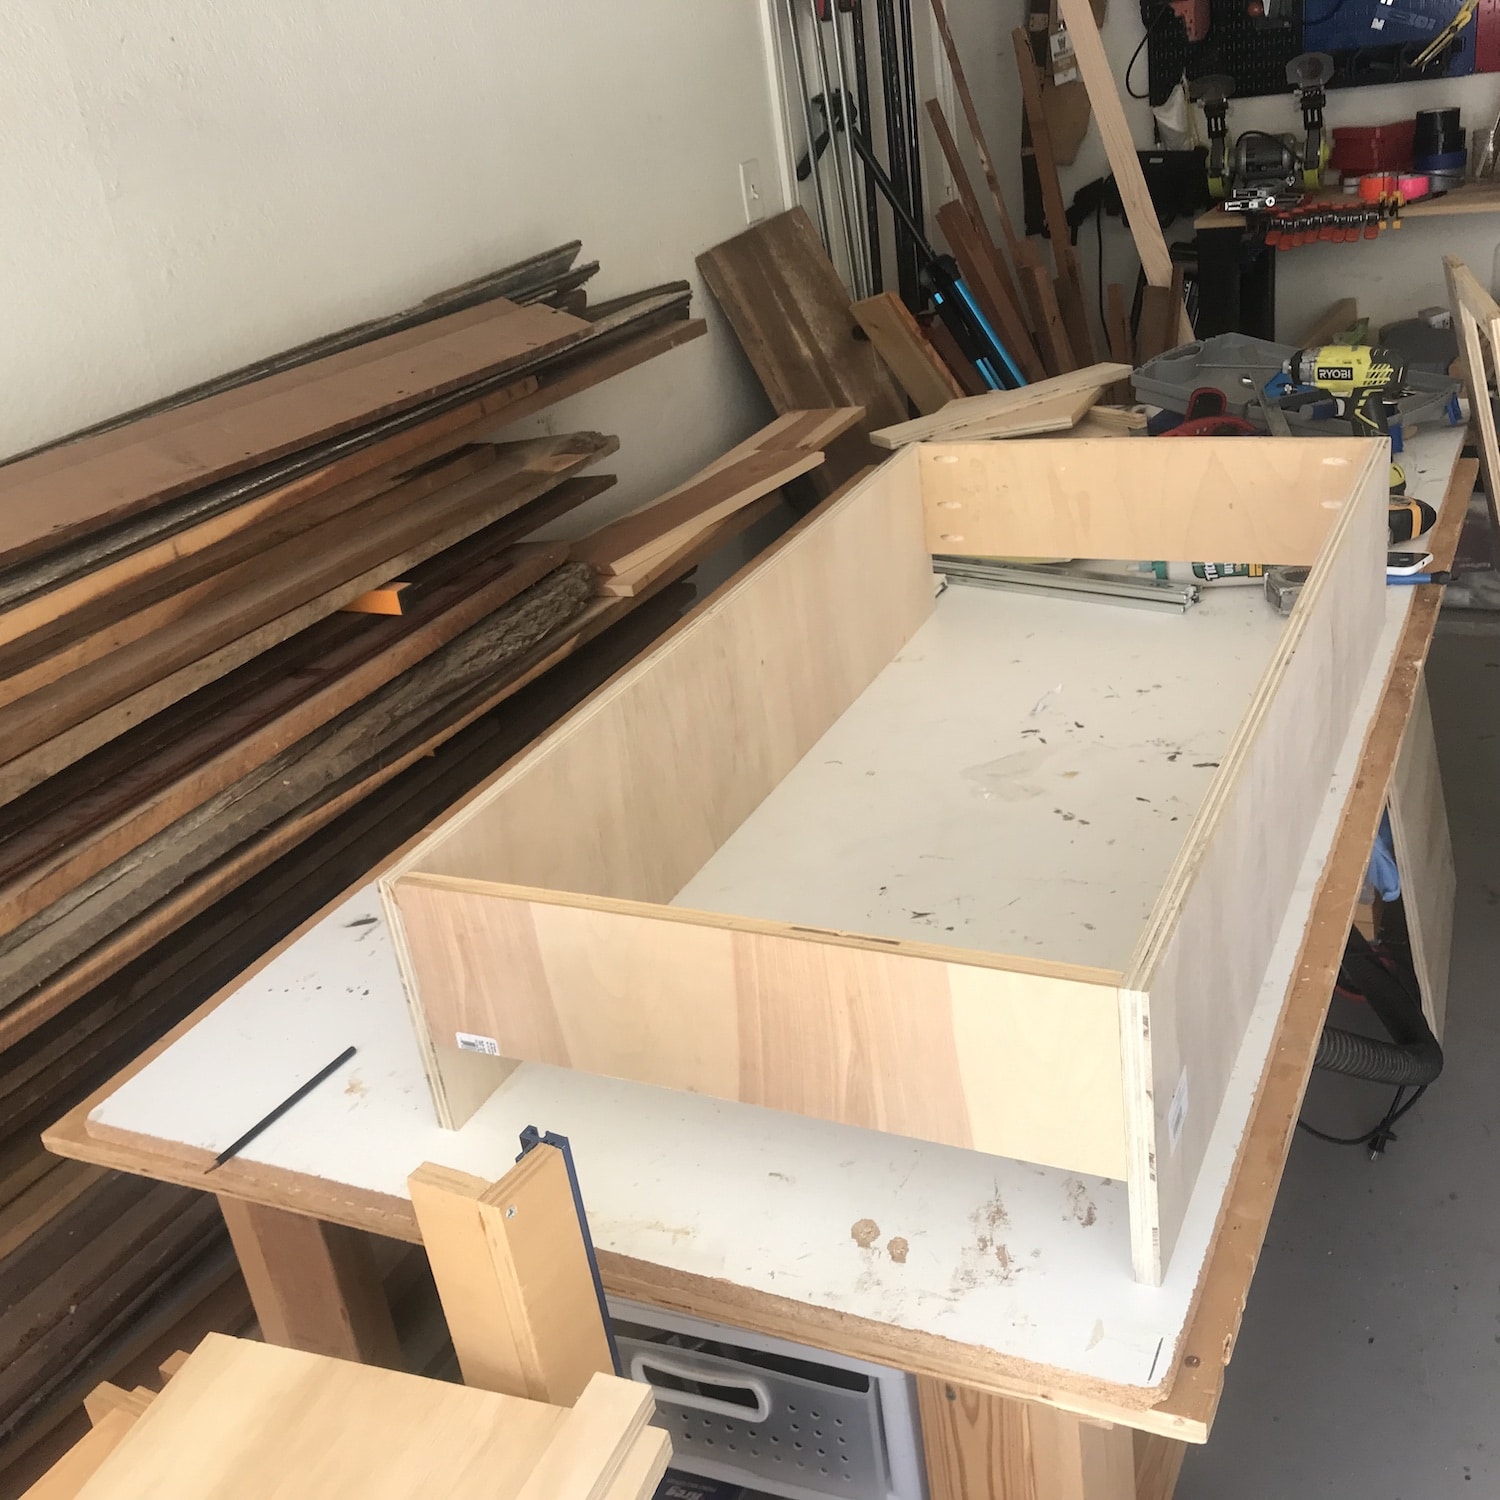
Since this is such a large drawer, I found it easiest to lay the drawer frame on top of the wood I was using for the bottom. That way, I could mark exactly where to cut in order to make the bottom of the drawer fit perfectly.
However, if you want to measure your drawer with a measuring tape, then cut the bottom according to the measurements, that would of course work as well.
I used my circle saw and edge guide to cut this since it was such a large piece.
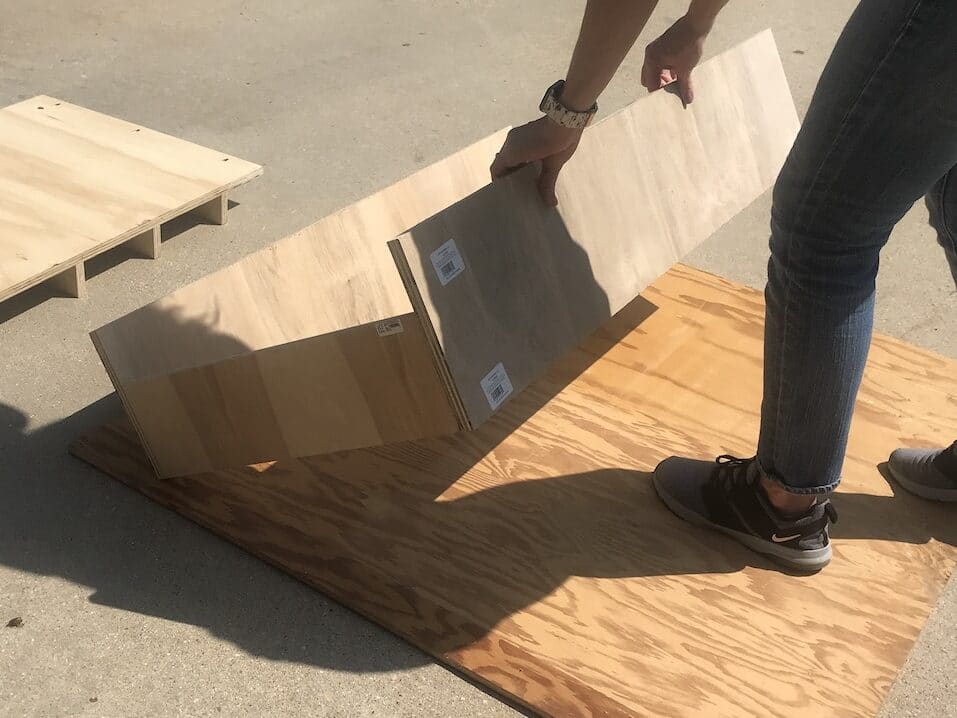
Attach the bottom of the drawer to the drawer frame. I used wood glue and a nail gun.
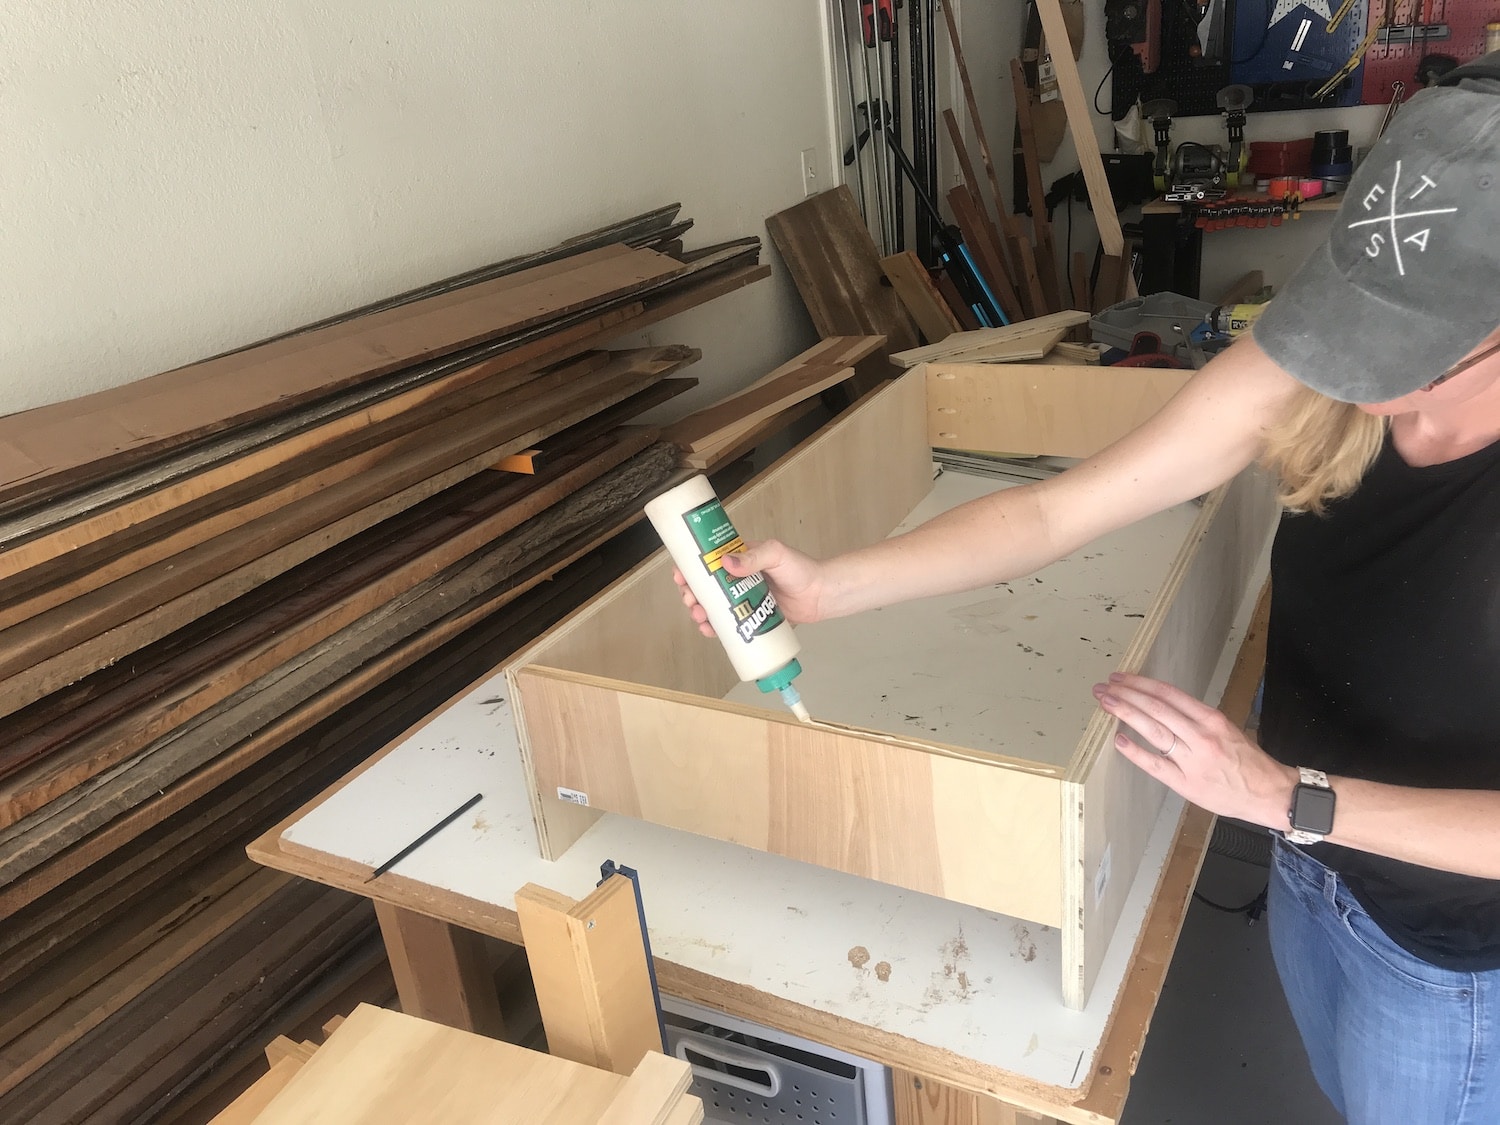
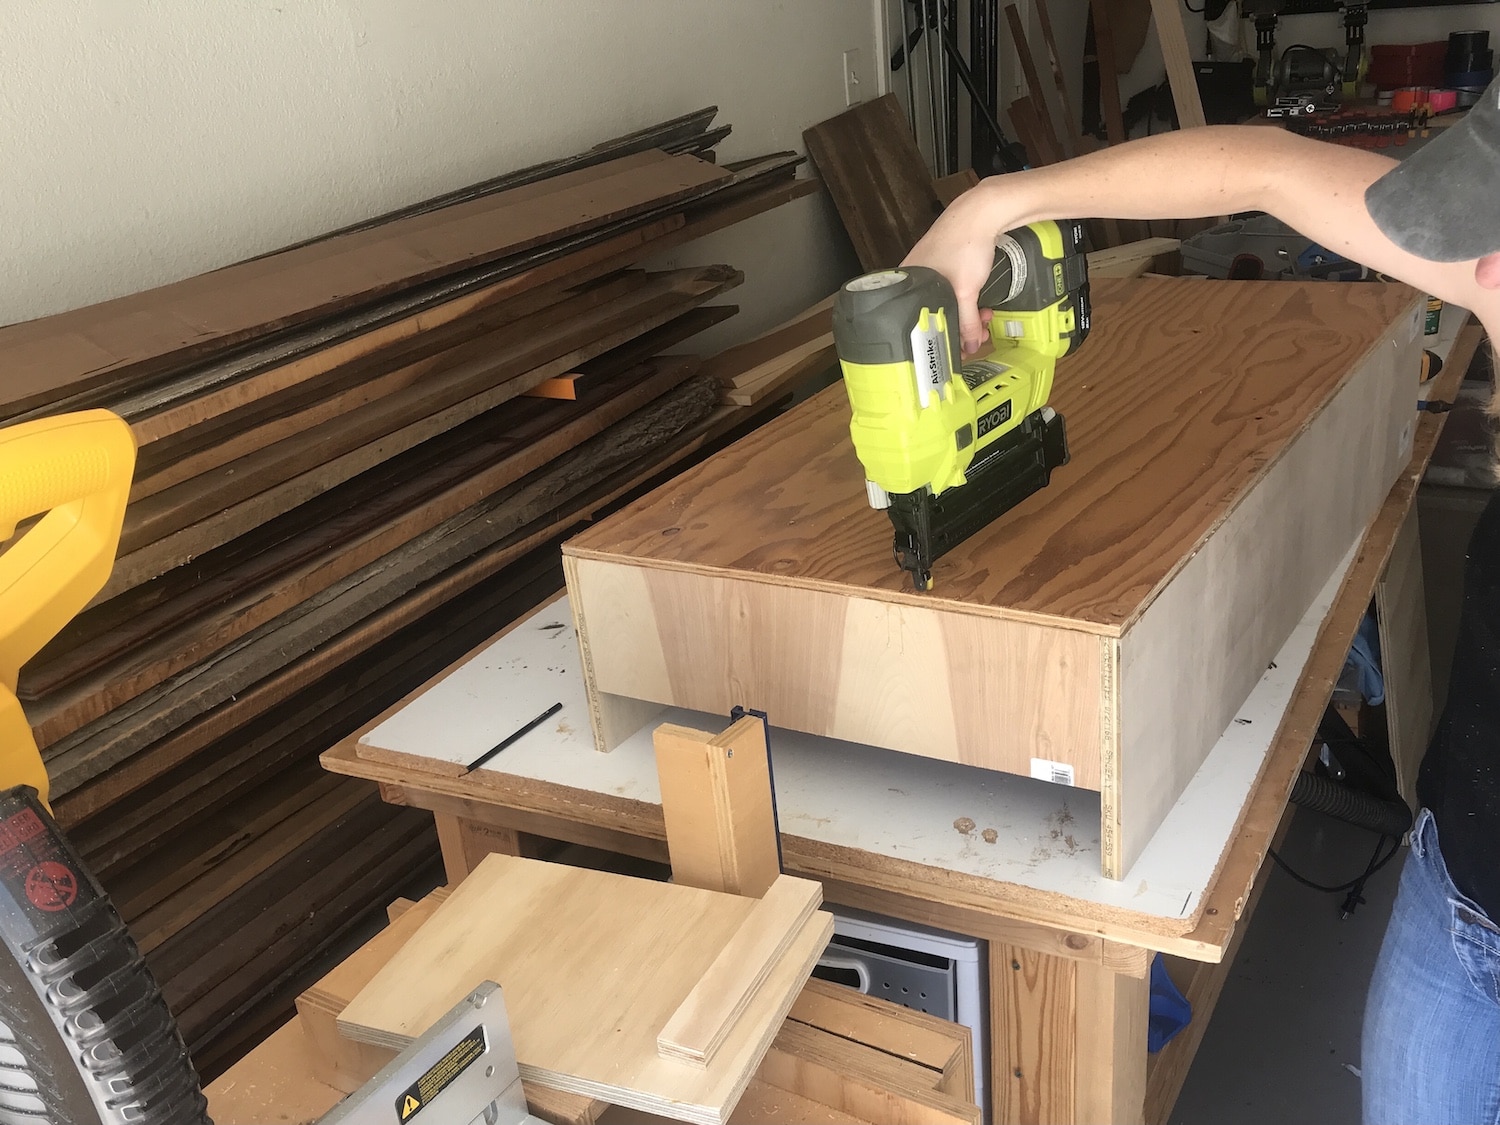
Step 4: Install the Drawer to the Cabinet Box
Drawers were always so intimidating to me, but turns out – I actually enjoyed making and installing them! The DrawerJig by Milescraft made the process so simple and straightforward. I quickly installed this large drawer on the face frame cabinet without an extra set of hands.
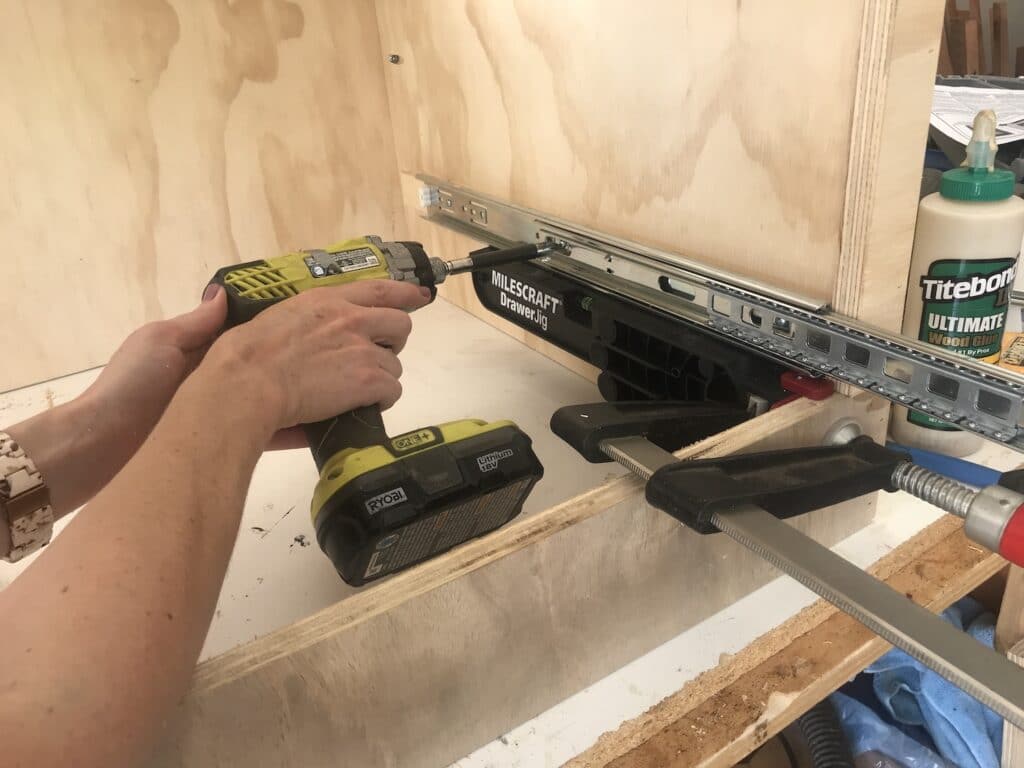
Once the drawer slides are installed in the cabinet, the DrawerJig flips around to the front of the cabinet. The drawer box you built will now sit in the perfect spot while you attach the drawer slides to the drawer.
Since this is a face frame cabinet with inset drawers, the drawer box will sit 3/4″ inside the frame. This way, the drawer frame will be flush with the cabinet face frame when it is installed.
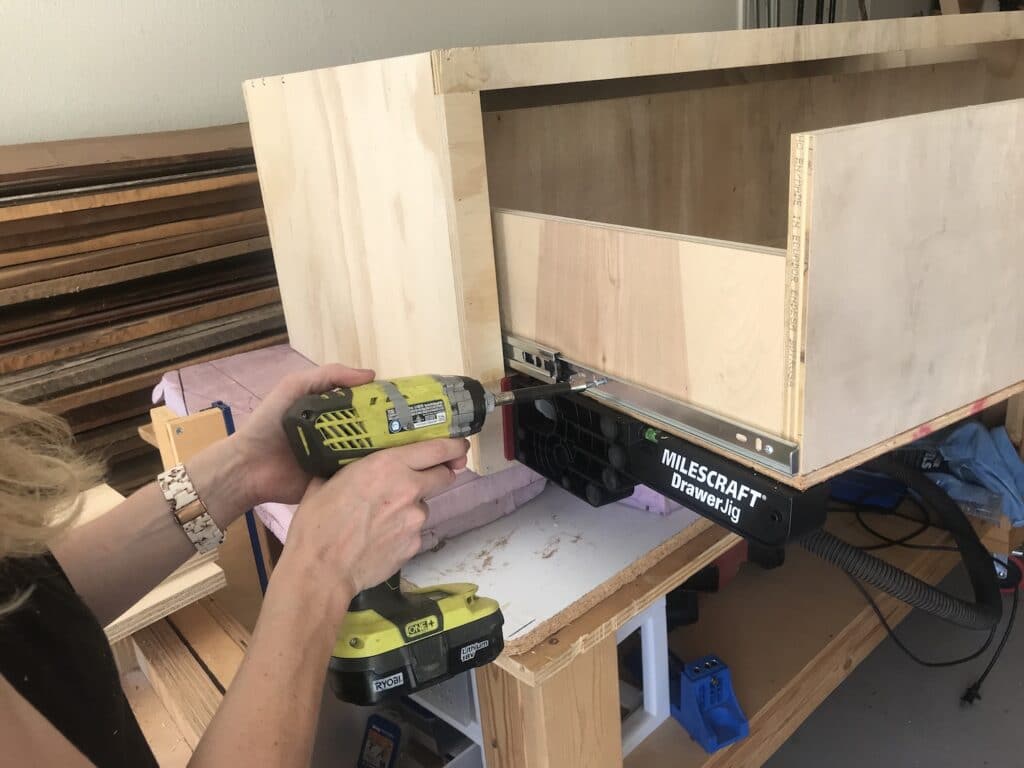
This jig made installing drawer slides on a face frame cabinet so simple and easy. It worked perfectly on the first try!
Step 5: Make the Drawer Face
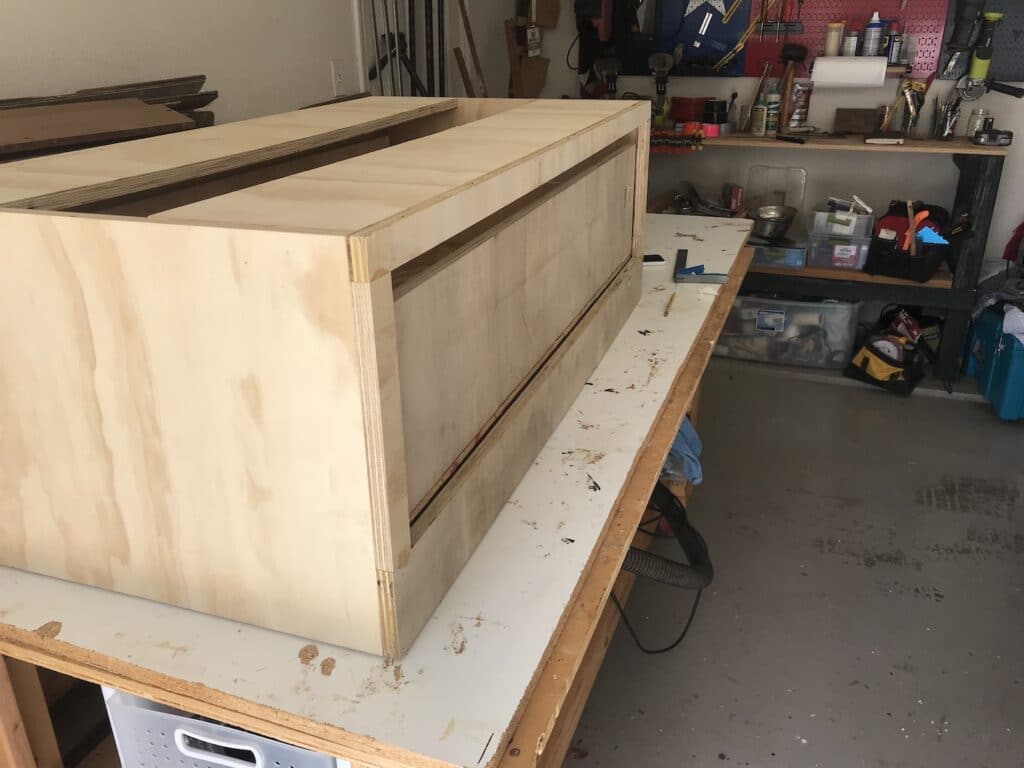
Now that your drawer is installed, you can frame it out. The frame edges measure 2.5″ wide and this will cover the gap between the drawer box and the face frame.
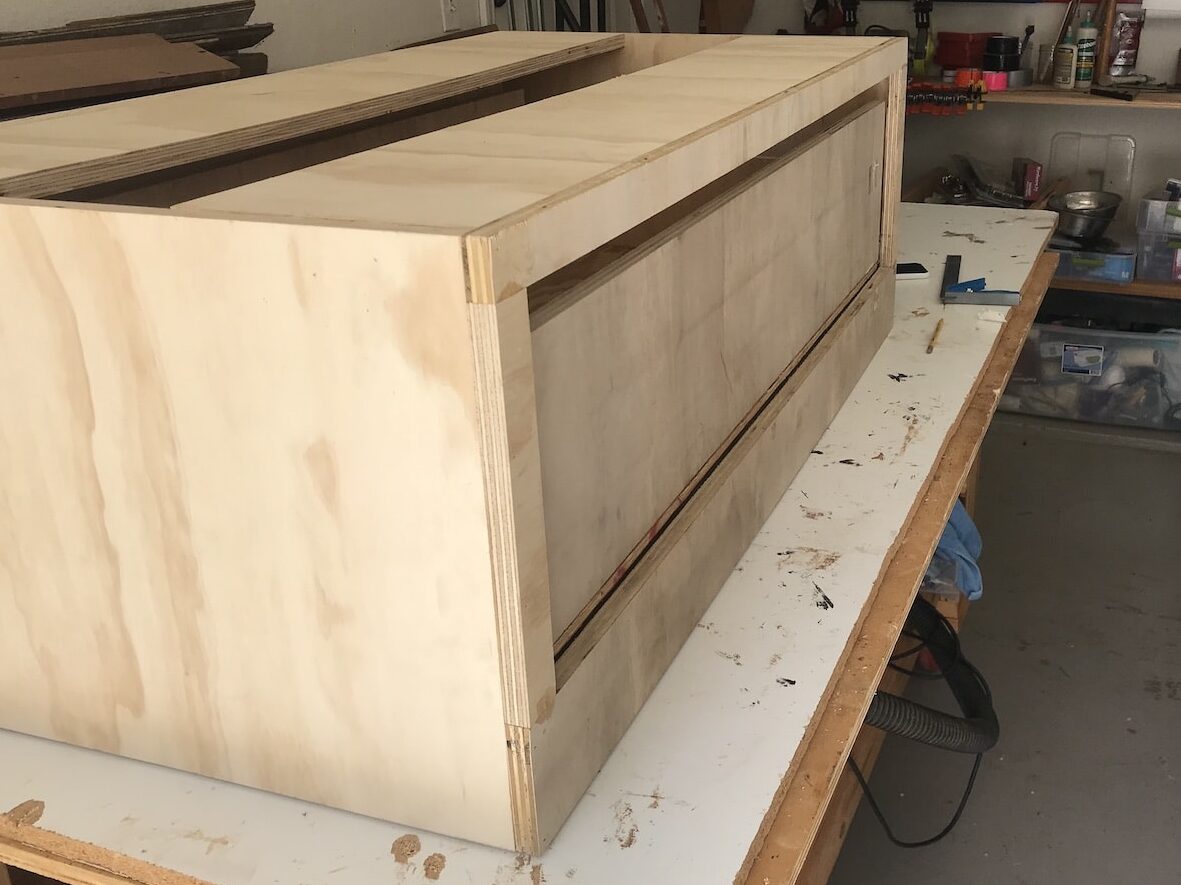
Typically, the gap around a drawer is 1/8″ all around. So, measure the opening between the face frame and subtract 1/4″ from the top and 1 side. This will give you 1/8″ around the drawer frame when it is evenly centered between the face frame.
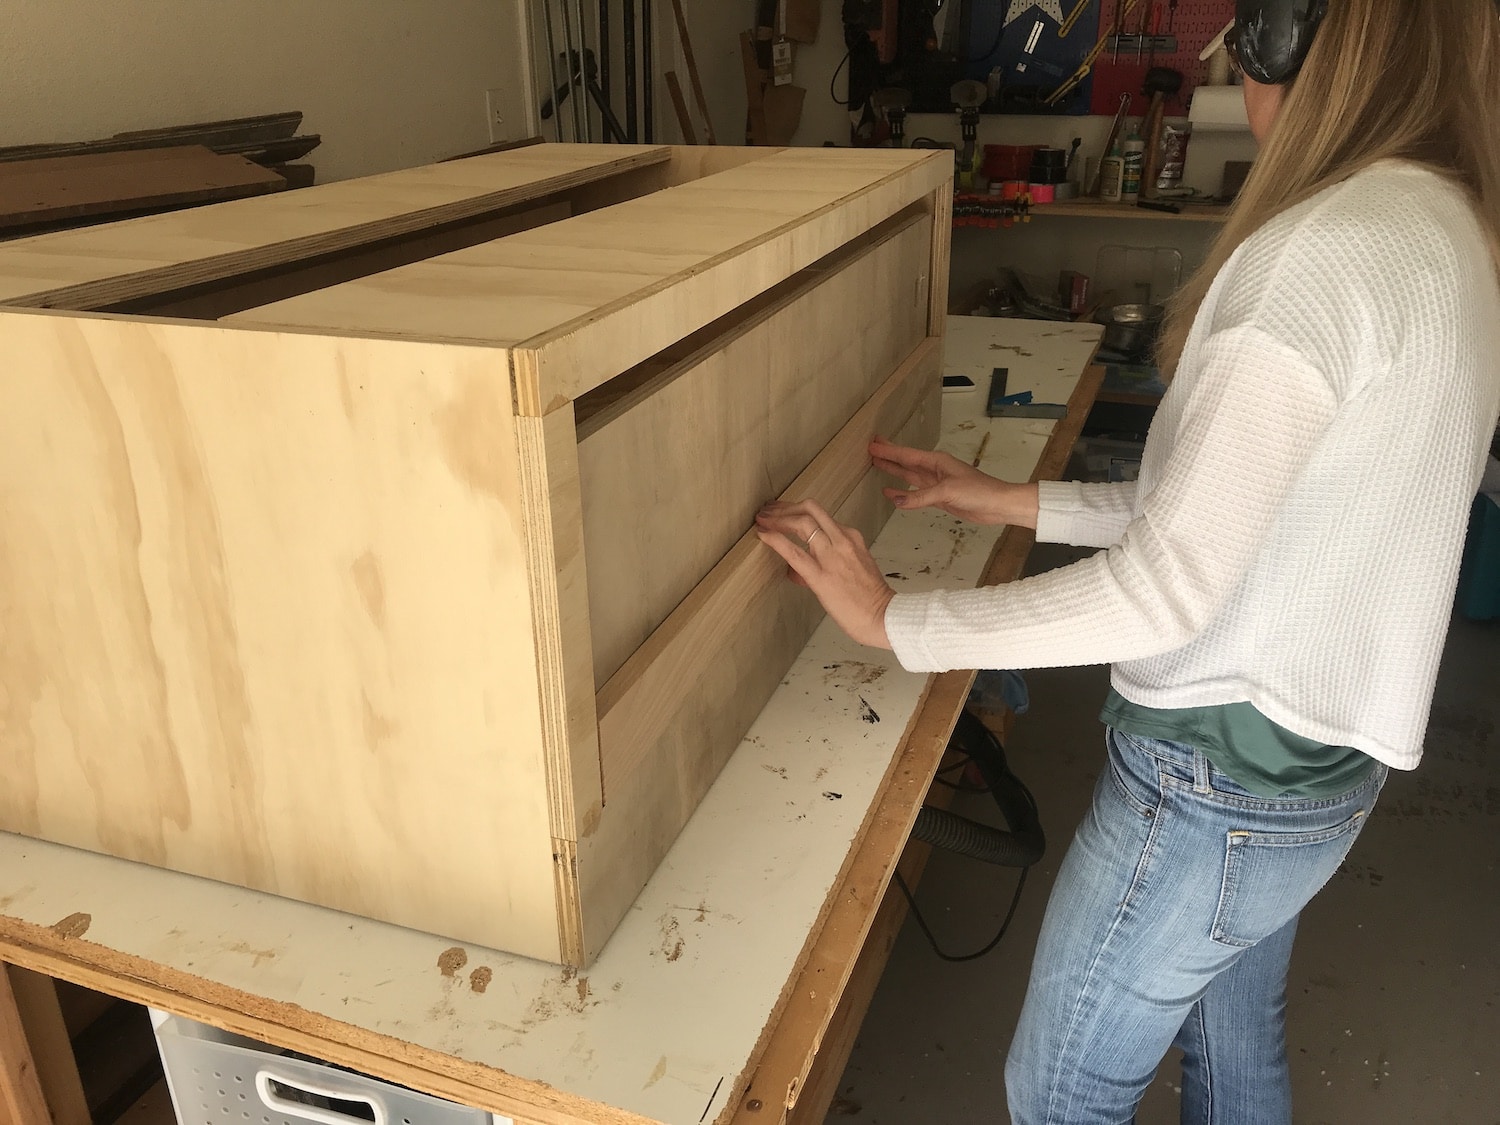


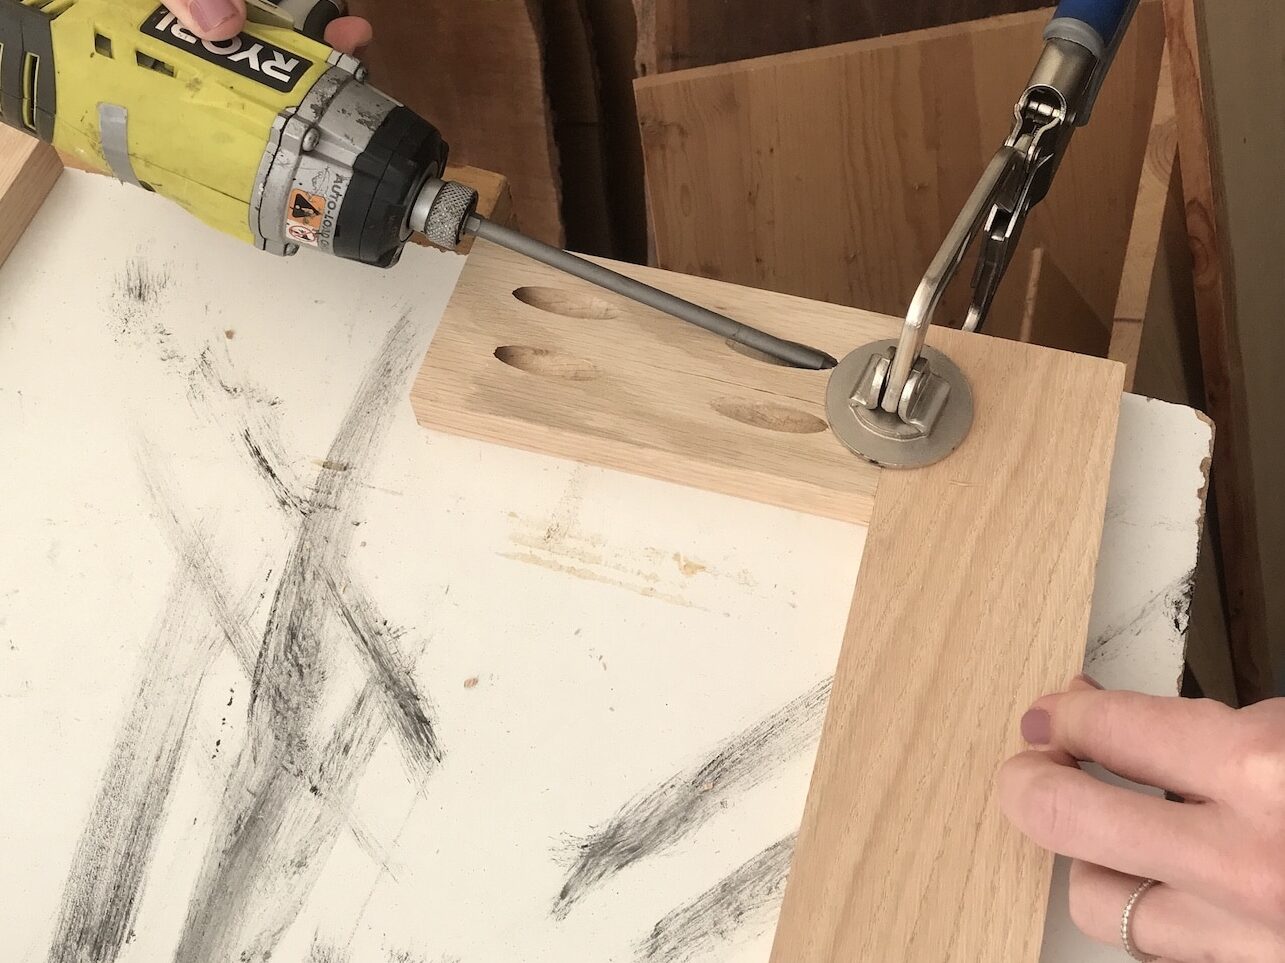
Assemble the frame for the drawer front with wood glue and pocket holes. I used oak for this step for added stability, but you could probably get away with pine for this step.
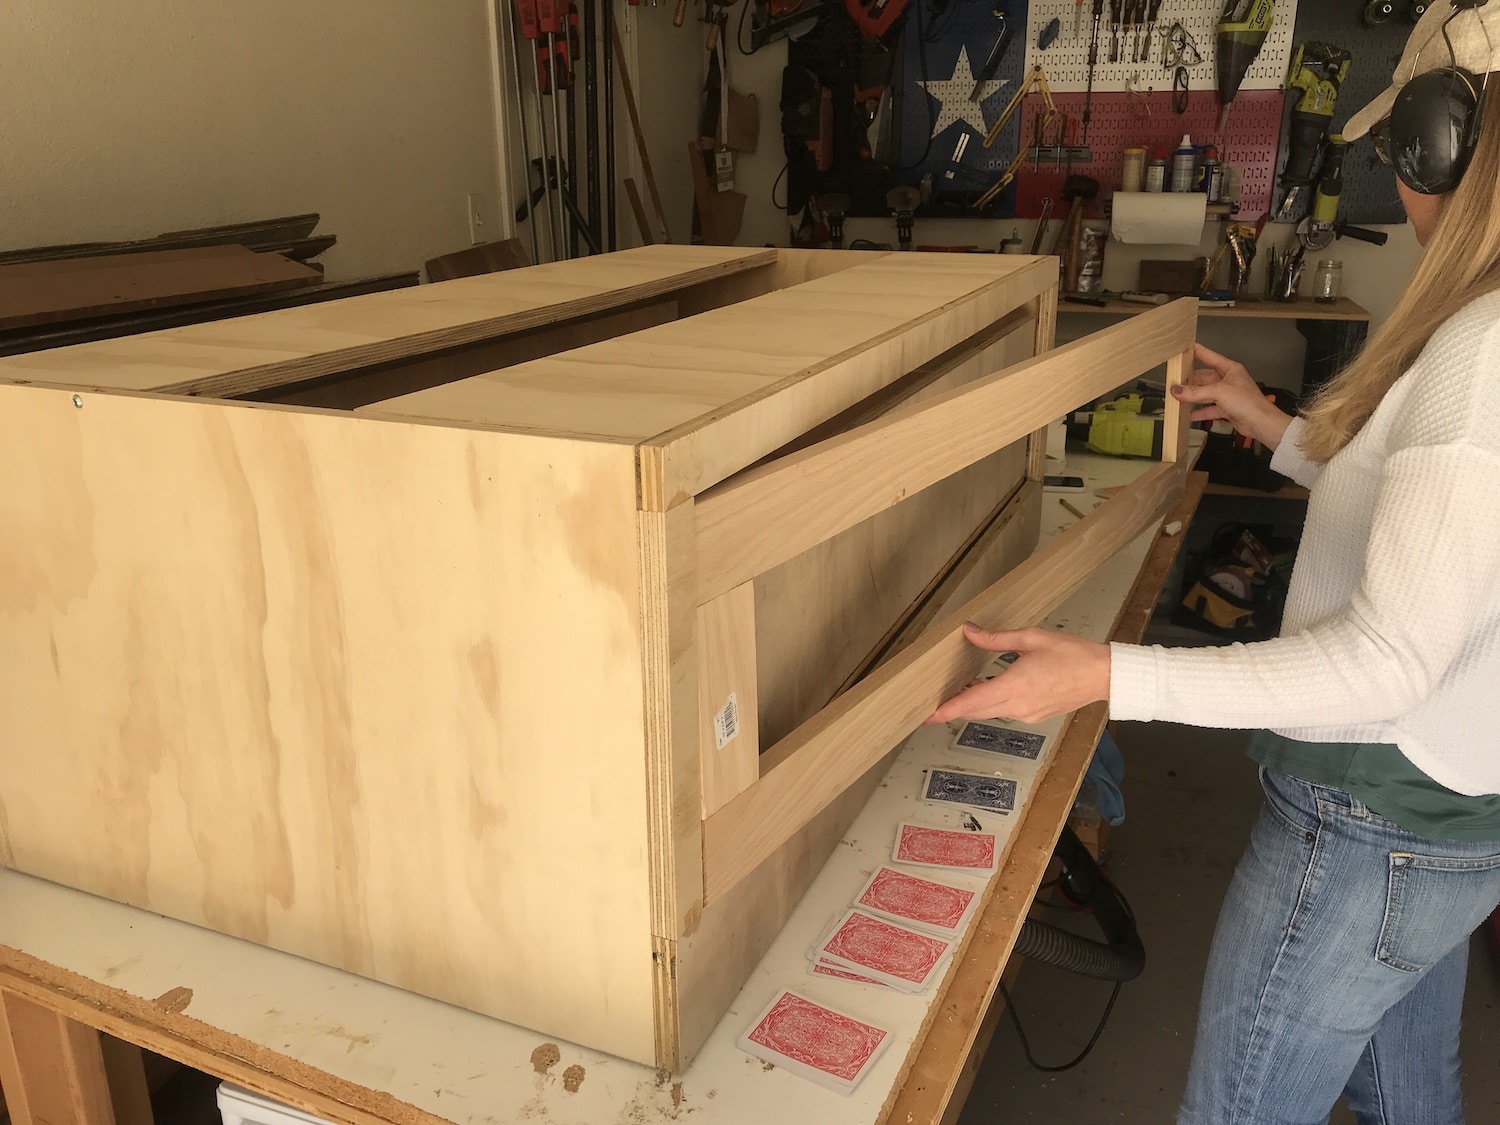
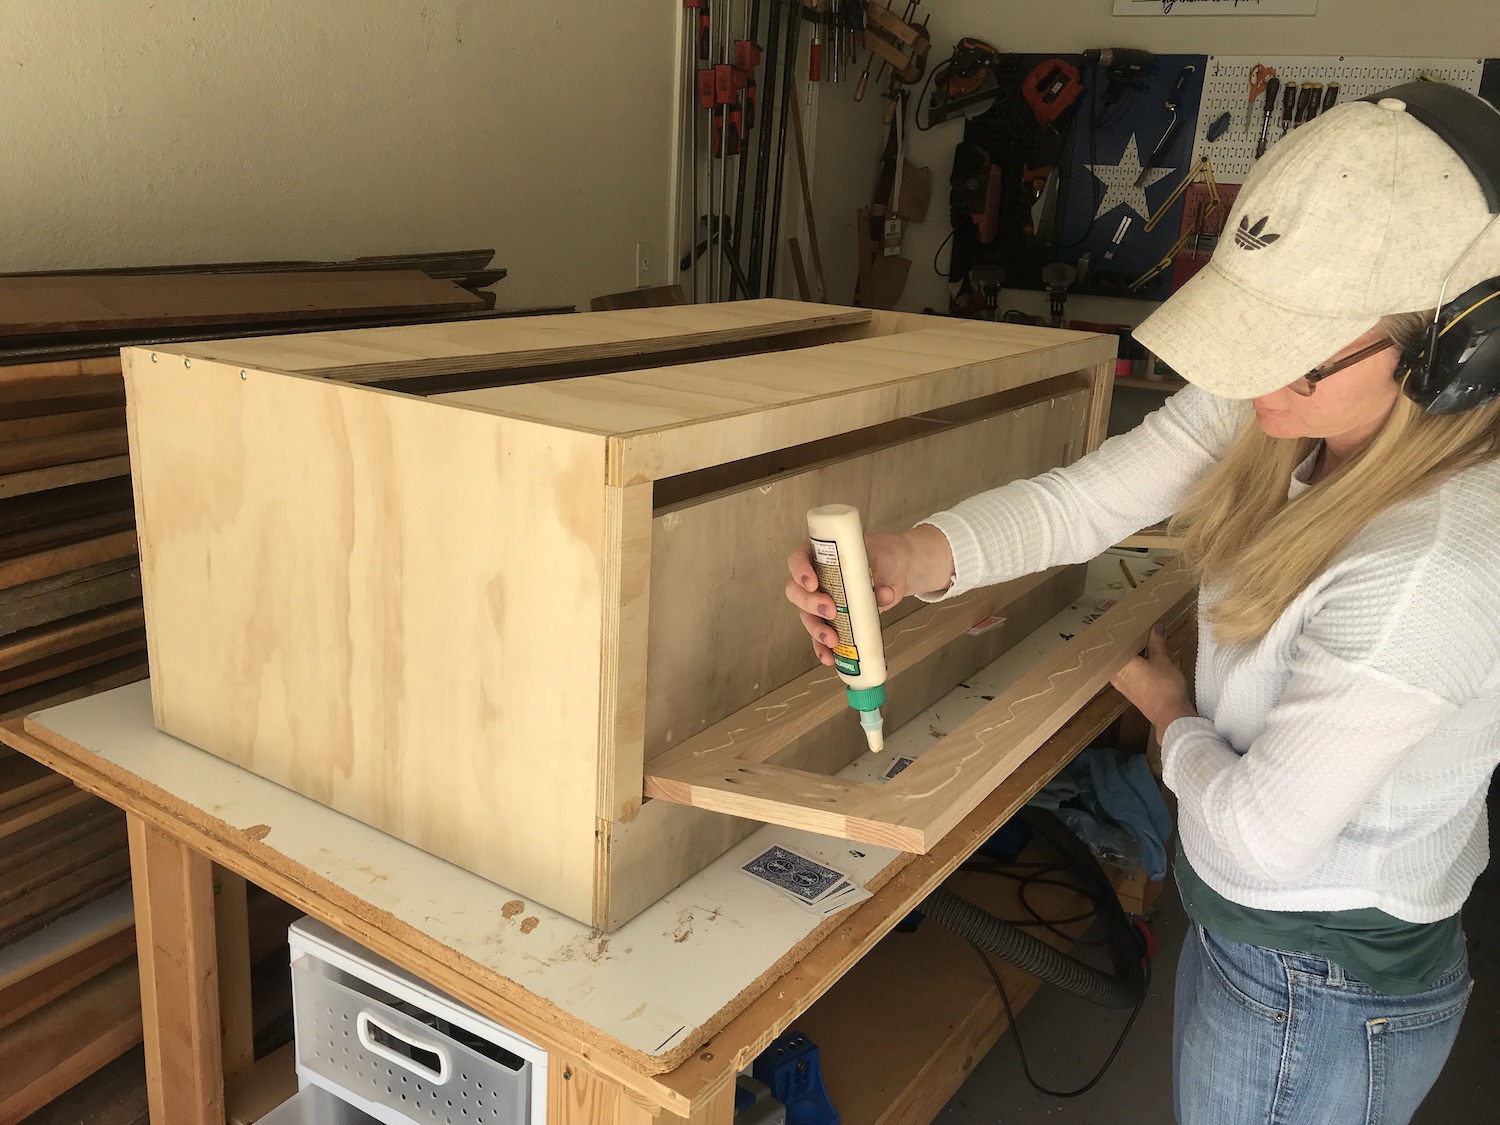
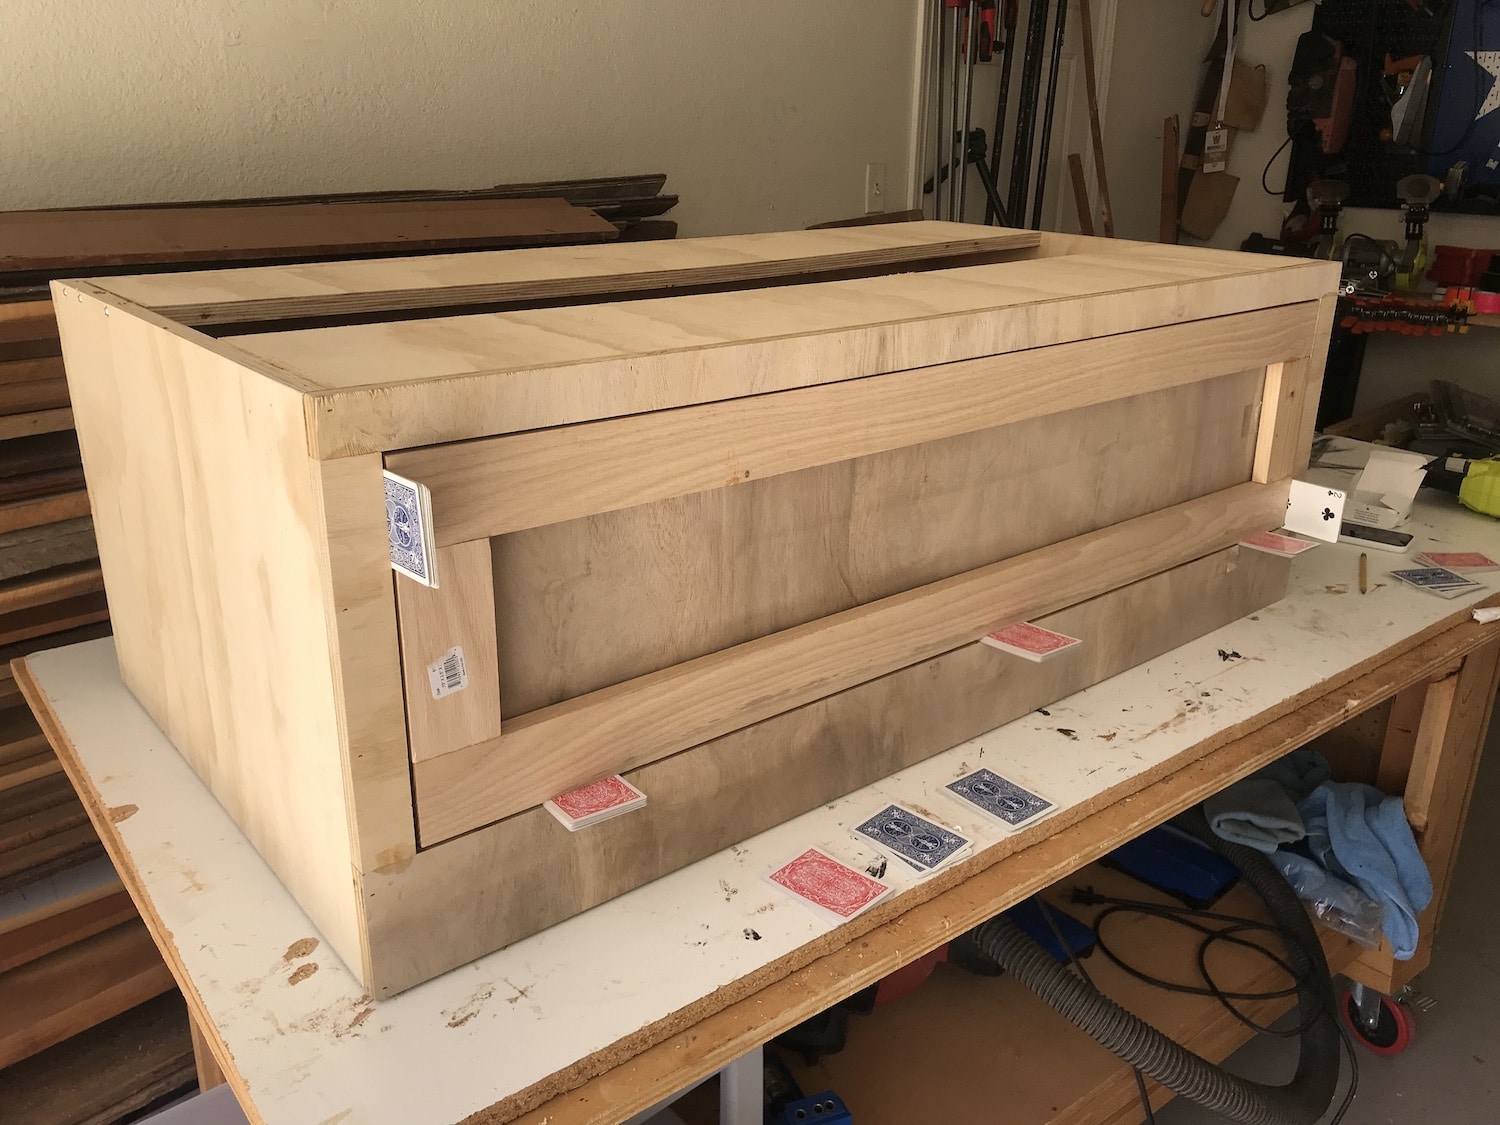
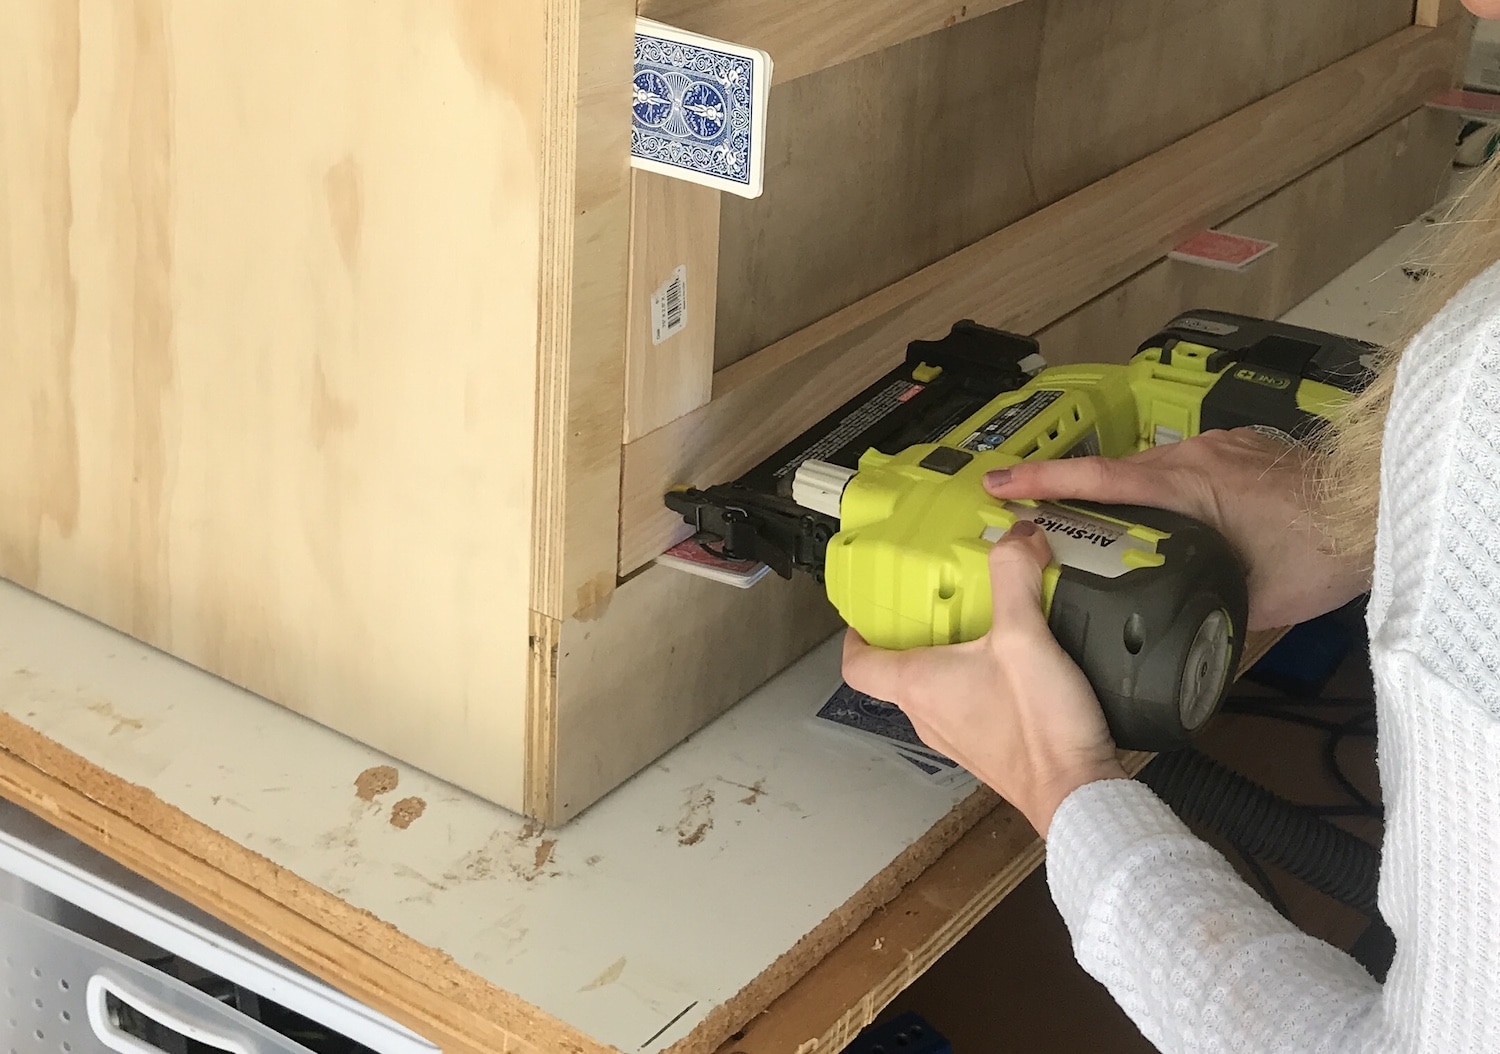
Attach the drawer frame to the drawer with 1/8″ gap all around. An easy way to do this is to figure out how many playing cards are needed to fill a 1/4″ gap. Then, divide the cards in two equal piles and surround the drawer frame with them. Use a nail gun to attach it and you can fill the holes later.
I used this similarly when I made this floating frame for a canvas.
Step 6: Build the Seat for the Top of the Bench
I used cedar to build the top for the storage bench. I was sure to joint the edges so the seams were flush. This step is very important for creating a quality bench top in my opinion. It’s all in the details and clean seams with take it up a notch!
I glued the top pieces (wooden boards) together and also attached them with pocket holes for added stability.
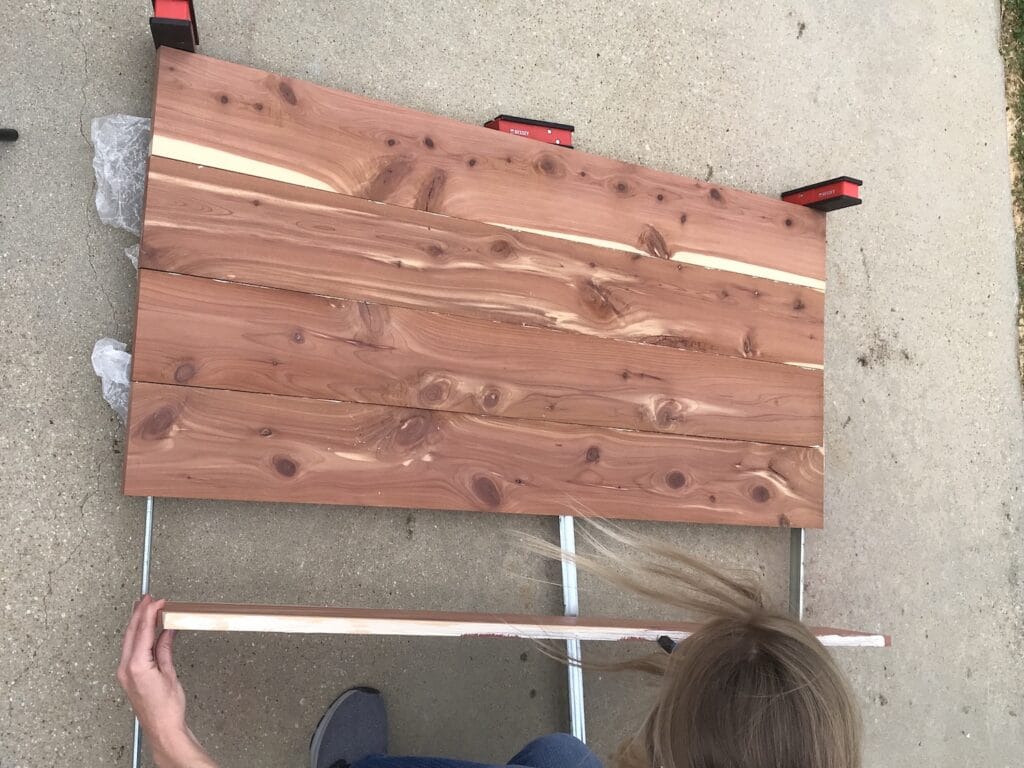
To finish the bench top, I stained it, then applied 3 coats of polyurethane in order to protect it. This particular polyurethane goes on milky and dries clear. It provides a very durable finish and I’ve been happy with it.


Step 7: Add Trim, Fill Nail Holes, Caulk, Paint, and Seal
Attach the bench top to the base from the underside of the cabinet box. The drawer is removable, which makes this much easier to do.
Add a 2.5″ tall trim piece to the front edge of the storage bench.

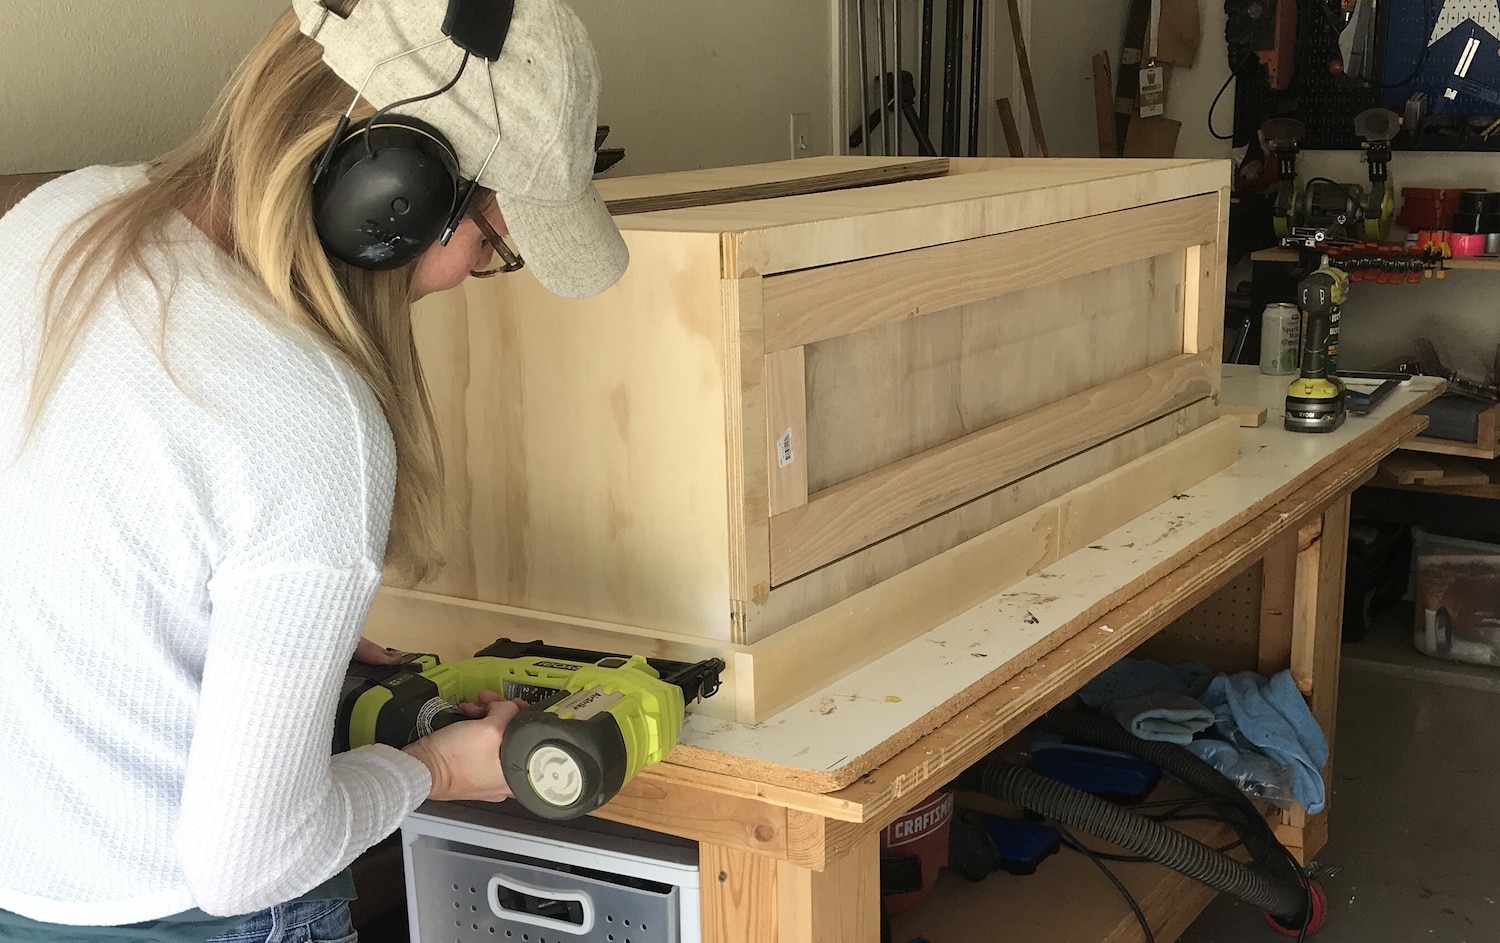
Apply caulk to all inside seams and wood filler to outside seams and nail holes. Once dry, sand everything down with 120 grit sandpaper.
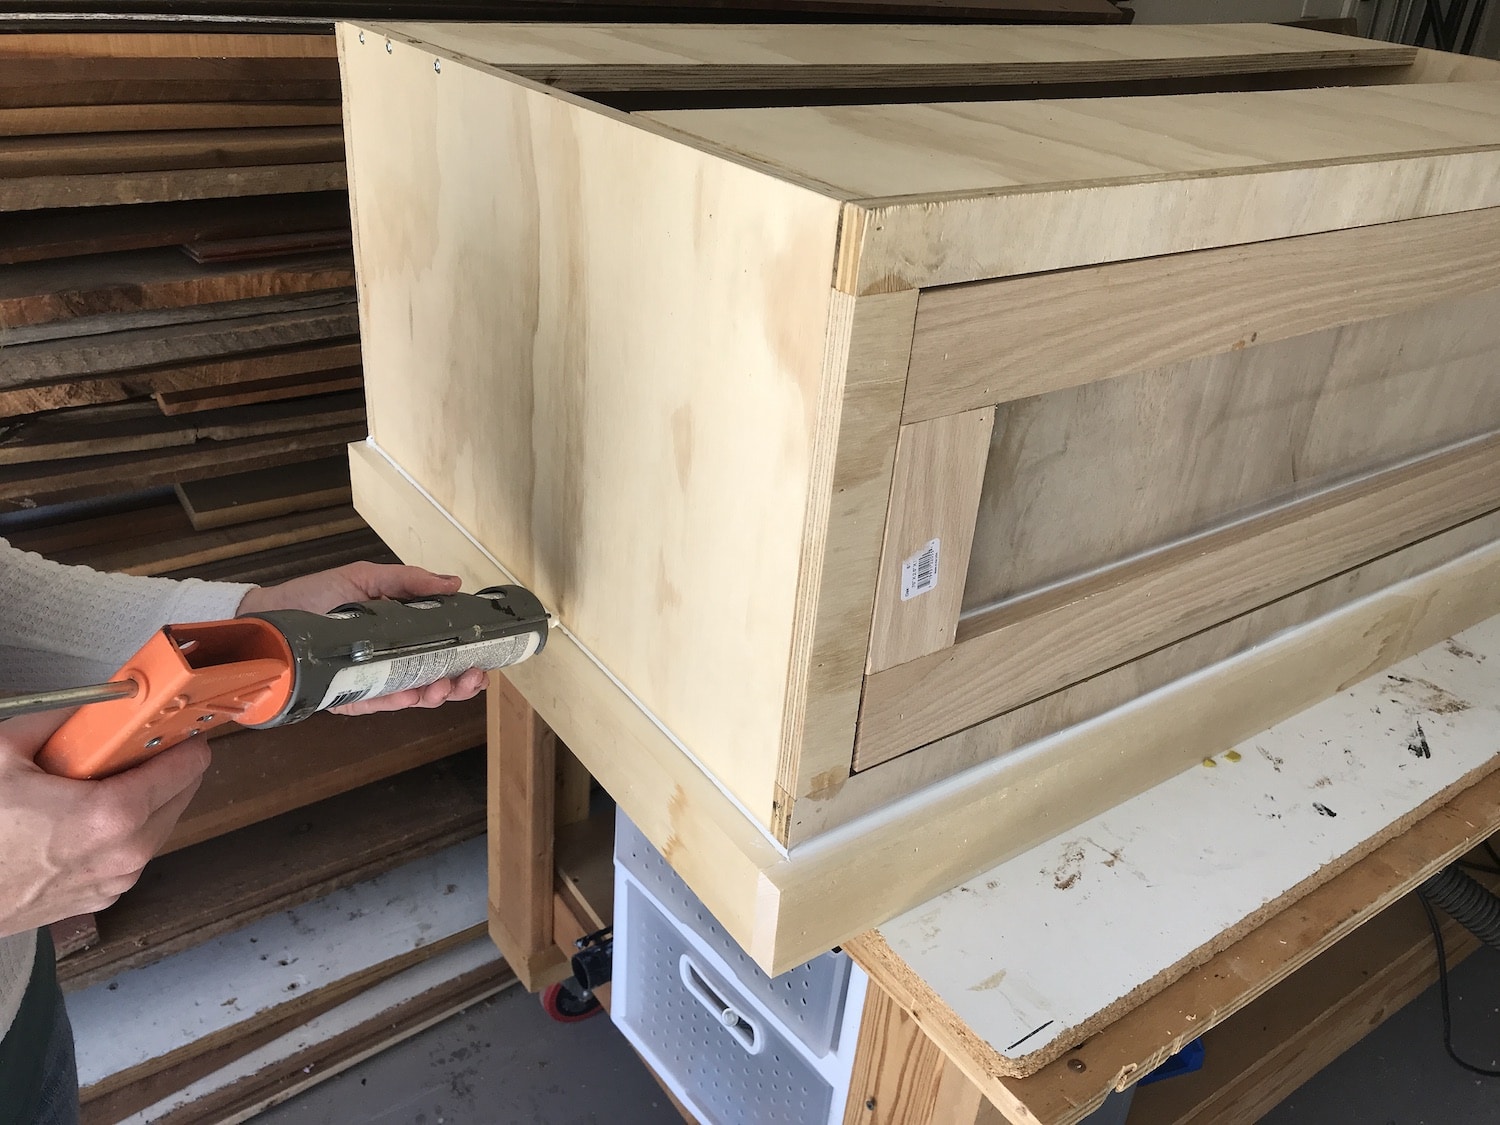

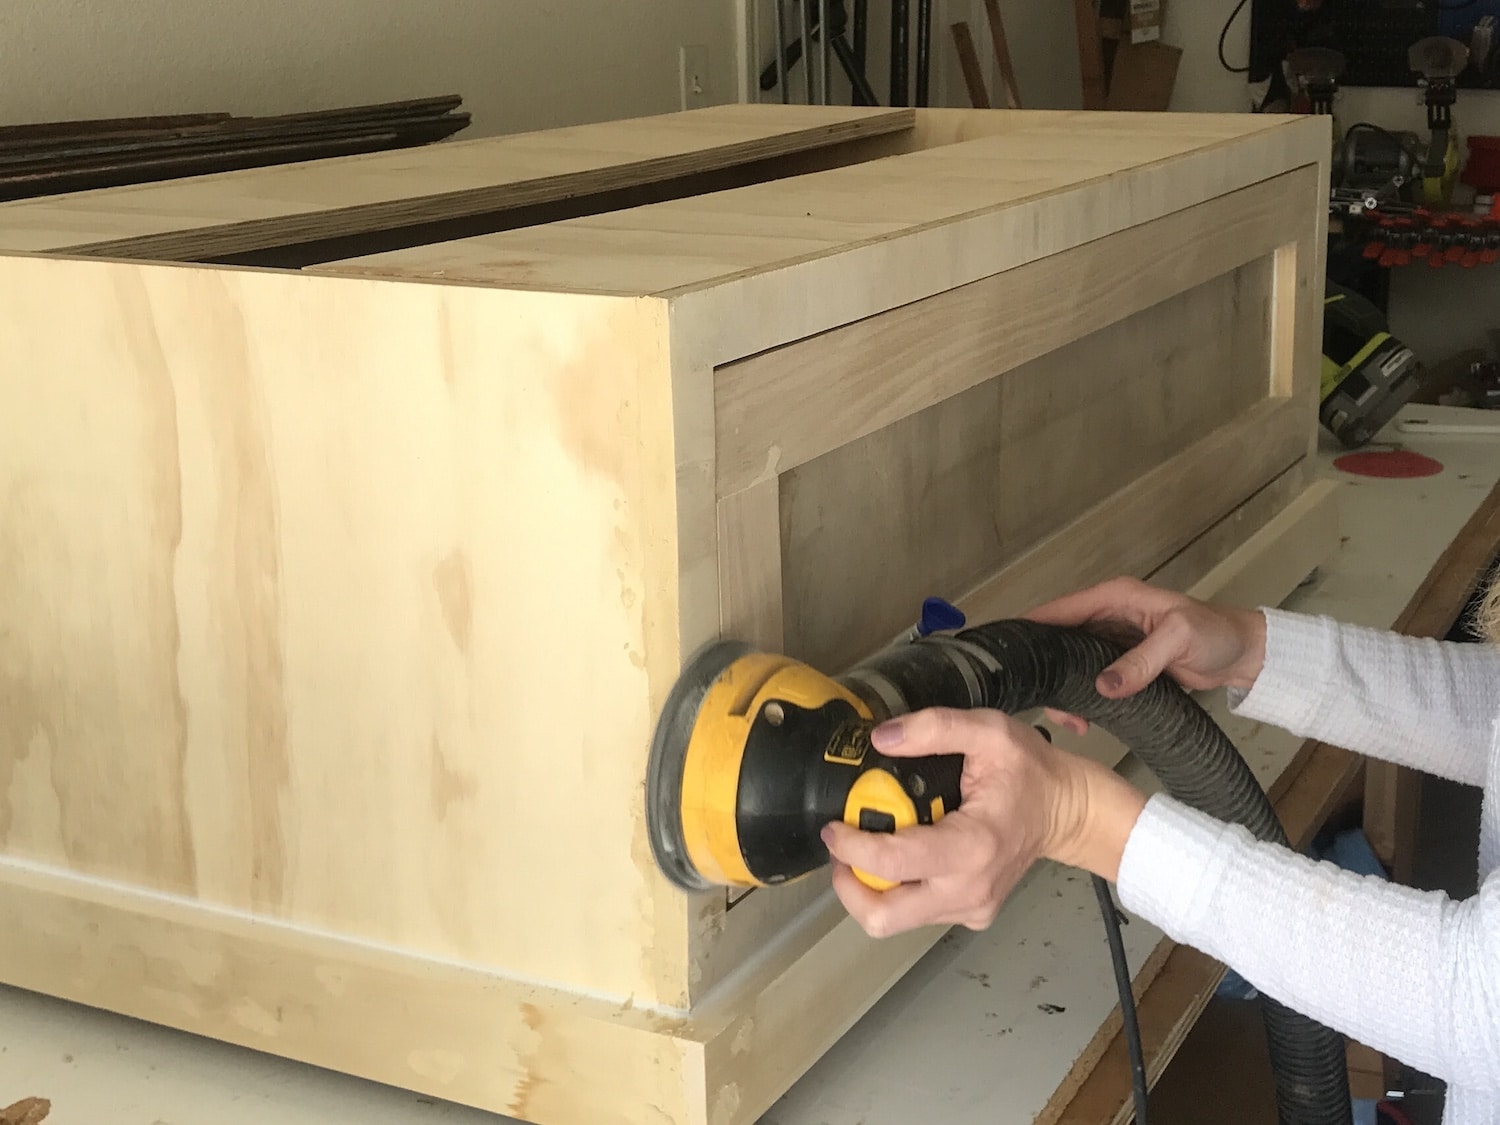
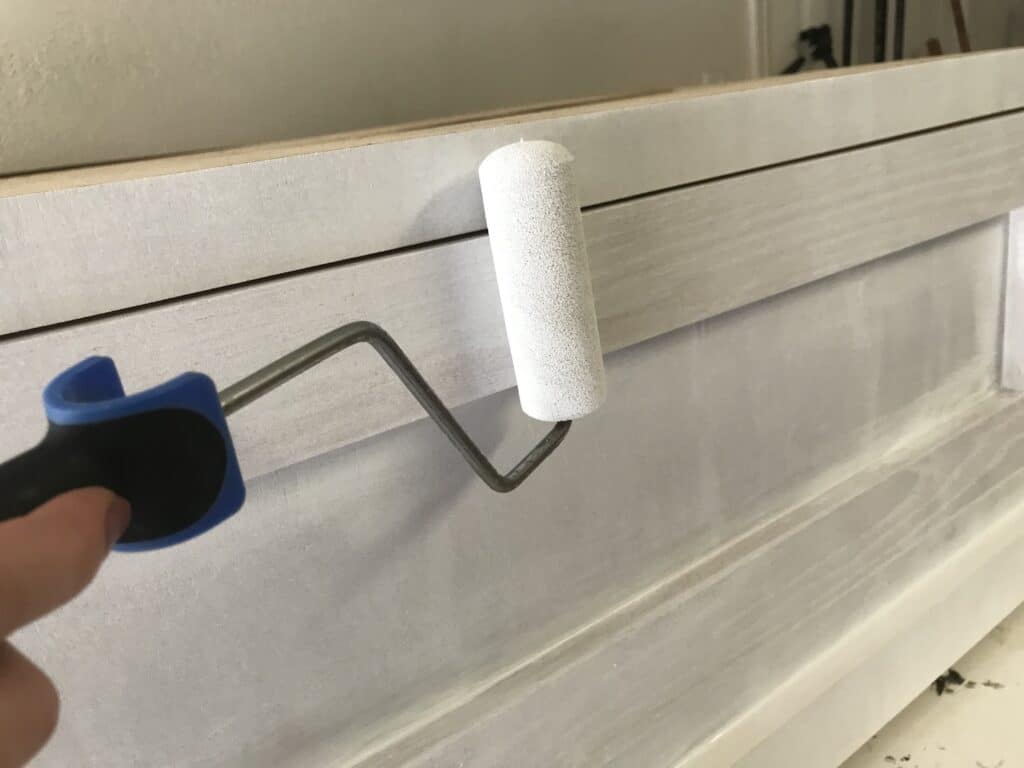
You can now apply the primer, paint, and sealer. Obviously, I went with white (Sherwin Williams White Dove), but the paint colors you can choose from are endless!
This whole painting process is the same one I used for painting a dresser black.
Step 8: Add the Hardware
I used a bar pull for the drawer. Installation was fairly straight forward!


And that’s it! See, drawers aren’t so bad, right?? I see many more builds with drawers in them in my future now.

And that’s it! This is a perfect bench when you’re looking for lots of storage for a mudroom area. Building your own piece of furniture is so satisfying – especially one that is functional and gets lots of use! This build has lots of steps, but it ended up being an easy DIY mudroom bench – and I have full faith that you can build it too!

Suzie Wible
Suzie has shared her knowledge for over 10 years about building furniture, painting techniques, how to build your dream home, and basic to advanced woodworking skills. Through this blog, readers will feel empowered to create a home and products they love too.