AirStone Review
Disclaimer: This post is sponsored by AirStone, but all opinions are my own.
You guys…I am so excited to share this product with all of you. You know when you see a product and you KNOW it’s a game changer? Well this one is for the books. I teamed up with AirStone and Lowes to bring you this tutorial and I have no doubt you will be asking yourself how many areas of your home you could transform with this stuff.
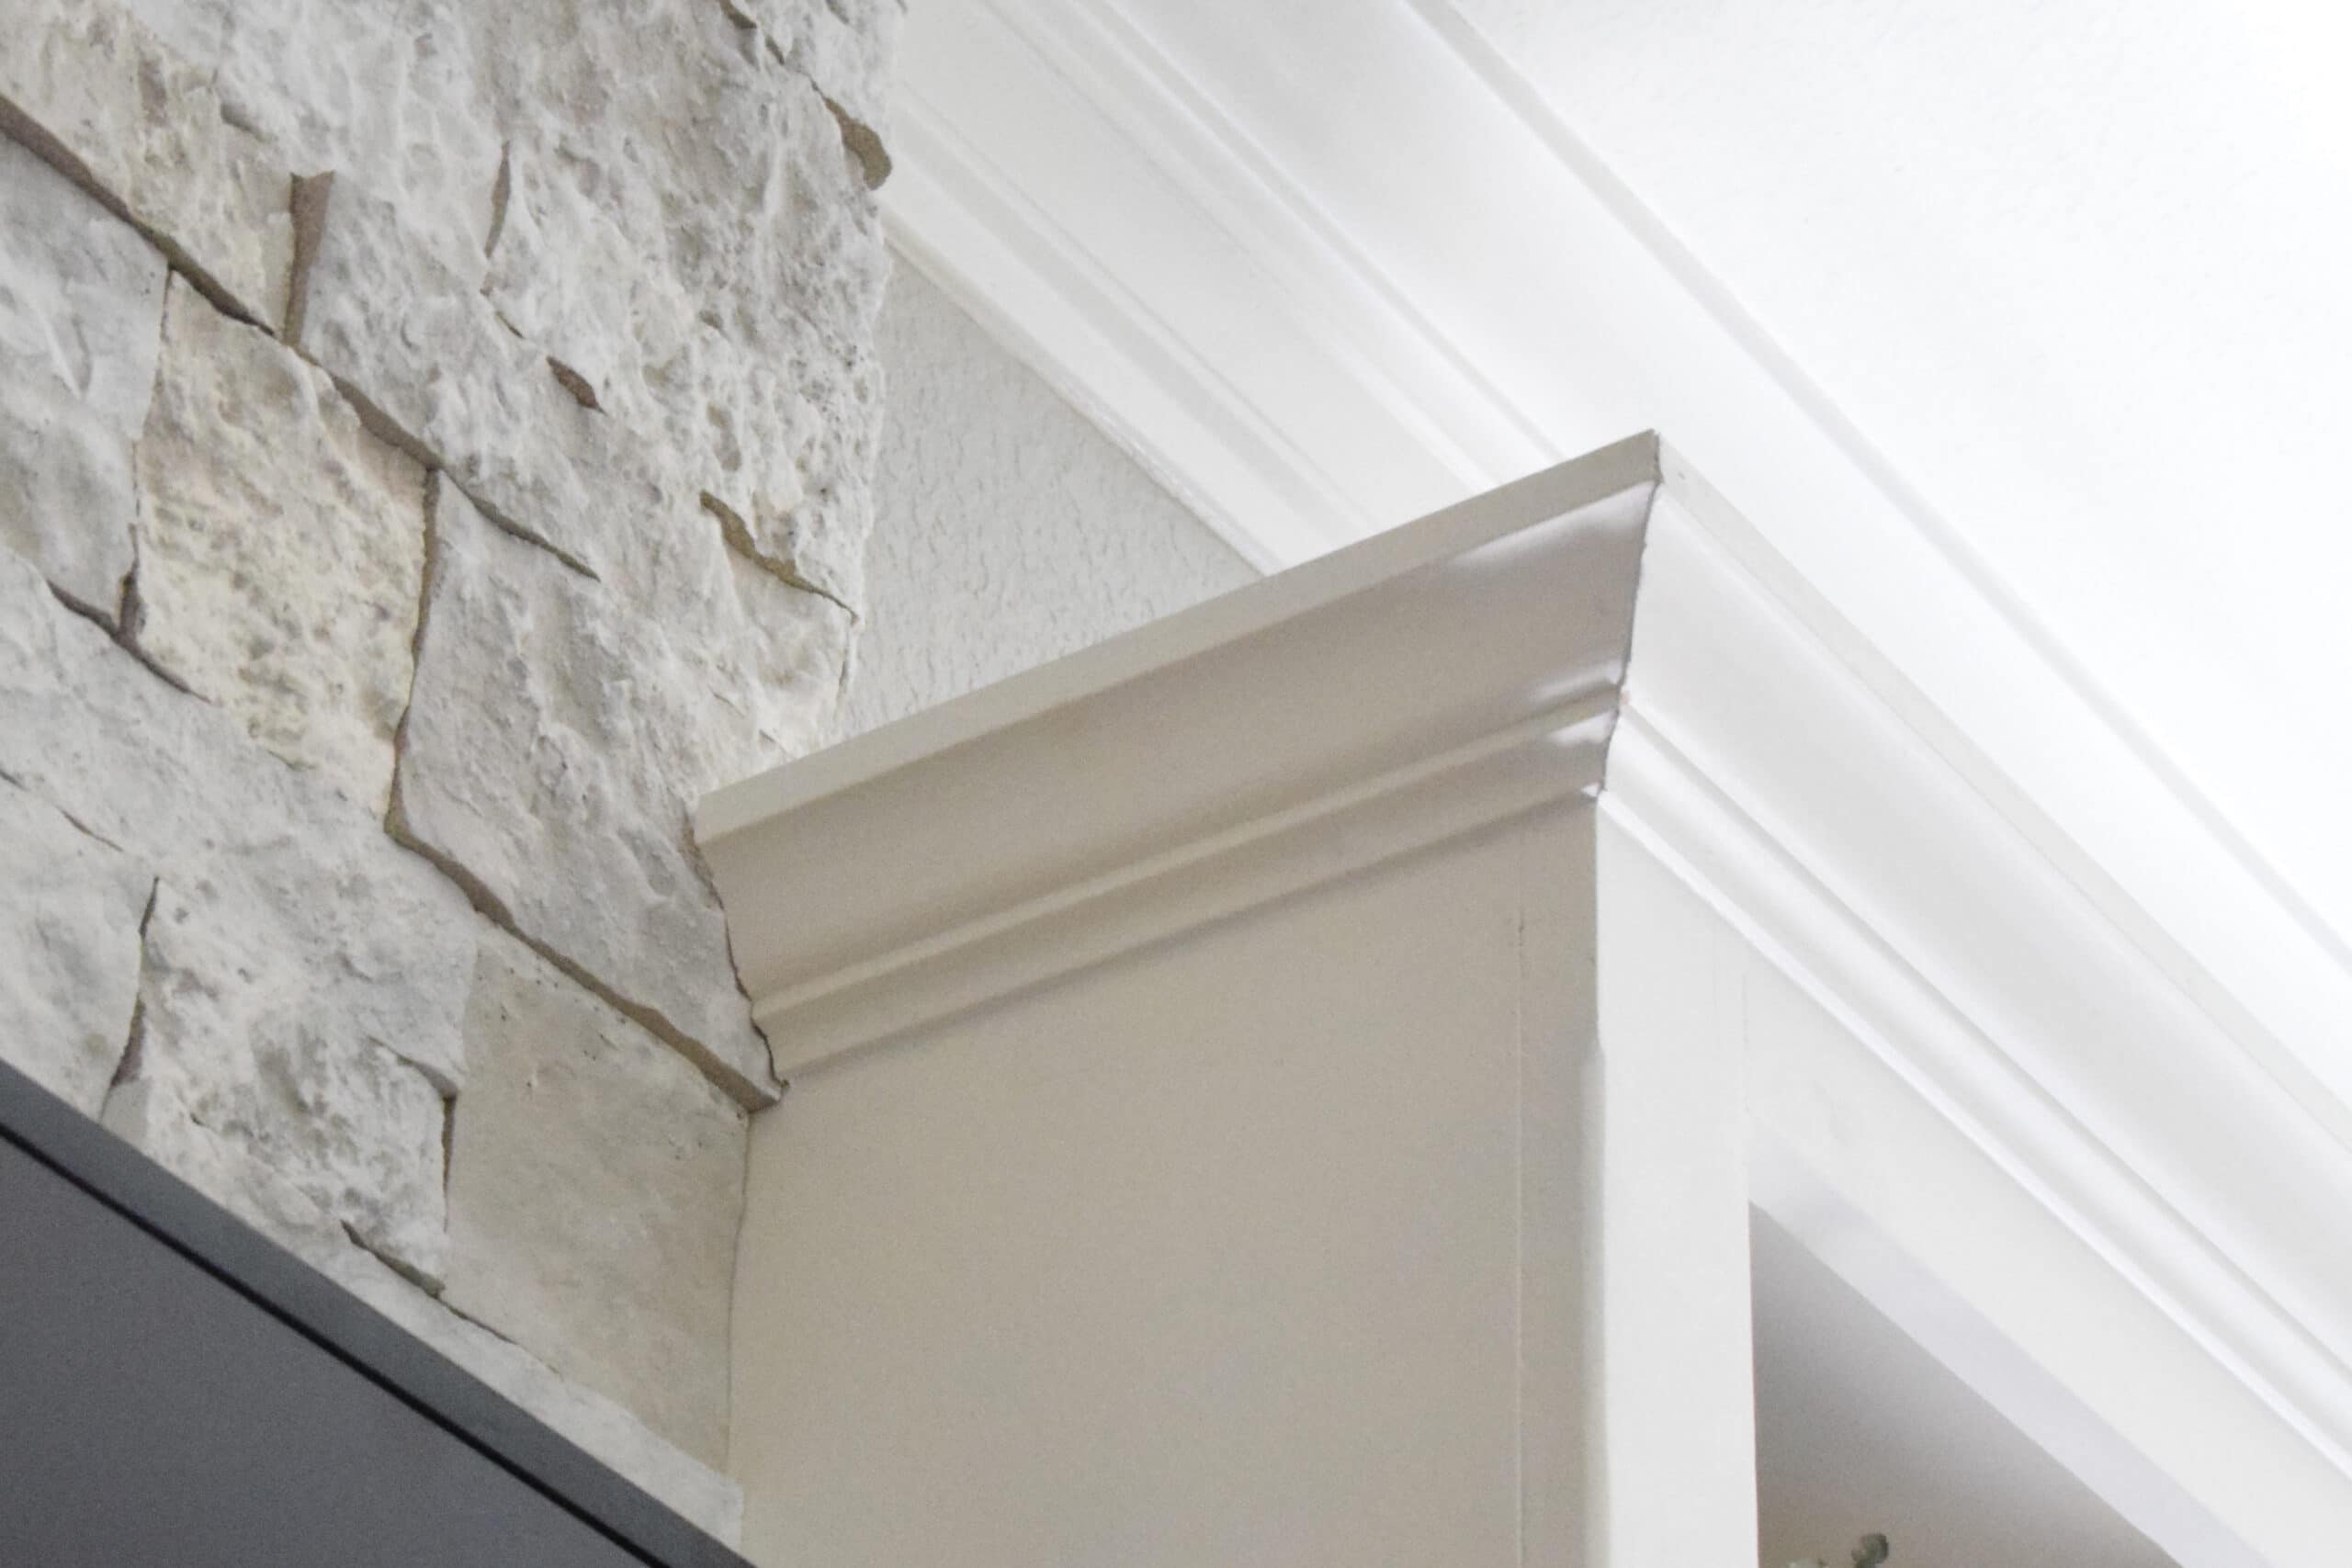
AirStone is a stone veneer that looks AND feels just like the real stuff, except it’s cheaper, it’s lighter, it’s durable, and it’s so easy to install. You can use it inside or outside and transform your space with just a couple hours of work.
Ready for your tool list? (Besides the stone and adhesive, of course.) Putty knife and hacksaw. Seriously, that’s it. No special tools or mixing needed. That’s one of the reasons I really love this product – ease of installation. You can cover wood, tile, brick, drywall, and so many other things with literally no prep work, as long as the substrates are in good shape.
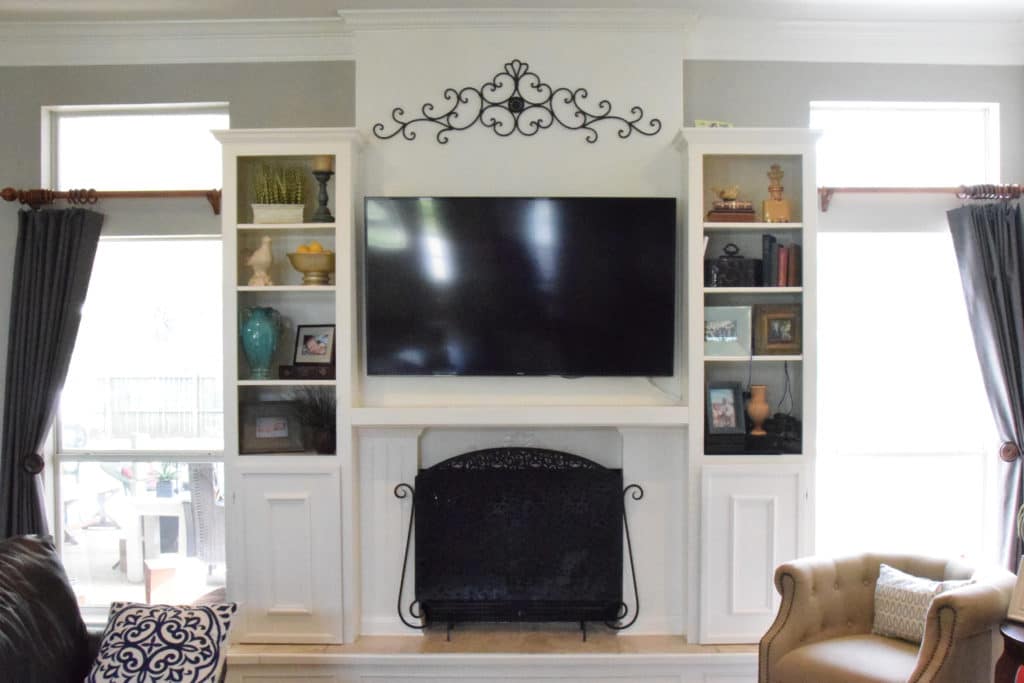
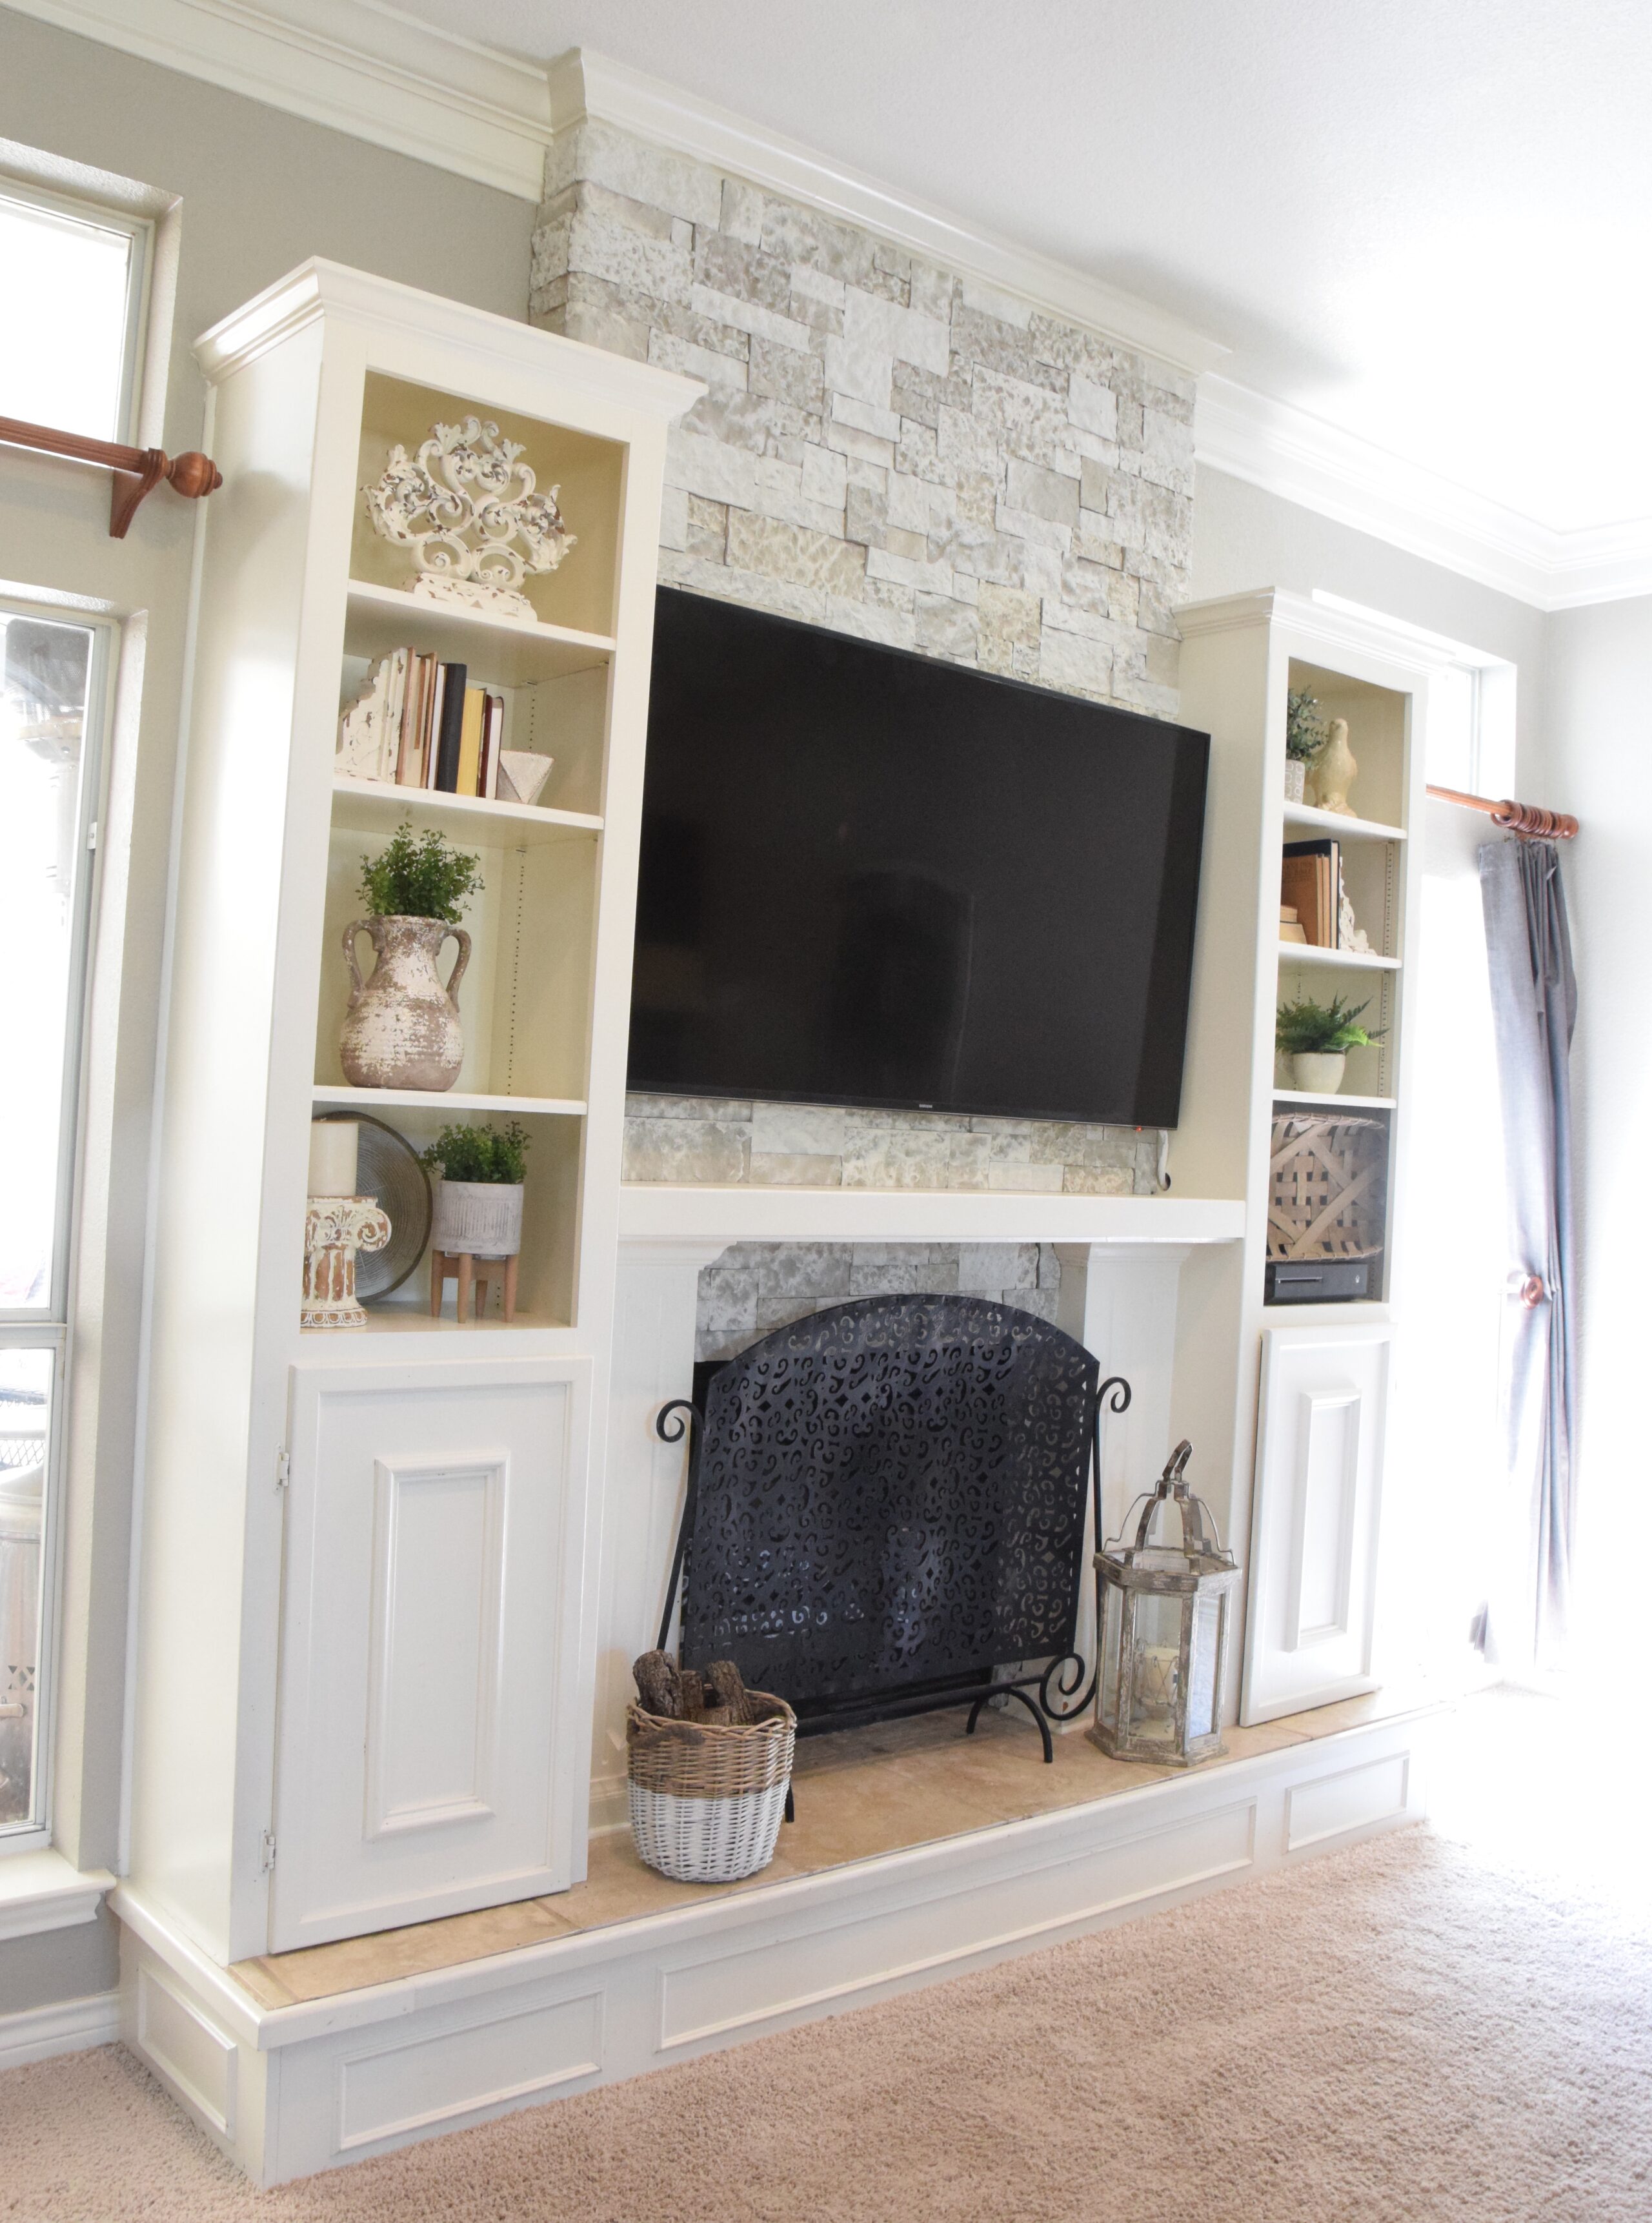
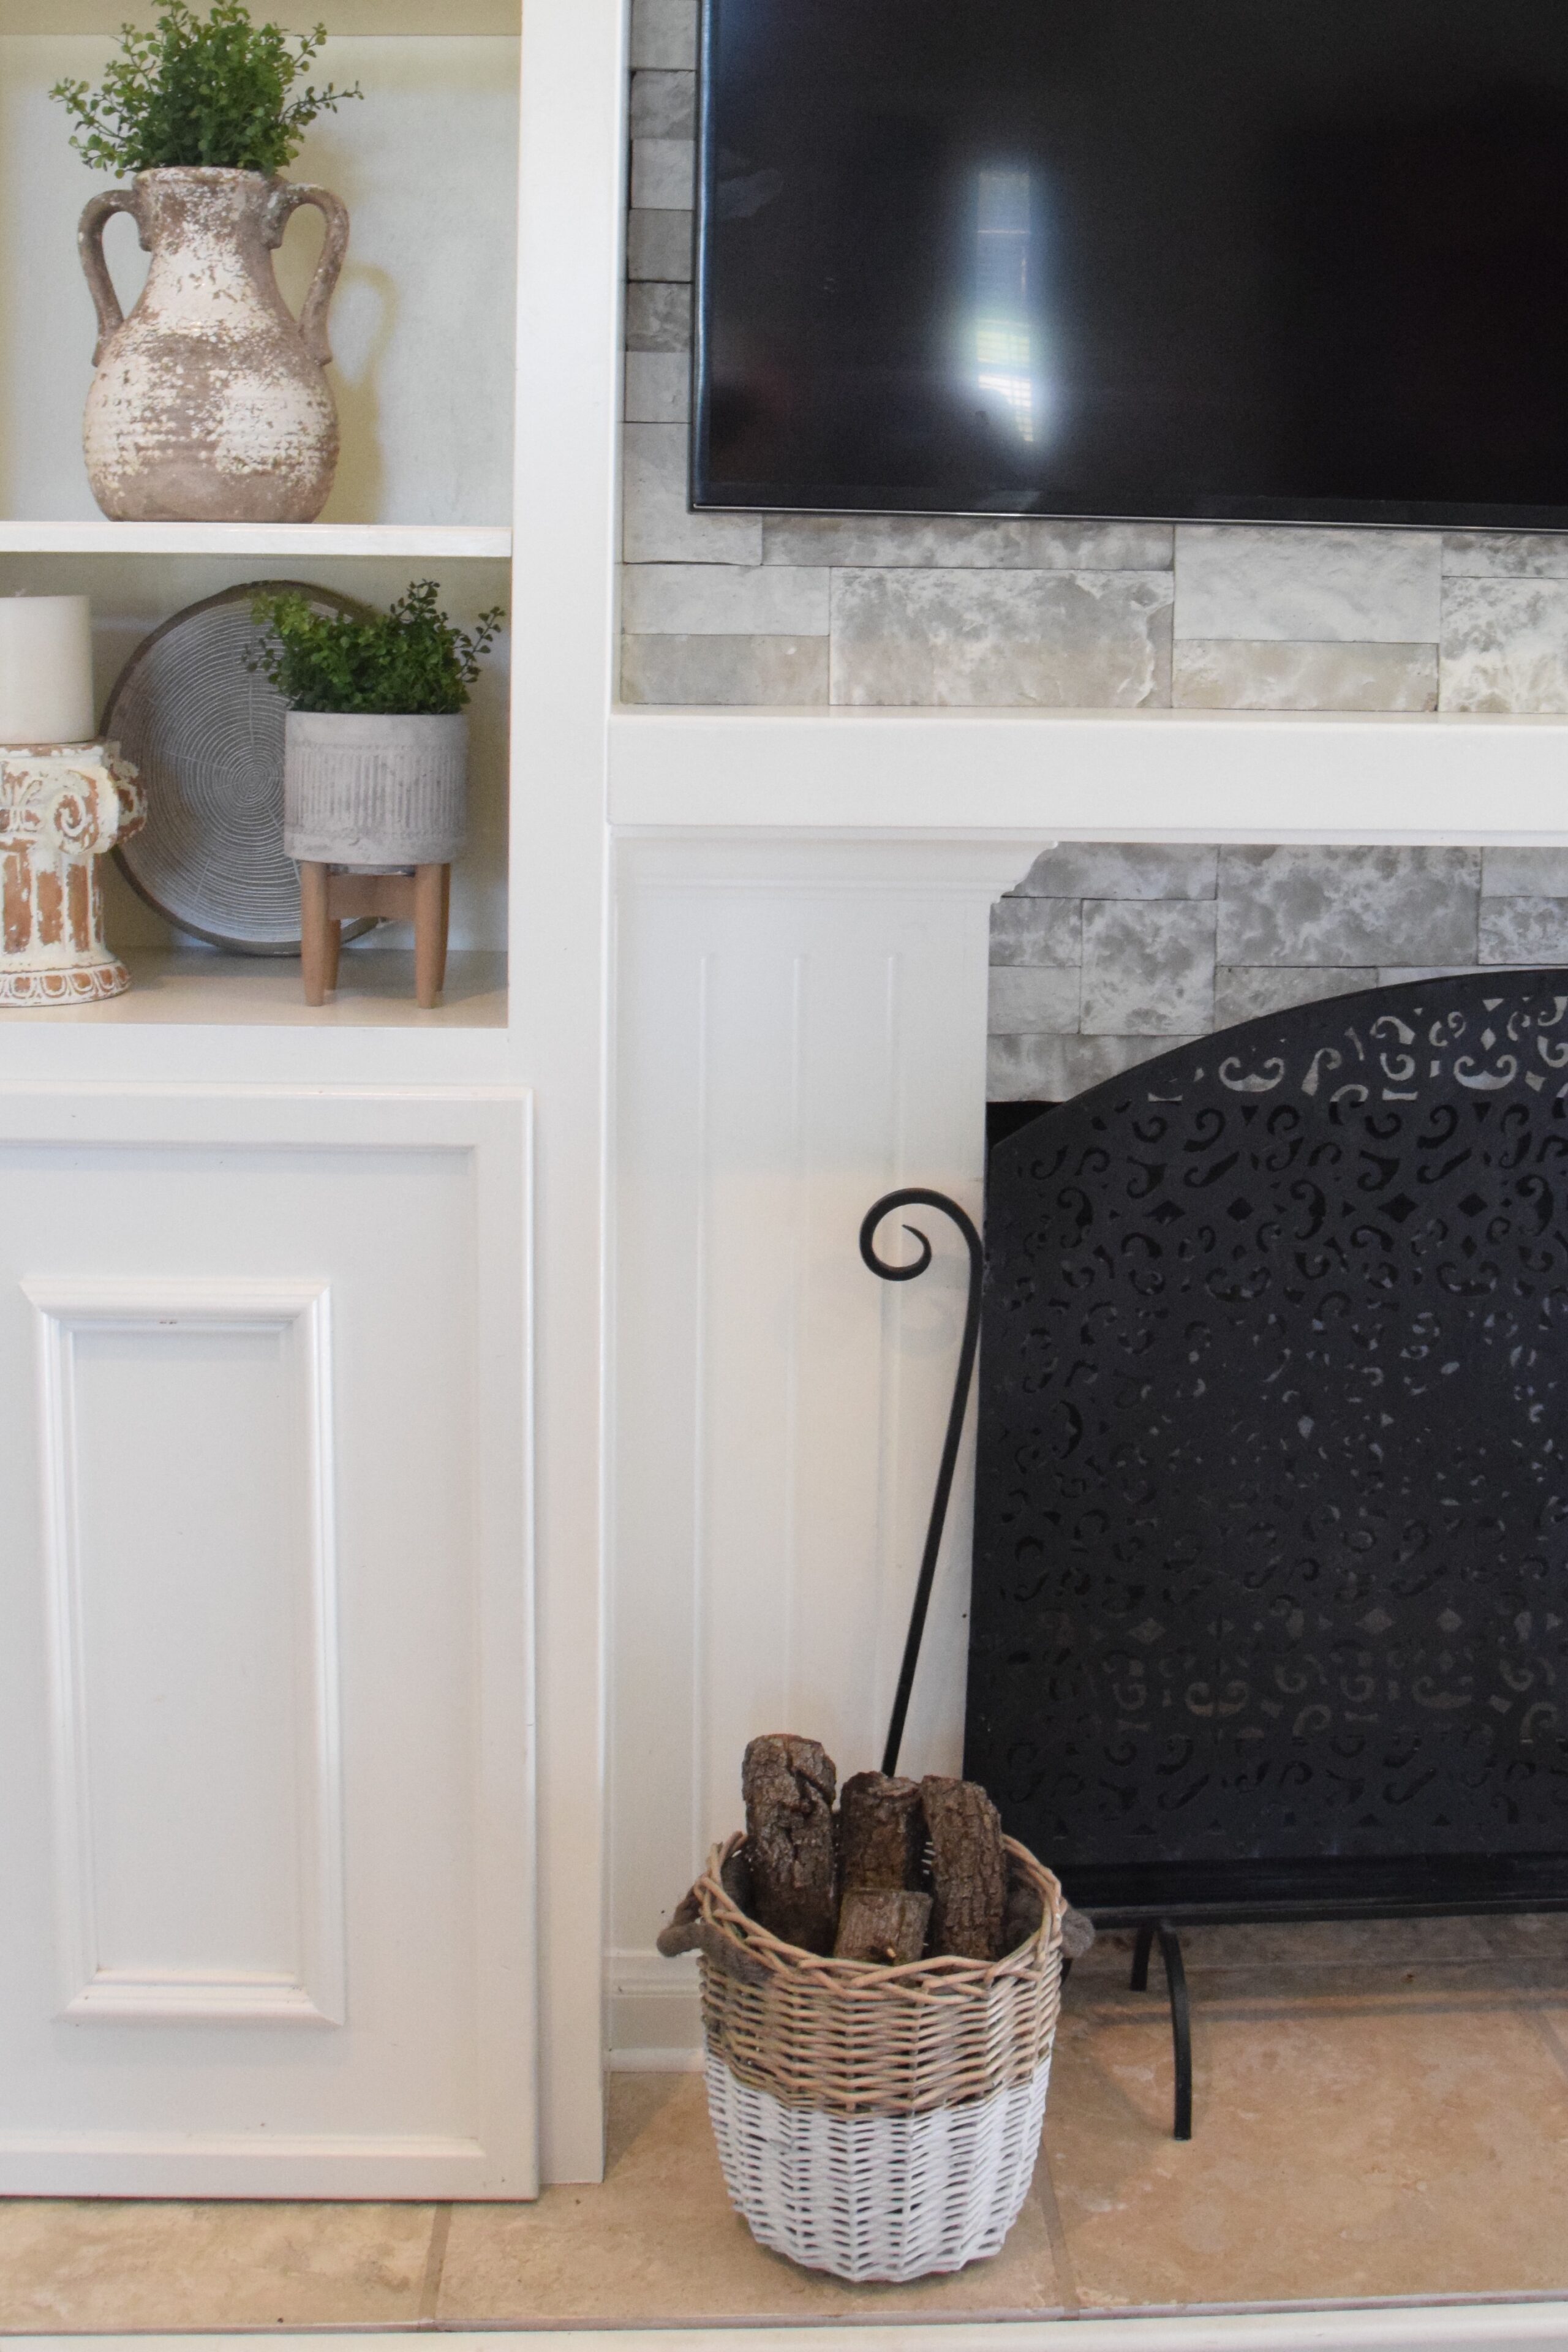
We chose to update our fireplace. It was pretty basic before. Honestly, when we moved in 3 years ago, I just threw some stuff up on the shelves and never really thought much of decorating it again until now:
This is about a 35 sq. ft. space and we needed 4 boxes of flat edge AirStone and 2 boxes of AirStone’s corner pieces (we had about 12 feet of edging to cover). So 6 boxes total, plus 1 bucket of of their pre-mixed adhesive. They provide a product calculator if you need to know how many boxes to buy.
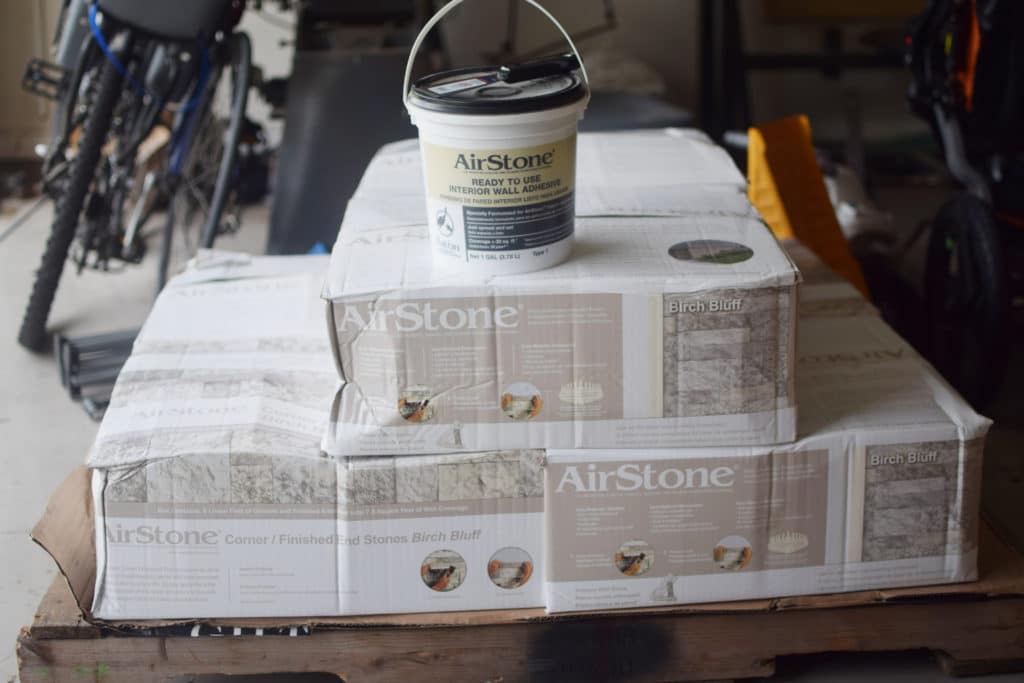
AirStone just released the color Birch Bluff and I think it’s the perfect addition to their color choices.
We started by removing this gem that I have just kept covered with our fireplace screen, along with the quarter round and some crown so the edges will sit flush:
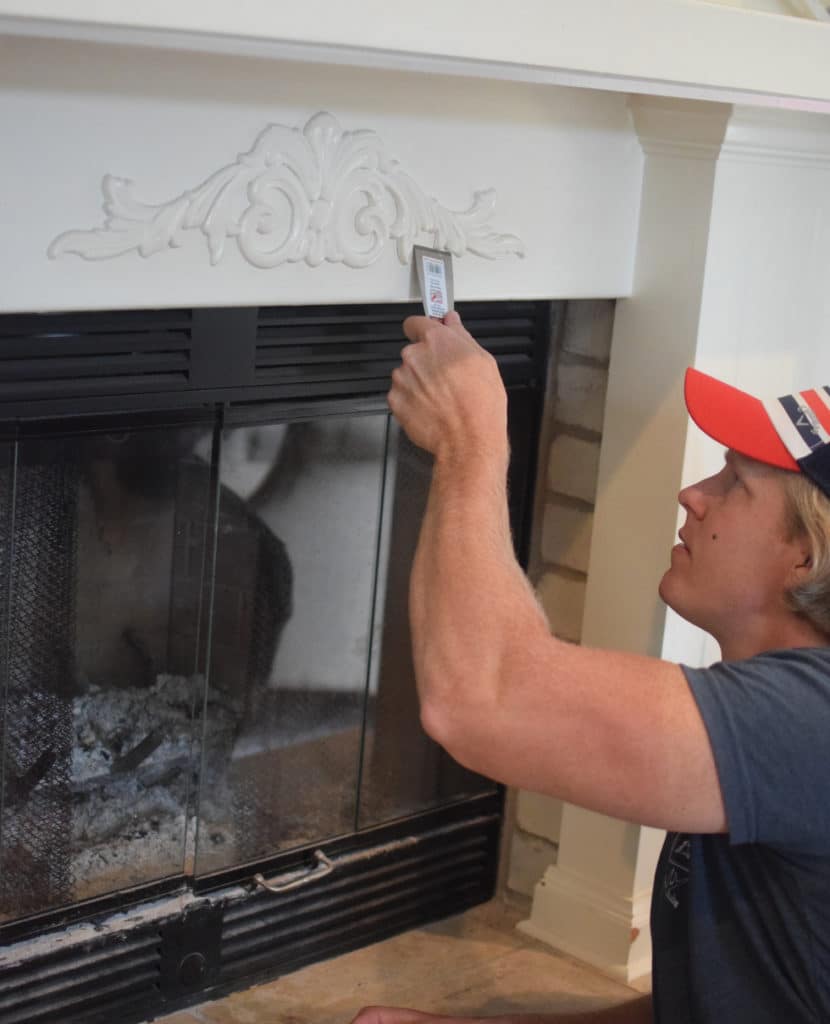
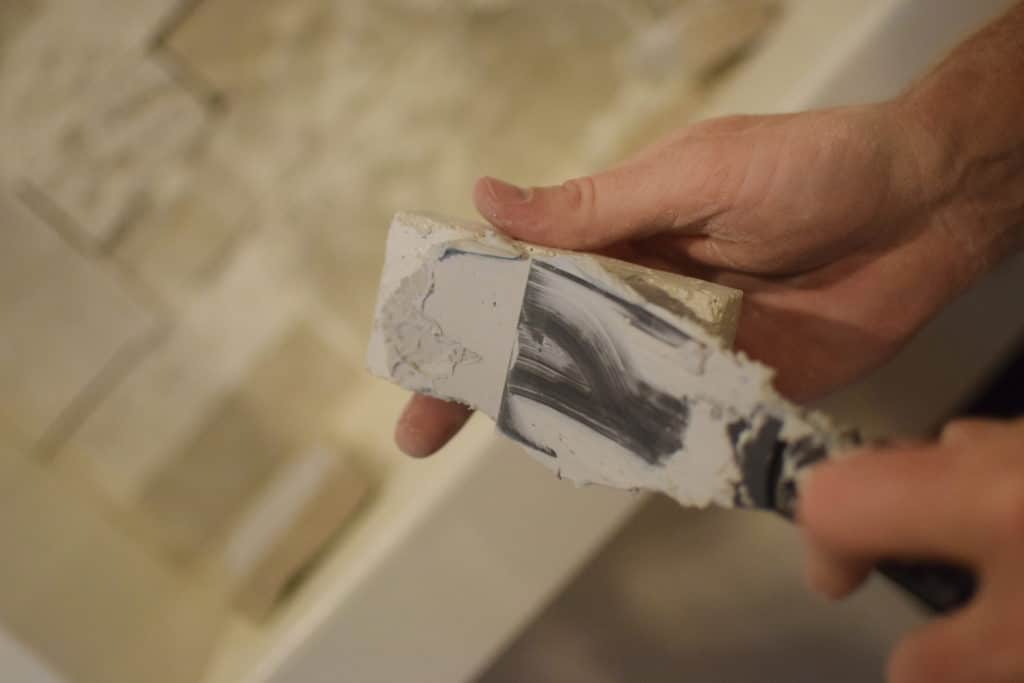
One of the things I love about this product is the very little prep work. AirStone can be applied directly to most vertical surfaces with just the AirStone adhesive. You just start stacking!
RELATED: For another faux stone project, check out this DIY aged pottery lamp makeover!
 We ended up using our miter saw and it went much quicker, but you could use just a hack saw if you don’t have a miter saw. Just a fair warning – it is DUSTY. You want to cut the pieces to stagger seams as much as possible.
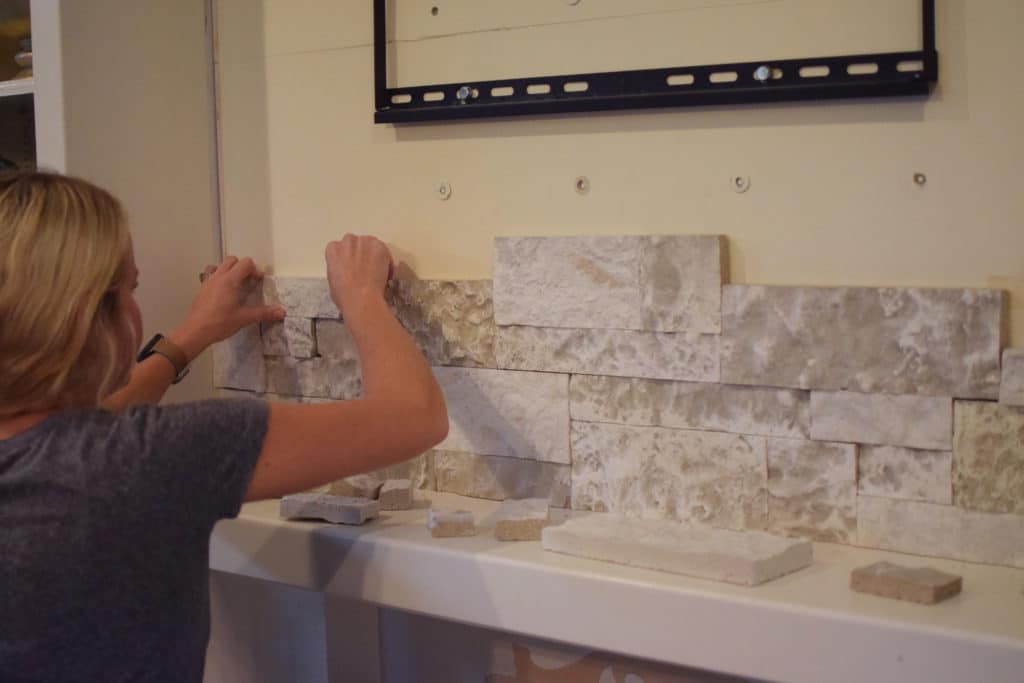
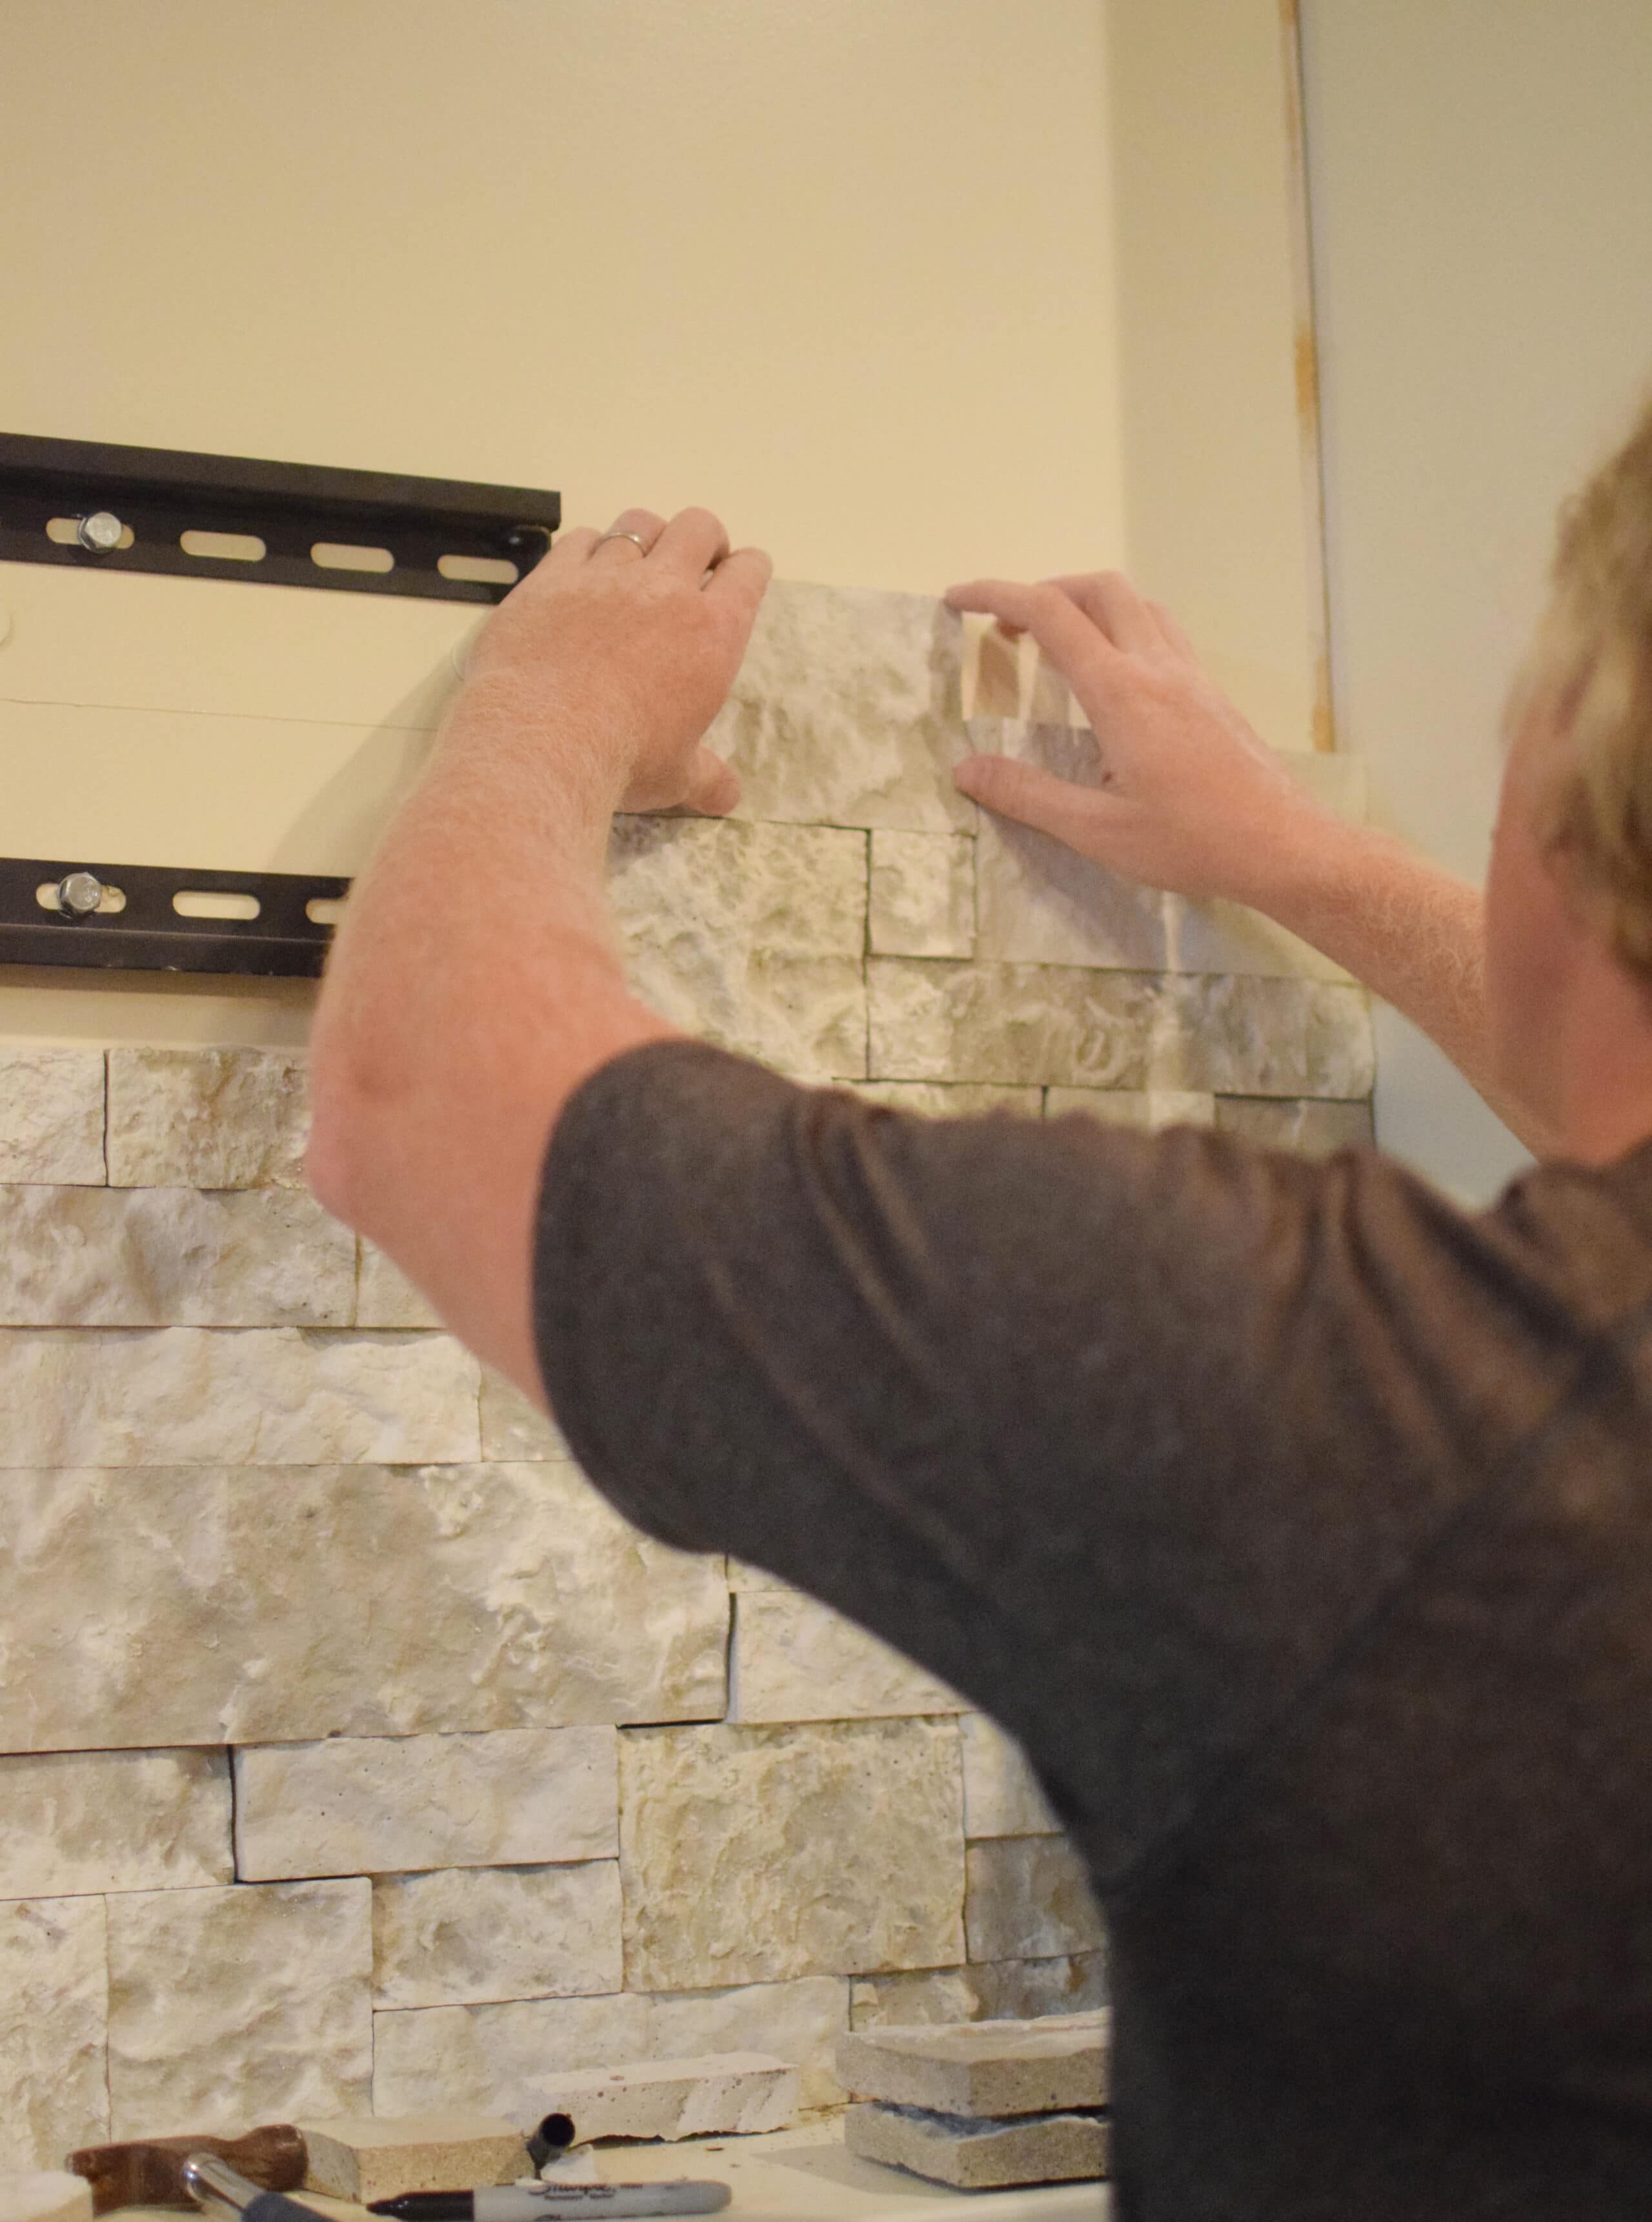
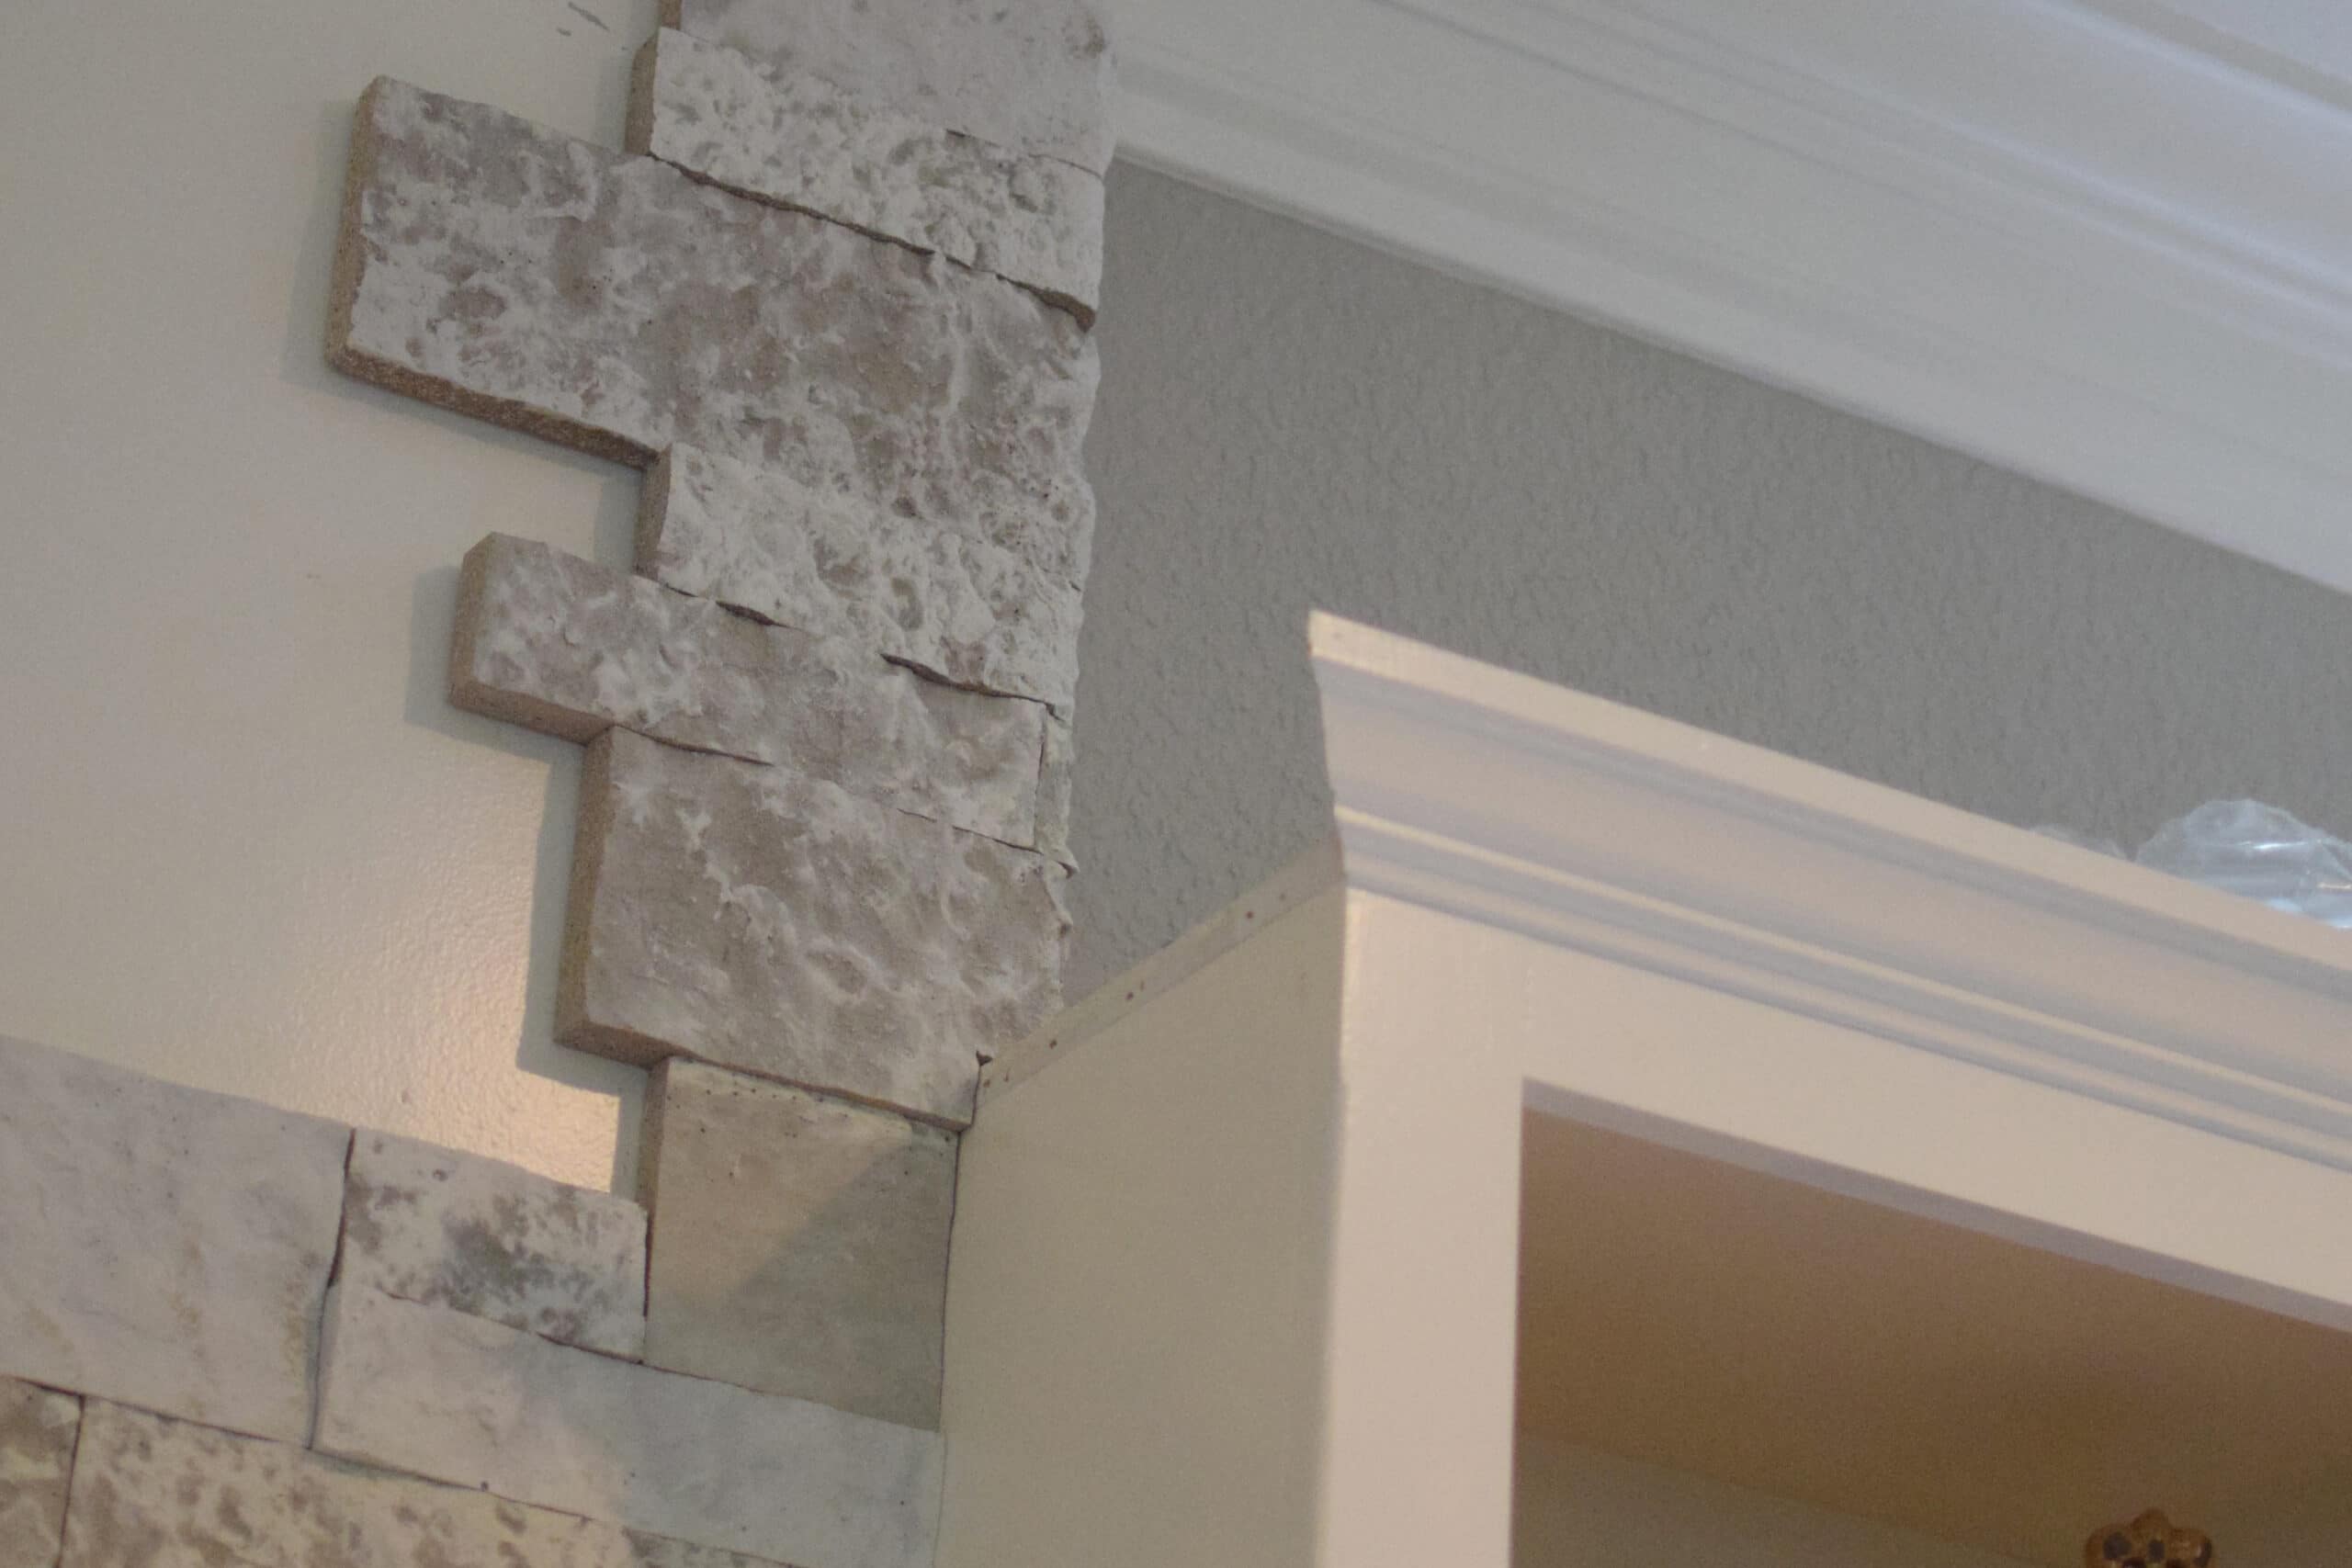
When you get to a corner, you work from the edges in. So do the edges first, then fill in the middle.
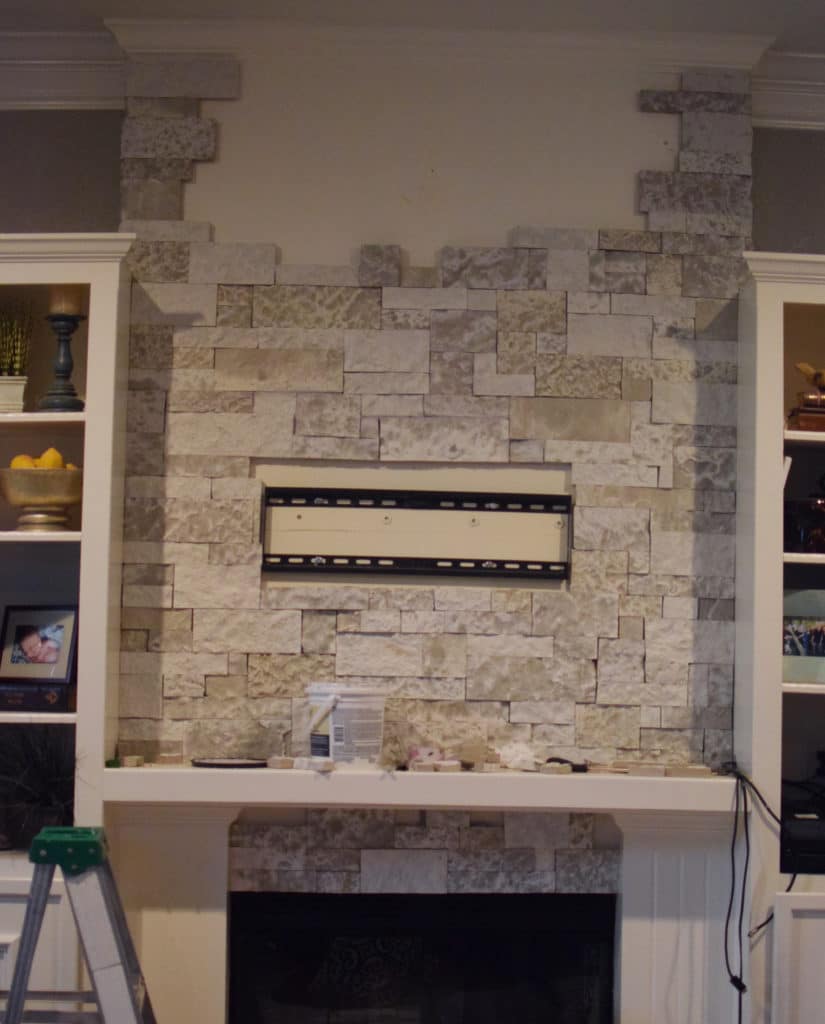
We ended up removing some crown moulding and trimming it down so it will sit flush against the AirStone.
This whole project took about 8 hours. I couldn’t be happier with how it turned out!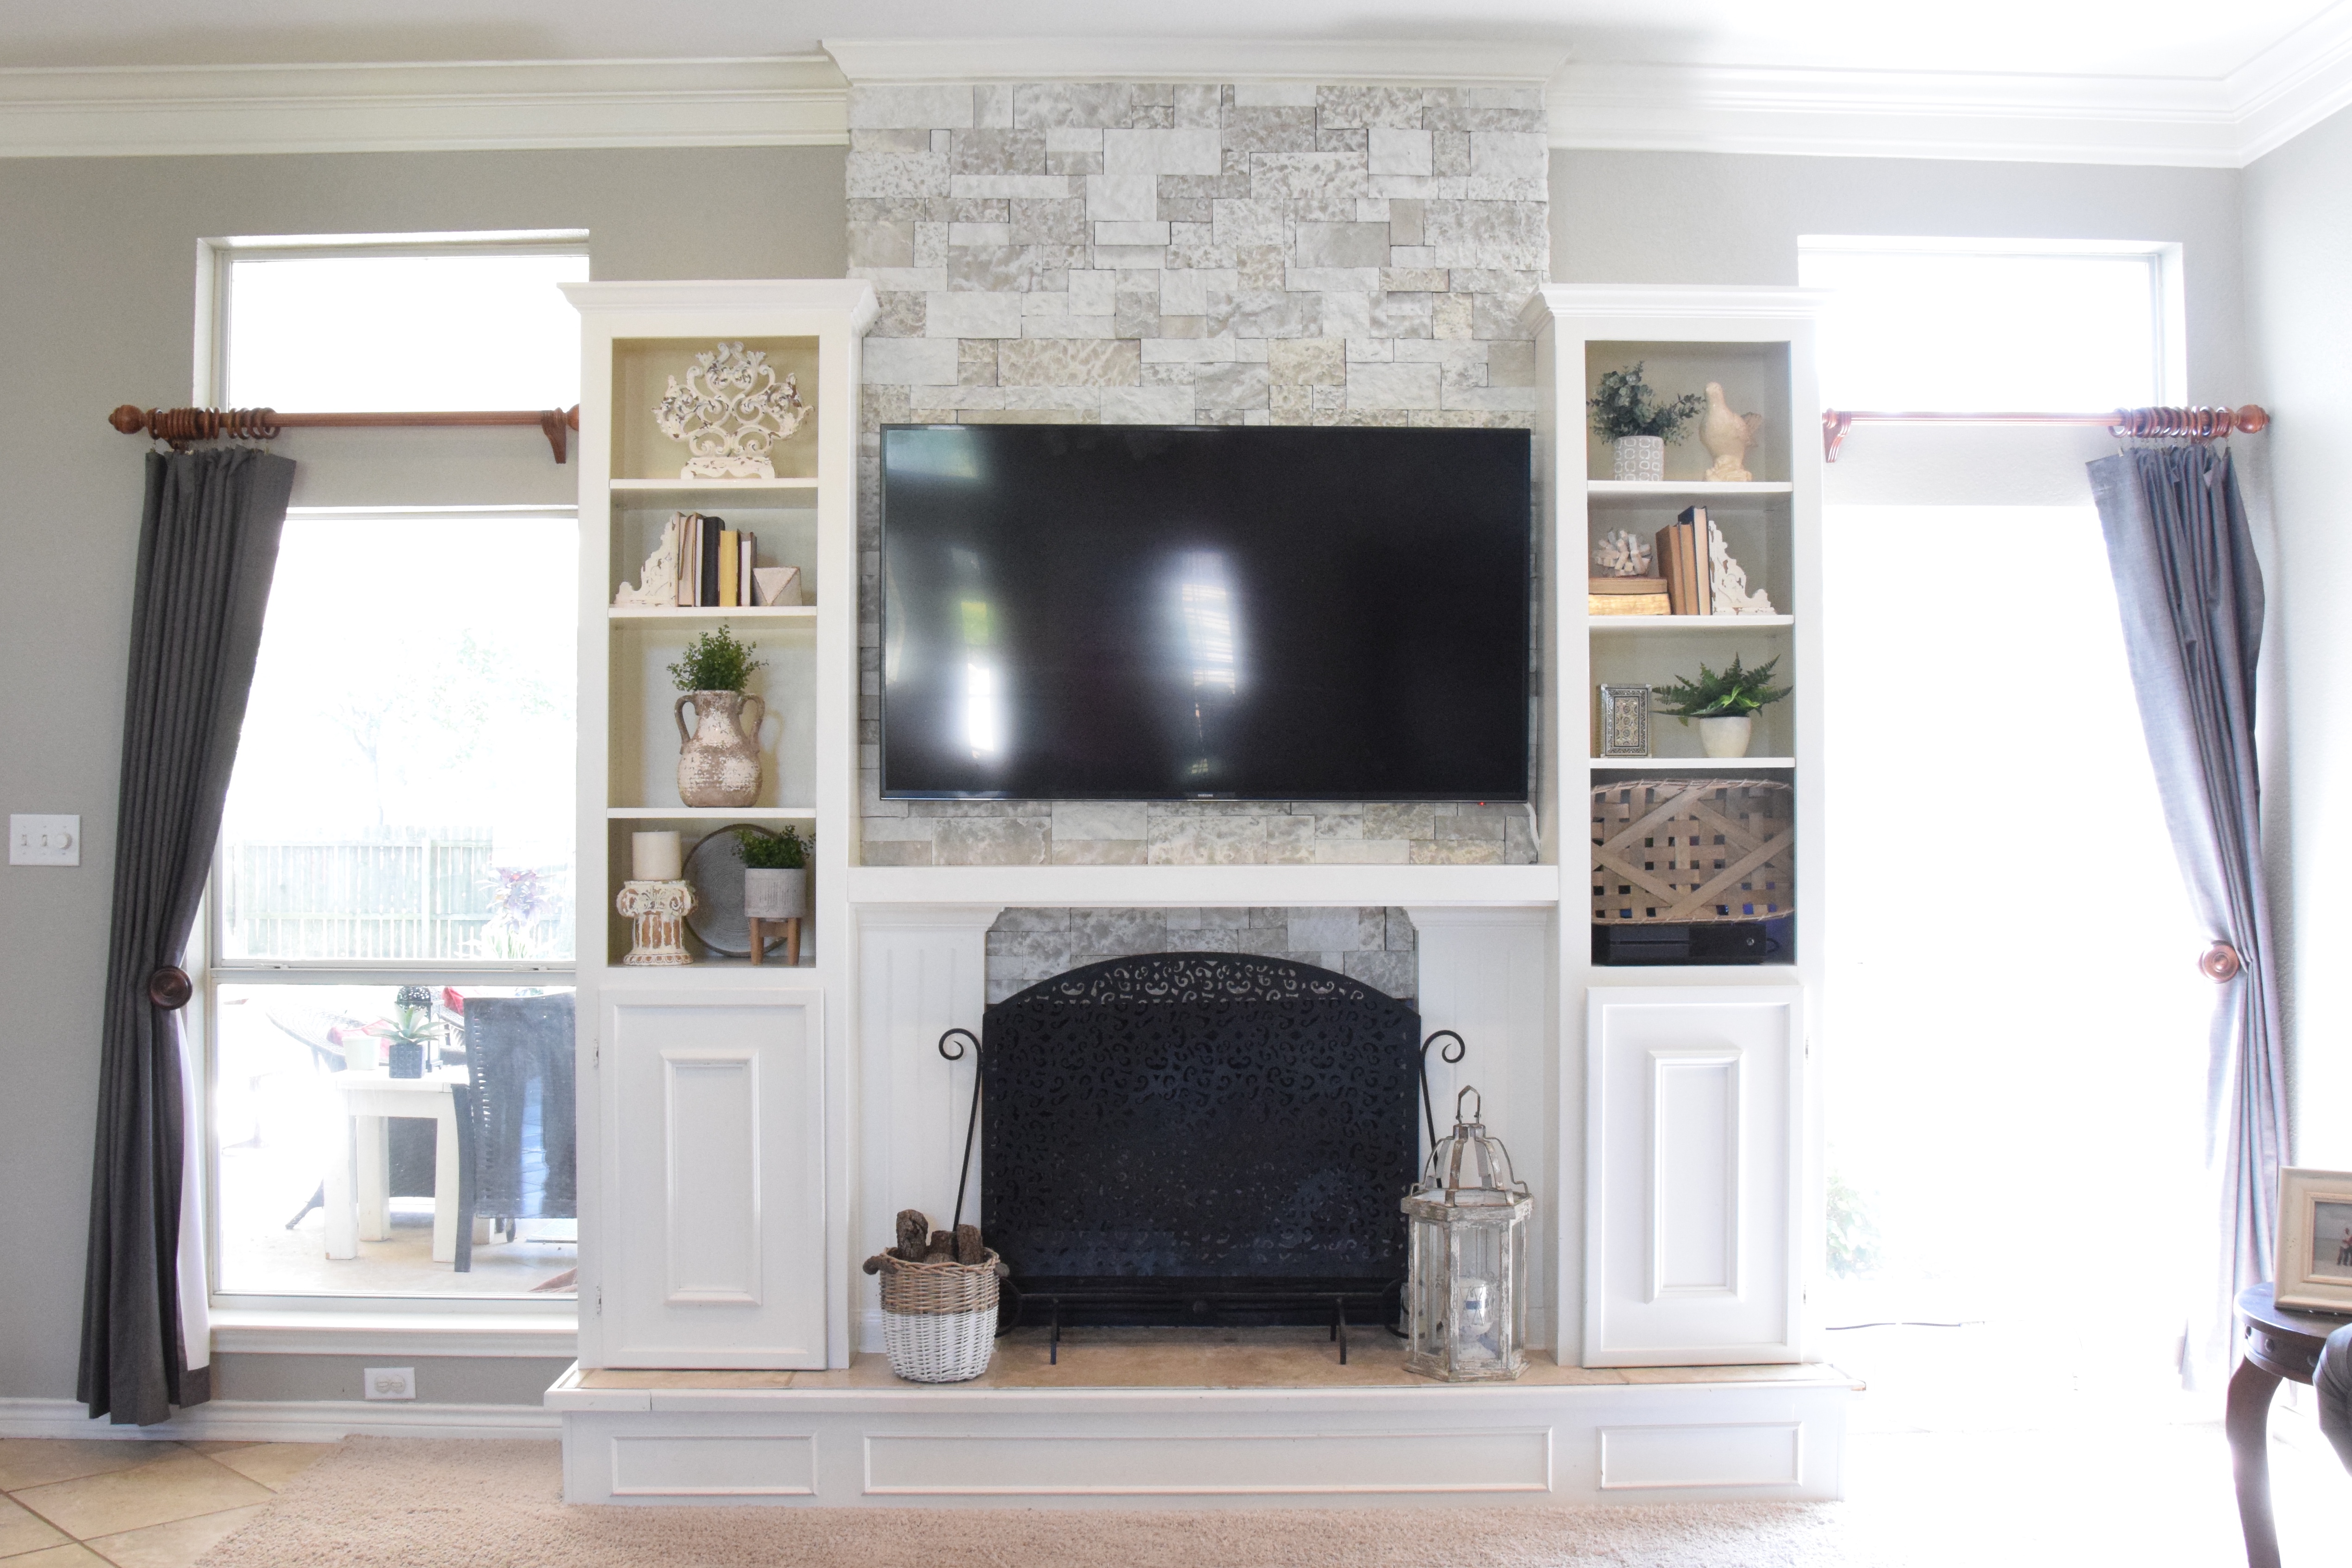

If you’re interested in buying AirStone, it is only sold at Lowes. You can also check out other finished AirStone projects here!

Suzie Wible
Suzie has shared her knowledge for over 10 years about building furniture, painting techniques, how to build your dream home, and basic to advanced woodworking skills. Through this blog, readers will feel empowered to create a home and products they love too.
Suzie,
I love it! What a transformation! so much warmth!! i was just looking at this stuff in Lowe’s and wondering about it.
I love the transformation! It looks great. I might even be able to do that… I’m thinking; hmmm where can I put it???