How to Hide Screw Heads in Wood
There have been many woodworking projects where I would like to hide the screw heads that were used to assemble the pieces I was building. In this article, I will cover some very simple, quick, and easy ways to cover up those ugly screw heads in wood.
I have done this many times for many different furniture builds (the most recent one was this diy round side table). My favorite process to hide a screw head is very quick and easy and you only need one specific drill bit. However, I will provide a couple different options for you, so you can choose whichever method works best for you.
Use a Countersink Drill Bit to Hide Screw Heads
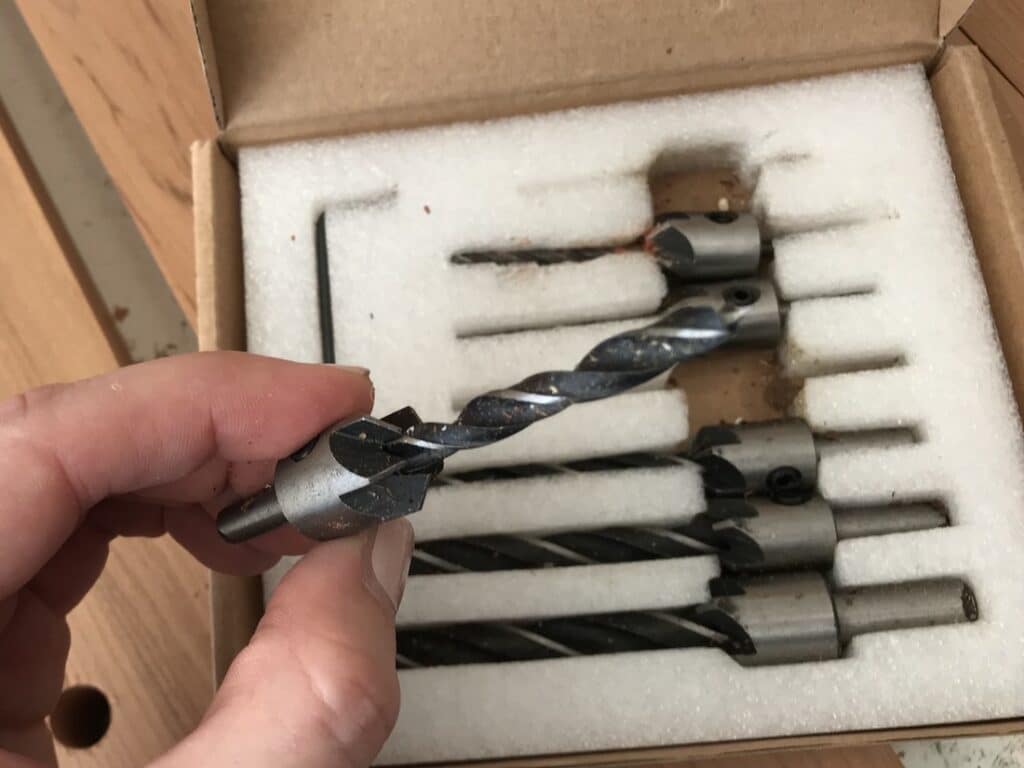
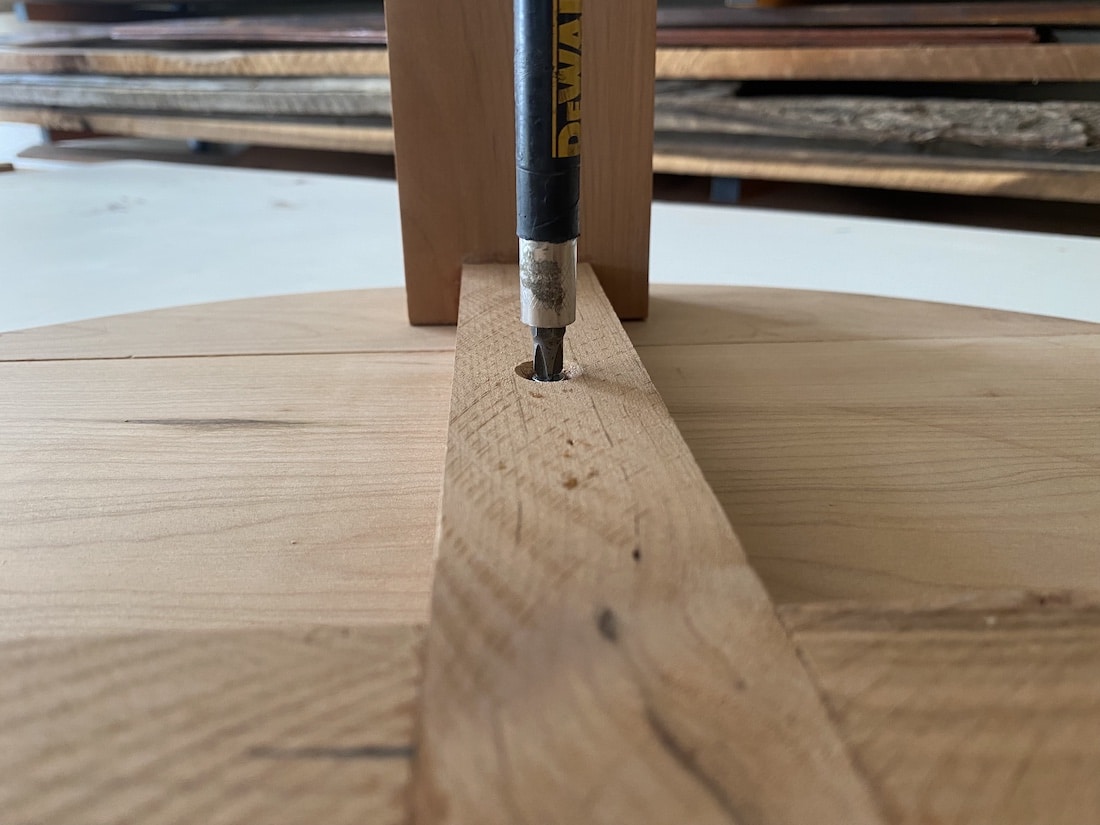
This is my favorite way to hide a screw head, since you only need minimal tools. The main tool you will need is a specific drill bit for your power drill or drill driver.
What is the best tool to hide screw heads?
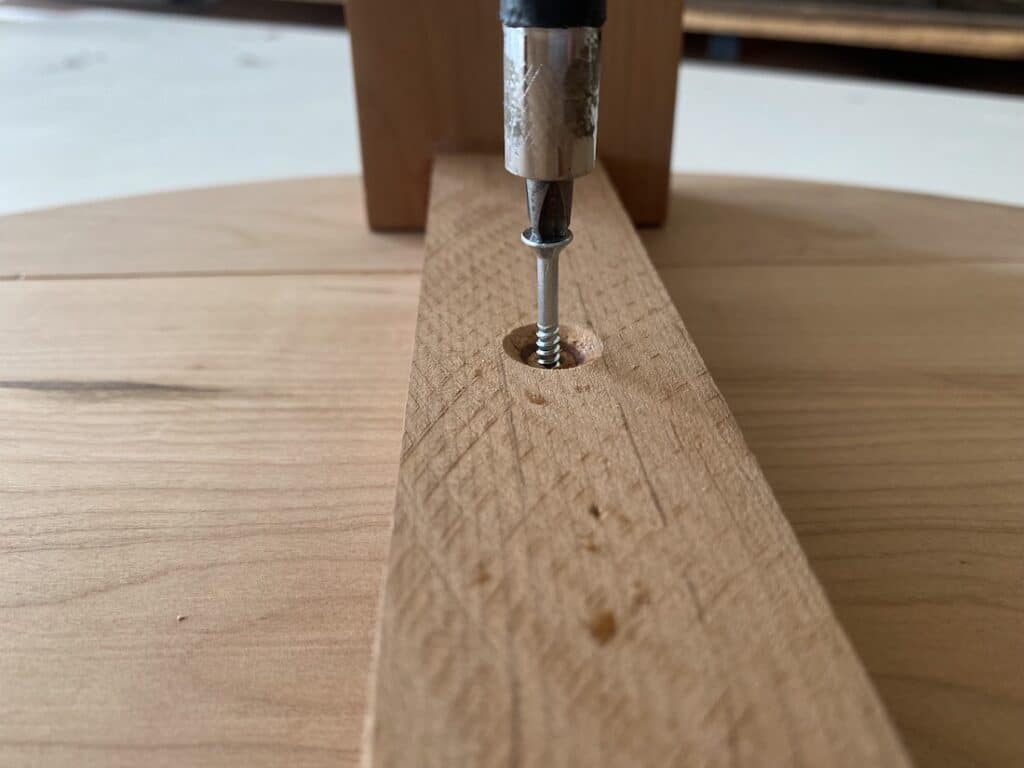
The best drill bit to hide screw heads in wood is a tool called a countersink drill bit.
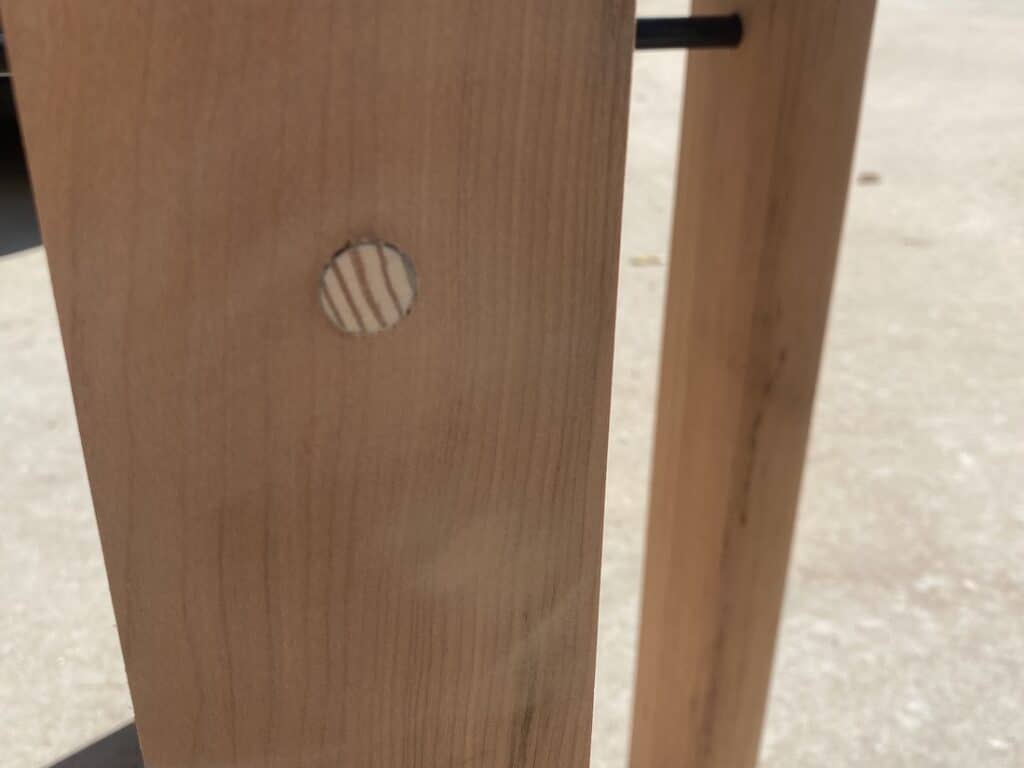
This type of drill bit has an adjustable collar that will cut the surface of the wood with a chamfered edge where the screw head sits.
Disclaimer: This site contains product affiliate links. We may receive a commission if you make a purchase after clicking on one of these links.
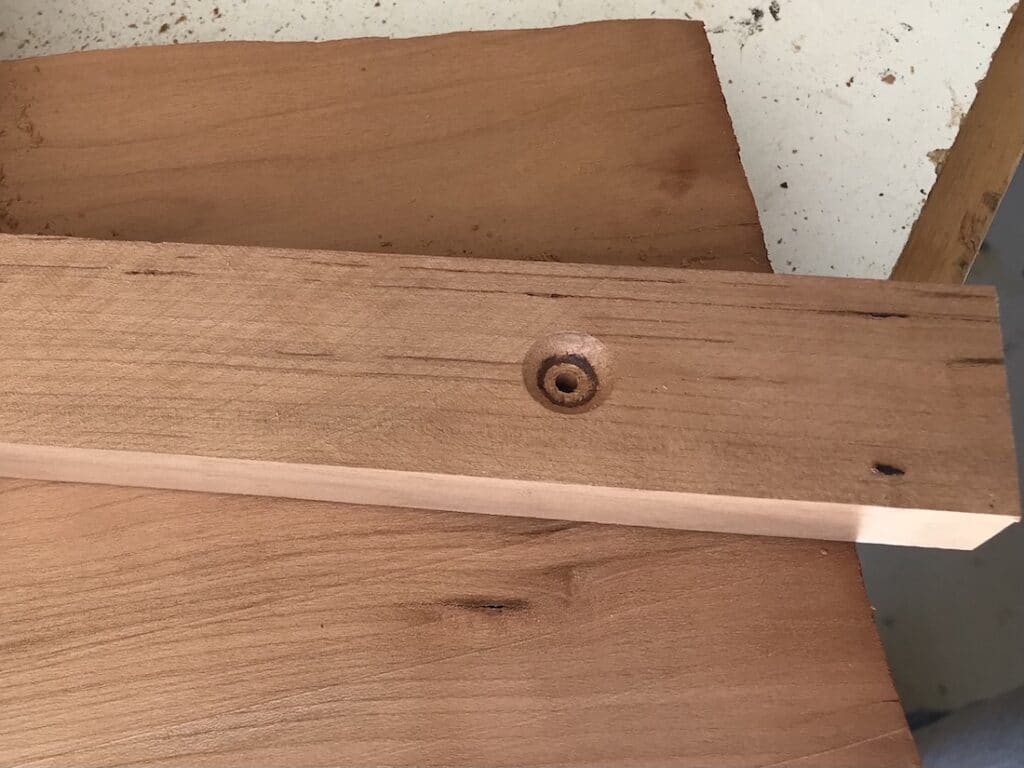
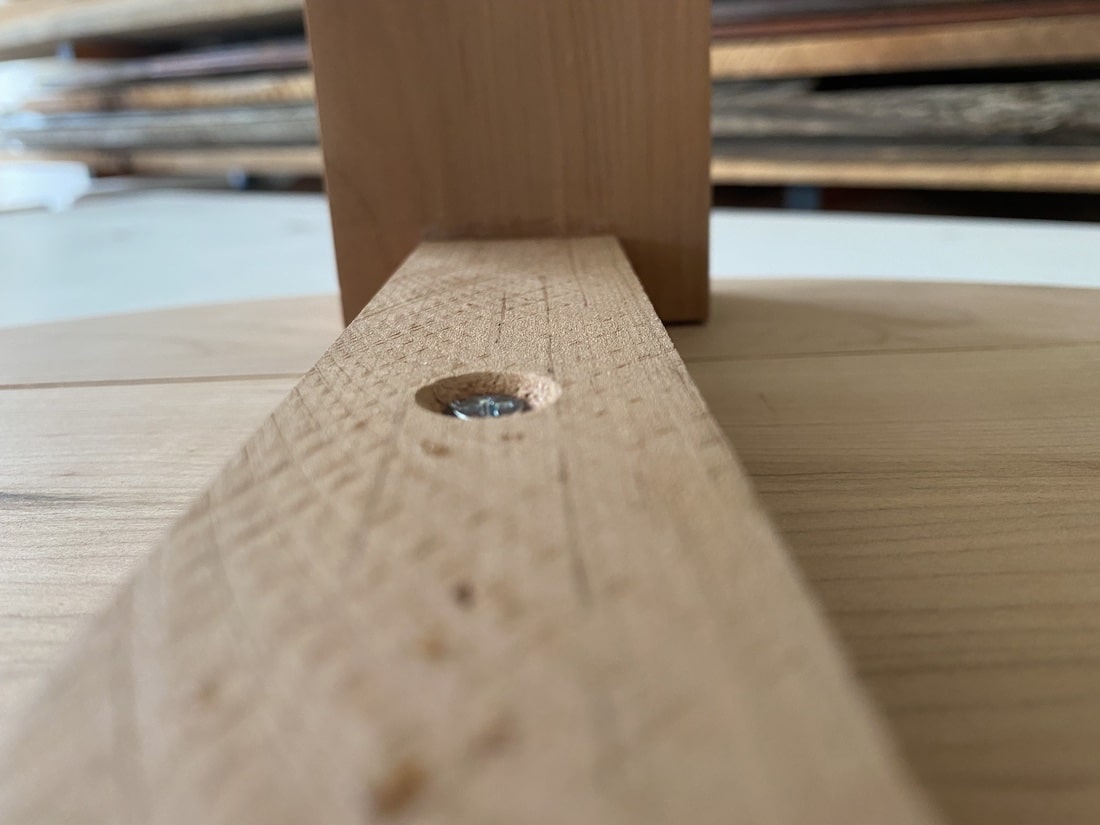
The countersink drill bit will allow the screw head to sit just under the surface of the piece you are drilling in to.
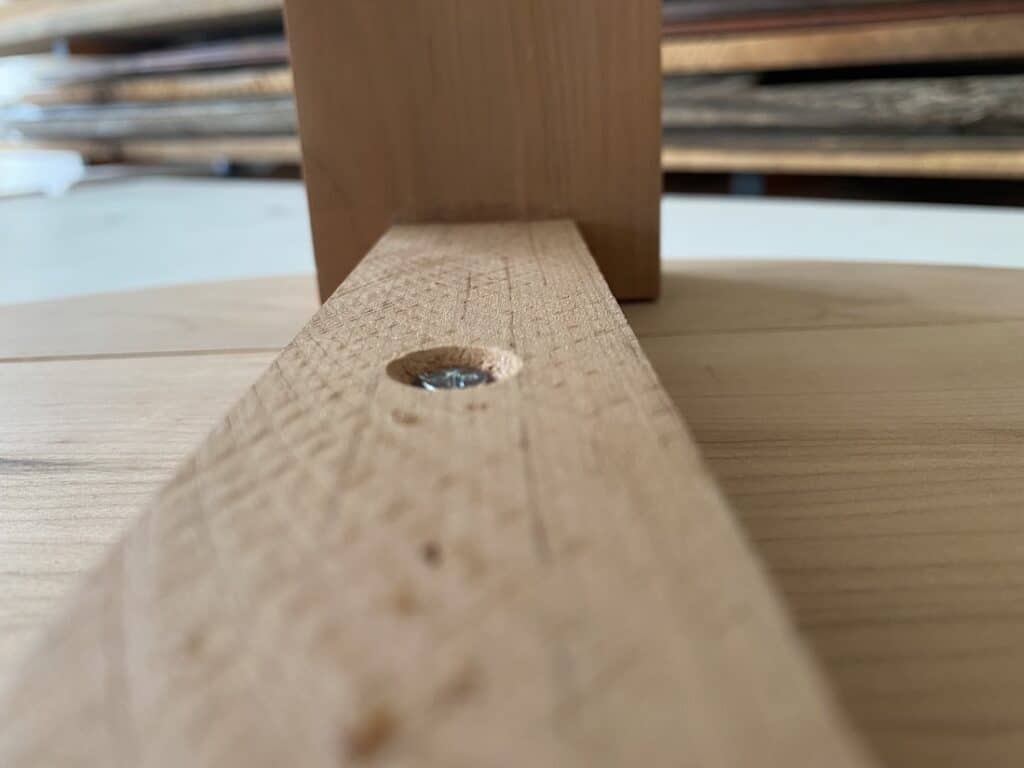
This is my favorite method because it creates the cleanest cut. It is also the most simple and easiest way to cover an exposed screw head that I have found.
I used this method when I installed drawer slides on face framed cabinets and it worked great.
It’s always important to pre drill holes anyways, in order to prevent the wood from splitting. So, you can effectively knock out both building processes with this method.
If you’re just getting started with building, check out this post on how to use a power drill and drill bits.
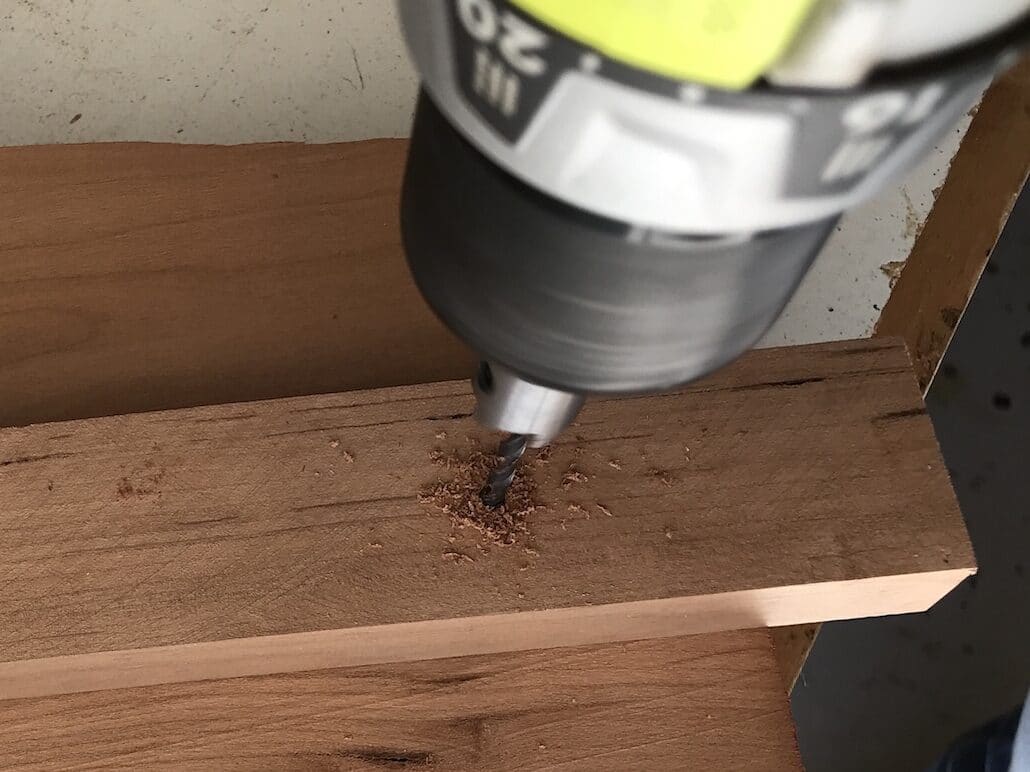
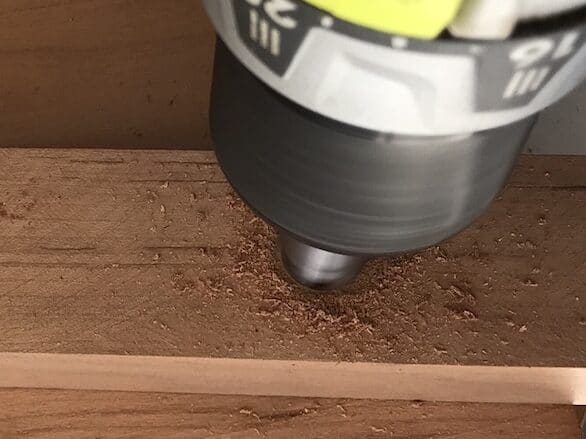
This method is two steps in one, because while you are using a countersink drill bit, you will also cut a hole in the surface of the wood for the screw head to fit in to while you are pre-drilling for a screw. You can set the depth of the collar to hit the wood and whatever depth is needed to fit the screw you are using.
If you would like to use what you might have on hand, another option is to pre-drill your hole with a normal (not countersink bit) drill bit. You can then follow it up with a larger drill bit that is slightly wider than the head of your screw. Bore out enough of the wood for your screw to sit in the hole.
However my favorite method is the countersink bit, as it is quicker, easier. Also, countersink drill bit set is not very expensive, so it’s worth the money for the ease of use.

Fill the Hole with Homemade Wood Filler
Now that you have a hole for the screw head to fit into, you will want to fill the hole to create a seamless look for your piece.
My favorite is to make a “homemade” wood filler.
The reason why I like to make this is because the filler most closely matches the colors of the wood.
After you have inserted the screw into the countersink hole made by the countersink bit, mix up the wood filler.
How to Make Homemade Wood Filler
You will need sawdust from the piece (or of the same wood species) and wood glue.
If you are having trouble finding sawdust from your piece, run a sander over with and attach a shop vacuum to the sander. This will quickly get you sawdust to work with.
Mix equal parts sawdust to wood glue in order to create a paste. You can now fill the hole with this wood filler and the color should closely match your existing piece. The glue will shrink as it dries, so be sure to over fill. Once dry, you can then sand it flush.
I also do this method all the time when I make cutting boards. It works extremely well when attempting to hide any small imperfections in the seams of the wood pieces.
Use wood plugs to Hide Screw Heads
Another option to fill the hole is to use a wood plug. You can purchase pre-made wood hole plugs like this one. These will probably be more prominent, unless you buy a hole plug in the exact wood species as the wood species you are working with.
If using these hole plugs, you can trim them flush and sand to a smooth finish.
Make Your Own Hole Plugs
Another option is to make your own hole plug with a hole plug cutter. While this does require extra work, you can use the exact piece of wood to fill the hole by using offcuts from your project. This way, you should be able to blend it in to your piece well so it hopefully won’t be noticeable. Be sure to align the wood grain and you will have a fairly seamless plug!
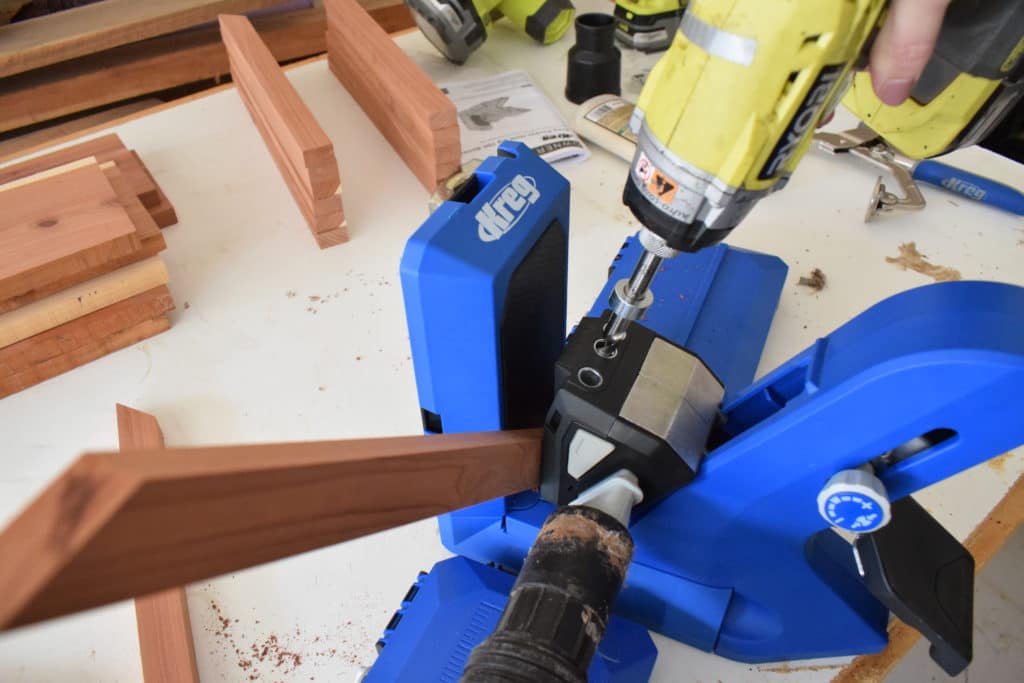
Join Wood Without Screw Heads Showing
Another way I hide screw heads in wood is to intentionally join the wood where the screws won’t be seen. The easiest way I have found to do this is by using a pocket hole jig. You can read about how to use a Kreg pocket hole jig system in this post.
However, if you are using pocket holes and are unable to hide the placement of the pocket holes, you can fill the holes with pocket hole plugs. This is similar to the above process of using wood hole plugs. They come in wood, or plastic, or you can put wood filler in it and sand it flush.
I used this method for the majority of the joints in a mudroom hall tree build, mudroom locker built-ins from stock cabinets, the DIY Rustic Square Coffee Table, and the upholstered sitting bench.
These options are all ones that I have used and recommend. Let me know your favorite! As always, let me know if you have questions and I’ll do my best to answer them for you. Happy building!

Suzie Wible
Suzie has shared her knowledge for over 10 years about building furniture, painting techniques, how to build your dream home, and basic to advanced woodworking skills. Through this blog, readers will feel empowered to create a home and products they love too.