Two Layered Drybrush
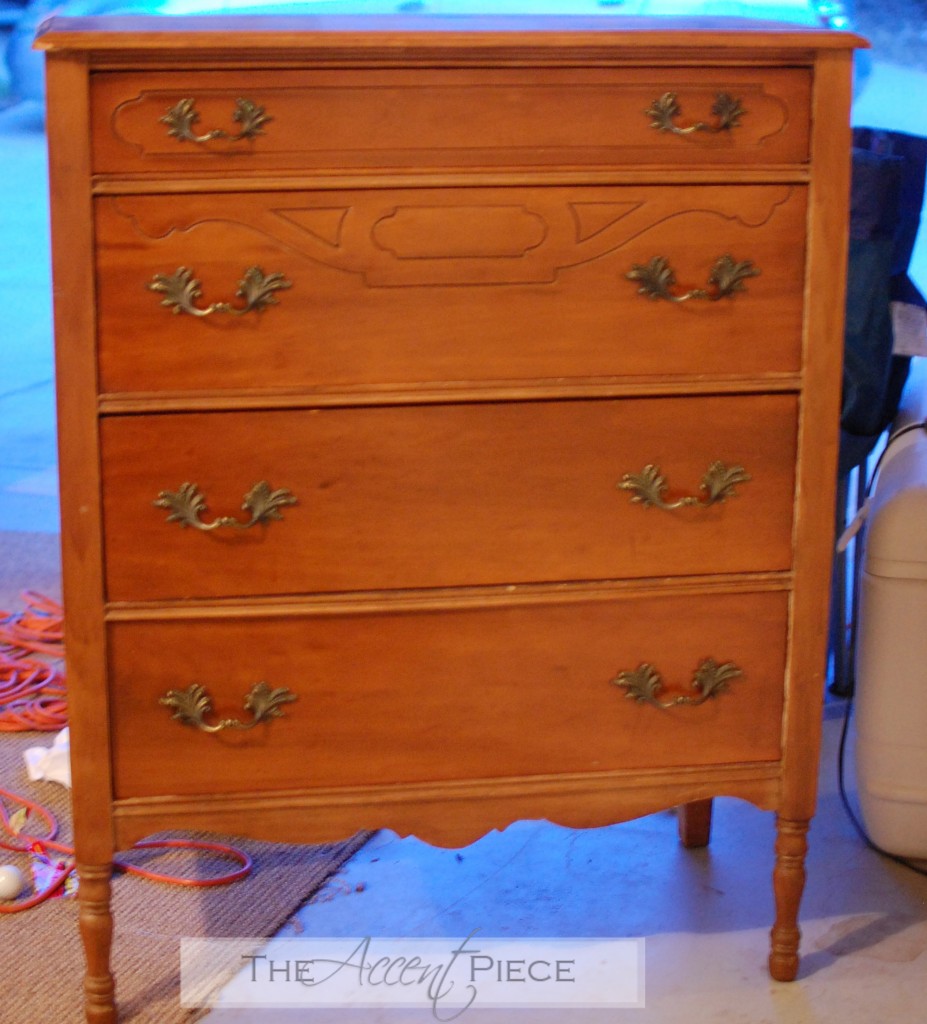
I just finished another dry brushed chest of drawers. I’m lovin this dry brushed finish. Here’s the before:
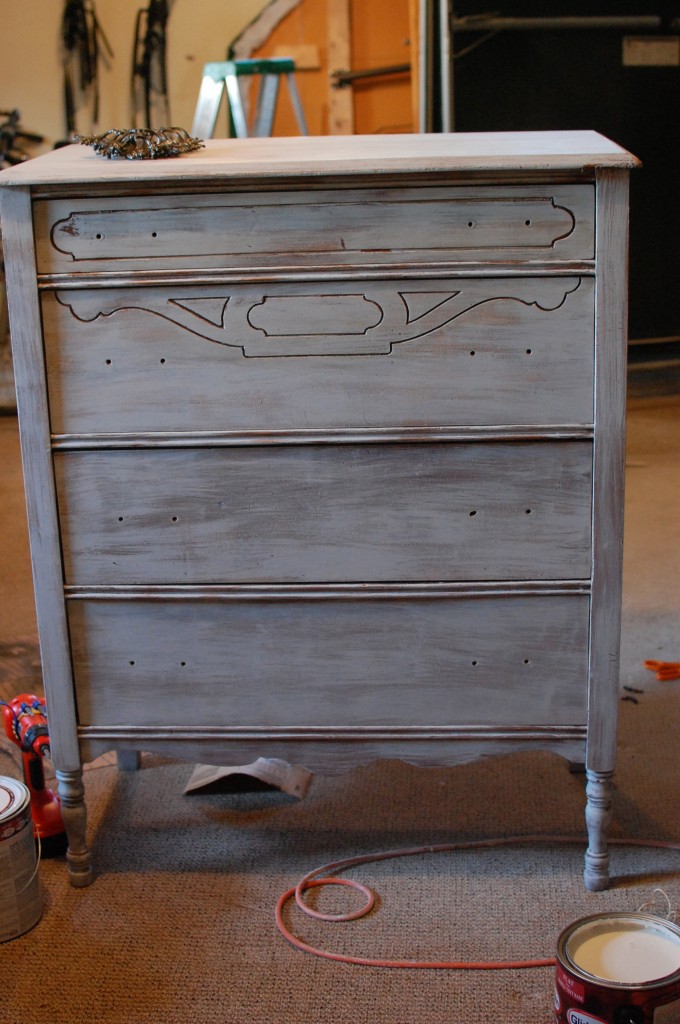
And here it is after the first layer of the dry brush:
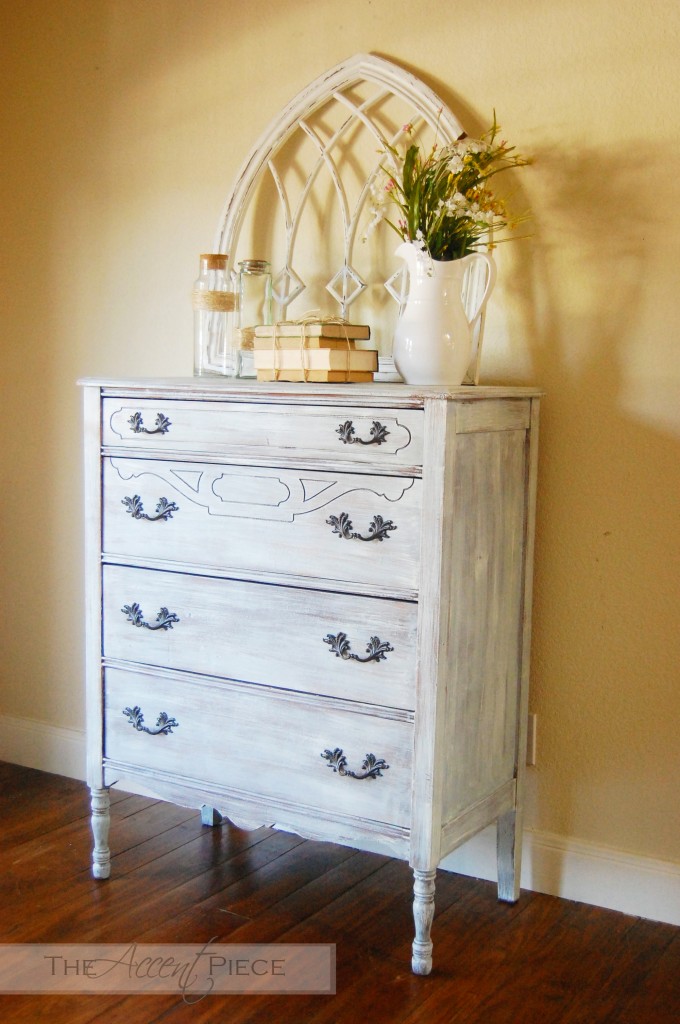
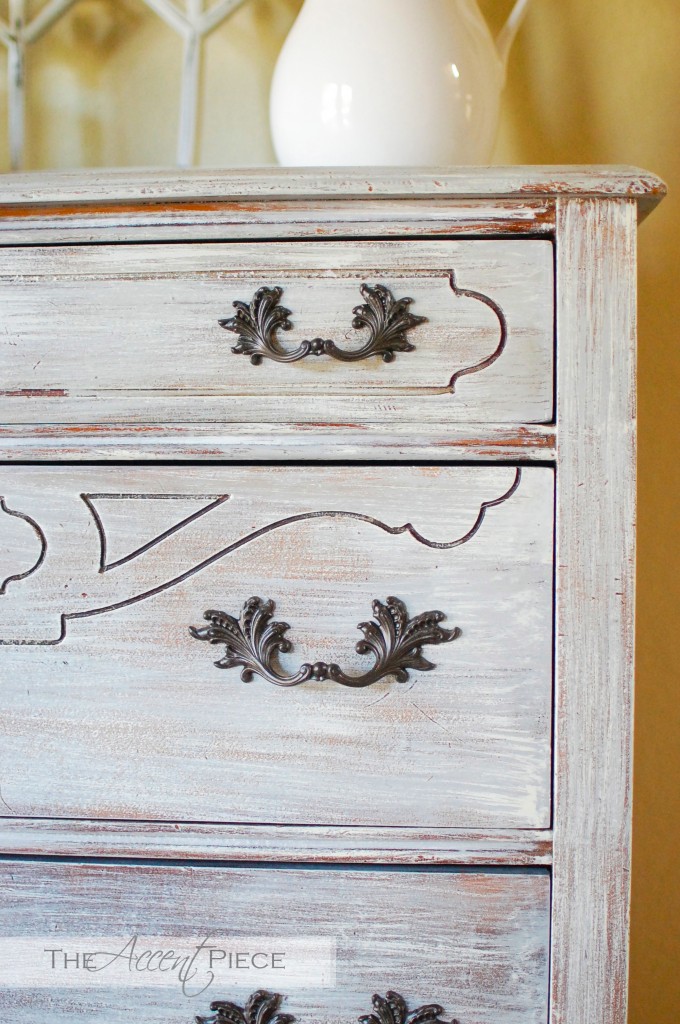
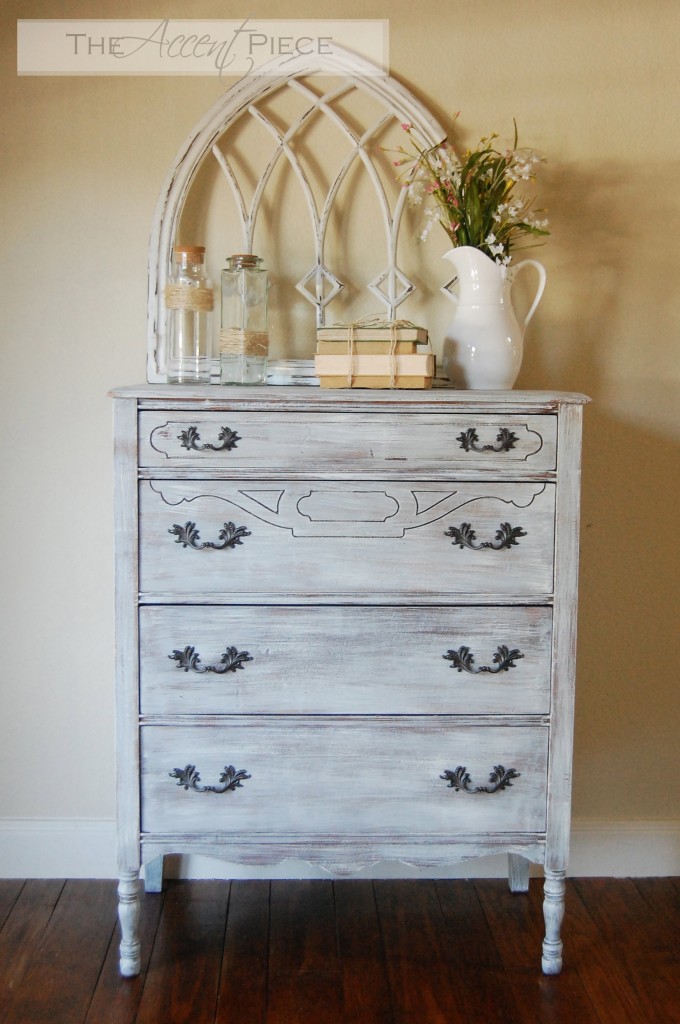
I liked it, but I wanted a little more dimension. So I drybrushed a creamy white over the gray-blue. And after putting a protective coat on it using polyurethane, here she is!
For another faux finish idea, check out this post on how to paint wood to look like metal!
I wanted some of the original wood to show through (dry brushing is perfect for this). I was a little iffy on the hardware. But after spray painting them black with a metallic finish, I think they’re a good fit.
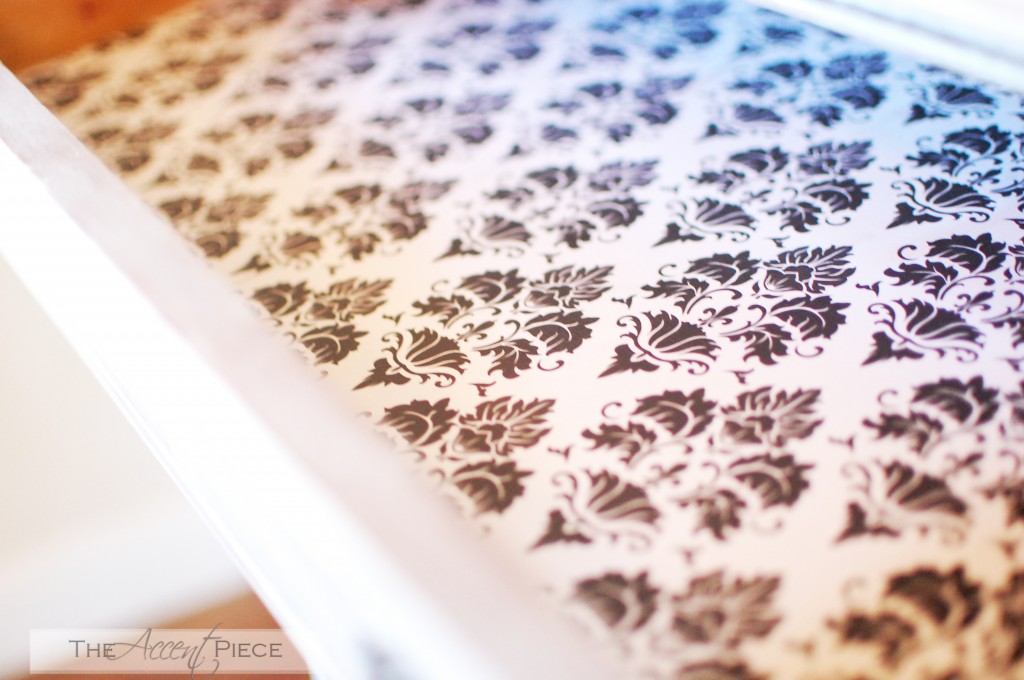
I also modge podged (is that an verb? cause I just made it one 🙂 ) some liner paper in the drawers.

Suzie Wible
Suzie has shared her knowledge for over 10 years about building furniture, painting techniques, how to build your dream home, and basic to advanced woodworking skills. Through this blog, readers will feel empowered to create a home and products they love too.
You did a beautiful job on the chest. The whole vignette is lovely!
Hope you will please drop by and enter my $50 Overstock.com Gift Card Giveaway!! Hometalk has said if I get 500 entries, they will increase the Gift Card to $100.
Honey
Thanks for letting me know – I’m a follower now!
Beautiful! The dry brushing technique looks perfect on your dresser. Deb
Thank you, Deb!
I’m now following you too!
gorgeous! you are seriously the dry brush master…. awesome job!
Gorgeous! and I love that cathedral window thing you have on top.
Thank you! garage sale find 🙂
You did a really good job on the dry brushing! The dresser looks great! Your display on top is lovely, as well.
This turned out SO amazing! I would love to try this technique myself some time. It really does add that depth you were talking about. I’m excited to be your newest follower! 🙂
This is fantastic. Love the finish and love the vignette on top. Great architectural piece! Thanks so much for joining my Wow party. New follower!
Love it! Love the dry-brush technique myself. Gives furniture a great look, especially with 2 different colors. I dry-brushed an end table using light blue and white and distressed it heavily. Gave it a nice beachy look.
Beautiful job on the dresser!
I love the piece, and I love the staging, that window is cool! Thanks for stopping by, and I am following you now!
Debbie
I’m your newest follower.
And just an fyi, you had a comment on my blog, but I was unable to email you. You’ll need to go into Dashboard and change your settings to enable your email.
Gorgoeous! I love this finish. I just started dry brushing a few small pieces and I absolutely love it.
So pretty. I wanted to do something like this with a piece I just did, but after sanding a few rough spots the red mahogany stain below bled through the paint all pink everywhere. UGH. Maybe on the next one.
Another lovely masterpiece!
LOVE this! New follower 🙂 Loving your blog!