Nursery Wall Art
I’m going to be an aunt! Actually both my sister and sister in law are pregnant (and both due within a month or so!) so Micah will have some cousins close in age. I’m so excited!
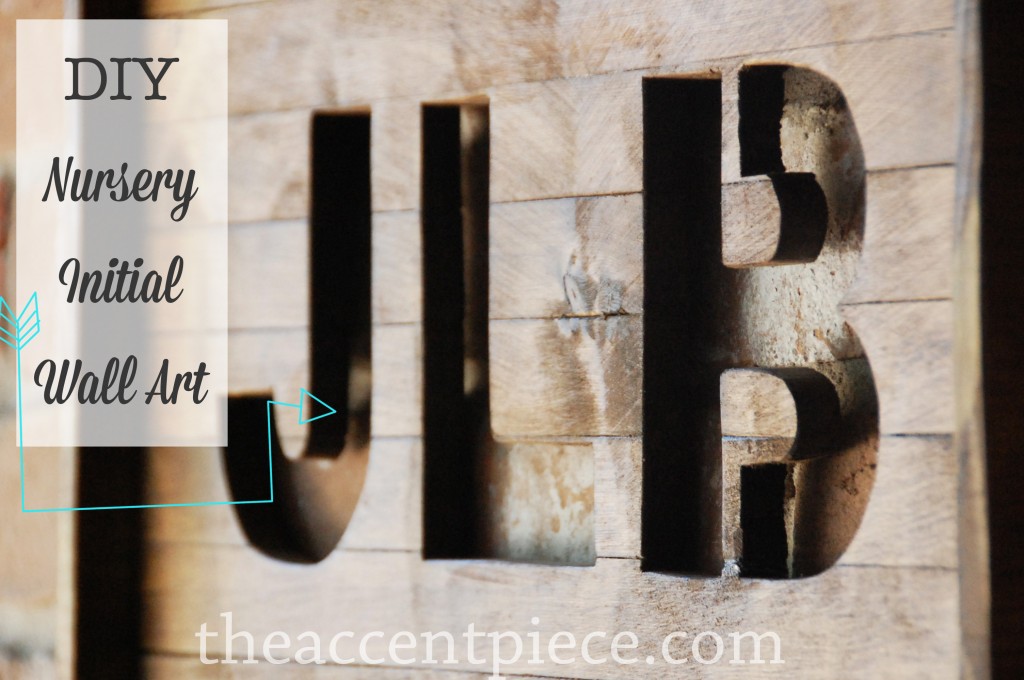
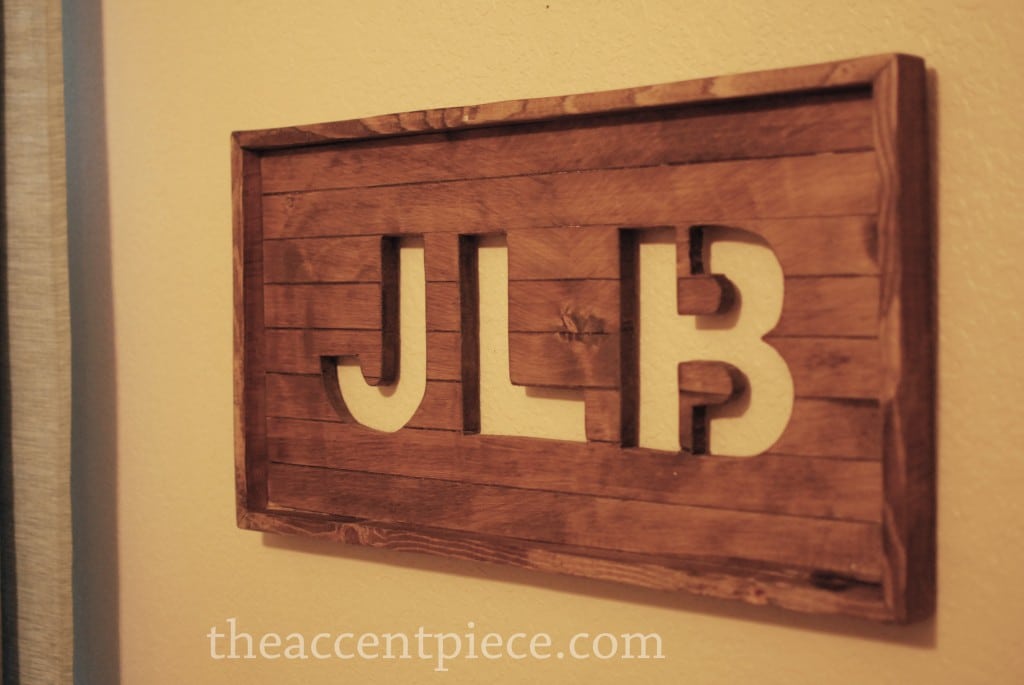
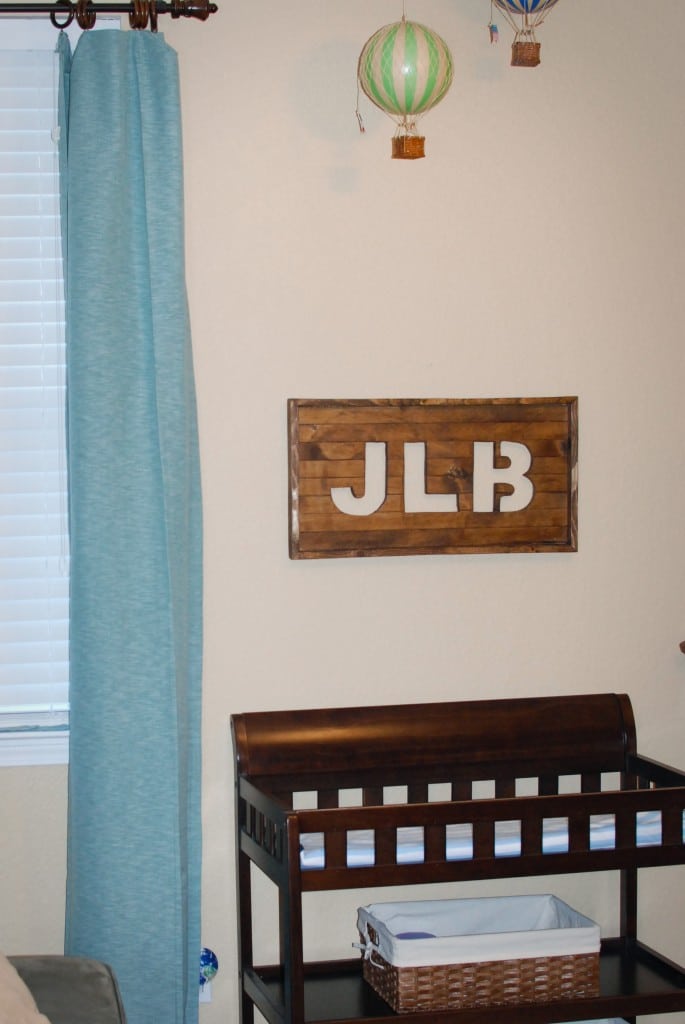
I wanted to create some wall art for my nephew’s nursery and here’s what I can up with.
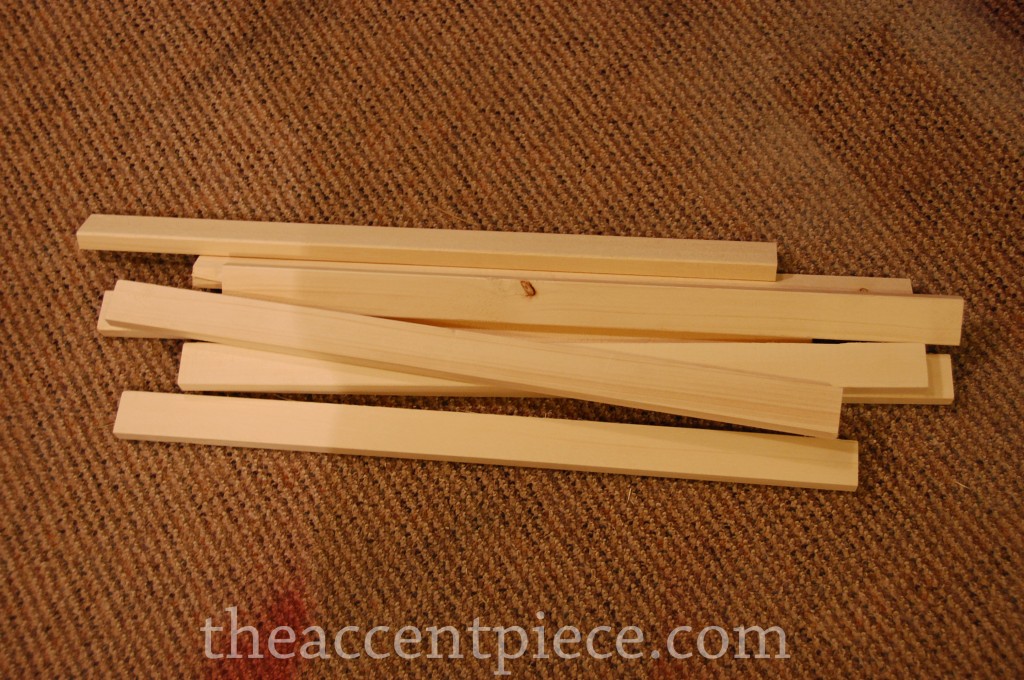
I started with two 1×2’s 8 feet long and cut each of them 3 times so I had 8 equal lengths. I trimmed these with my miter saw. TIP: for details on how to use a miter saw for beginners, check out this post!
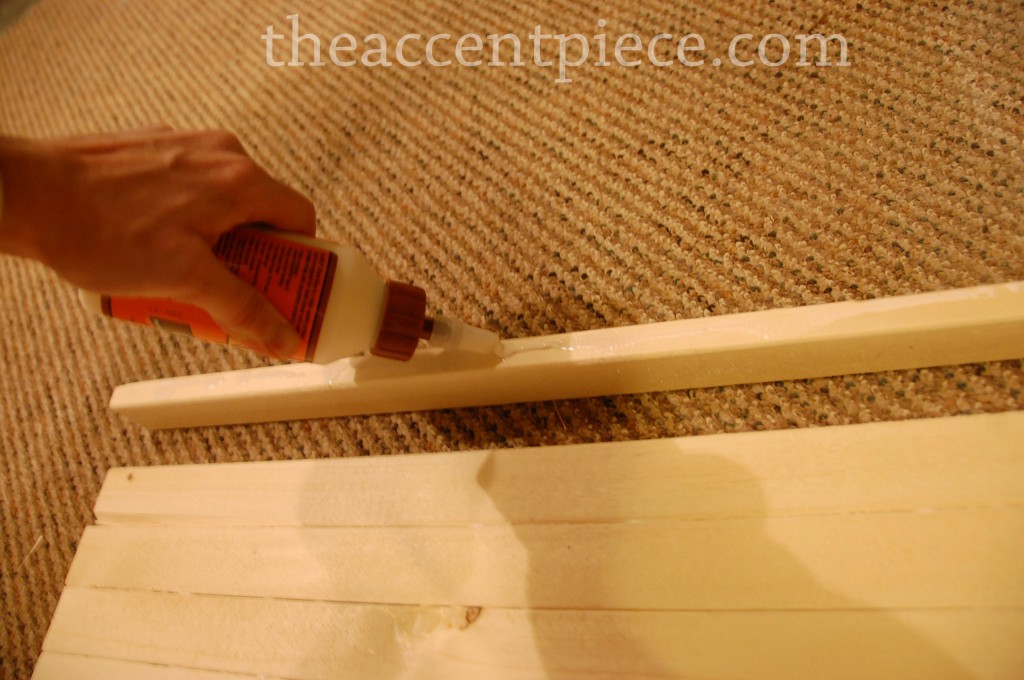
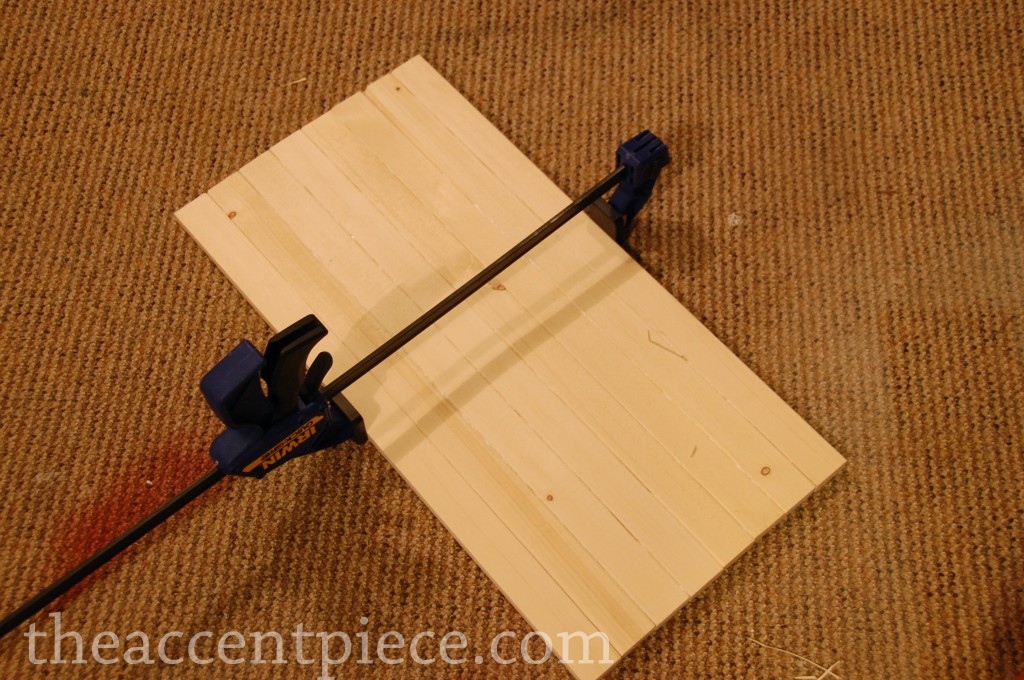
I used wood glue to attach them all together. By the way, I use Gorilla wood glue and it’s my favorite I’ve found so far.
Then I clamped it together and let it dry for a day or so.
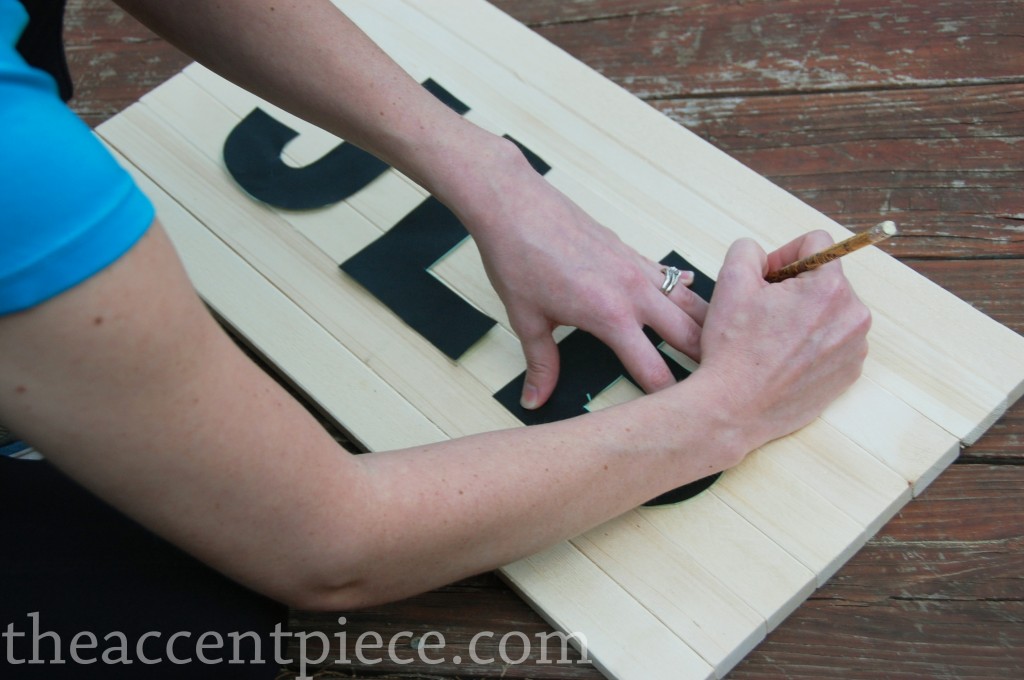
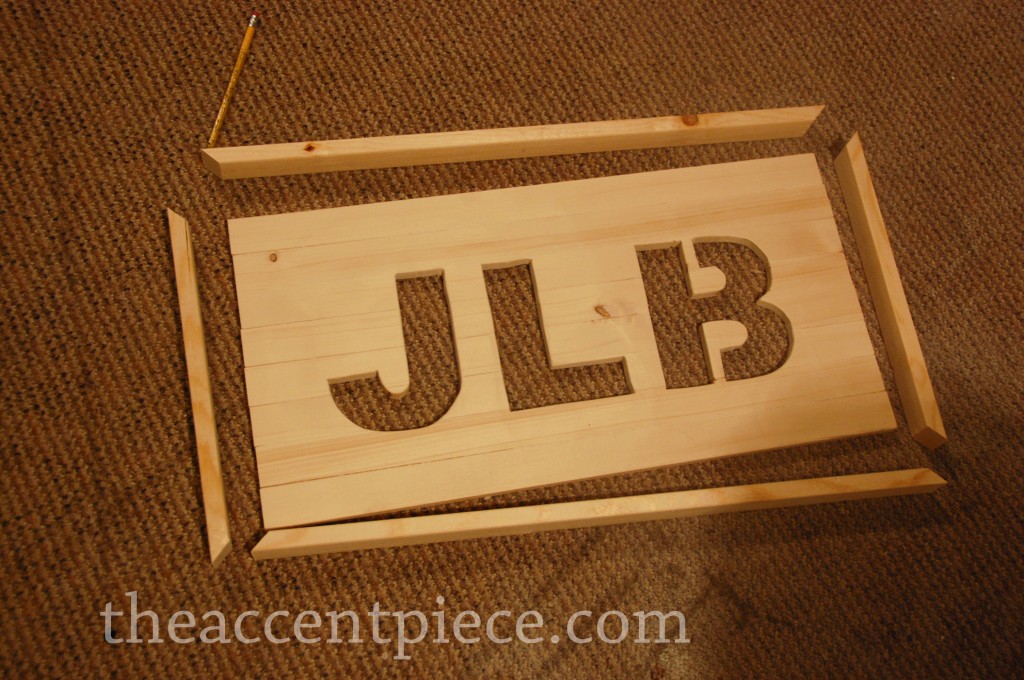
I printed out the initials, cut them out, then traced them on the boards.
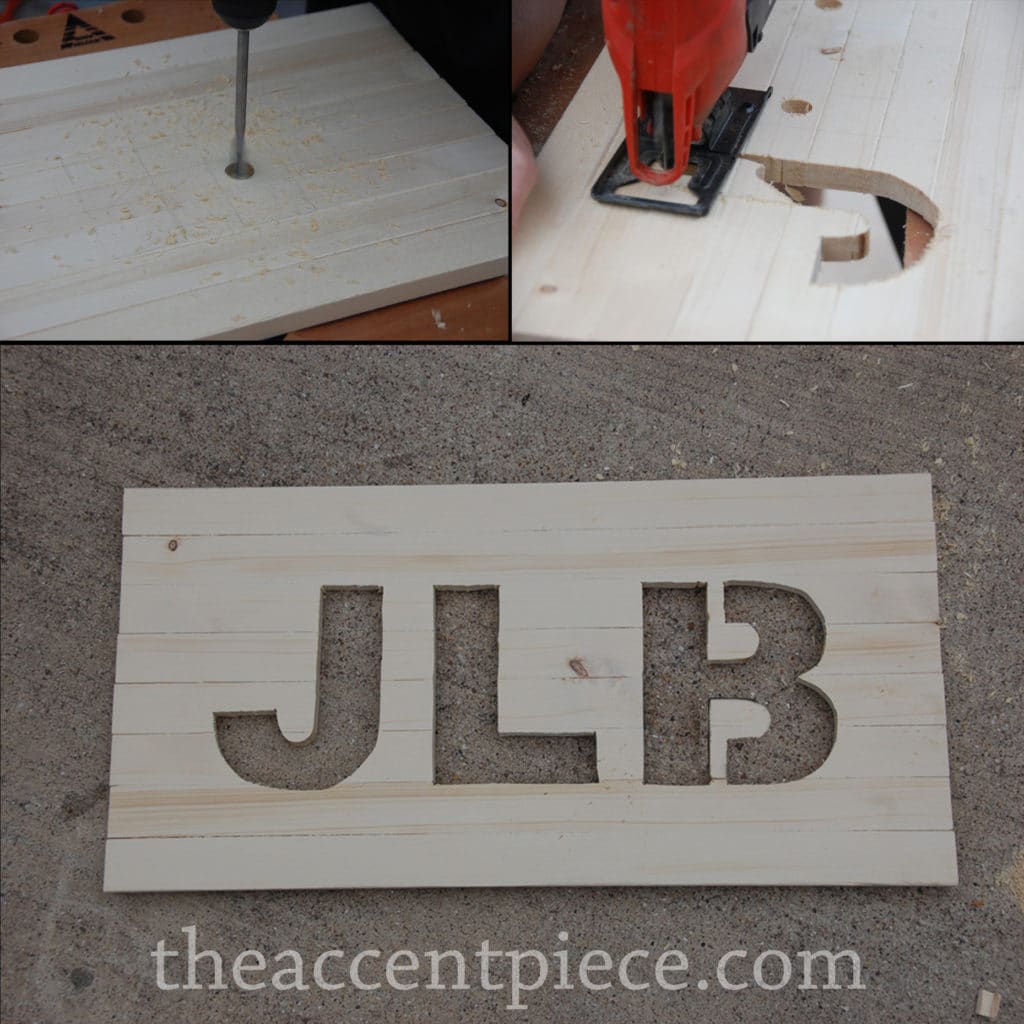
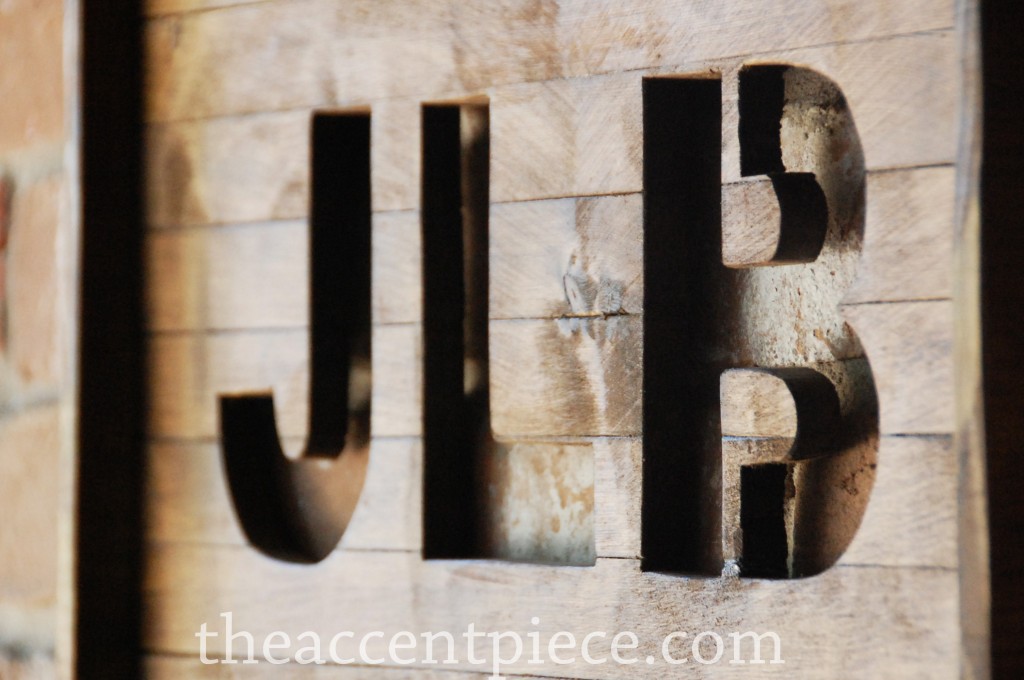
Using a jigsaw, we were able to cut the letters out. It was easiest to use a spade bit to drill a hole big enough to get the jigsaw blade in place.
RELATED: For another rustic wall art idea, check out this Wooden Rustic Light Up Christmas Star.
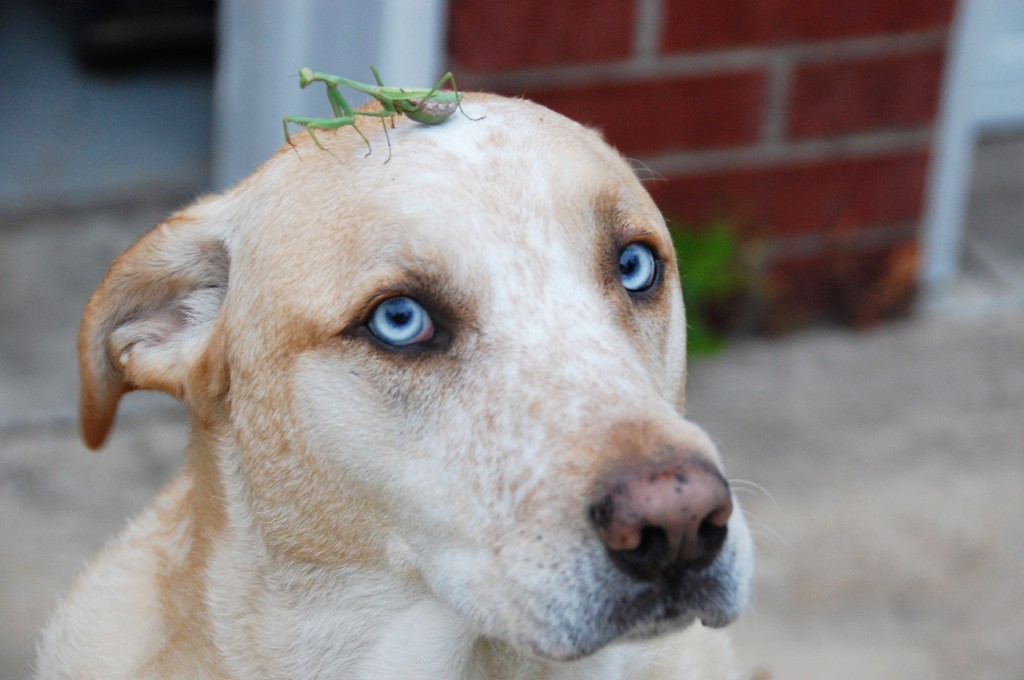
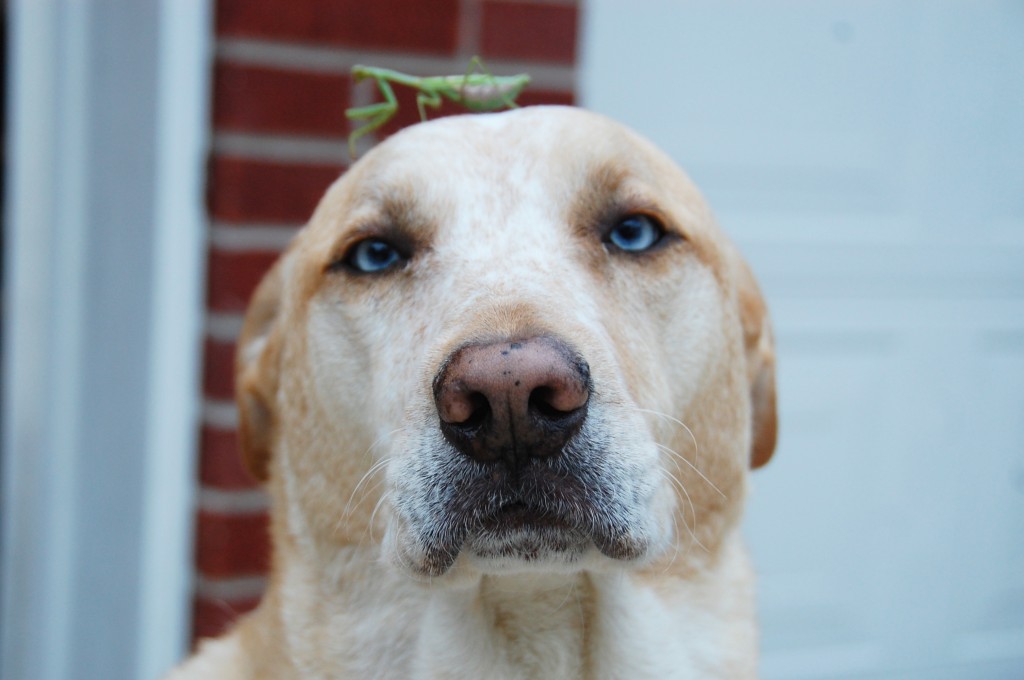
Somehow, in the midst of this project, this happened. I have no explanation, nor will I attempt one.
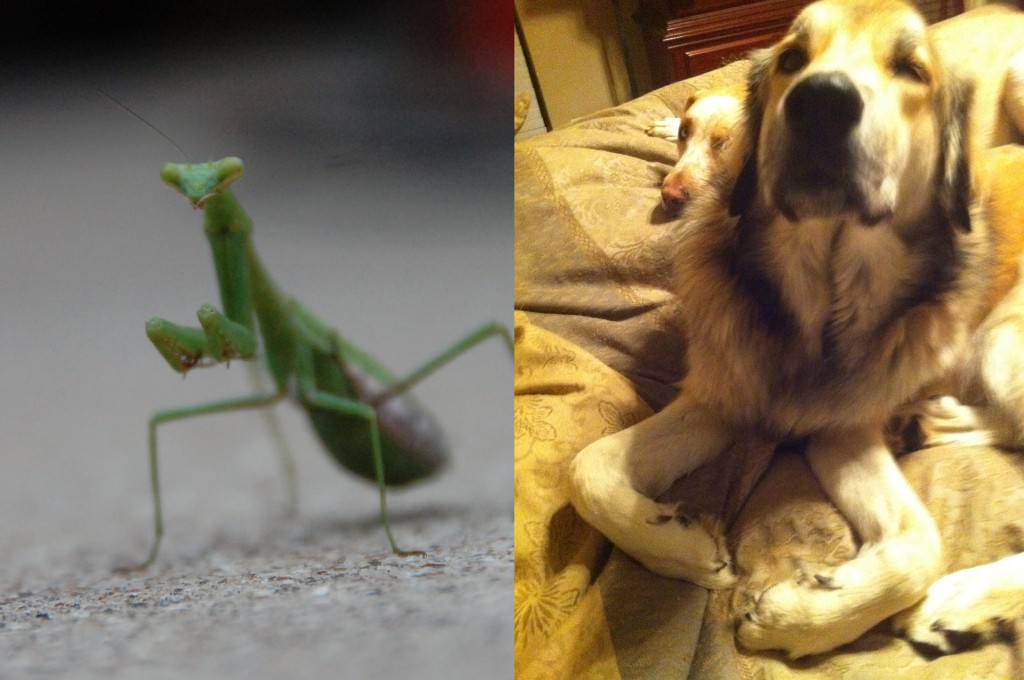
This picture speaks volumes to me. It says “I shall murder you in your sleep”. I think I’m going to put it on the mantle.
Speaking of a praying mantis, kozi does a mighty fine impression of one, no?
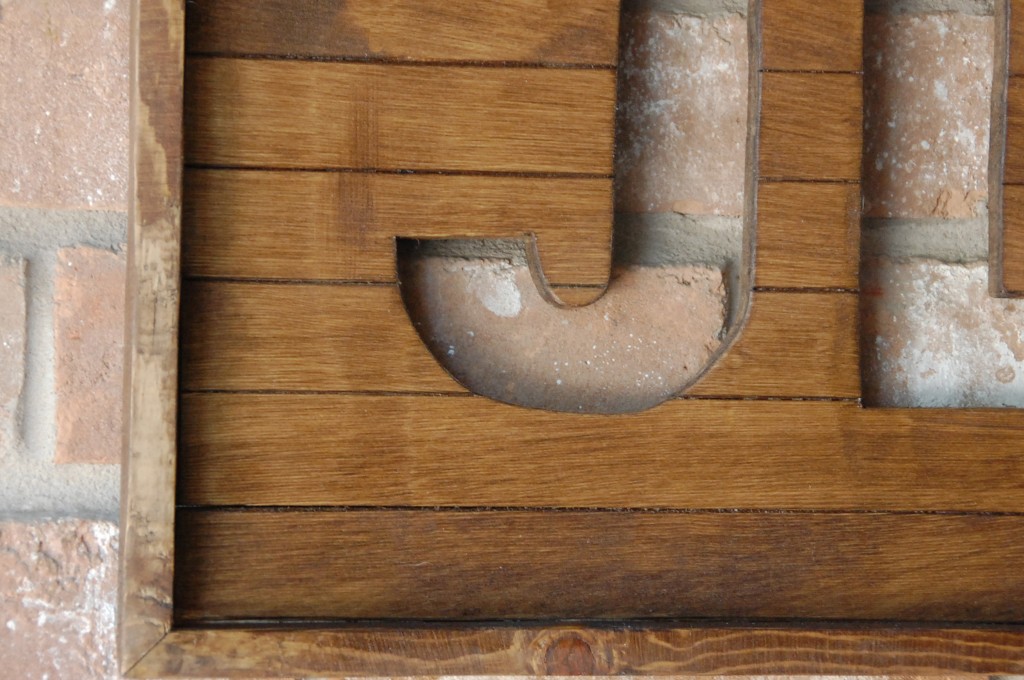
ANYWAYS, back to the project. To give it a finished look, I created a border with 1×2’s and mitered the edges using a miter saw.
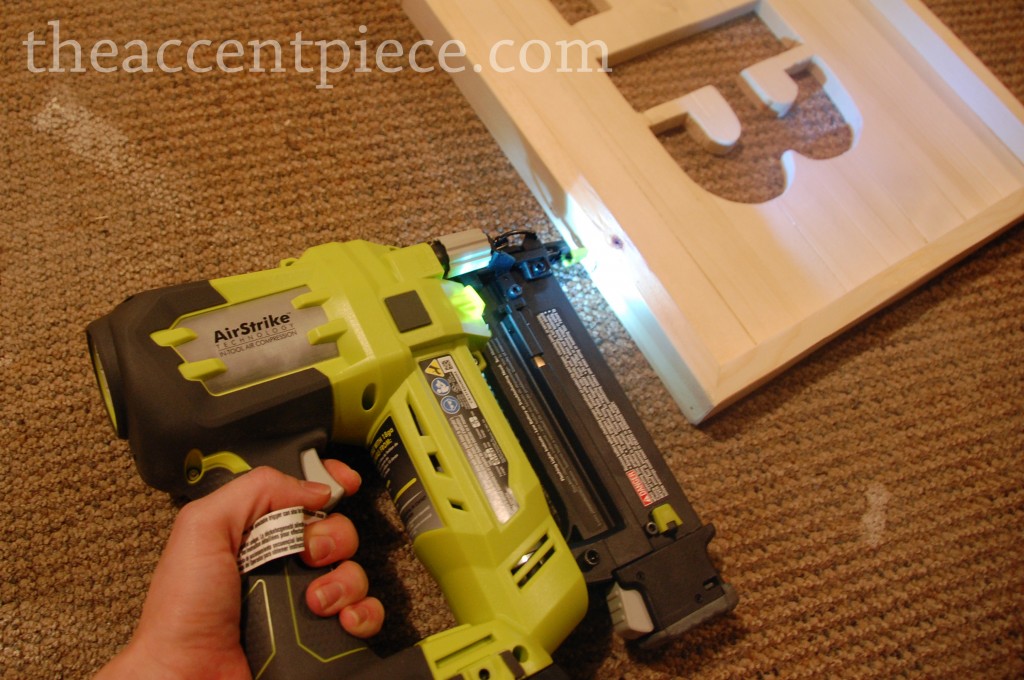
I just purchased a nail gun and I have to say I love it. It’s cordless so you don’t need an air compressor. I highly recommend it. I was able to attach the frame in no time at all.
I sanded the rough edges down and stained it. We stained it Dark walnut.
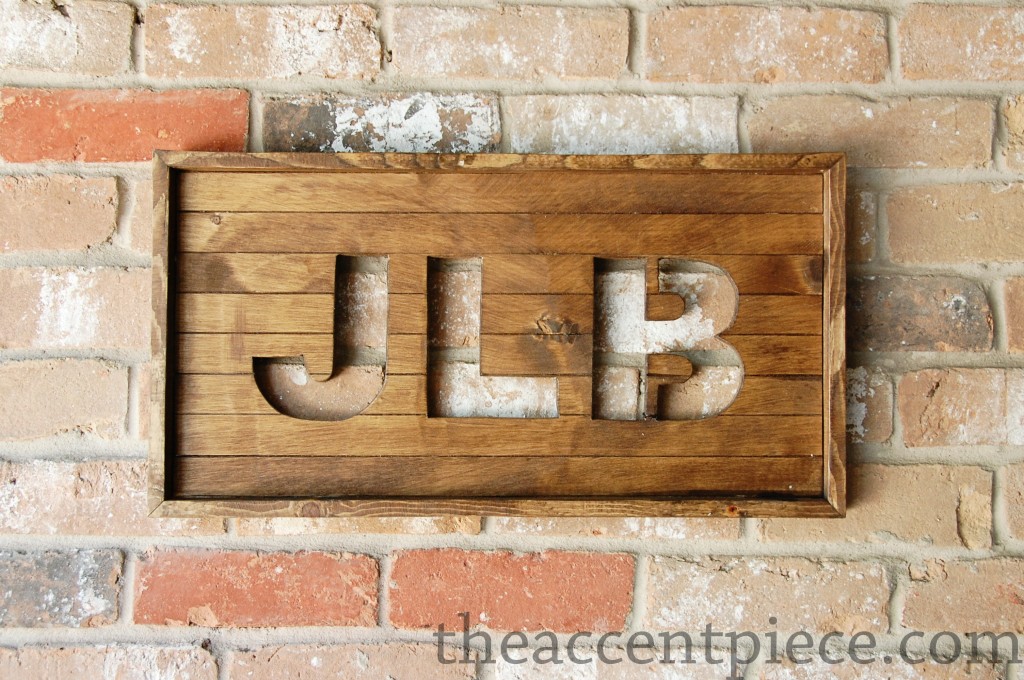
Can’t wait to meet my two new nephews!!

Suzie Wible
Suzie has shared her knowledge for over 10 years about building furniture, painting techniques, how to build your dream home, and basic to advanced woodworking skills. Through this blog, readers will feel empowered to create a home and products they love too.
I adore this! I have seen so many ideas for nursery wall monograms and names, but this is definitely one of my favorites. Pinning!
Thanks Tasha! Glad you stopped by!
I love the way it looks and you make the project seem so easy!
Thank you, glad you like it! 🙂