DIY Framed Bathroom Mirror
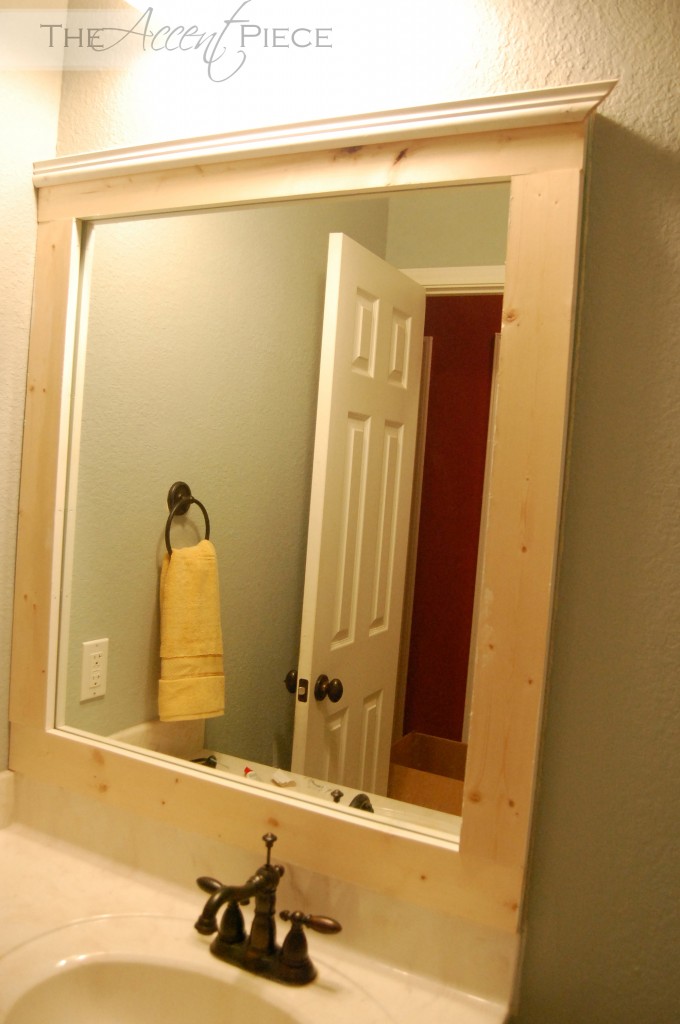
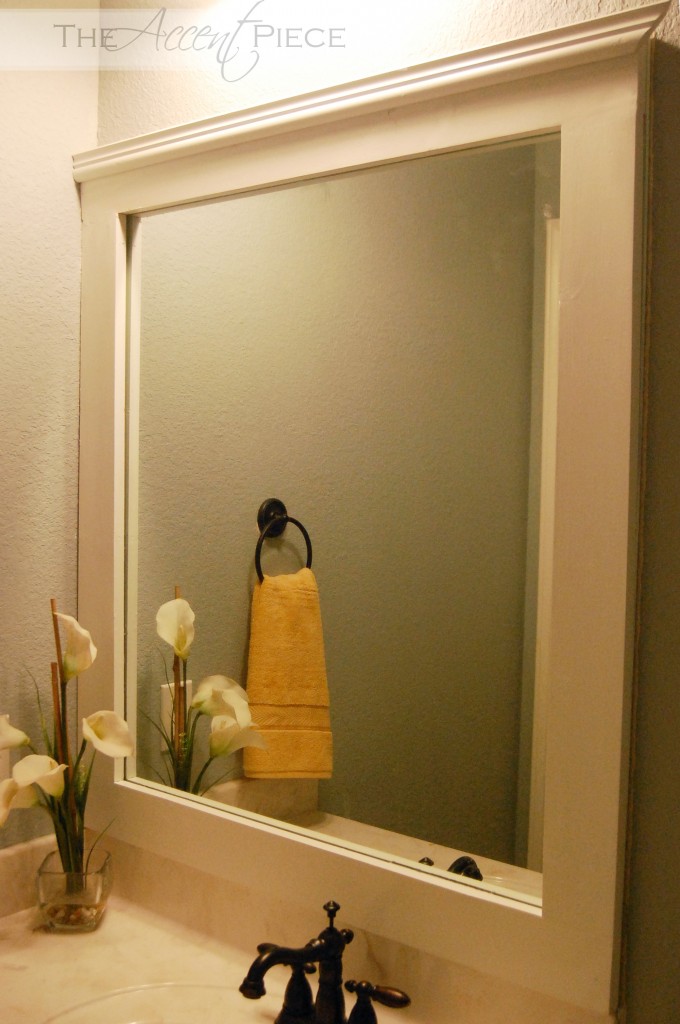
I’m working on updating our downstairs half bathroom. We had just a simple builder grade mirror and I wanted to give it more of a custom feel. I love the look of framed mirrors in the bathroom like this one from Pottery Barn, but the price tag: not so much.
Disclaimer: This site contains product affiliate links. We may receive a commission if you make a purchase after clicking on one of these links.
Here’s what you’ll need:
- 1×4 boards (enough to border your mirror)
- liquid nails
- paint
- chair rail moulding for the top (optional)
- miter saw (I use this one and highly recommend it)
- spackle (can be found here)
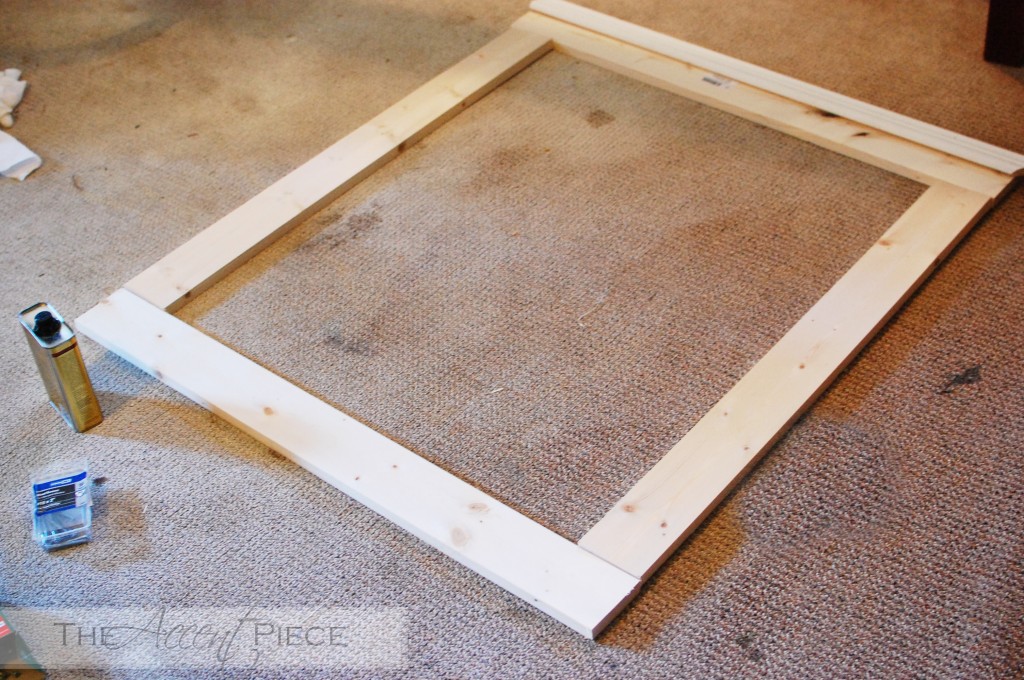
Measure your mirror to determine the dimensions and cut your boards accordingly. I decided not to miter this time because I wanted it to be “seamless” around the mirror.
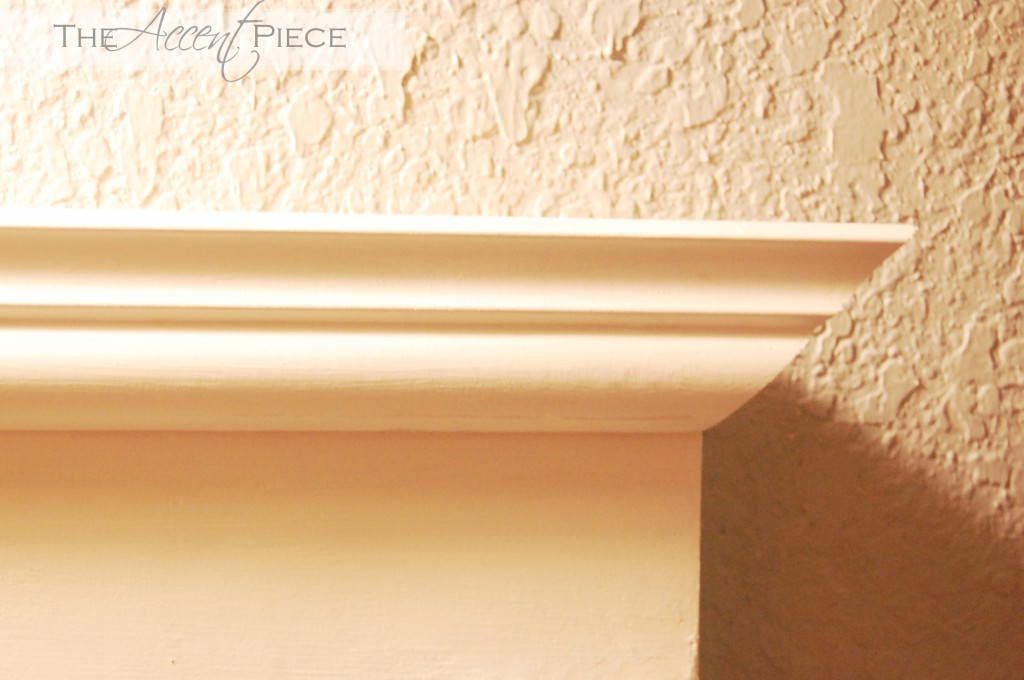
I also added some chair rail trim to the top to give it a finished look. Use your liquid nails to attach it.
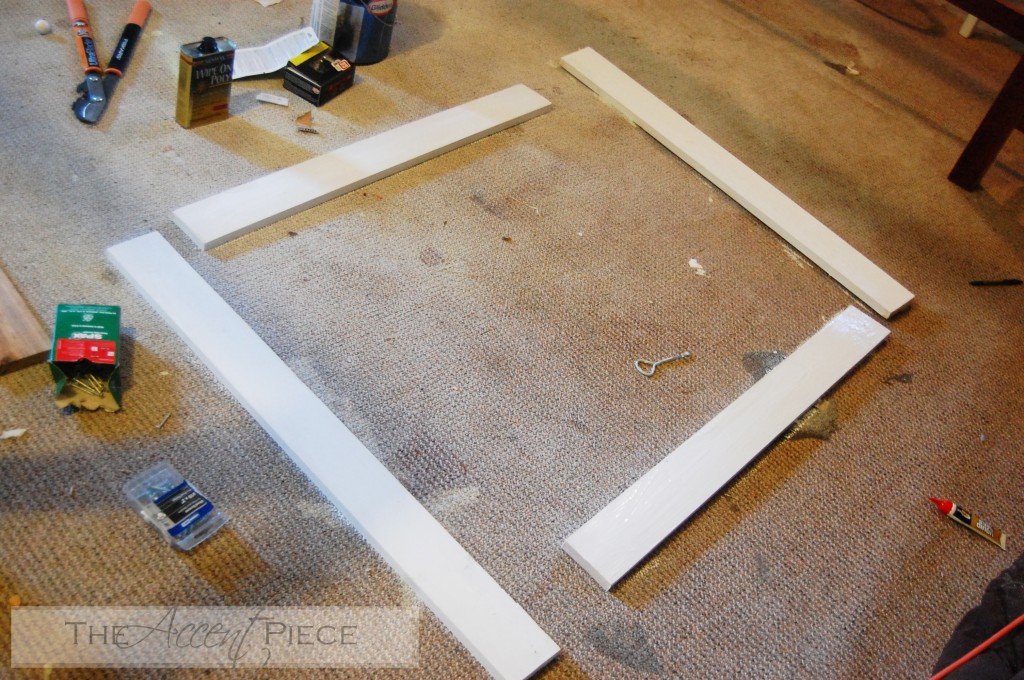
Flip everything over and paint the back of the boards. You’ll want to do this because the backs will show in the reflection of the mirror.
Using the Liquid Nails, glue it to the mirror and let it dry. Liquid Nails is some powerful stuff, so you don’t need to wait too long. I think I waited about 30 minutes.
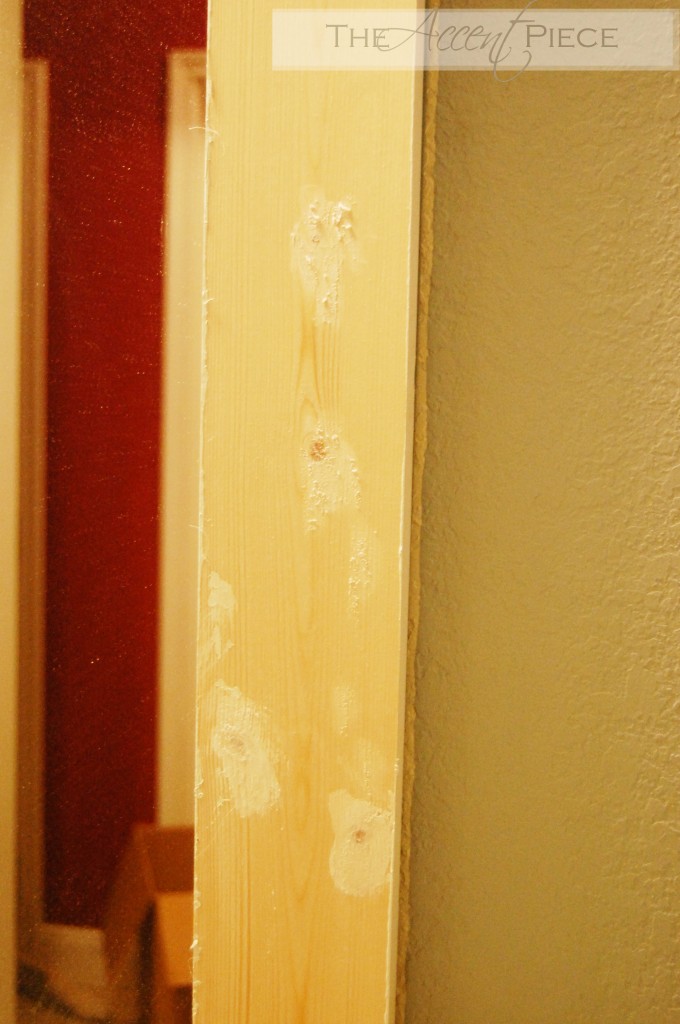
Fill in all of your holes with spackle and give it a good sanding. Then just tape your edges and paint away!
Total cost:
- Chair Rail Moulding: $3.95
- 1x4s: $6.96
- Liquid Nails: $3.97
- paint (already had)
- spackle (already had)
=$14.88

Suzie Wible
Suzie has shared her knowledge for over 10 years about building furniture, painting techniques, how to build your dream home, and basic to advanced woodworking skills. Through this blog, readers will feel empowered to create a home and products they love too.
Love this! I’ve been searching for an inexpensive way to jazz up the spare bathroom—this is it! Thank you!
I love the finished look and the price!
I love this idea, but I’m a bit confused. What nail holes are you patching if this was all glued together?
Hi Heather –
The holes I’m patching are just imperfections in the wood because I wanted a smooth finish without any knotholes.
Ok, thanks for clarifying. I thought I missed something. I can’t wait to try this!
Nice job Suzie. It looks great!! : )
Stop by and check out my first piece of painted furniture. I’m really please with how it turned out.
~ Catie
http://catiescorner2.blogspot.com/2011/08/i-did-it.html
You did a great job and for so cheap. I need to do this like to every bathroom mirror in my new house. Great tip to on painting the back of the boards. Could you imagine how disappointing it would have been to realize that after liquid nails! LOL!!
This looks so great!!! I actually did the same thing in two of our bathrooms! I love that it makes such a huge impact for not a lotta buck 😀
Wanted to say thank you for your sweet comment, and that I’m LOVING your blog. I’m your newest follower!
Shelley
http://www.westermanfam.blogspot.com
I want to do this in our bathroom. Thanks for the great tutorial. 🙂 Would love to have you link this up to my {wow me} wednesday link party going on right now over on my blog. Hope to see you there. {I’m a new follower, too.} Cute blog!
Ginger
gingersnapcrafts.blogspot.com
Thanks for your comment and for following me! I love all your stuff!
Hey! One of my biggest pet peeves is the boring mirrors builders install in bathrooms. This is such a great, simple solution! And at such a great price! Thanks for showing us the how-to.
Great job! I did something similar in our master bathroom, but yours looks quicker!
Stop by and check it out some time!
Thanks,
Amanda
http://www.theivycottageblog.blogspot.com
I pinned this on Pinterest, posted on my FB, and featured in my blog. Thanks for linking up at Creative Bloggers’ Party & Hop 🙂
Love this! I wish we could do this in our current home- it would really add some nice architectural detail. But we’re renting so maybe in our next house! Following you back!
Great job on the bathroom. Thanks for sharing with my newbie party. Hope to see you again weekly.
The transformation is incredible! Thank you for posting the step-by-step!
I’m your newest follower.
100%品質保証!満足保障!
商品数も大幅に増え、品質も大自信です
ブランドバッグ ブランドコピー,ブランドコピーブランド販売
最高品質のアイテムアウトレットクリアランス販売
品質がよい 価格が低い 実物写真 品質を重視
ご注文を期待しています!