How to Make a Wooden Cigar Ashtray
Today, I’m going to share how to make your own handmade wooden cigar ashtray. The one I made has the center part as the shape of Texas, but you could easily make this round instead. I’ll cover all the details about how to do that below!
I made this for a friend for his birthday and wanted to share how to build this wood cigar ashtray with you. In addition to a great handmade gift idea, these ashtrays would make great woodworking items that sell. You could quickly make these in bulk and sell at local shows or online! I think they would make great homemade wooden groomsmen gifts as well.
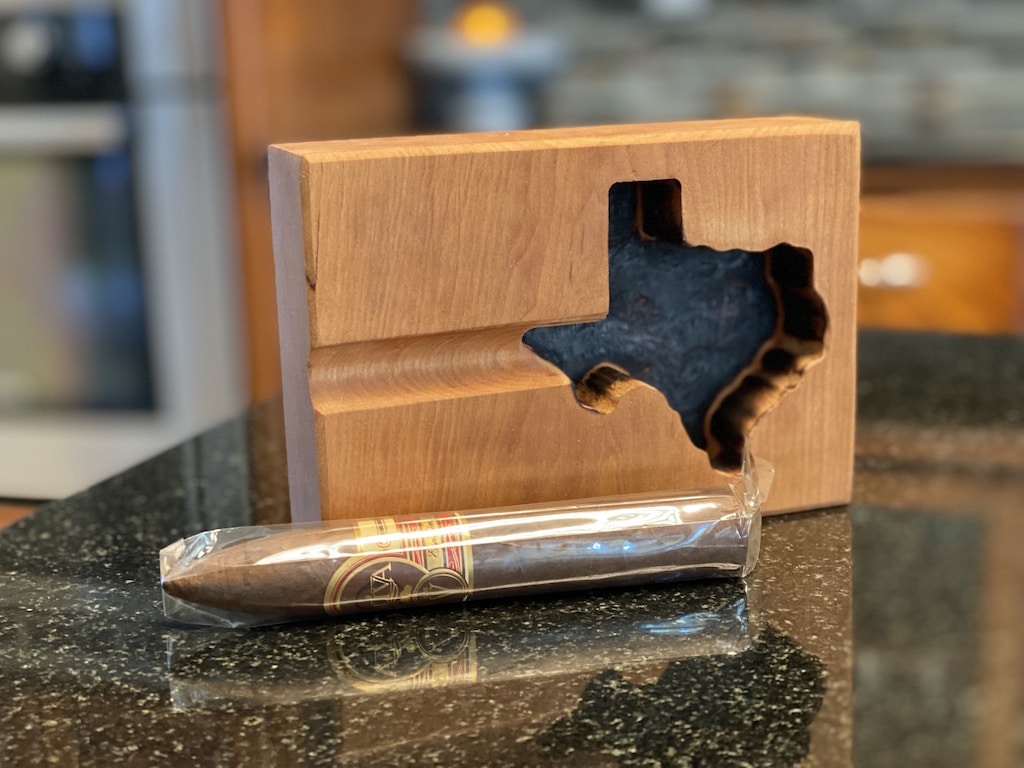
So, let’s get started with the how-to. I ended up making 3 of these ashtrays. Two of the ashtrays were made out of walnut, and one (pictured above) was made out of cherry wood.
Hardwoods (like cherry, walnut, maple, or oak) are some of the best woods to make an ashtray out of. Something like pine or cedar would be too soft and not hearty enough. I will also share how I finished and sealed these cigar ashtrays so that the hot ashes don’t damage the wood.
Step 1: Gather your Materials
Disclaimer: This site contains product affiliate links. We may receive a commission if you make a purchase after clicking on one of these links.
- Hardwood (like walnut, cherry, oak, maple)
- Router
- Router Edge Guide
- Round Nose Router Bit
- Spiral Cut Router Bit
- Miter saw
- Odie’s Oil
- Sander
- Slab Stitcher with the Texas inlay (if creating a Texas one)
- Circle Cutting Jig (if creating a round center instead of Texas)
- Butane Torch
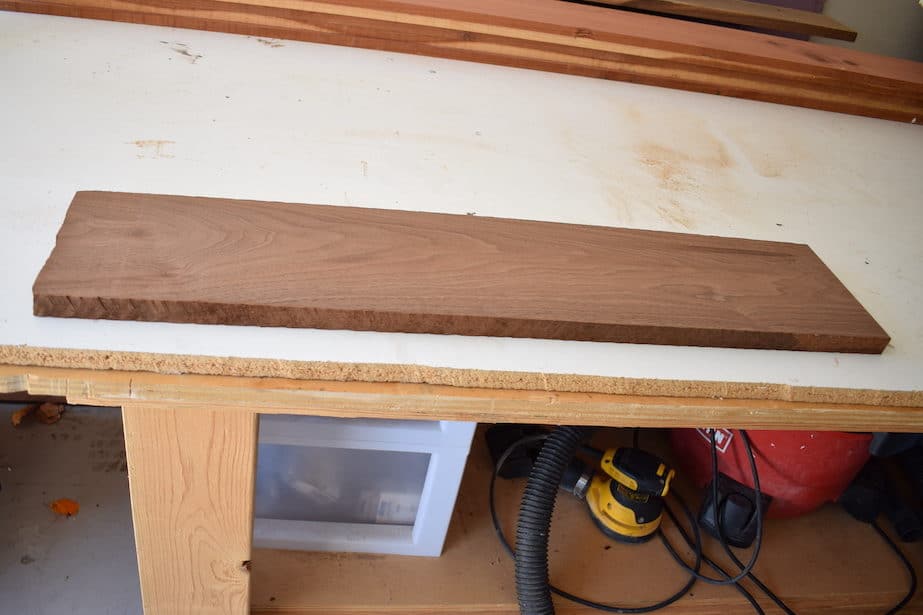
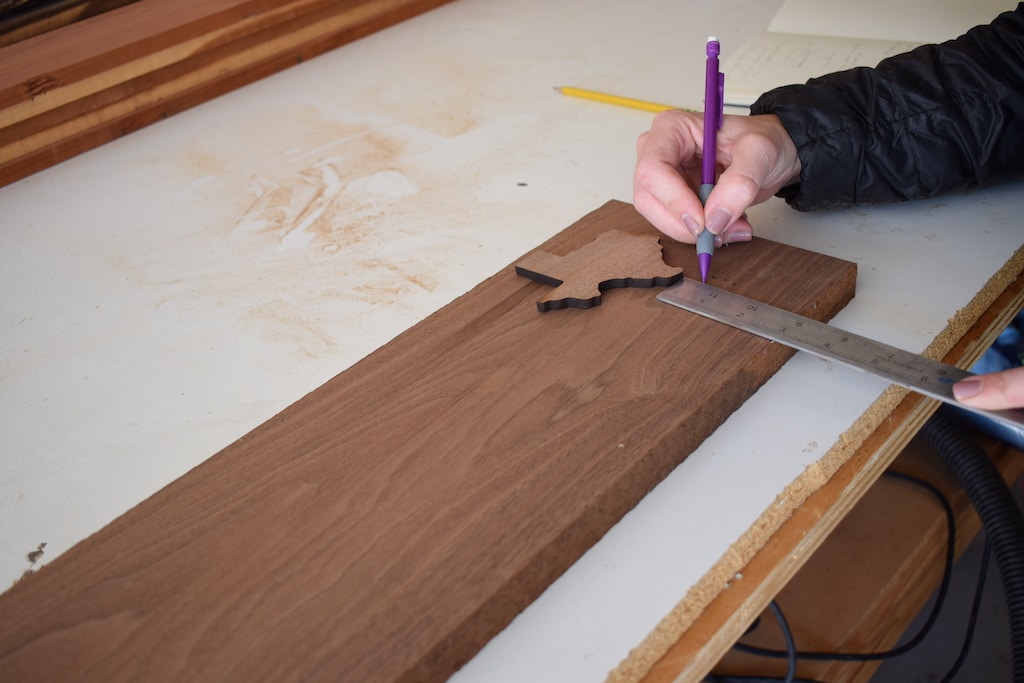
Step 2: Determine the size of the wooden ashtray
In this tutorial, I’m covering how I made the first cigar ashtray out of walnut. They layout is slightly different than the above picture of the cherry ashtray, although the process is the same. So, you could easily adjust the dimensions to fit the layout you prefer.
Like I mentioned before, I used walnut to make this cigar ash tray. I wanted to use hardwood like cherry, walnut, maple, or oak (which would be the best wood to make an ashtray) so that it can withstand heavy use and hot ashes.
First, measure how large you want your ashtray to be. For this one, I left 1.5″ on the right and left side of the Texas, so there was ample room for the cigar to rest. I left .75″ on the top and bottom of the Texas.
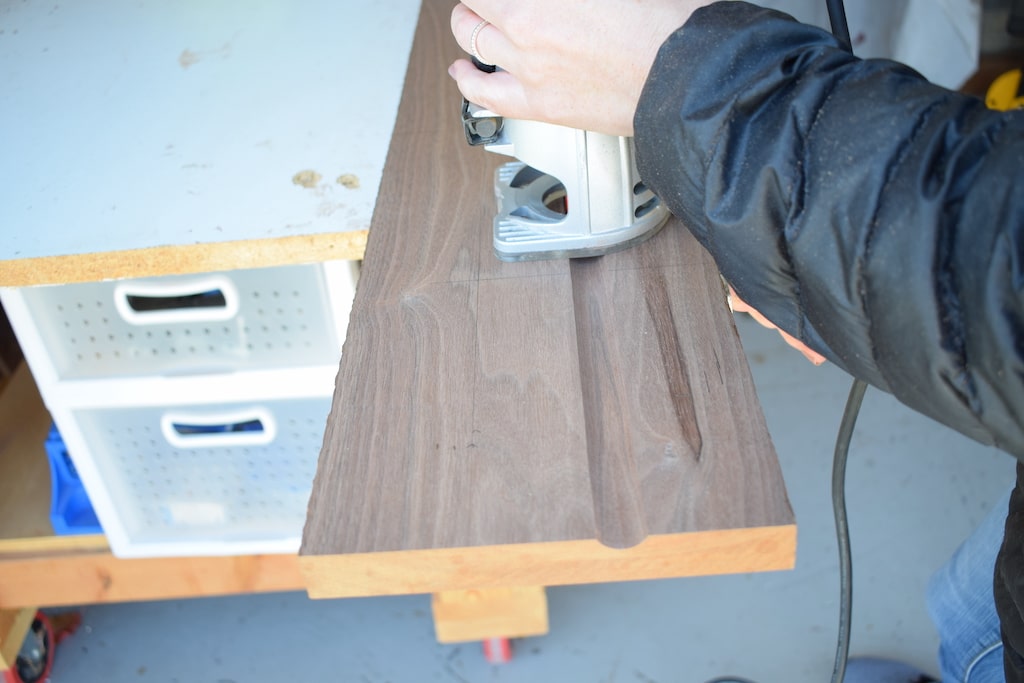
Step 3: Route out the cigar rest
Attach the round nose router bit to your router. Set the depth around .25″. I recommend doing a test run on a scrap piece of wood to make sure you are happy with the depth and that your cigar rests correctly in it.
Attach the edge guide to your router. This edge guide will slide along the edge of the wood and create a straight line when you route it. I positioned the edge guide depth so that the cigar rest will align with the left size of the Texas, just for aesthetics sake.
This is very similar to cutting a juice groove on a cutting board. Check out that tutorial!
You will do this step now so that you have more stock to work with when you are hand routing out the groove.
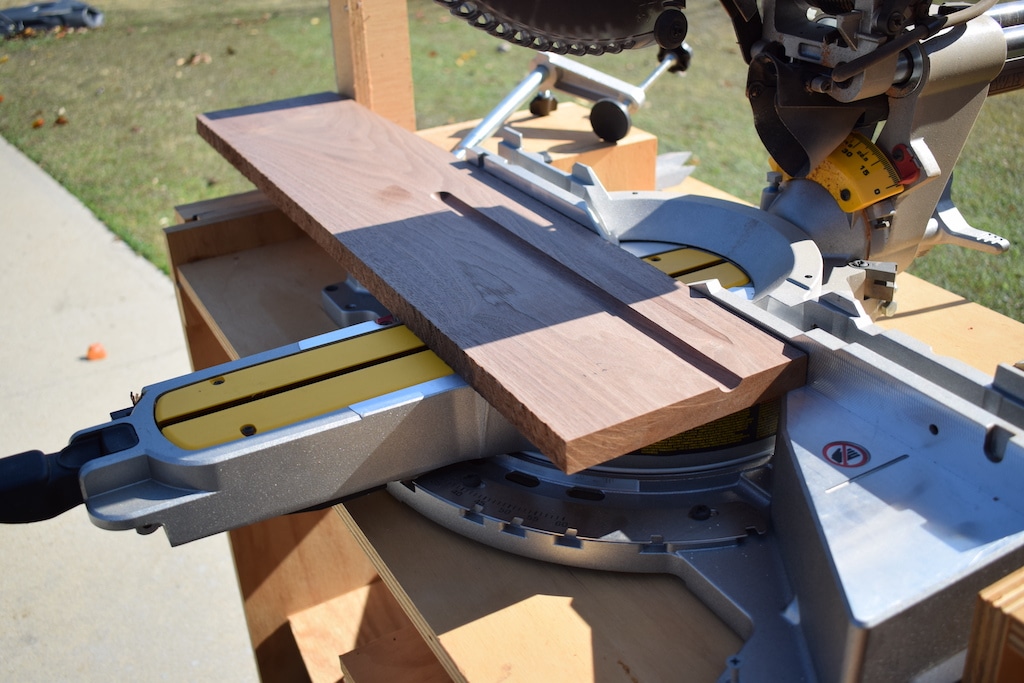
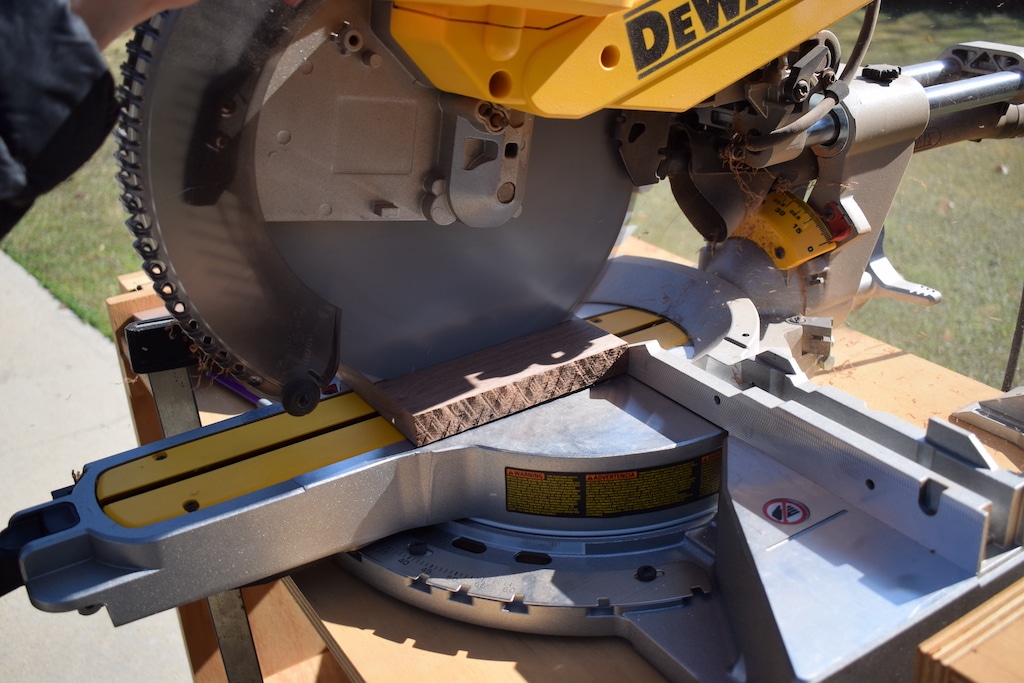
Step 4: Trim your ashtray to the correct dimensions
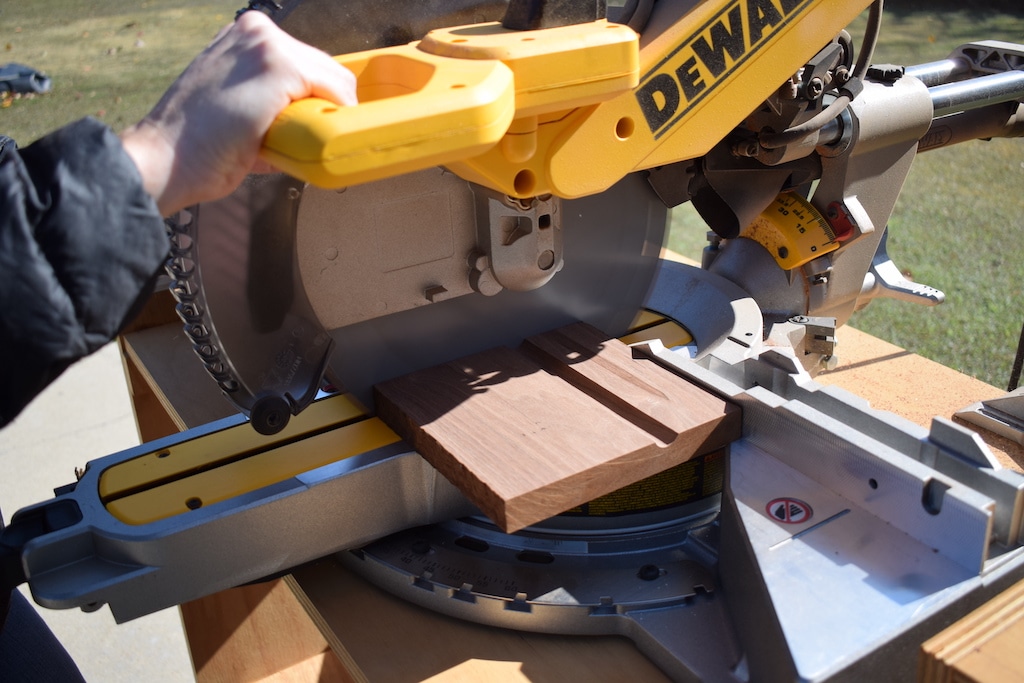
This step will be completely dependent on the layout of your ashtray. Use your miter saw to trim the piece. My dimensions are mentioned above.
Tip: If you’re just getting started with using a miter saw, check out this post for How to Use a Miter Saw!
I also made two of these versions. If you are wanting to sell these items, you can quickly bulk create these ashtrays to up your efficiency!
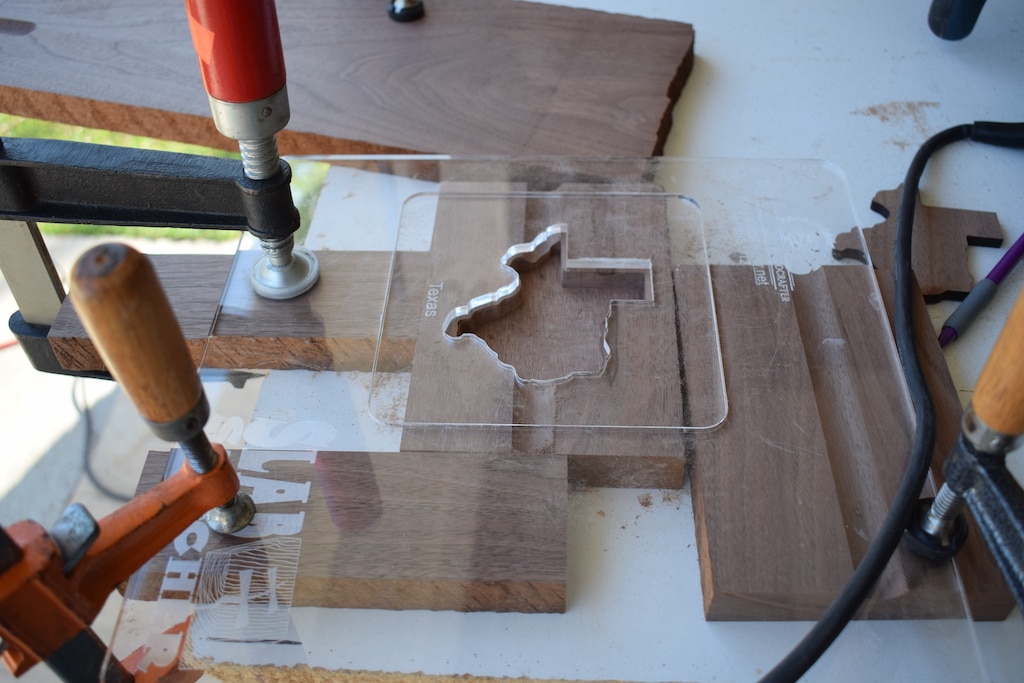
Step 5: Route out the center of the ashtray
I used my Slab Stitcher kit to route out the Texas shape (you can find a detailed tutorial for how to use Slab Stitcher here).
Attach your spiral cut router bit to your router in order to route out your desired shape for the center of the wood ashtray.
I had to add a few “stop blocks” while using the Slab Stitcher kit so that I could clamp the jig down. This allowed me to still have room to move my router around.
If you would prefer to make the center circular, rather than the Texas shape, use a Circle Cutting Jig like this. You will use the same router bit.
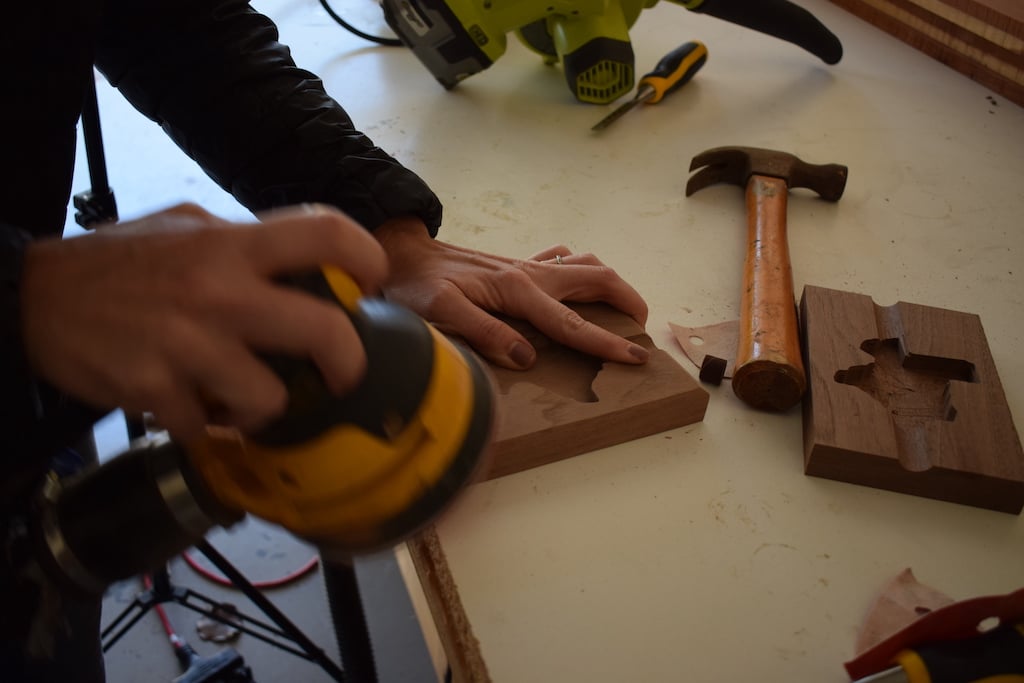
Step 6: Sand
Using your sander, sand the piece with 120 grit sanding paper.
While sanding, I gave it a chamfered-look edge. I could have routed this edge, but I was able to do it quicker and easier by using my sander.
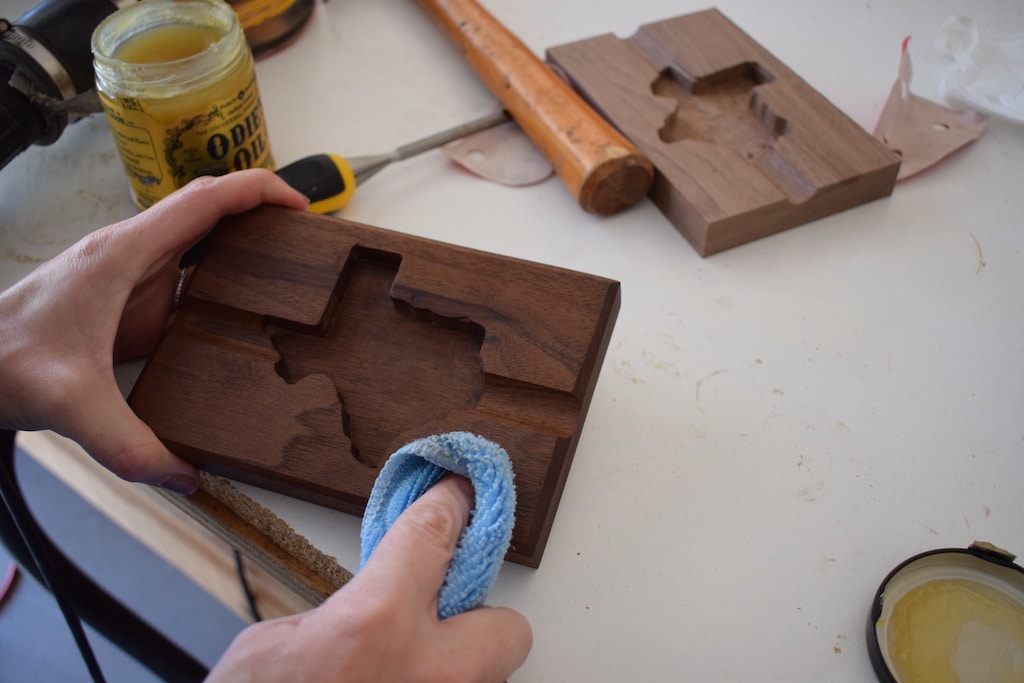
Step 7: Apply finish to the wooden ashtray
I used my most favorite finish ever, Odie’s Oil. I use this on so many things – cutting boards, charcuterie boards, and tables. I love the smell, it is food safe, and it makes the piece so durable! I highly recommend it.
I go into all of the reasons why I think Odie’s Oil is the best finish for things like cutting boards here.
For the cherry version, I used my butane torch (after I applied Odie’s Oil) to scorch the inside of the Texas shape. I love how rustic it makes it look and it further protects the piece from the ashes. It is similar to Shou Sugi Bahn, which is the process of charring the wood in order to weatherproof it.
And, that’s it! If you make this wooden cigar ashtray, I’d love to hear about it!
Check out the web story for how to make a wooden cigar ashtray here!

Suzie Wible
Suzie has shared her knowledge for over 10 years about building furniture, painting techniques, how to build your dream home, and basic to advanced woodworking skills. Through this blog, readers will feel empowered to create a home and products they love too.
3 Comments
Comments are closed.