The Best Shelf Pin Drilling Jig: Easy and Accurate
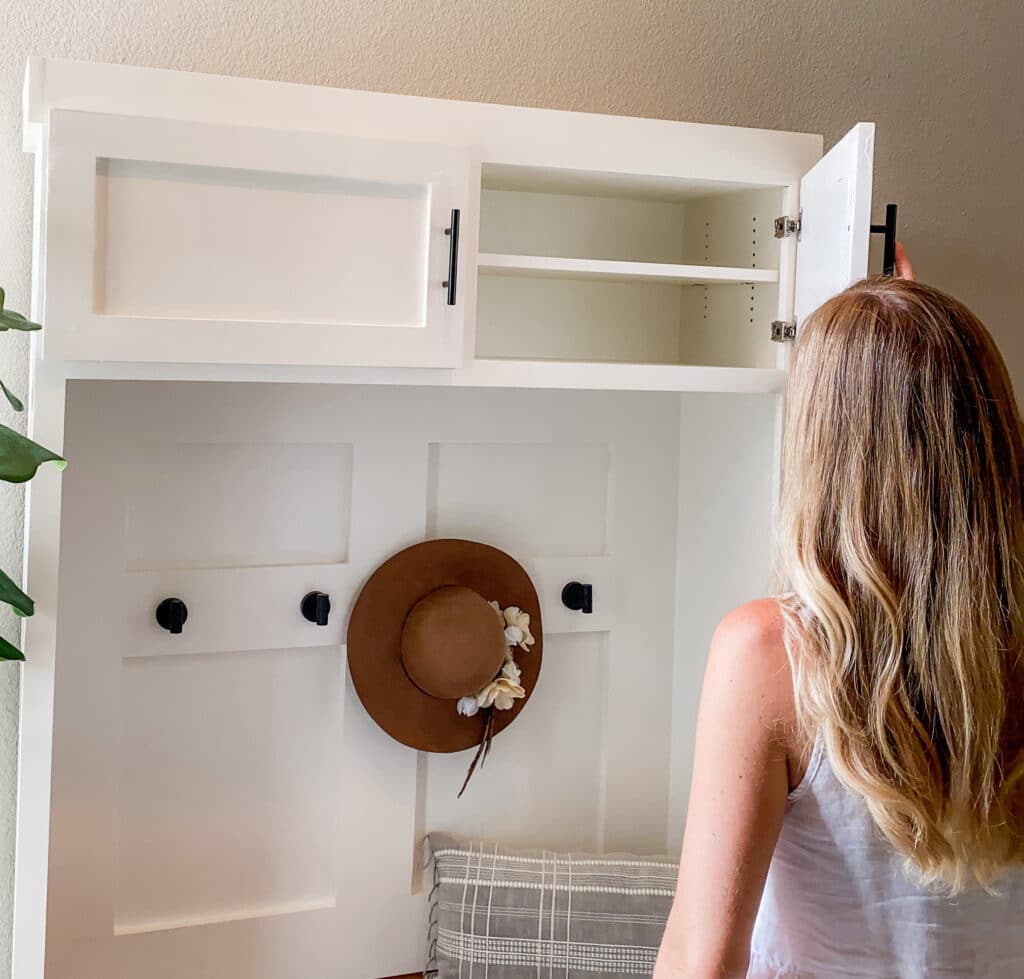
In a recent mudroom hall tree build, I wanted more organization in the upper cabinet portion, so I decided to add adjustable shelves. I did this by drilling shelf pin holes and I used the CabinetMate Jig from Milescraft.
True to Milescraft form, they created the perfect tool that is incredibly simple to use and creates precise work! This jig is now a staple in my shop whenever I am building shelves.
The jig has everything you need to drill shelf pin holes that are the correct depth and that are perfectly aligned. This will not only save time, but it will help create professional-looking cabinets.
In this article, I will take a deep dive into all of the great aspects of this jig, along with tips and tricks for how to use it.
Why the CabinetMate is the Best Shelf Pin Jig
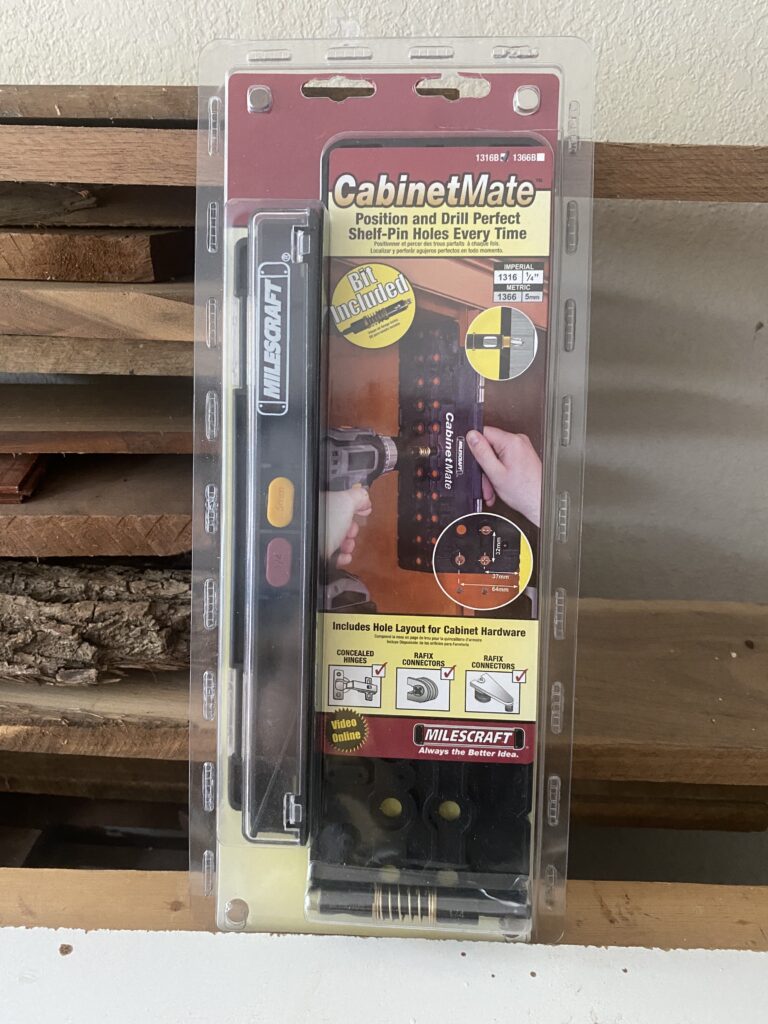
The CabinetMate has so many great features. It is not just incredibly affordable; it is also lightweight but also very durable. It will last for countless uses and many years of cabinetry projects.
Ease of Use
This shelf-pin drilling jig provides everything you need to quickly and accurately drill holes for adjustable shelf pins. The drill bit is already set to the perfect depth, which will greatly cut down on work time. Because of this bit, you don’t need to worry about adjusting a drill bit depth collar.
Self-Centering Drill Bits
The spiral bit that comes with the jig is a spring-loaded jig that is self-centering when used with the CabinetMate. The pre-set tensions and pre-set depth stops ensure that you will bore consistent depths every time. The guide bushings on the head of the bit will fit perfectly into the jig and as a result, the drilled holes are perfectly centered.
The bit is set to the perfect depth for shelf pins, so you don’t have to take time adjusting a stop collar on a drill bit. You simply plunge the drill bit in until you reach the full depth, then remove it.
The bits provided are very high quality and result in clean holes, without the need to clean them up with additional drilling. This is great for saving time and effort!
Milescraft offers both 1/4″ & 5mm drill bits for whatever the project calls for.
This jig, along with the provided drill bit, alleviates the need for a drill press or a plunge router. Because of the features of the bit and jig, you can quickly drill holes perfectly perpendicular to the surface of the piece with just a power drill.
Storage Compartment
There is a storage compartment on the jig that houses the index pins and drill bit. This feature is great for storing the jig when it’s not in use and keeping everything organized and easy to find.
Indexing Pins
The indexing pins that come with the jig help to hold the tool in place. Once you have drilled the first hole, you can insert a pin to help keep the jig in place while you drill the rest of the holes.
The indexing pins are also perfect for when you are making a tall cabinet with many adjustable shelves. Once you reach the end of the jig, you simply move the jig up, insert an indexing pin on the last hole you drilled, then drill more shelf pin holes.
With this shelf-pin jig, you can drill 11 holes at a time, without having to adjust the jig location. If you reach the end of the 11 provided holes and still need more, the indexing pins will perfectly align the jig to add more holes to your piece.
Versatility
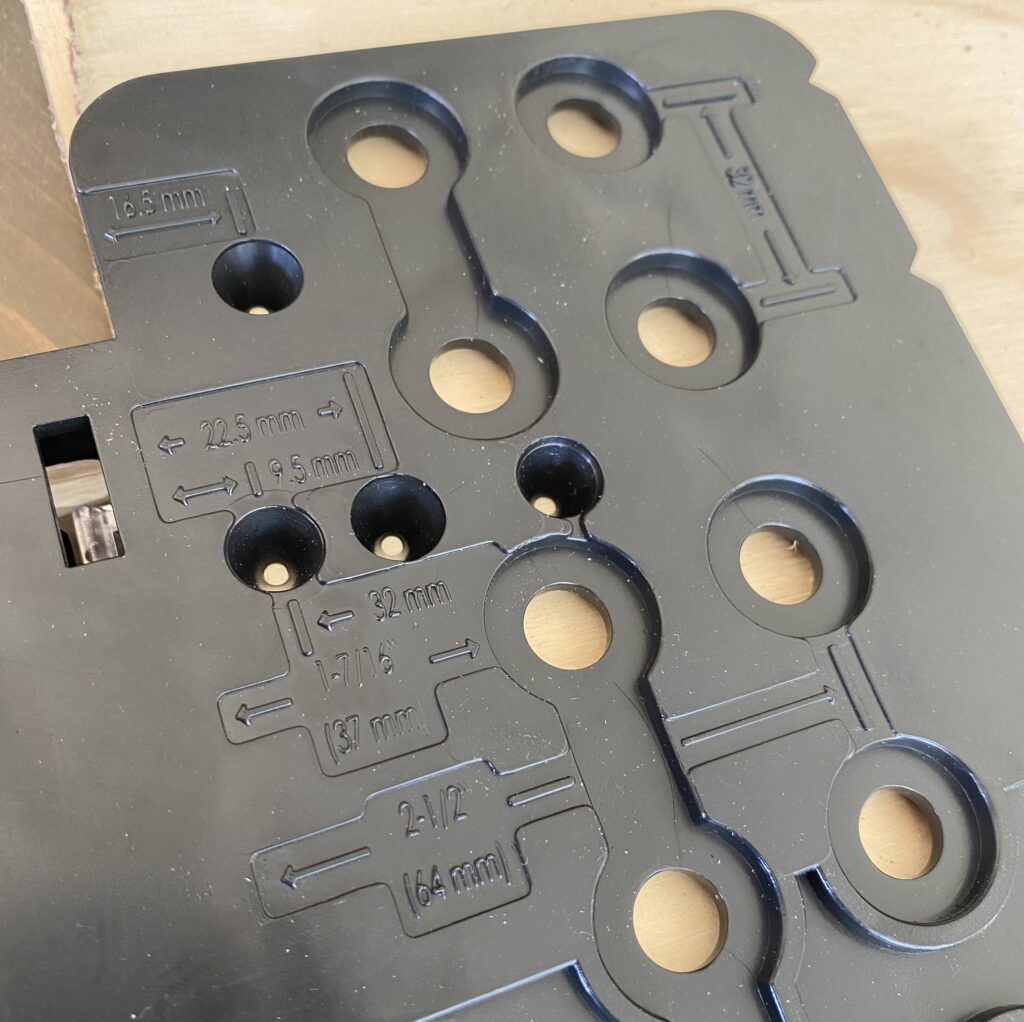
Another great feature of this shelf pin jig is that it also allows you to mark the locations for European-style hinges. The jig itself comes with pre-marked hole locations for laying out hole locations for hinges.
I covered how to install European hinges on face frame cabinets in this post if you would like to read about another method of incorporating them in your cabinetry builds.
This jig can be used before cabinet assembly or after the cabinets are assembled. This is a great feature, as it provides the means to add adjustable shelves to an existing piece of furniture.
It also works on both frameless and face-framed cabinets. If you’re using it on a face frame cabinet, simply align the flat edge of the jig opposite the storage compartment on the cabinet sides of the interior. You can now drill the shelf pin holes on face framed cabinets that are already assembled.
How to Use the CabinetMate Shelf Pin Jig
The CabinetMate is very straight-forward, simple to use, and affordable; all of which make it a great addition to your shop.
Step 1: Determine Hole Location and Spacing
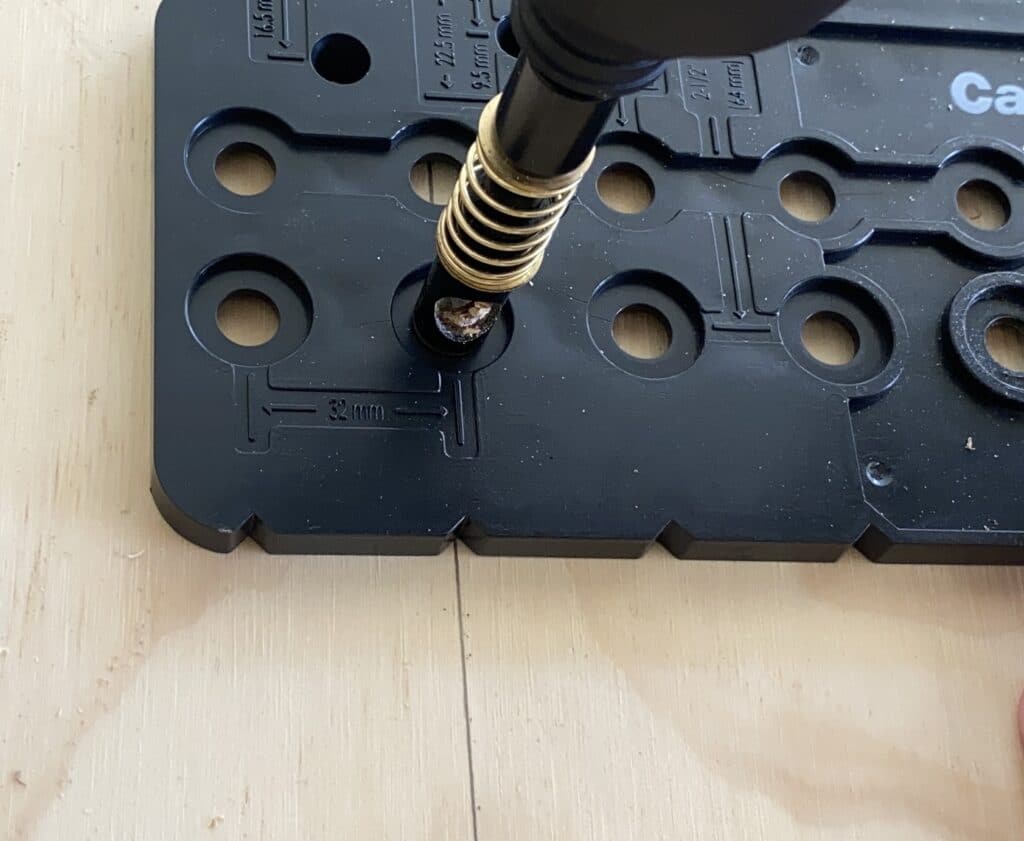
The CabinetMate shelf pin jig comes with 2 pre-set hole spacing options: 1 7/16″ or 2 1/2″ distance from the edge. Determine which spacing is best for your project.
Attach the provided spring-loaded self-centering drill bit into your cordless drill.
Disclaimer: This site contains product affiliate links. We may receive a commission if you make a purchase after clicking on one of these links.
Milescraft provides two sizes of self-centering bits; the 1/4″ & a 5mm bit. Make sure you purchase the correct size of shelf pins. I have been very happy with these shelf pins for the mudroom cabinet!
Step 2: Align the Shelf Pin Jig to the Piece
Turn the jig over so that the back of the jig is facing up. Hold the jig storage compartment flush against your work piece.
Step 3: Drill the Shelf Pin Holes
Using the provided drill bit, bore the first hole using the template holes. Once the first hole is done, insert the locating pin into the hole. This will help to hold the jig in place while you drill the remaining row of holes.
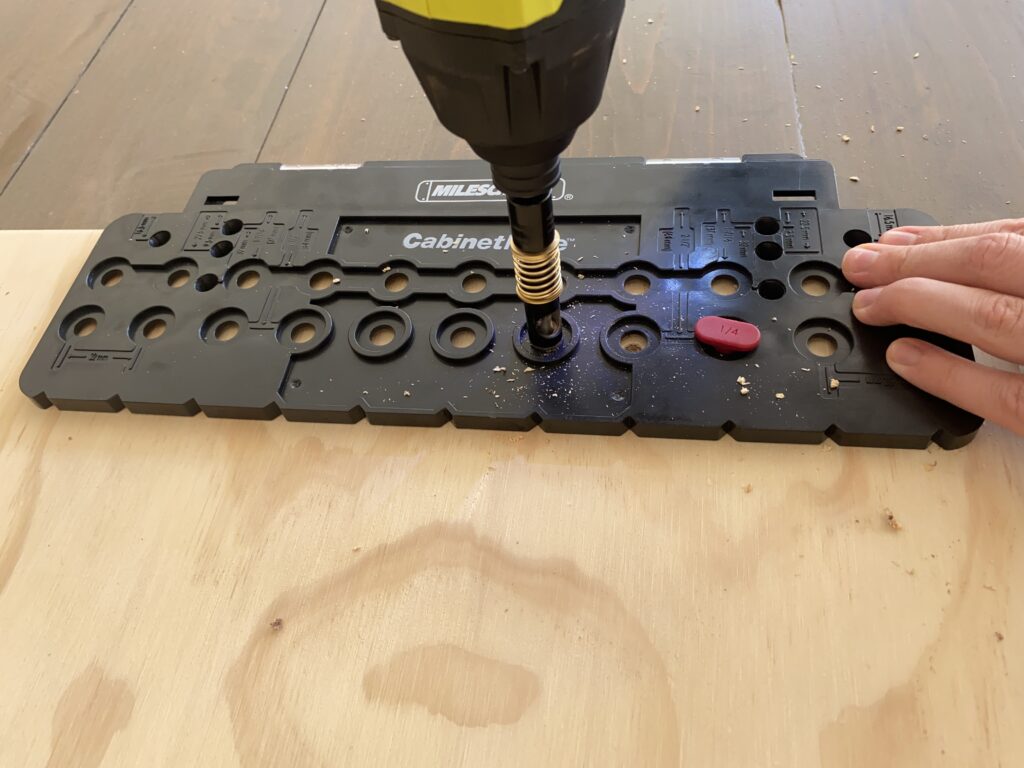
Drill the desired amount of remaining holes. If you want to drill more than the 11 holes from the jig, remove the indexing pin, move the jig up, insert the indexing pin, and drill the remaining holes.
Step 4: Repeat on the Other Side
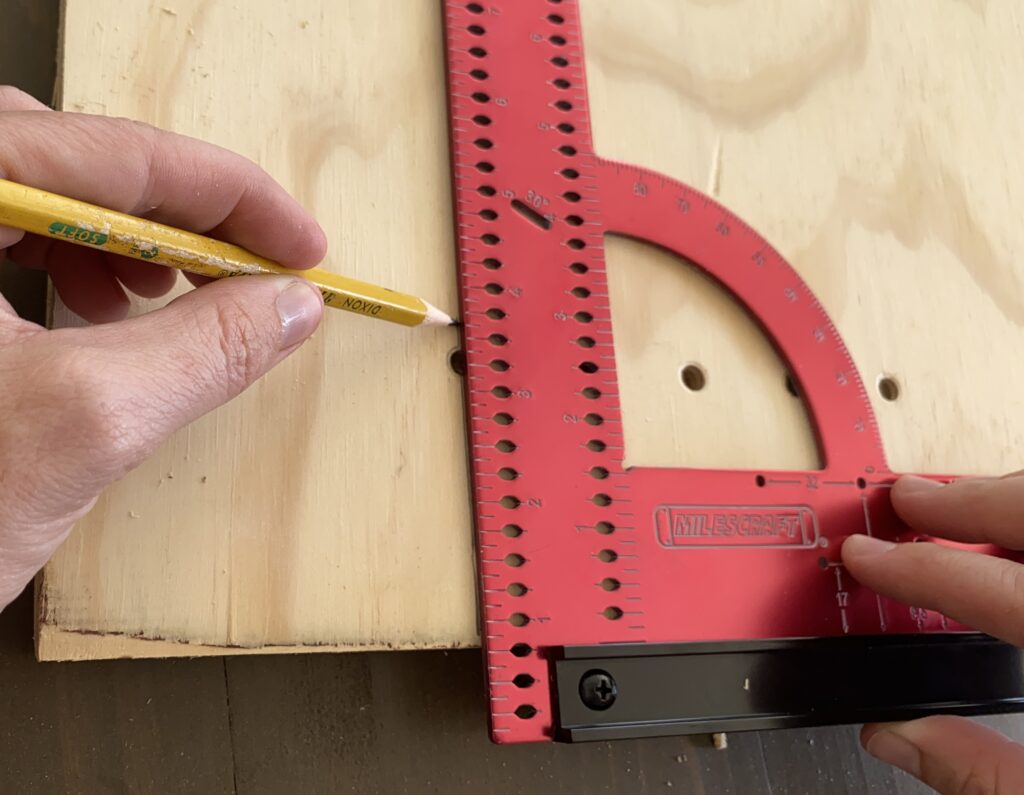
Using a square, draw a straight line across the piece. Make sure this line is centered on the first hole you drilled.
Align the jig on the opposing side with this line. The jig comes with notches at every hole location to make this step easier and more accurate.
Repeat Steps 2-4 for the remaining side. You now have perfectly spaced and aligned holes for those adjustable shelves in your cabinets!
While you’re building cabinets, be sure to check out this post on how to add pull out drawers to existing kitchen cabinets, how to make mudroom built-ins from stock cabinets, and how to install drawer slides on face-framed cabinets! This is the process you would also use if you go the RTA cabinet route for custom kitchen cabinets.
The Best Option for Shelf Pin Drilling Jig
The CabinetMate Shelf Pin Drilling Jig from Milescraft is great for new woodworkers or more skilled woodworkers alike, as it will increase productivity, accuracy, and makes quick work of building shelves. The result will be level and secure adjustable shelves that can be used for years to come.
If you’re building upper kitchen cabinets and designing the shelf spacing, be sure to check out this guide to the dimensions of upper kitchen cabinets.
You can check out the webstory for the best shelf pin jig here!
If you’re doing cabinetry projects, you might find the following articles helpful:

Suzie Wible
Suzie has shared her knowledge for over 10 years about building furniture, painting techniques, how to build your dream home, and basic to advanced woodworking skills. Through this blog, readers will feel empowered to create a home and products they love too.